CSF (Config Server Firewall) is a Stateful Packet Inspection (SPI) firewall with integration capabilities for popular web-based server management tools like Webmin, cPanel, and DirectAdmin. It operates primarily with IPtables and Perl, providing a daemon process that actively monitors your server for unauthorized access attempts.
In this guide, we will detail the installation and initial configuration steps for CSF on a Debian 12 server, including methods for IP address blocking and enabling the CSF Web UI for streamlined management.
Prerequisites
Before proceeding, ensure the following prerequisites are in place:
- Access to a Debian 12 server.
- A non-root user with administrative rights.
System Preparation
Prior to installing CSF, confirm the necessary dependencies are installed, including Perl and iptables. Disable any existing firewalls like UFW (Uncomplicated Firewall) if active.
Begin by updating your Debian repository:
sudo apt update

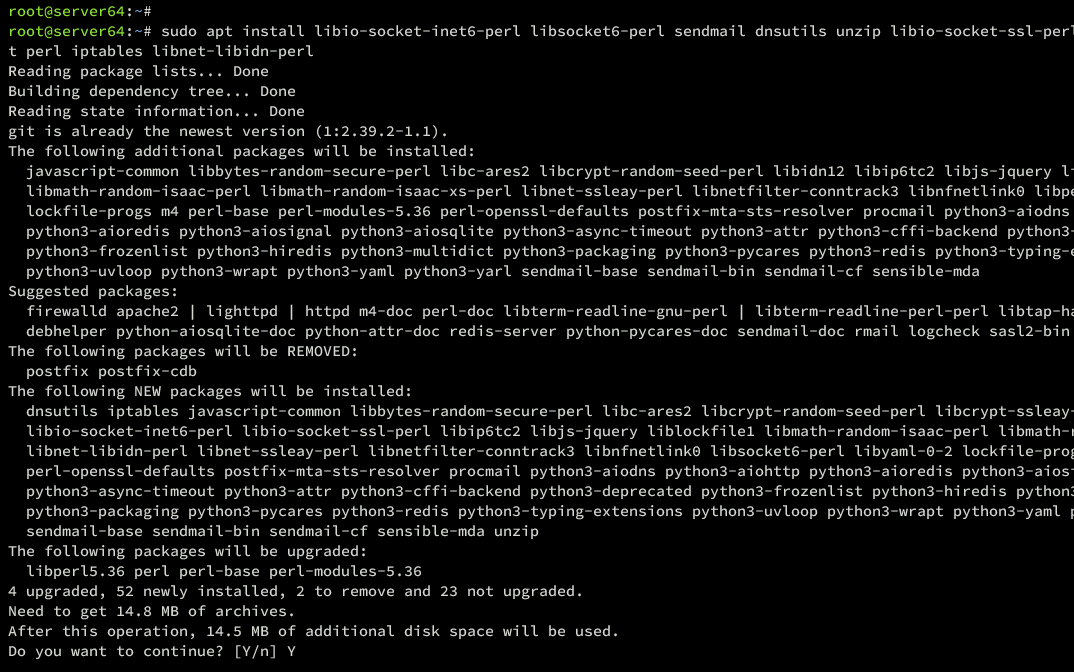
Install the required dependencies for CSF as follows:
sudo apt install libio-socket-inet6-perl libsocket6-perl sendmail dnsutils unzip libio-socket-ssl-perl libcrypt-ssleay-perl git perl iptables libnet-libidn-perl libwww-perl liblwp-protocol-https-perl libgd-graph-perl
Type Y and press ENTER to proceed.
If UFW is enabled, disable it to allow CSF to handle firewall duties:
sudo ufw disable
Downloading and Installing CSF
To manually install CSF, follow these steps:
Download the CSF source code using wget:
wget http://download.configserver.com/csf.tgz
Extract the downloaded csf.tgz file:
sudo tar -xvzf csf.tgz
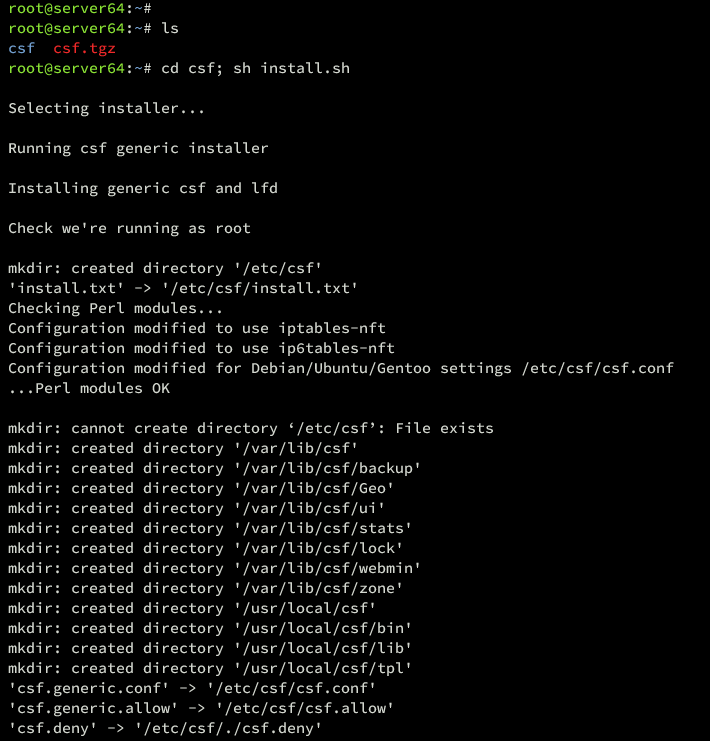
Navigate to the csf directory and execute the installation script:
cd csf; sh install.sh
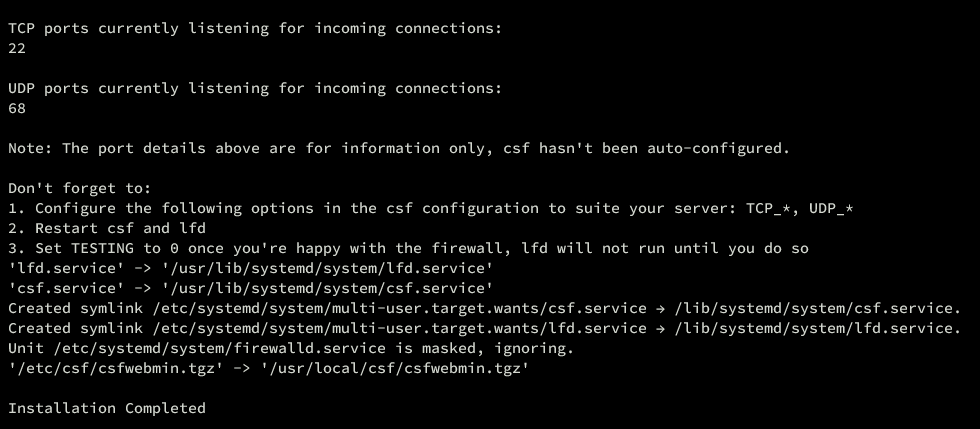
The installation process should present a completion message once done:
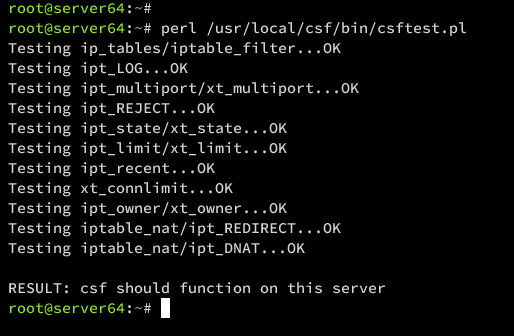
Verify the CSF installation:
perl /usr/local/csf/bin/csftest.pl
Ensure everything tests successfully:
Confirm CSF’s binary location and version:
which csf
csf -v
You should see CSF, for instance, as version v14.20 in /usr/sbin/csf:

Configuring CSF
With CSF installed, it’s time for basic configuration. The primary configuration file resides in the /etc/csf directory: csf.conf.
Open the configuration file with nano:
sudo nano /etc/csf/csf.conf
Traffic Management
Permit inbound and outbound traffic by adjusting TCP and UDP port settings:
# Allow incoming TCP ports
TCP_IN = "20,21,22,25,53,853,80,110,143,443,465,587,993,995"

# Allow outgoing TCP ports
TCP_OUT = "20,21,22,25,53,853,80,110,113,443,587,993,995"

# Allow incoming UDP ports
UDP_IN = "20,21,53,853,80,443"

# Allow outgoing UDP ports
# To allow outgoing traceroute add 33434:33523 to this list
UDP_OUT = "20,21,53,853,113,123"
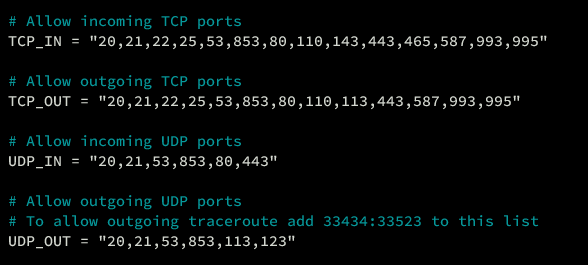
Detail description of these options:
- TCP_IN: Incoming TCP traffic permission.
- TCP_OUT: Outgoing TCP traffic permission.
- UDP_IN: Incoming UDP traffic permission.
- UDP_OUT: Outgoing UDP traffic permission.
Ping and ICMP Requests
Configure ICMP (Ping) settings to control response behavior:
# Allow incoming PING. Disabling PING may impact external uptime checks
ICMP_IN = "1"
...
# Allow outgoing PING
# Important for OS functionality
ICMP_OUT = "1"

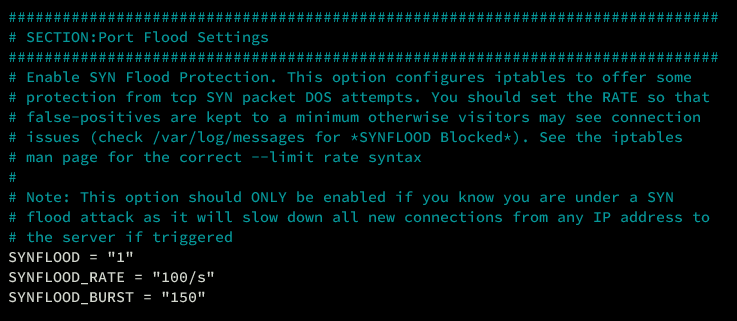
SYN Flood Protection
Enable SYN Flood Protection to mitigate potential DoS attacks:
###############################################################################
# SECTION:Port Flood Settings
###############################################################################
# Enable SYN Flood Protection for defense against TCP SYN packet DOS attempts.
...
SYNFLOOD = "0"
SYNFLOOD_RATE = "100/s"
SYNFLOOD_BURST = "150"
Connection Limitations
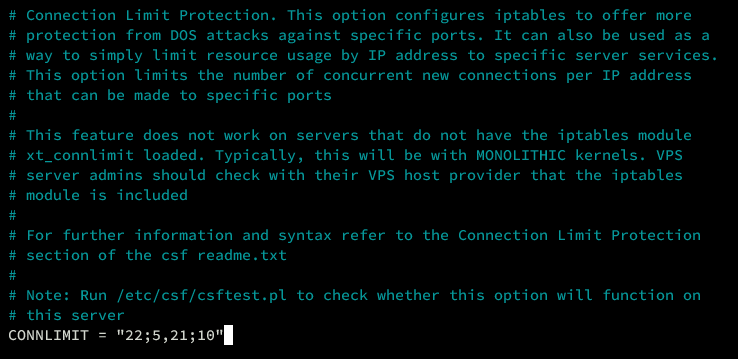
Use the ‘CONNLIMIT’ feature to restrict concurrent connections:
# Connection Limit Protection. Provide additional DoS defense per service.
CONNLIMIT = "22;5,21;10"
Disable Testing Mode and Restrict Syslog Access
After finalizing configurations, deactivate testing mode:
# Ensure lfd won't start in testing mode
TESTING = "0"

...
# Syslog access control recommendation
RESTRICT_SYSLOG = "3"

Save your changes and exit the editor.
CSF Service Testing and Initiation
To confirm your configurations, execute:
csf -v
Initiate CSF and LFD services:
sudo systemctl start csf lfd

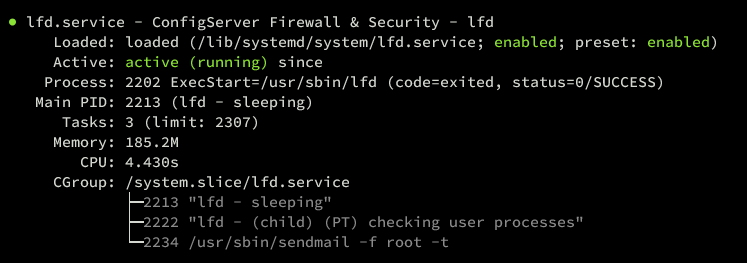
If disconnection occurs, re-login and verify service status:
sudo systemctl status csf lfd
Both services should show as active:

Blocking With CSF
This section explains IP blocking via CSF using block lists and GeoIP.
Utilizing IP Block Lists
Edit the default block lists configuration:
sudo nano /etc/csf/csf.blocklists
Uncomment Spamhaus database entries for IP blocking:
# Spamhaus Don't Route Or Peer List (DROP)
# Details: http://www.spamhaus.org/drop/
SPAMDROP|86400|0|http://www.spamhaus.org/drop/drop.txt

# Spamhaus IPv6 Don't Route Or Peer List (DROPv6)
# Details: http://www.spamhaus.org/drop/
SPAMDROPV6|86400|0|https://www.spamhaus.org/drop/dropv6.txt

# Spamhaus Extended DROP List (EDROP)
# Details: http://www.spamhaus.org/drop/
SPAMEDROP|86400|0|http://www.spamhaus.org/drop/edrop.txt
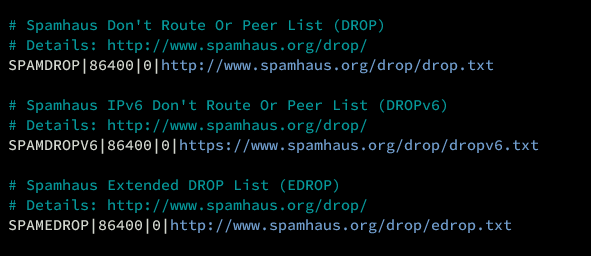
Options description:
- SPAMDROP: Block name appearing in iptables. Use uppercase, max 25 characters.
- 86400: Refresh interval for downloading IP block lists.
- MAX: Maximum IP addresses used. Zero signifies all.
- URL: Block list download source.
Blocking IP Addresses via GeoIP
GeoIP enables blocking via specified regions:
Open the configuration file:
sudo nano /etc/csf/csf.conf
Configure country-based block settings:
# Deny and Allow lists as country codes
CC_DENY = "RU,CN"
CC_ALLOW = "US,GB,DE,NL,SG"
Switch to MaxMind GeoIP database if needed. Update ‘CC_SRC’ to ‘1’ and input the MaxMind license key for MM_LICENSE_KEY:
# MaxMind License Key:
MM_LICENSE_KEY = ""

...
# Preferred GeoIP source:
# "1" - MaxMind
# "2" - db-ip, ipdeny, iptoasn
# Default: "2", switch to "1" if using MaxMind
CC_SRC = "1"
Save changes and close the editor.
Validate CSF configuration:
sudo csf -v
Restart CSF and LFD services:
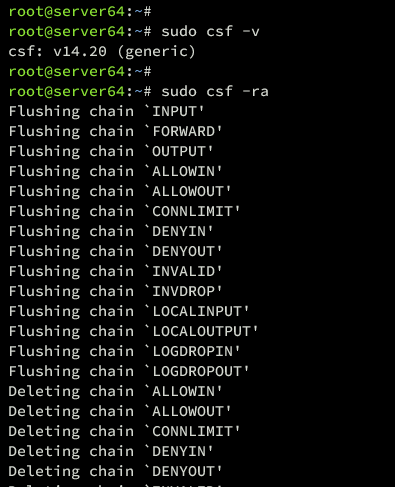
sudo csf -ra
Output indicates successful restart:
Confirm services are operational:
sudo systemctl status csf lfd
Enabling CSF Web UI
This step involves activating the CSF Web UI for web access:
Edit the CSF configuration:
sudo nano /etc/csf/csf.conf
Enable the Web UI by adjusting these settings:
# Activation, Port, IP, User, and Password configurations for CSF Web UI
UI = "1"
UI_PORT = "1048"
UI_IP = "127.0.0.1"
UI_USER = "alice"
UI_PASS = "passw0rd"
Locate your public IP address:
curl https://ipinfo.io/
Add it to the lists below for whitelist access:
# Example to add single IP:
192.168.5.1

# Example for a subnet
192.168.5.0/24
Run validation and restart processes:
sudo csf -v
sudo csf -ra
List the whitelisted IPs to verify:
sudo csf -l

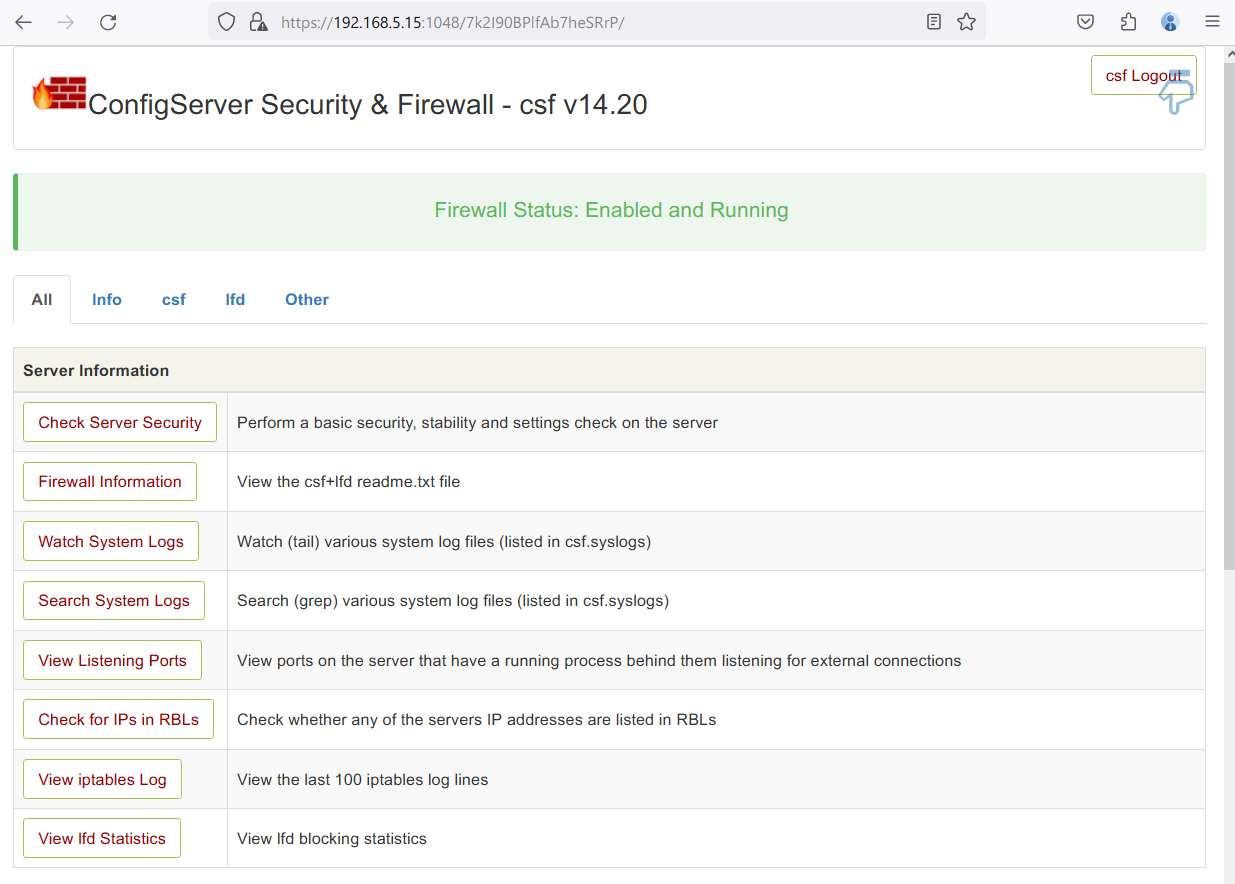
Access the CSF Web UI at https://192.168.5.15:1048 using your server’s IP and the specified port. Log in with your credentials:

Welcome to the CSF dashboard:
Conclusion
You’ve successfully set up CSF on your Debian 12 server, and learned how to manage basic firewall settings, IP blocking, and the CSF Web UI for enhanced server security and monitoring.
FAQ
- What is CSF?
- CSF stands for Config Server Firewall, a security tool designed to provide firewall protection and intrusion detection on Linux servers.
- Can I use CSF alongside existing firewalls like UFW?
- It’s recommended to disable other firewalls like UFW to avoid conflicts, as CSF operates using iptables.
- How can I ensure the Web UI is secure?
- Limit access to trusted IP addresses, set unique and strong UI credentials, and use SSL/TLS to secure the Web UI.
- Why does CSF blocking via GeoIP require MaxMind keys?
- To provide precise geographical IP resolution and blocking, additional licensing with MaxMind might be necessary for accessing detailed databases.
