Diaspora is an open-source, privacy-focused, and distributed social network. It is built upon a network of independently deployed and owned nodes that harmonize to create an extensive social platform. Embracing three core principles—decentralization, freedom, and privacy—Diaspora offers a refreshing alternative to traditional social networks.
In this guide, we will demonstrate how to install the Diaspora social network on Debian Buster 10. We will set it up using the Nginx web server and the PostgreSQL database server. To enhance security, we will also configure SSL using Let’s Encrypt.
Prerequisites
- Debian Buster 10
- Minimum 2 GB of RAM
- Root privileges
Installation Steps
- Install Dependency Packages
- Create a New PostgreSQL User for Diaspora
- Create a New System User
- Install Ruby with RVM (Ruby Version Manager)
- Install and Configure Diaspora
- Setup Diaspora as a Systemd Service
- Configure Nginx as a Reverse Proxy
- Testing the Installation
Step 1 – Install Dependency Packages
First, install necessary packages for Diaspora, including PostgreSQL, Redis, and the Nginx web server. Execute the following command:
sudo apt-get install build-essential cmake gnupg2 libssl-dev libcurl4-openssl-dev
libxml2-dev libxslt-dev imagemagick ghostscript curl libmagickwand-dev git libpq-dev
redis-server nodejs postgresql
Once installed, ensure PostgreSQL, Nginx, and Redis services are up and running, and enable them to start on boot:
systemctl start redis-server
systemctl enable redis-server

systemctl start postgresql
systemctl enable postgresql

Step 2 – Create a New PostgreSQL User for Diaspora
Set a new password for the default ‘postgres’ user and create a dedicated PostgreSQL user for Diaspora:
sudo -i -u postgres psql
Update the ‘postgres’ user password:
\password postgres
Create a new PostgreSQL user with the following query:
CREATE USER diaspora WITH CREATEDB PASSWORD 'yourpassword';

Step 3 – Create a New System User
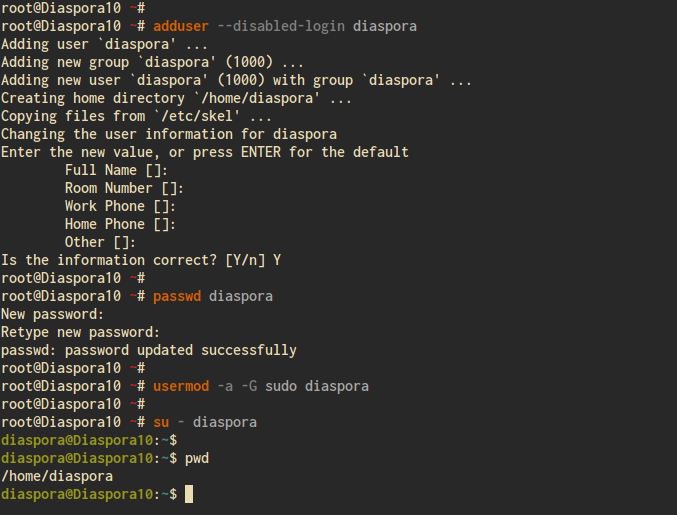
Create a system user named ‘diaspora’ and grant it sudo privileges:
adduser --disabled-login diaspora
passwd diaspora
usermod -a -G sudo diaspora
Step 4 – Install RVM and Ruby
Switch to the ‘diaspora’ user and install RVM (Ruby Version Manager) and Ruby 2.6:
su - diaspora
Add the GPGP key for RVM:
gpg2 --recv-keys 409B6B1796C275462A1703113804BB82D39DC0E3 7D2BAF1CF37B13E2069D6956105BD0E739499BDB

Install RVM:
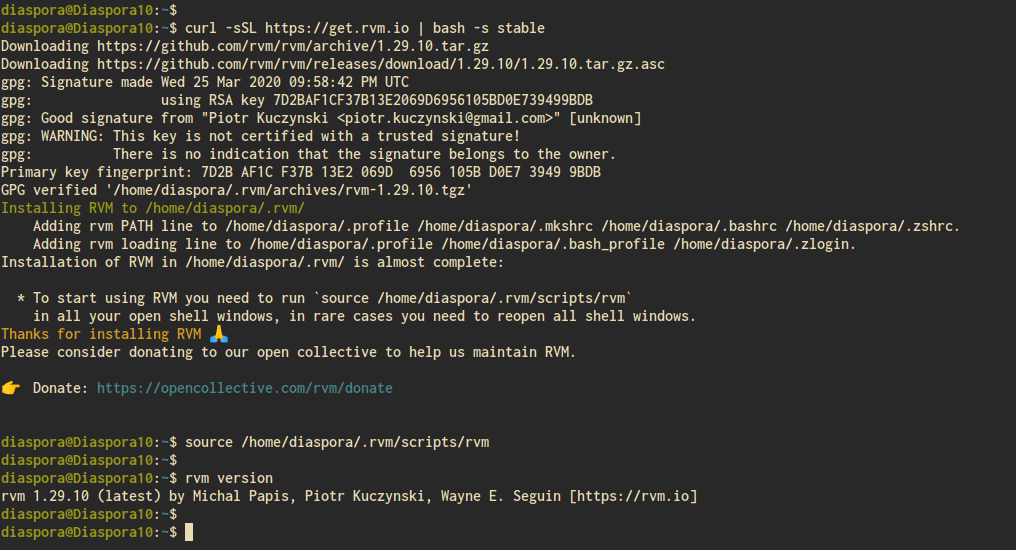
curl -sSL https://get.rvm.io | bash -s stable
Load the RVM script:
source /home/diaspora/.rvm/scripts/rvm
Install Ruby 2.6:
rvm install 2.6
Verify the Ruby installation:
ruby -v
Step 5 – Download and Configure Diaspora
Clone the Diaspora source code and set up its configuration files:
git clone -b master https://github.com/diaspora/diaspora.git
cd diaspora
cp config/database.yml.example config/database.yml
cp config/diaspora.yml.example config/diaspora.yml
Edit ‘config/database.yml’ to update credentials:
vim config/database.yml
postgresql: &postgresql
  adapter: postgresql
  host: "localhost"
  port: 5432
  username: "diaspora"
  password: "yourpassword"
  encoding: unicode
Edit ‘config/diaspora.yml’ for application settings:
vim config/diaspora.yml
environment:
  url: "https://your-domain.com/"
  certificate_authorities: '/etc/ssl/certs/ca-certificates.crt'
  require_ssl: true
server:
  rails_environment: 'production'
Install required gems and libraries:
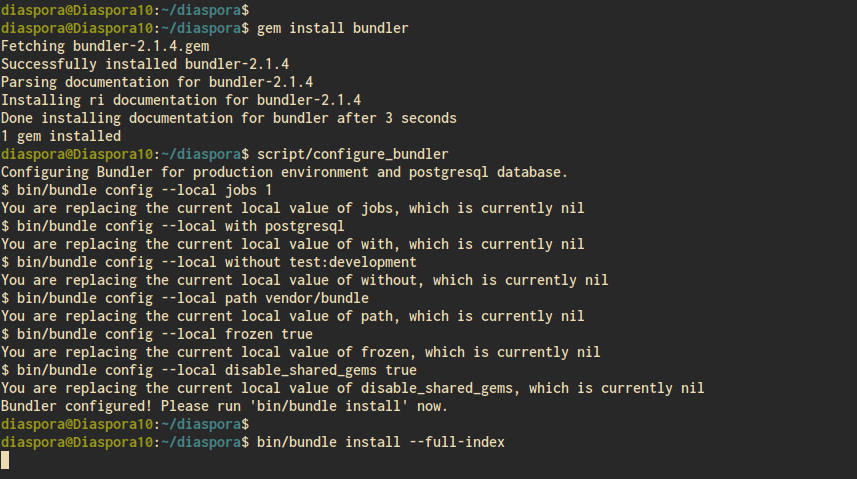
gem install bundler
script/configure_bundler
bin/bundle install --full-index
Migrate the database:
RAILS_ENV=production bundle exec rake db:create db:migrate
RAILS_ENV=production bin/rake assets:precompile
Step 6 – Setup Diaspora as a Service
Configure Diaspora to run as a systemd service by creating service unit files:
cd /etc/systemd/system/
vim diaspora.target
[Unit]
Description=Diaspora social network
Wants=postgresql.service
Wants=redis-server.service
After=redis-server.service
After=postgresql.service

[Install]
WantedBy=multi-user.target
vim diaspora-web.service
[Unit]
Description=Diaspora social network (unicorn)
PartOf=diaspora.target
StopWhenUnneeded=true

[Service]
User=diaspora
Environment=RAILS_ENV=production
WorkingDirectory=/home/diaspora/diaspora
ExecStart=/bin/bash -lc "bin/bundle exec unicorn -c config/unicorn.rb -E production"
Restart=always

[Install]
WantedBy=diaspora.target
vim diaspora-sidekiq.service
[Unit]
Description=Diaspora social network (sidekiq)
PartOf=diaspora.target
StopWhenUnneeded=true

[Service]
User=diaspora
Environment=RAILS_ENV=production
WorkingDirectory=/home/diaspora/diaspora
ExecStart=/bin/bash -lc "bin/bundle exec sidekiq"
Restart=always

[Install]
WantedBy=diaspora.target
Enable and start the services:
sudo systemctl daemon-reload
sudo systemctl enable diaspora.target diaspora-sidekiq.service diaspora-web.service
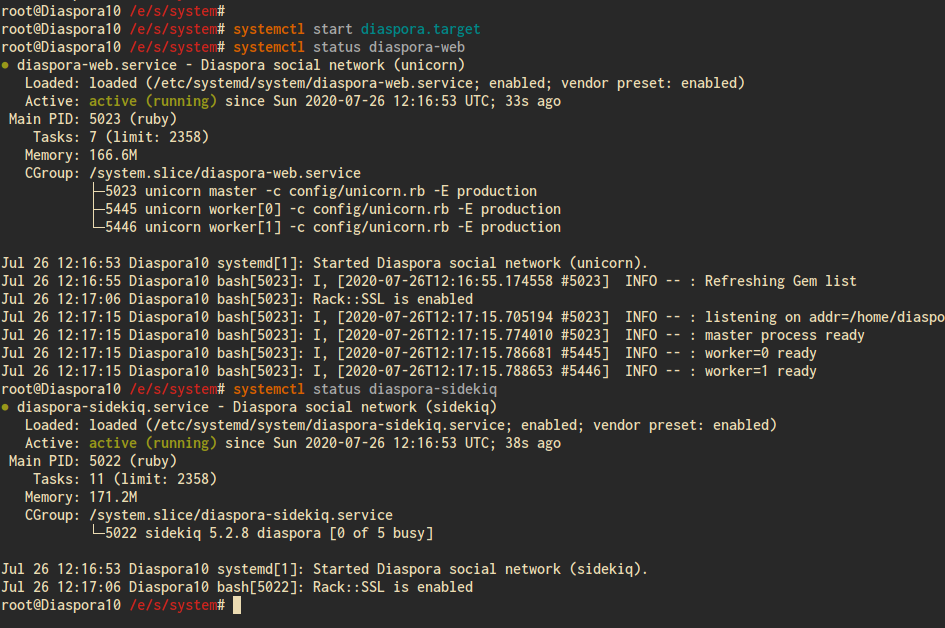
systemctl start diaspora.target

Check the status:
systemctl status diaspora-web
systemctl status diaspora-sidekiq
Step 7 – Generate SSL with Let’s Encrypt
Secure your Diaspora instance with SSL:
sudo apt install certbot
certbot certonly --rsa-key-size 2048 --standalone --agree-tos --no-eff-email --email your-email@example.com -d your-domain.com
Your SSL certificates will be stored in the ‘/etc/letsencrypt/live/your-domain.com/’ directory.
Step 8 – Set Up Nginx as a Reverse Proxy
Configure Nginx to serve Diaspora with the following steps:
sudo apt install nginx
cd /etc/nginx/sites-available/
vim diaspora
upstream diaspora_server {
  server unix:/home/diaspora/diaspora/tmp/diaspora.sock;
}

server {
  listen 80;
  listen [::]:80;
  server_name your-domain.com;
  return 301 https://your-domain.com$request_uri;

  access_log /dev/null;
  error_log /dev/null;
}

server {
  listen 443 ssl http2;
  listen [::]:443 ssl http2;
  server_name your-domain.com;

  access_log /var/log/nginx/dspr-access.log;
  error_log /var/log/nginx/dspr-error.log;

  ssl_certificate /etc/letsencrypt/live/your-domain.com/fullchain.pem;
  ssl_certificate_key /etc/letsencrypt/live/your-domain.com/privkey.pem;

  ssl_protocols TLSv1.2;
  ssl_ciphers EECDH+CHACHA20:EECDH+AESGCM:EECDH+AES;
  ssl_ecdh_curve X25519:P-521:P-384:P-256;
  ssl_prefer_server_ciphers on;
  ssl_session_cache shared:SSL:10m;

  root /home/diaspora/diaspora/public;

  client_max_body_size 5M;
  client_body_buffer_size 256K;

  try_files $uri @diaspora;

  location /assets/ {
    expires max;
    add_header Cache-Control public;
  }

  location @diaspora {
    proxy_set_header X-Real-IP $remote_addr;
    proxy_set_header X-Forwarded-For $proxy_add_x_forwarded_for;
    proxy_set_header X-Forwarded-Proto https;
    proxy_set_header Host $http_host;
    proxy_redirect off;
    proxy_pass http://diaspora_server;
  }
}
Enable the configuration and restart Nginx:
ln -s /etc/nginx/sites-available/diaspora /etc/nginx/sites-enabled/
nginx -t
systemctl restart nginx
systemctl enable nginx

Step 9 – Testing the Installation
Open your web browser and navigate to your Diaspora domain:
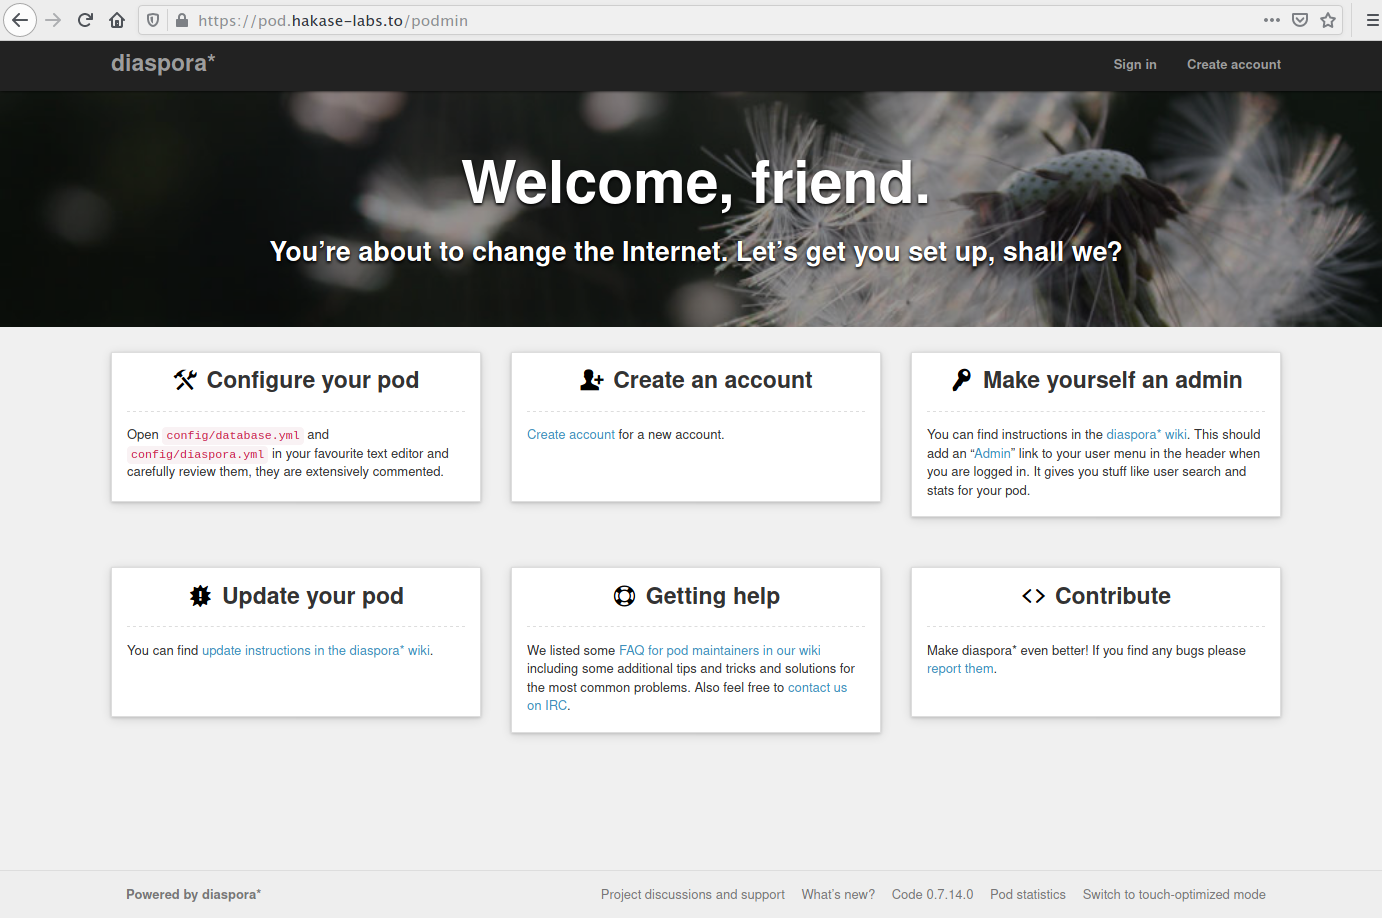
This should lead you to the Diaspora home page:
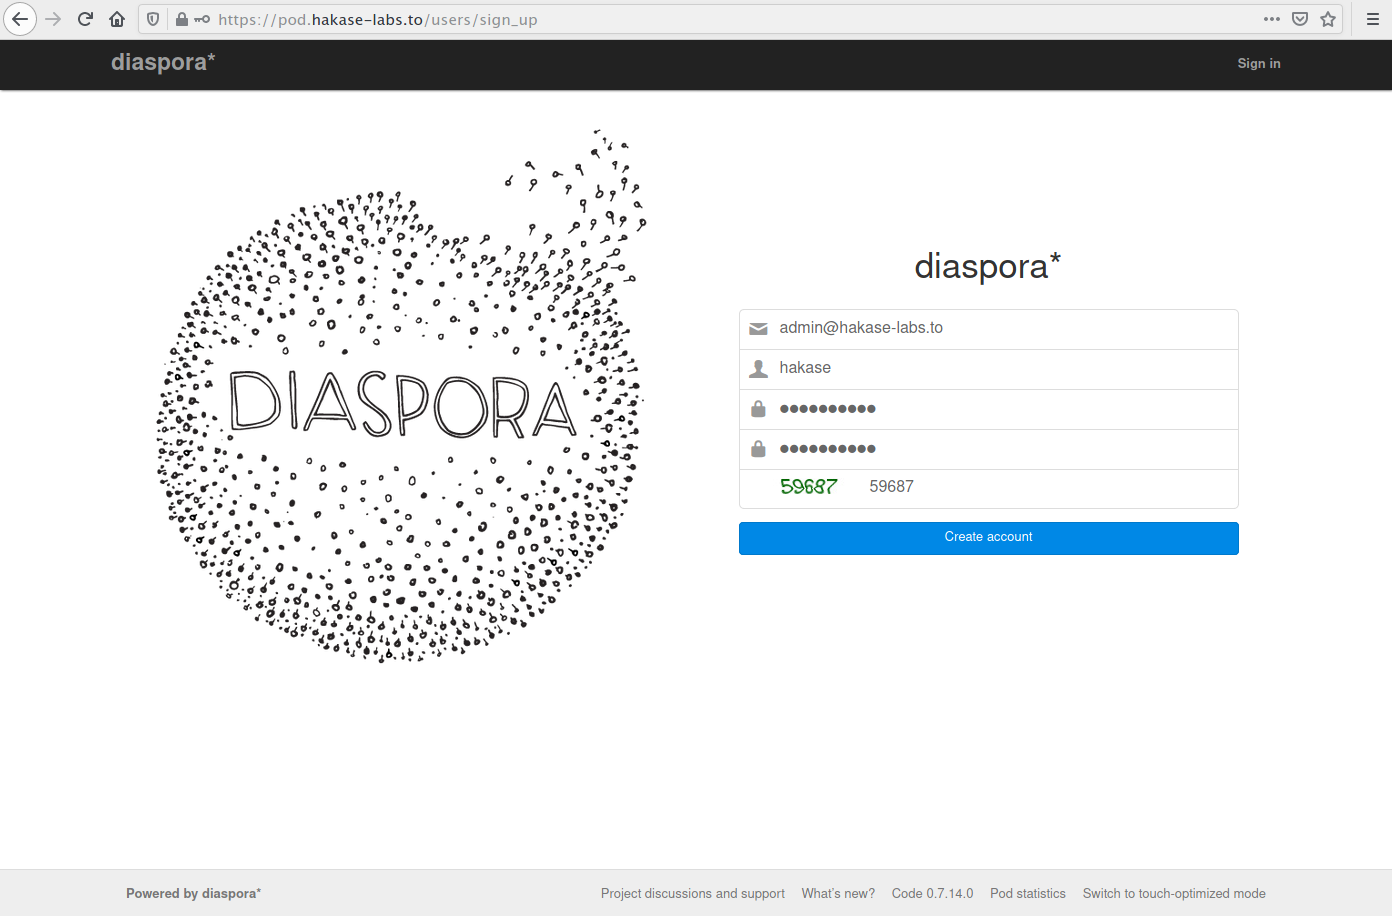
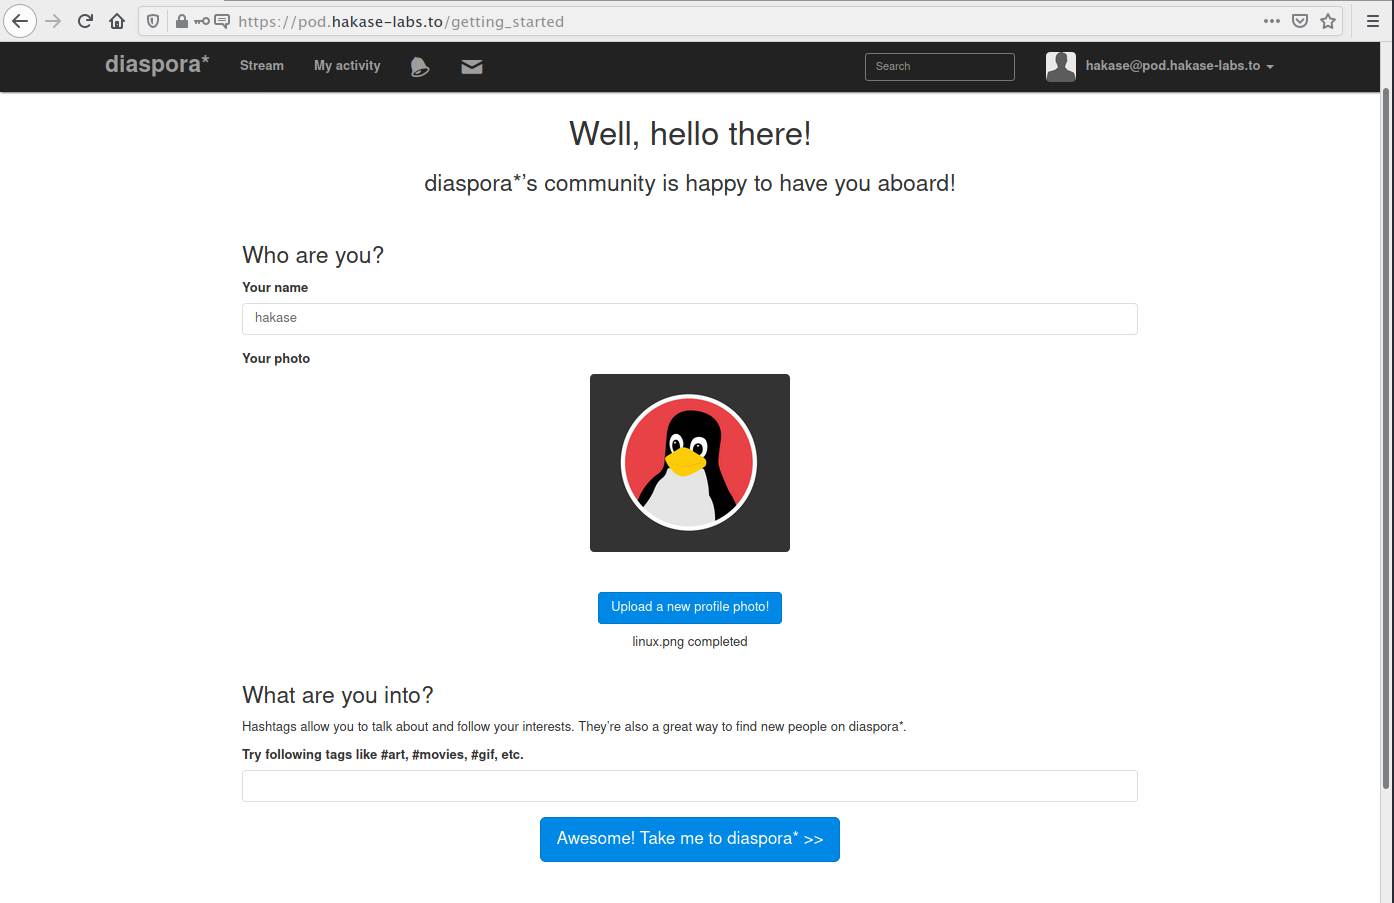
Create an account to start using Diaspora:
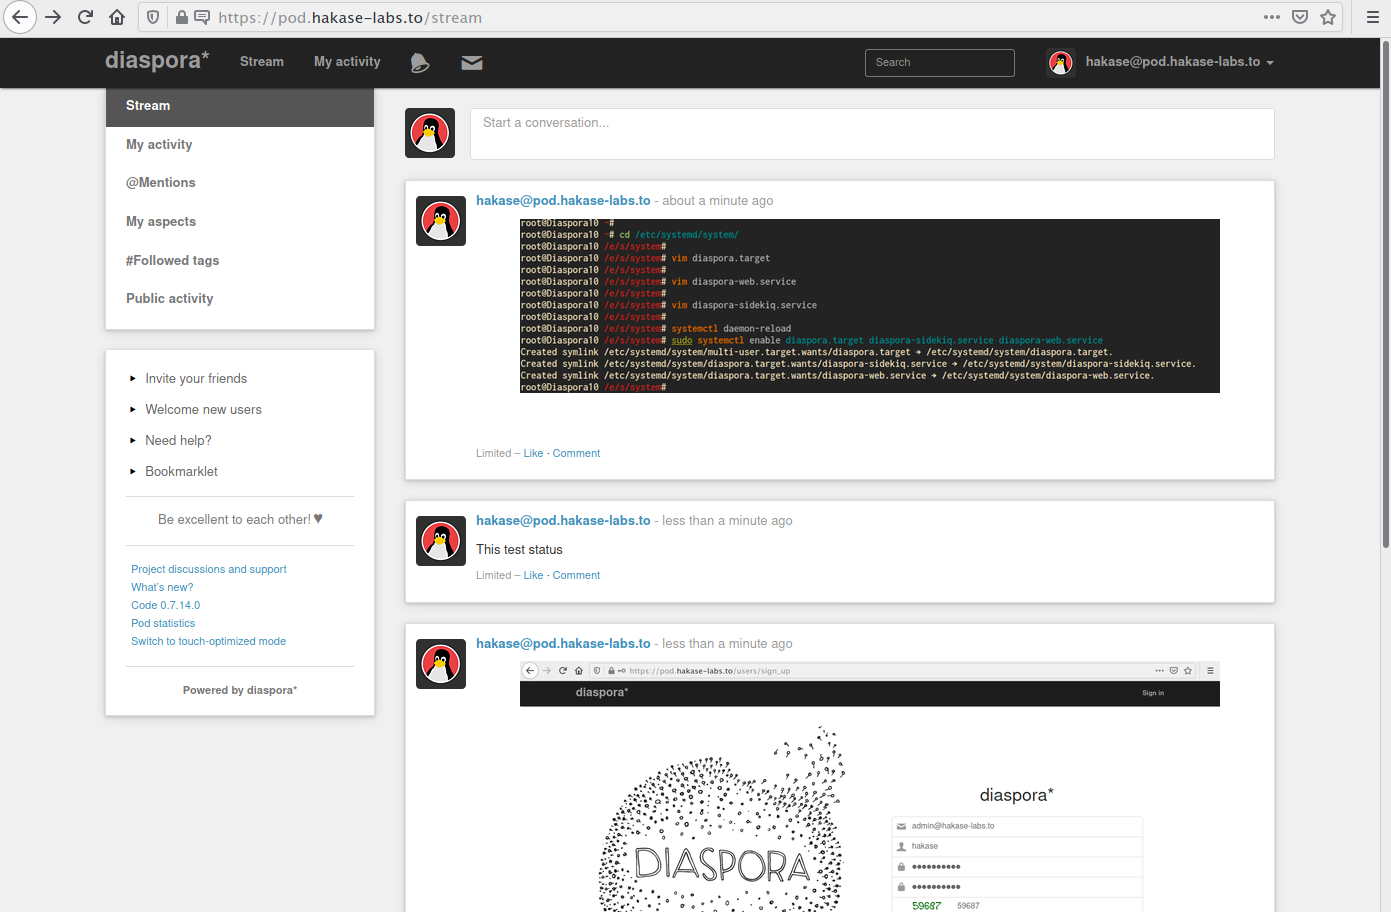
Upon successful login, you will see the Diaspora dashboard:
Congratulations! You have successfully installed Diaspora on Debian Buster 10 using Nginx as a reverse proxy.
FAQ
What is Diaspora?
Diaspora is a decentralized and privacy-aware social network offering enhanced security and freedom compared to traditional platforms.
What are the core requirements for installing Diaspora?
You need a Debian Buster 10 system, a minimum of 2 GB RAM, and root privileges to install and configure Diaspora.
Why choose Nginx for Diaspora?
Nginx is used as a reverse proxy for its efficiency in handling numerous concurrent connections, making it suitable for web applications like Diaspora.
How can I secure my Diaspora installation?
Secure your installation using SSL from Let’s Encrypt, ensuring encrypted traffic between the user and the server.
Can Diaspora be configured with other web servers instead of Nginx?
Yes, while this guide uses Nginx, Diaspora can also be configured with other web servers like Apache provided they support the necessary configurations.
