Django is a powerful, open-source web development framework written in Python, renowned for its robustness in developing complex, database-driven applications. Known for helping developers write less code, Django enables rapid development and can operate on any operating system supporting Python, such as Windows, macOS, Linux/Unix, and Solaris.
In this detailed guide, we’ll demonstrate how to set up Django within a Python virtual environment using a PostgreSQL database on Debian 11, followed by configuring Nginx as a reverse proxy for Django.
Prerequisites
- A server running Debian 11.
- A valid domain name set up to point to your server IP.
- The root password configured on the server.
Getting Started
Initially, it’s best to update your system packages to their latest versions using:
apt-get update -y
Next, install necessary Python tools along with Nginx using the command below:
apt-get install python3-pip python3-dev libpq-dev curl nginx -y
Install PostgreSQL Database Server
We will utilize PostgreSQL as a backend database. Begin the installation with:
apt-get install postgresql postgresql-contrib -y
Upon installation, access the PostgreSQL shell:
su - postgres
psql
Proceed by creating a database and user for Django:
CREATE DATABASE django;
CREATE USER django WITH PASSWORD 'password';
Grant necessary roles using:
    ALTER ROLE django SET client_encoding TO 'utf8';
    ALTER ROLE django SET default_transaction_isolation TO 'read committed';
    ALTER ROLE django SET timezone TO 'UTC';
    GRANT ALL PRIVILEGES ON DATABASE django TO django;
Exit the PostgreSQL shell with:
\q
exit
Create a Python Virtual Environment
Create a Python virtual environment to host your Django project. Start by updating PIP:
pip3 install --upgrade pip
Verify the PIP version:
pip --version
Next, install the Virtual environment package:
pip3 install virtualenv
Create a project directory and a virtual environment:
mkdir ~/djangoapp
cd ~/djangoapp
virtualenv djangoenv
Activate the virtual environment:
source djangoenv/bin/activate
Install Django, Gunicorn, and additional packages:
pip install django gunicorn psycopg2-binary
Install and Configure Django
Create a Django project using django-admin.py:
django-admin.py startproject djangoapp ~/djangoapp
Modify settings.py to configure your database:
nano ~/djangoapp/djangoapp/settings.py
Update the line with your domain name:
ALLOWED_HOSTS = ['django.example.com', 'localhost']
Set PostgreSQL database settings:
    DATABASES = {
        'default': {
            'ENGINE': 'django.db.backends.postgresql_psycopg2',
            'NAME': 'django',
            'USER': 'django',
            'PASSWORD': 'password',
            'HOST': 'localhost',
            'PORT': '',
        }
    }
Add these lines to specify static files:
    STATIC_URL = '/static/'
    import os
    STATIC_ROOT = os.path.join(BASE_DIR, 'static/')
Run initial database migration:
./manage.py makemigrations
./manage.py migrate
Create a superuser account:
./manage.py createsuperuser
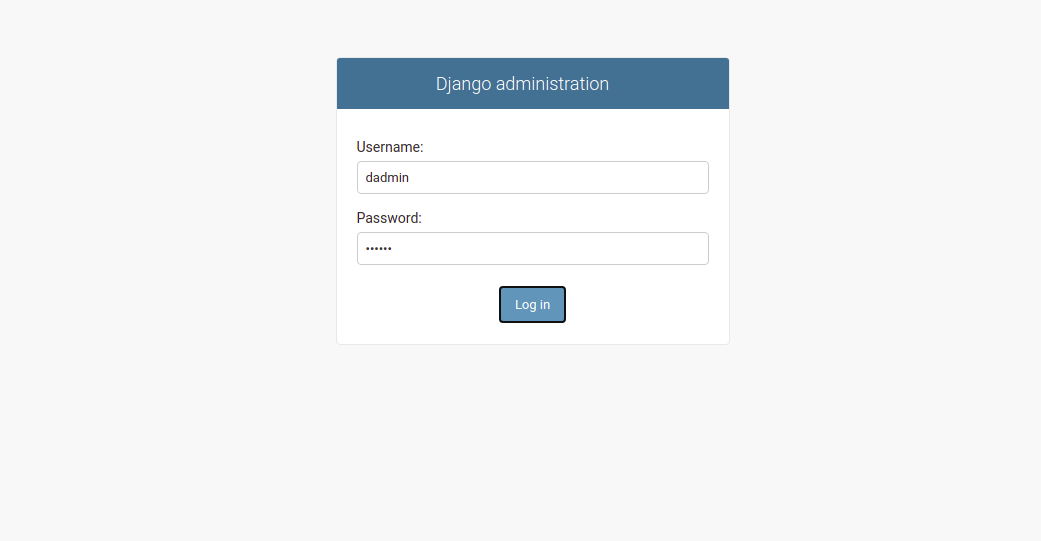
Configure your admin username and password as follows:
Username (leave blank to use 'root'): dadmin
    Email address: admin@example.com
    Password:
    Password (again):
    Superuser created successfully.
Collect static content:
./manage.py collectstatic
Run the Django Development Server
Start Django’s development server:
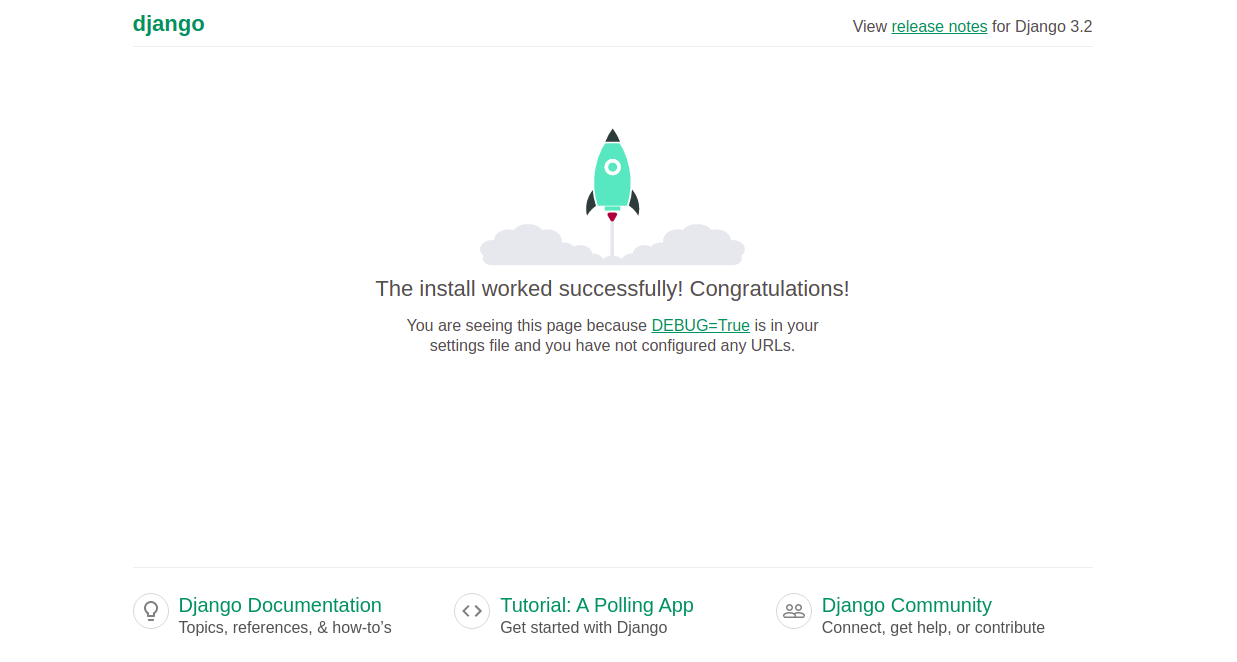
./manage.py runserver 0.0.0.0:8000
Access your Django project in your browser at http://django.example.com:8000/admin/.

Verify Django with Gunicorn
Test Django with Gunicorn:
gunicorn --bind 0.0.0.0:8000 djangoapp.wsgi
Deactivate the virtual environment:
deactivate
Create a Systemd Service File for Gunicorn
Create a systemd service for managing Gunicorn:
nano /etc/systemd/system/gunicorn.socket
    [Unit]
    Description=gunicorn socket

    [Socket]
    ListenStream=/run/gunicorn.sock

    [Install]
    WantedBy=sockets.target
Configure the Gunicorn service file:
nano /etc/systemd/system/gunicorn.service
    [Unit]
    Description=gunicorn daemon
    Requires=gunicorn.socket
    After=network.target

    [Service]
    User=root
    Group=www-data
    WorkingDirectory=/root/djangoapp
    ExecStart=/root/djangoapp/djangoenv/bin/gunicorn --access-logfile - --workers 3 --bind unix:/run/gunicorn.sock djangoapp.wsgi:application

    [Install]
    WantedBy=multi-user.target
Set correct permissions for the Django project directory:
chown -R www-data:root ~/djangoapp
Reload systemd and start the Gunicorn service:
systemctl daemon-reload
systemctl start gunicorn.socket
systemctl enable gunicorn.socket
Configure Nginx as a Reverse Proxy For Django
Set up Nginx as a reverse proxy by configuring:
nano /etc/nginx/conf.d/django.conf
    server {
         listen 80;
         server_name django.example.com;

        location = /favicon.ico { access_log off; log_not_found off; }

        location /static/ {
             root /root/djangoapp;
         }

        location / {
             include proxy_params;
             proxy_pass http://unix:/run/gunicorn.sock;
         }
    }
Test the Nginx configuration and restart the service:
nginx -t
systemctl restart nginx
Access the Django application at http://django.example.com/admin or http://django.example.com/.

Conclusion
Congratulations! You have successfully deployed a Django application with Gunicorn and Nginx serving as a reverse proxy. You’re now ready to develop and deploy Python applications using the Django framework.
FAQ
- Can I use a different database instead of PostgreSQL? Yes, you can configure Django to work with different databases like MySQL or SQLite by adjusting the database settings in the
settings.pyfile. - Is it necessary to use a virtual environment for Django? While not strictly necessary, using a virtual environment is highly recommended to manage dependencies effectively without interfering with other projects.
- How can I ensure security when deploying a Django application? Regularly update Django and its dependencies, use HTTPS to encrypt data in transit, and follow Django’s security guidelines, such as protecting settings and using secure passwords.
- How do I troubleshoot a problem with the Nginx configuration? Check the Nginx error log, usually located at
/var/log/nginx/error.log, and ensure the configuration file syntax is correct usingnginx -t. - Can I serve other applications with the same Nginx server? Yes, you can configure multiple server blocks in Nginx to serve different applications and domains.
