Django is a high-level Python framework that simplifies web application and site development. By adhering to the MVC (Model-View-Controller) architecture, Django expedites the development process by managing many foundational tasks.
This guide will walk you through installing Django on an Ubuntu 22.04 server, creating a demo project, and testing it out.
Prerequisites
- Ubuntu 22.04 server access.
- A non-root user with sudo privileges.
- Ensure the server is up-to-date.
$ sudo apt update
$ sudo apt upgrade
Install Django
Various methods exist to install Django. Your choice depends on the desired development environment configuration and your specific needs. Here, we explore each method and its advantages and disadvantages.
Install from Ubuntu Repositories
The simplest method to get started with Django is through Ubuntu’s official repositories. Ubuntu 22.04 comes with Python 3.10. Confirm your Python version with:
$ python3 -V
Python 3.10.4
Install Django with:
$ sudo apt install python3-django
Verify the installation:
$ django-admin --version
3.2.12
While the Django version available is the current long-term support (LTS) version, it might not be the latest release. For the latest features, you may need another method.
Install using pip
Using pip is a popular way to install Django, enabling you to create isolated Python environments with the venv module. This ensures your global Python packages remain unaffected.
$ sudo apt install python3-pip python3-venv
Create a demo project directory:
$ mkdir ~/sampleproject
$ cd ~/sampleproject
Set up a virtual environment (replace sample_env with your preferred name):
$ python3 -m venv sample_env
Activate the environment:
$ source sample_env/bin/activate
Your shell will reflect the virtual environment:
(sample_env) user@django:~/sampleproject$
Within the activated environment, install Django:
(sample_env) $ pip install django
Check the installation:
(sample_env) $ django-admin --version
4.0.5
You can specify other versions if needed:
(sample_env) $ pip install django==3.2.1
Verify again:
(sample_env) $ django-admin --version
3.2.1
Exit the environment anytime with:
(sample_env) $ deactivate
Install the Development Version
To get the latest features, clone Django’s GitHub repository:
$ git clone https://github.com/django/django ~/django-dev
Navigate to the directory:
$ cd ~/django-dev
Create a virtual environment:
$ python3 -m venv dev_django_env
Activate the environment:
$ source dev_django_env/bin/activate
Install Django in editable mode:
(dev_django_dev) $ pip install -e ~/django-dev
Verify the current development version:
(dev_django_dev) $ django-admin --version
4.2.dev20220628195651
Create a Sample Project
To create a sample Django project, start by creating a project directory:
$ mkdir ~/dj-sample
$ cd ~/dj-sample
Create a virtual environment:
$ python3 -m venv sample_proj
Activate the environment:
$ source sample_proj/bin/activate
Install Django:
(sample_proj) $ pip install django
Create your project directory (use . to keep it in the current folder):
(sample_proj) $ django-admin startproject demoproject .
Migrate the database:
(sample_proj) $ python manage.py migrate
Output will show applied migrations:
Operations to perform:
  Apply all migrations: admin, auth, contenttypes, sessions
Running migrations: ...
Create an admin user:
(sample_proj) $ python manage.py createsuperuser
Enter a username, email, and password:
Username:
Email address:
Password:
Password (again):
Superuser created successfully.
Test the Development Server
To test the server, configure the ALLOWED_HOSTS in settings.py. Open with:
(sample_proj) $ nano demoproject/settings.py
Update the ALLOWED_HOSTS line:
ALLOWED_HOSTS = ['']
Save the changes.
Next, configure the firewall to allow traffic on port 8000:
(sample_proj) $ sudo ufw allow 8000
Start the development server:
(sample_proj) $ python manage.py runserver 0.0.0.0:8000
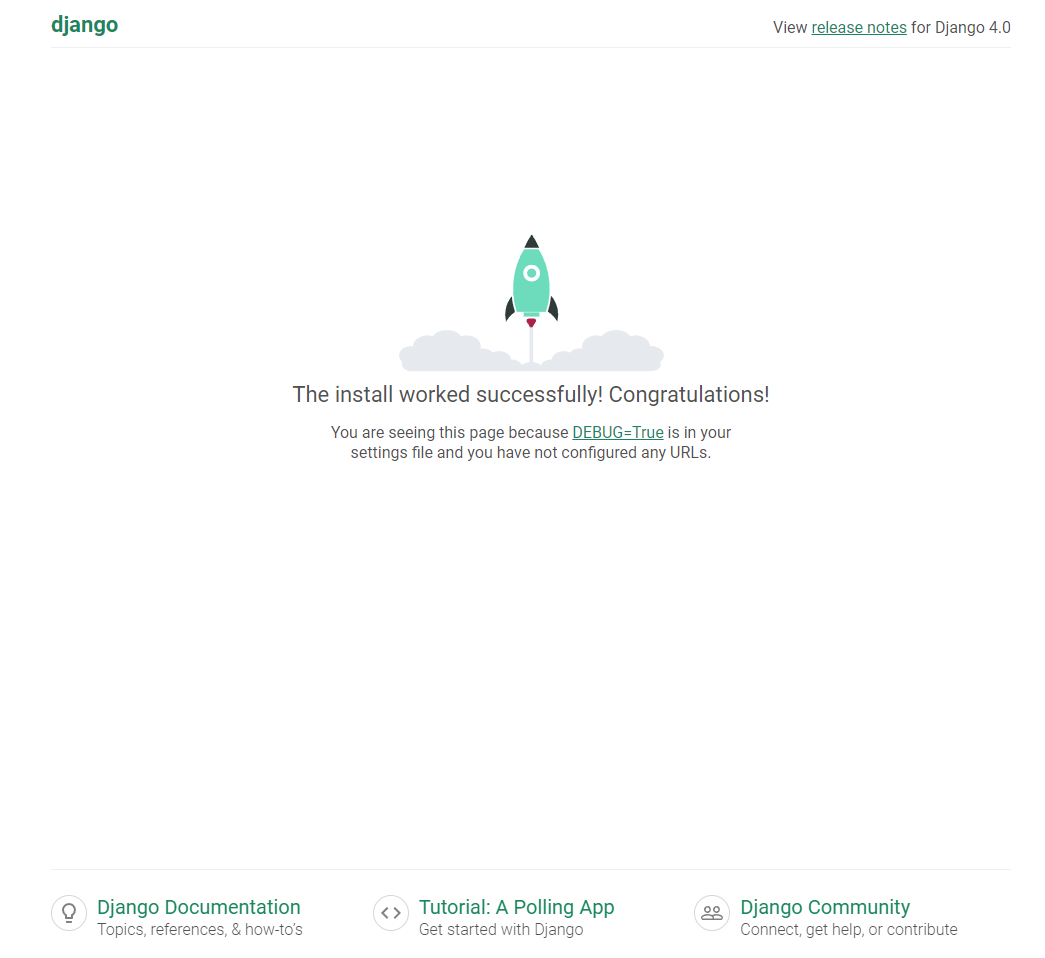
Access the demo via http://:8000 in a browser. You should see:

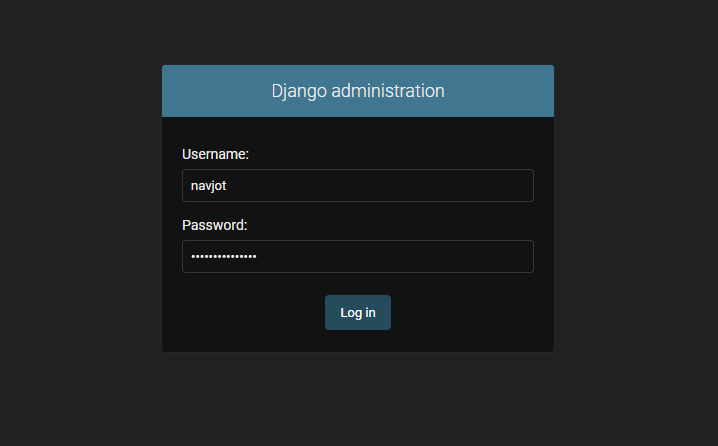
Access the admin interface at http://:8000/admin/:

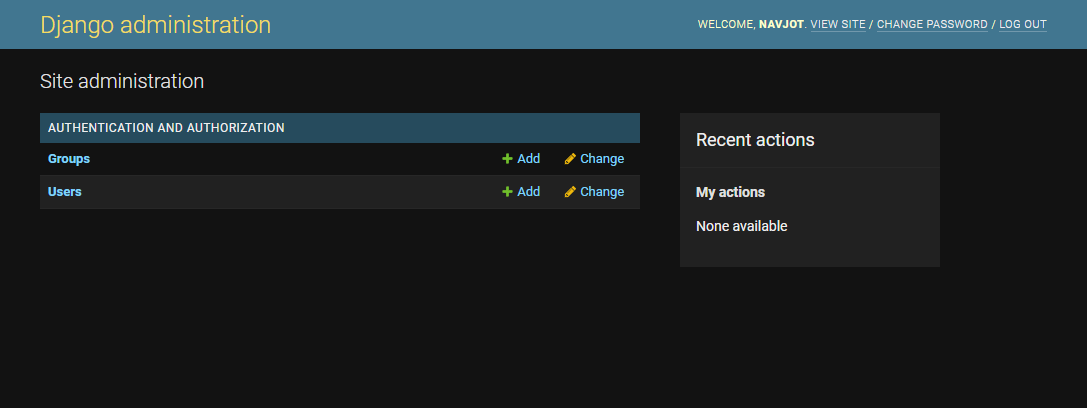
Log in with the admin credentials:

Install and Test Gunicorn
Run Persistent Django Server Using nohup
Currently, Django’s service isn’t persistent. To maintain persistence, we can use the nohup utility, ensuring commands run uninterrupted even if a user logs out.
Exit the server:
(sample_proj) $ nohup python manage.py runserver 0.0.0.0:8000 &
Kill the process when needed using IDs from:
(sample_proj) $ ps aux | grep manage.py
Terminate with:
(sample_proj) $ sudo kill -9
Install Gunicorn
Using Gunicorn and Nginx enhances your server’s performance and security. Start by installing Gunicorn:
(sample_proj) $ pip install gunicorn
Test Gunicorn:
(sample_proj) $ gunicorn --bind 0.0.0.0:8000 demoproject.wsgi
Stop Gunicorn with Ctrl + C and go back to your regular shell:
(sample_proj) $ deactivate
Create a Socket and Service file for Gunicorn
Set up a Gunicorn socket:
$ sudo nano /etc/systemd/system/gunicorn.socket
Insert and save the code:
[Unit]
Description=gunicorn socket

[Socket]
ListenStream=/run/gunicorn.sock

[Install]
WantedBy=sockets.target
Create a Gunicorn service file:
$ sudo nano /etc/systemd/system/gunicorn.service
Insert and save the configuration:
[Unit]
Description=django gunicorn daemon
Requires=gunicorn.socket
After=network.target

[Service]
User=
Group=nginx
WorkingDirectory=/home//dj-sample
ExecStart=/home//dj-sample/sample_proj/bin/gunicorn \
          --access-logfile - \
          --workers 3 \
          --bind unix:/run/gunicorn.sock \
          demoproject.wsgi:application

[Install]
WantedBy=multi-user.target
Adjust the User and WorkingDirectory settings accordingly.
Reload and enable Gunicorn:
$ sudo systemctl daemon-reload
$ sudo systemctl start gunicorn.socket
$ sudo systemctl enable gunicorn.socket
Install Nginx
To complete the setup, install Nginx for a robust web server solution:
$ sudo apt install nginx
Verify and configure Nginx to work with Django and Gunicorn.
Configure Nginx
Create configuration files and update settings:
$ sudo nano /etc/nginx/conf.d/django-gunicorn.conf
Insert the following snippet:
server {
    listen 80;
    server_name ;

    location /static/ {
        root /home//dj-sample;
    }

    location / {
        proxy_pass http://unix:/run/gunicorn.sock;
    }
}
Verify changes:
$ sudo nginx -t
If your configuration checks out, restart the services.
Install SSL
To ensure secure connections, install SSL certificates using Certbot:
$ sudo snap install core
$ sudo snap install --classic certbot
$ sudo ln -s /snap/bin/certbot /usr/bin/certbot
Generate a certificate for your domain:
$ sudo certbot --nginx -m -d
Conclusion
You’ve successfully installed Django and integrated it with Gunicorn and Nginx on an Ubuntu 22.04 server. An SSL certificate was also implemented for secure connections. If questions arise, feel free to leave a comment below.
Frequently Asked Questions
- What is Django?Django is a high-level Python web framework that follows the MVC architecture, designed to speed up the development of secure and maintainable websites.
- Why use a virtual environment?Virtual environments allow you to manage dependencies for different projects separately, preventing potential conflicts with other Python packages on your system.
- How do I ensure Django is running securely in production?Integrate your Django app with web servers like Gunicorn and Nginx, and secure communications with SSL certificates via Certbot.
- Can I run Django server persistently without Gunicorn?While using
nohupcan keep a Django development server running, for production, it’s best to use Gunicorn or similar WSGI servers paired with Nginx.
