DokuWiki is a free, open-source, and powerful Wiki software application written in PHP. Unlike many other systems, it uses simple file storage, avoiding the need for a database. Its simplicity, lightweight design, and ability to be edited from a web browser make it an appealing choice for creating and managing websites. DokuWiki is favored for its clean, readable syntax, ease of maintenance, simple backup processes, and integration capabilities.
This guide will walk you through the process of installing DokuWiki with Apache and securing it with Let’s Encrypt SSL on a Debian 11 server.
Prerequisites
- A server running Debian 11.
- A valid domain name linked to your server’s IP address.
- Root access configured on your server.
Getting Started
It’s wise to ensure your system packages are up-to-date before starting. Run the command below to update:
apt-get update -y
Once your system is updated, you can proceed with the installation.
Install Apache and PHP
DokuWiki is compatible with both Apache and Nginx web servers, and it’s developed using PHP. Therefore, you’ll need to install Apache, PHP, and required PHP extensions. Execute the following command to do so:
apt-get install apache2 php php-gd php-xml php-json -y
After the installation, start the Apache service and enable it to start automatically after a system reboot:
systemctl start apache2
systemctl enable apache2
Upon successful initialization, proceed to the next step.
Install DokuWiki
First, navigate to the DokuWiki download page to get the latest version. Use the command below to download the necessary files:
wget https://download.dokuwiki.org/src/dokuwiki/dokuwiki-stable.tgz
Create a directory for DokuWiki within Apache’s web root directory:
mkdir /var/www/html/dokuwiki
Extract the downloaded archive to this directory using:
tar -xvzf dokuwiki-stable.tgz -C /var/www/html/dokuwiki/ --strip-components=1
Copy the necessary files with this command:
cp /var/www/html/dokuwiki/.htaccess{.dist,}
Set the appropriate permissions for the DokuWiki directory:
chown -R www-data:www-data /var/www/html/dokuwiki
Create an Apache Virtual Host for DokuWiki
To allow DokuWiki to be hosted online, create an Apache virtual host configuration file:
nano /etc/apache2/sites-available/dokuwiki.conf
Insert the following configuration:
<VirtualHost *:80>
        ServerName    dokuwiki.example.com
        DocumentRoot  /var/www/html/dokuwiki

        <Directory ~ "/var/www/html/dokuwiki/(bin/|conf/|data/|inc/)">
            <IfModule mod_authz_core.c>
                AllowOverride All
                Require all denied
            </IfModule>
            <IfModule !mod_authz_core.c>
                Order allow,deny
                Deny from all
            </IfModule>
        </Directory>

        ErrorLog   /var/log/apache2/dokuwiki_error.log
        CustomLog  /var/log/apache2/dokuwiki_access.log combined
</VirtualHost>
Save and exit the file, then enable the virtual host configuration:
a2ensite dokuwiki.conf
Reload Apache to apply changes:
systemctl reload apache2
Check Apache status with:
systemctl status apache2
You should see output indicating that Apache is active and running.
Secure DokuWiki with Let’s Encrypt SSL
To secure your Wiki site, it’s advisable to utilize a Let’s Encrypt SSL certificate. Begin by installing the Certbot client:
apt-get install certbot python3-certbot-apache -y
Once installed, execute the command below to obtain the SSL certificate:
certbot --apache -d dokuwiki.example.com
Follow the prompts to provide your email address and agree to the terms of service. Choose to redirect HTTP to HTTPS when prompted:
Please choose whether or not to redirect HTTP traffic to HTTPS, removing HTTP access.
- - - - - - - - - - - - - - - - - - - - - - - - - - - - - - - - - - - - - - - -
1: No redirect - Make no further changes to the webserver configuration.
2: Redirect - Make all requests redirect to secure HTTPS access. Choose this for
new sites, or if you're confident your site works on HTTPS. You can undo this
change by editing your web server's configuration.
- - - - - - - - - - - - - - - - - - - - - - - - - - - - - - - - - - - - - - - -
Select the appropriate number [1-2] then [enter] (press 'c' to cancel): 2
Type “2” to configure traffic redirection. Once done, you’ll receive confirmation that your site is secured with HTTPS.
Setting Up Let’s Encrypt SSL Certificate Auto-Renewal
Let’s Encrypt certificates are valid for 90 days. Automate renewal by setting up a cron job. To renew manually, you can use:
certbot renew --dry-run
To automate, create a cron job that runs daily at 10:00 AM:
crontab -e
Add:
00 10 * * * root /usr/bin/certbot renew >/dev/null 2>&1
Save and exit.
Access DokuWiki
Open your web browser and enter https://dokuwiki.example.com/install.php to access the DokuWiki installation screen:
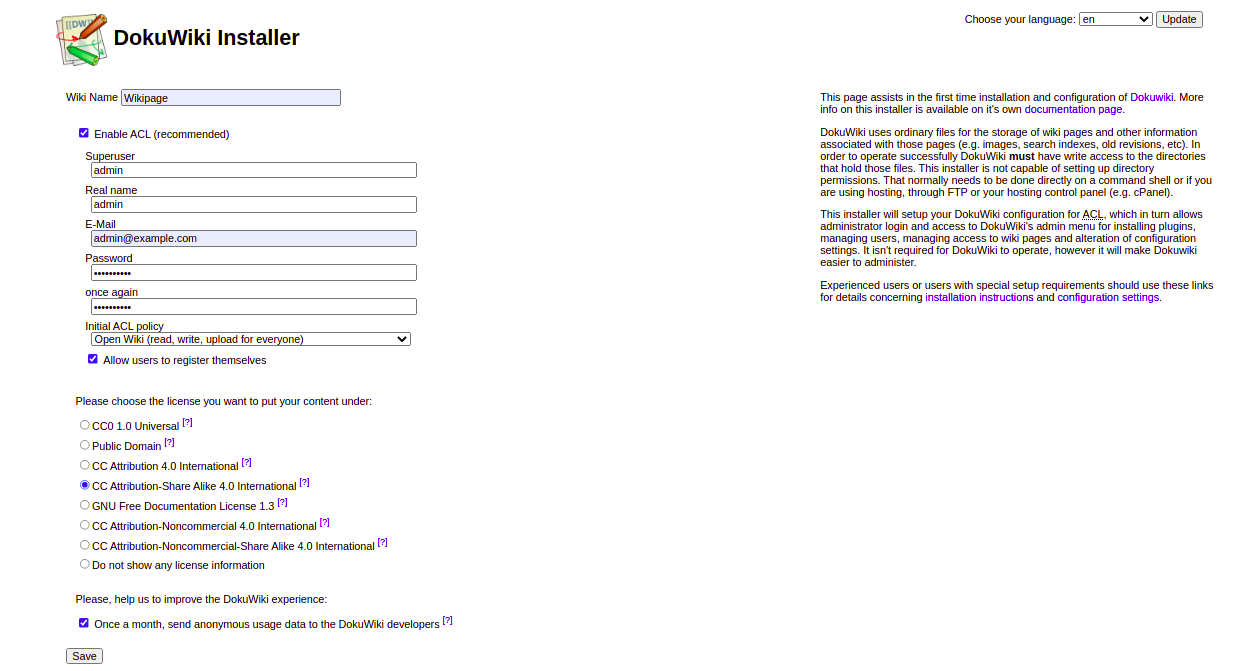
Complete the fields for your Wiki name, admin information, and other details, then click Save. You’ll be redirected to confirm installation completion:
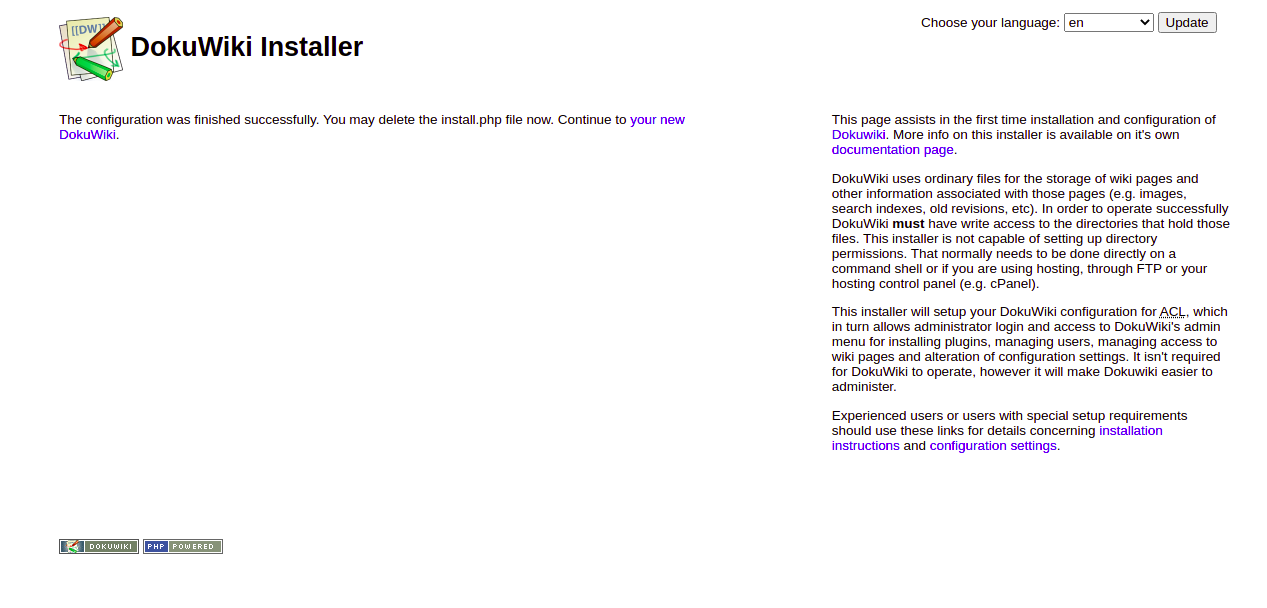
Following completion, access your new DokuWiki site:
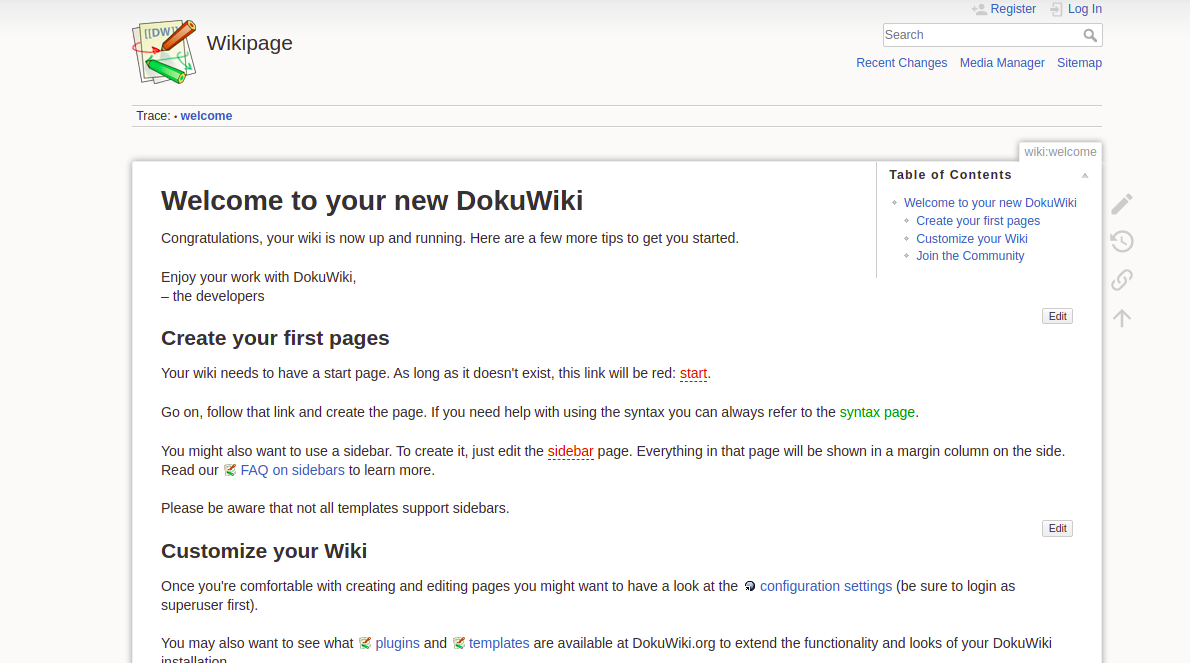
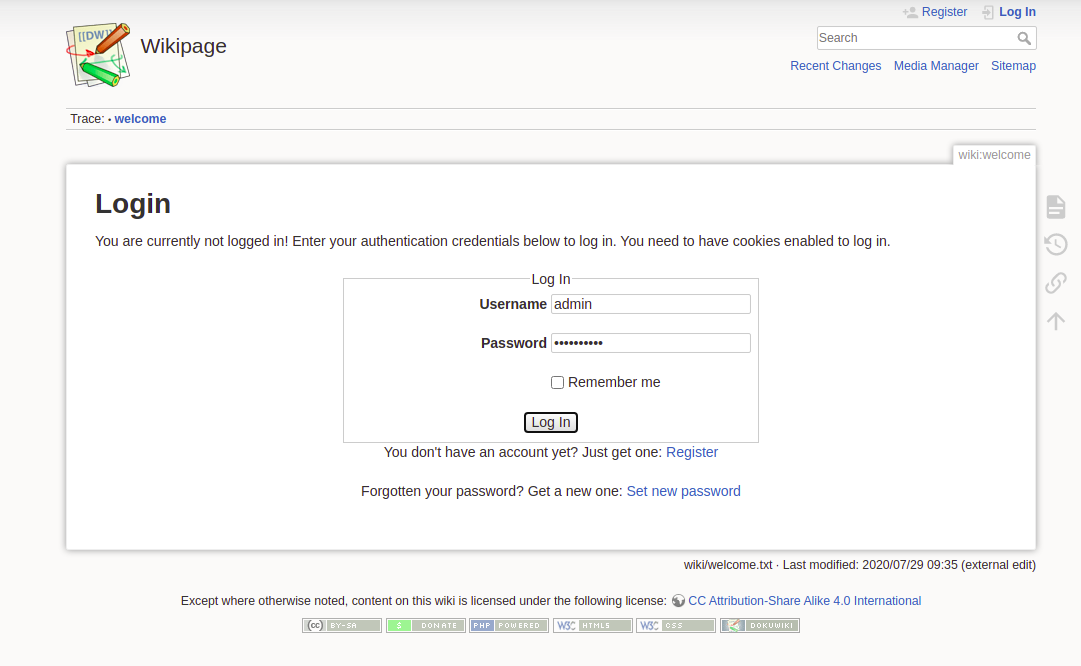
To manage the Wiki, log in using the admin credentials:
Conclusion
Congratulations! You have successfully installed DokuWiki and secured it with Let’s Encrypt SSL on Debian 11. You are now ready to begin creating and managing your content using DokuWiki. For any questions, feel free to reach out.
Frequently Asked Questions (FAQ)
1. What are the main advantages of using DokuWiki?
DokuWiki stands out due to its simple syntax, ease of maintenance, no need for a database, efficient file storage, and robust security features. It’s also highly customizable and integrates easily with existing systems.
2. How often do I need to renew the SSL certificate?
Let’s Encrypt SSL certificates are valid for 90 days. It’s recommended to set up automatic renewal using cron jobs to ensure your certificate remains valid.
3. Can I change the server configuration after installation?
Yes, you can modify the server configuration as needed. However, ensure to follow security best practices and make backups before changing core settings.
4. What should I do if I encounter issues with DokuWiki installation?
If you encounter issues, revisit the previous steps to ensure all commands were executed correctly. Check logs in /var/log/apache2/ for specific error messages and consult the DokuWiki user manual or community forums for additional assistance.
