Drupal is a free and open-source content management system (CMS) written in PHP and distributed under the GNU General Public License. Drupal has become an essential tool for multichannel publishing because of its robust content management capabilities and sophisticated APIs.
Renowned as one of the most widely used CMS platforms on the Internet, Drupal powers at least 14% of the top 10,000 websites. Due to its high scalability, integration with digital applications, multisite management, and multilingual support, Drupal serves sectors such as global enterprises, governments, education, and institutional organizations.
This guide will help you install Drupal on a Debian 12 server using the LAMP stack (Apache2, MariaDB, and PHP). We will also secure Drupal with SSL/TLS certificates from Let’s Encrypt.
Prerequisites
Ensure you have the following before beginning:
- A Debian 12 server.
- A non-root user with administrative privileges.
- A domain name pointing to your server’s IP address.
Installing Dependencies
As Drupal is built with PHP and utilizes MySQL/MariaDB as its database, both need to be installed. The following steps guide you through installing necessary dependencies, including the LAMP stack, Composer PHP dependency manager, and essential PHP extensions.
First, update your Debian package index by running:
sudo apt update
Next, execute the following command to install the LAMP stack, Composer, and PHP extensions needed for Drupal:
sudo apt install apache2 mariadb-server composer php php-apcu php-dev libapache2-mod-php libcurl4-openssl-dev php-cli php-mysql php-zip php-gd php-fpm php-json php-common php-intl php-mbstring php-curl php-xml php-pear php-tidy php-soap php-bcmath php-xmlrpc
Type y when prompted to continue the installation.

After installation, verify each component to ensure they’ve been installed correctly:
Verify Apache2 service:
sudo systemctl is-enabled apache2
sudo systemctl status apache2
If running correctly, the output will indicate the Apache2 service is both running and enabled.

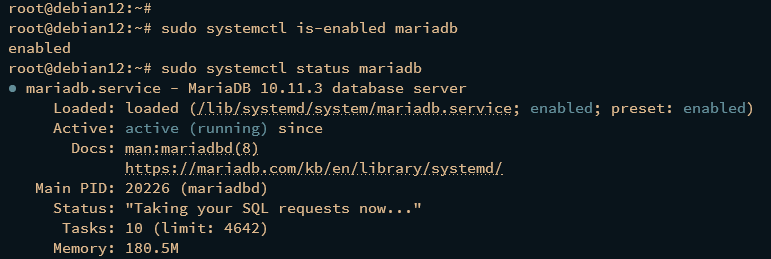
Verify MariaDB service:
sudo systemctl is-enabled mariadb
sudo systemctl status mariadb
An active status confirms its proper installation.
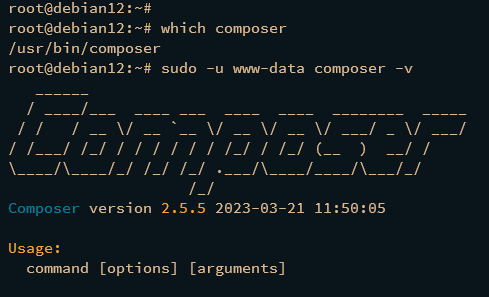
Verify Composer installation:
which composer
sudo -u www-data composer -v
The output confirms that Composer 2.5 is located at /usr/bin/composer.
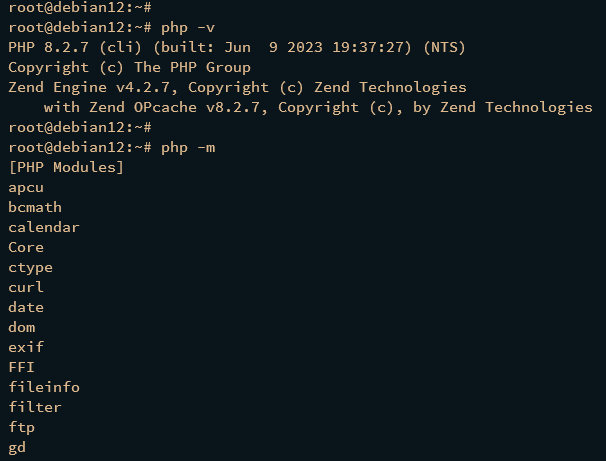
Verify PHP version and enabled modules:
php -v
php -m
Ensure PHP 8.2 is installed on your Debian machine with the necessary modules enabled.
Configuring MariaDB Server
Next, it’s essential to secure your MariaDB installation and prepare a new database and user for Drupal. Begin by securing MariaDB using the mariadb-secure-installation utility.
Execute the following command:
sudo mariadb-secure-installation
Respond to the prompts as follows:
- Press ENTER when asked for the current password as it defaults to none.
- Press Y to set a new MariaDB root password.
- Remove anonymous users by entering Y.
- Disable remote root login by entering Y.
- Remove the test database by entering Y.
- Reload privilege tables by entering Y once again.
Log in to MariaDB and create a database and user for Drupal:
sudo mariadb -u root -p
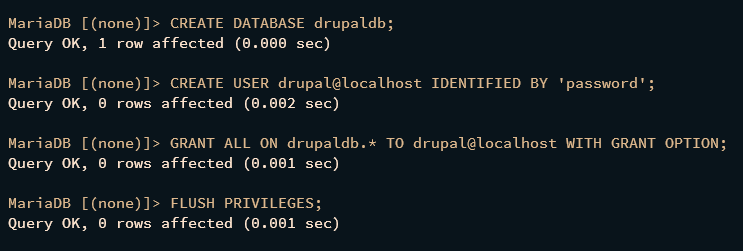
Once inside, execute these queries (replace ‘password’ with a strong database password):
CREATE DATABASE drupaldb;
CREATE USER drupal@localhost IDENTIFIED BY 'password';
GRANT ALL ON drupaldb.* TO drupal@localhost WITH GRANT OPTION;
FLUSH PRIVILEGES;
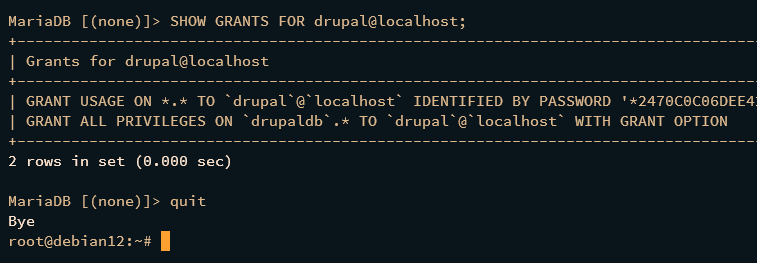
Finally, ensure the new user can access the database:
SHOW GRANTS FOR drupal@localhost;
This confirms the user ‘drupal’ has appropriate access.
Configuring PHP
With your database in place, the next step is to configure PHP for Drupal. This involves installing the Uploadprogress extension and modifying the php.ini file.
Installing Uploadprogress Extension via PECL
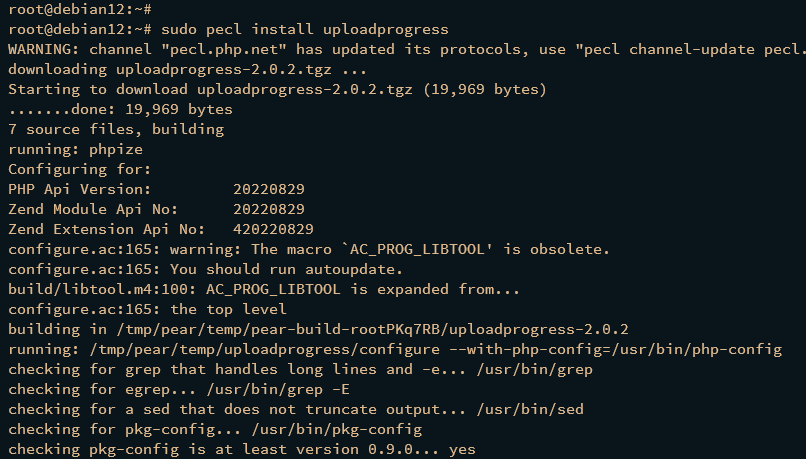
The Uploadprogress extension tracks file upload progress, including speed and time estimation. To install it via PECL, run:
sudo pecl install uploadprogress
The process should look like this:
Create a configuration file for the extension:
cat <<EOF | sudo tee /etc/php/8.2/mods-available/uploadprogress.ini
; configuration for php uploadprogress module
; priority 15
extension=uploadprogress.so
EOF
To enable the extension, execute:
sudo ln -s /etc/php/8.2/mods-available/uploadprogress.ini /etc/php/8.2/apache2/conf.d/15-uploadprogress.ini

Editing php.ini File
Edit the php.ini file to suit your server environment:
sudo nano /etc/php/8.2/apache2/php.ini
Modify the following options:
memory_limit = 512M
upload_max_filesize = 60M
max_execution_time = 300
date.timezone = Europe/Amsterdam
Save and exit the file.
Restart Apache to apply the changes:
sudo systemctl restart apache2
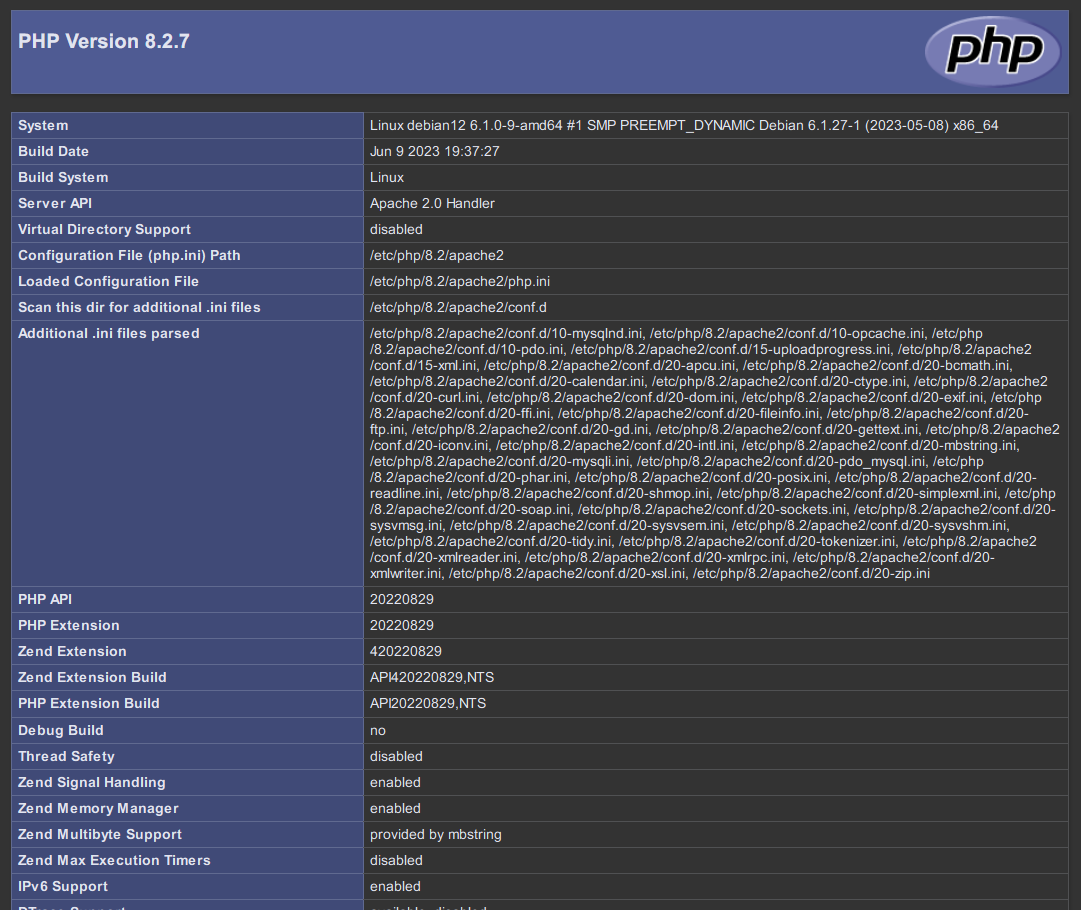
Create a PHP info page to verify the configuration:
cat <<EOF | sudo tee /var/www/html/info.php
<?php
phpinfo();
?>
EOF
Visit http://192.168.10.15/info.php in your browser to see the PHPINFO page as shown:
Downloading Drupal Source Code
Now that your server is configured, it’s time to download the latest Drupal source code and its PHP dependencies using Composer.
Move to the /var/www directory and download Drupal:
cd /var/www/
wget https://www.drupal.org/download-latest/tar.gz -O drupal.tar.gz
Extract and rename the directory:
tar -xvf drupal.tar.gz
mv drupal-* /var/www/drupal
Change the permission and ownership of the directory:
sudo chown -R www-data:www-data /var/www/drupal/
sudo chmod -R 755 /var/www/drupal/
Configuring Apache2 Virtual Host
Configure an Apache2 virtual host to run Drupal. Ensure your domain name points to your server’s IP first.
Enable necessary Apache2 modules:
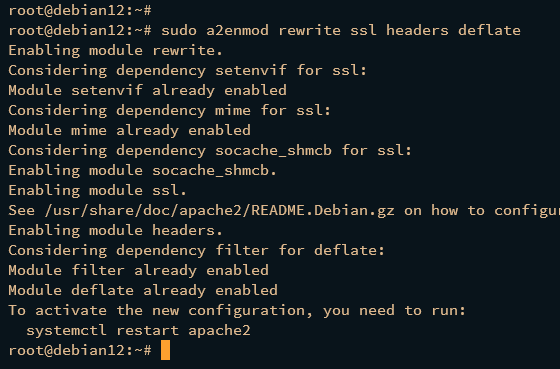
sudo a2enmod rewrite ssl headers deflate
Create a virtual host configuration file:
sudo nano /etc/apache2/sites-available/drupal.conf
Insert your domain’s information:
<VirtualHost *:80>
ServerName yourdomain.com
ServerAdmin webmaster@yourdomain.com
DocumentRoot /var/www/drupal

php_flag register_globals off

ErrorLog ${APACHE_LOG_DIR}/yourdomain.com.error.log
CustomLog ${APACHE_LOG_DIR}/yourdomain.com.access.log combined

<Directory /var/www/drupal>
Options FollowSymlinks
AllowOverride All
Require all granted
</Directory>
</VirtualHost>
Save the file.
Enable the virtual host configuration and verify your setup:
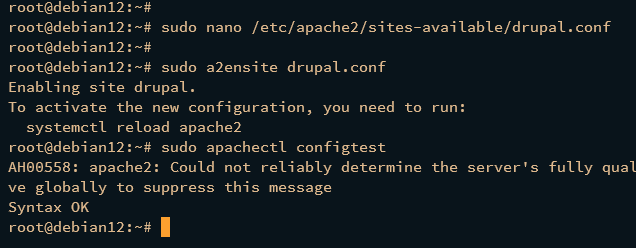
sudo a2ensite drupal.conf
sudo apachectl configtest
Ensure you see “Syntax OK” indicating the configuration is correct.
Restart Apache to apply changes:
sudo systemctl restart apache2
Generating SSL/TLS Certificates with Let’s Encrypt for Drupal
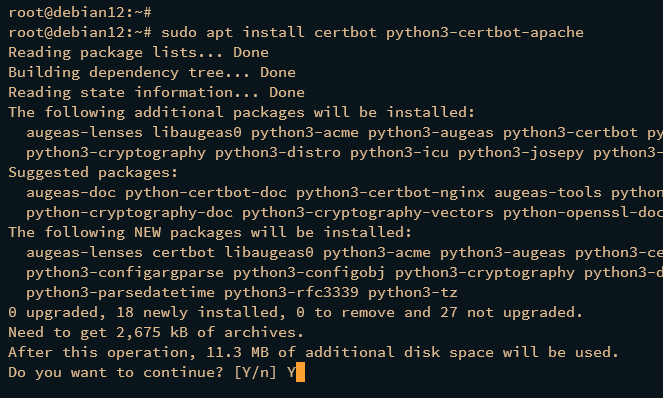
Secure your site using SSL/TLS certificates from Let’s Encrypt. Begin by installing Certbot and its Apache plugin:
sudo apt install certbot python3-certbot-apache
Generate the certificates:
sudo certbot --apache --agree-tos --redirect --hsts --staple-ocsp --email admin@yourdomain.com -d yourdomain.com
Upon completion, certificates are stored under /etc/letsencrypt/live/yourdomain.com, and your site is automatically configured for HTTPS.
Installing Drupal via Web Installer
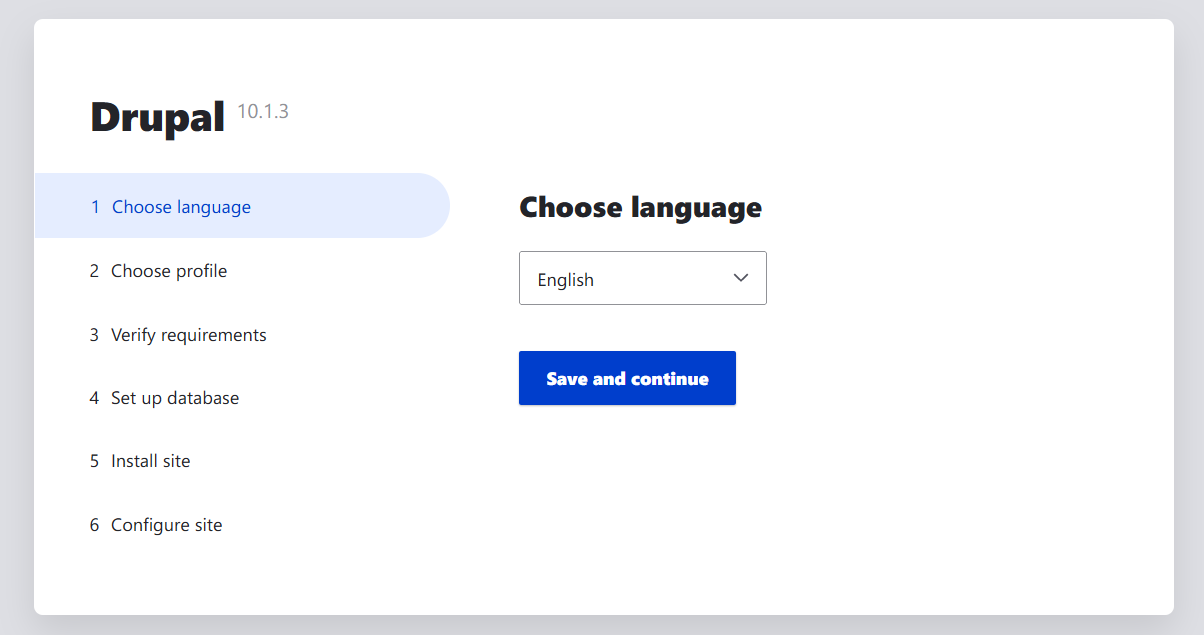
Open your browser and navigate to your domain (e.g., http://yourdomain.com/). You should be redirected to a secure HTTPS connection and land on the Drupal installation page.
Choose your language and click Save and continue.
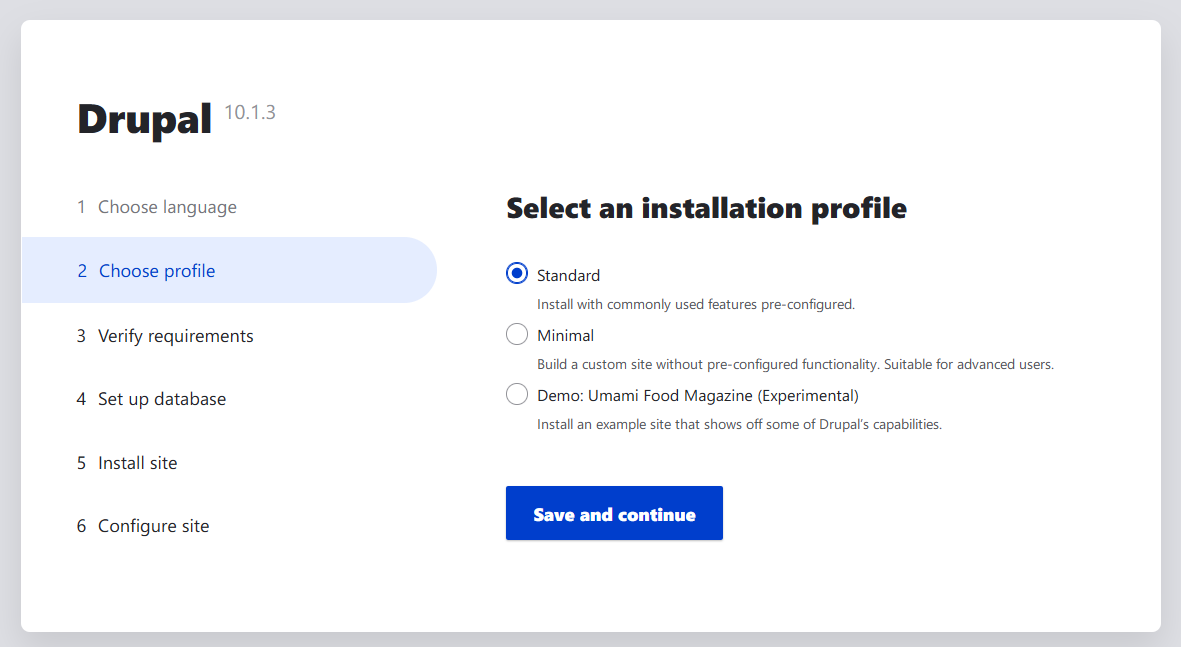
Select an installation profile. “Standard” is recommended for first-time users.
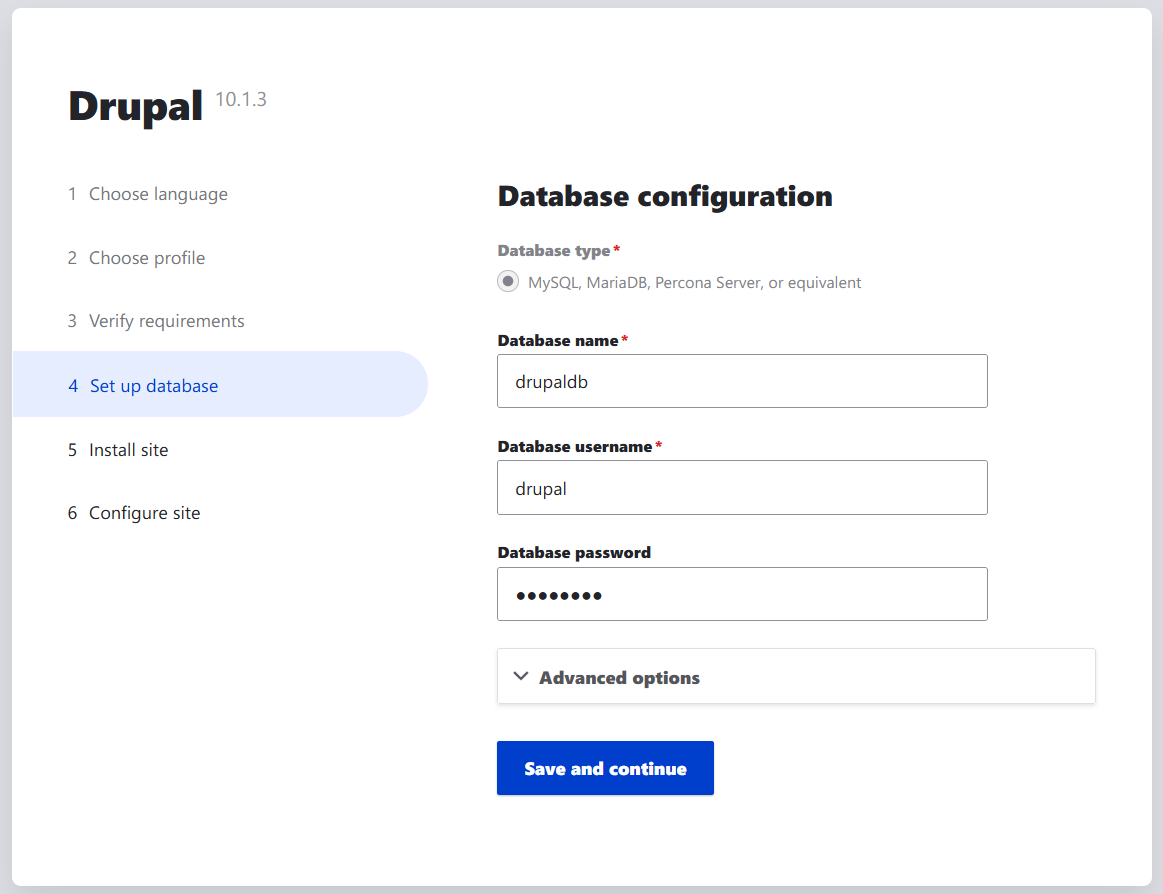
Drupal will verify your system’s capabilities. Name your database credentials, click Save and continue.
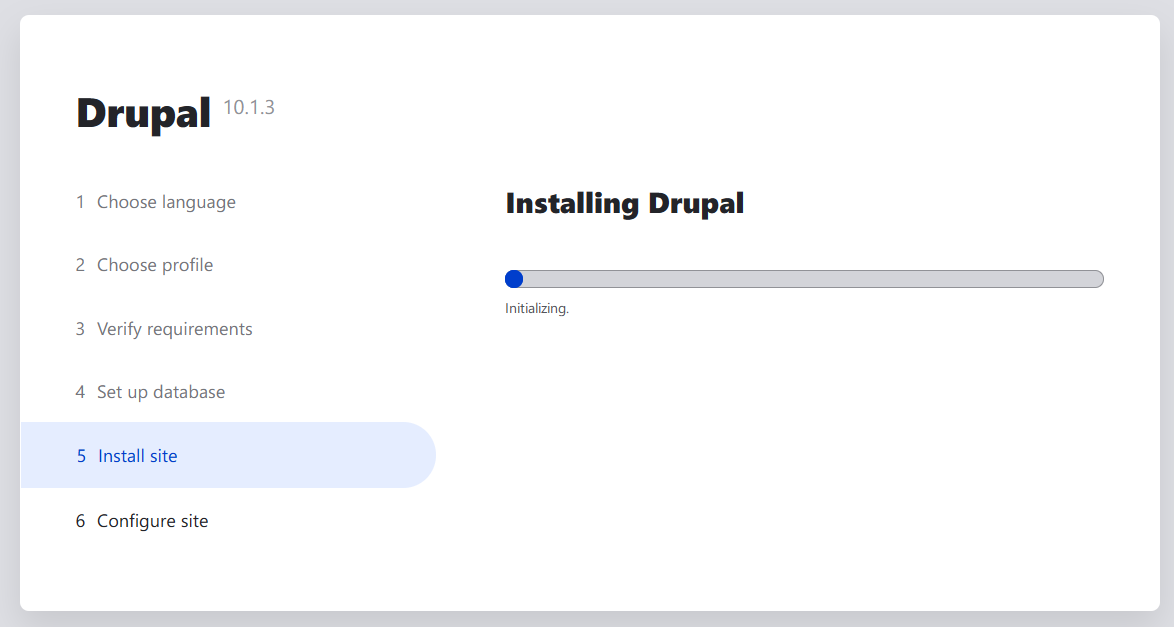
The installation process proceeds.
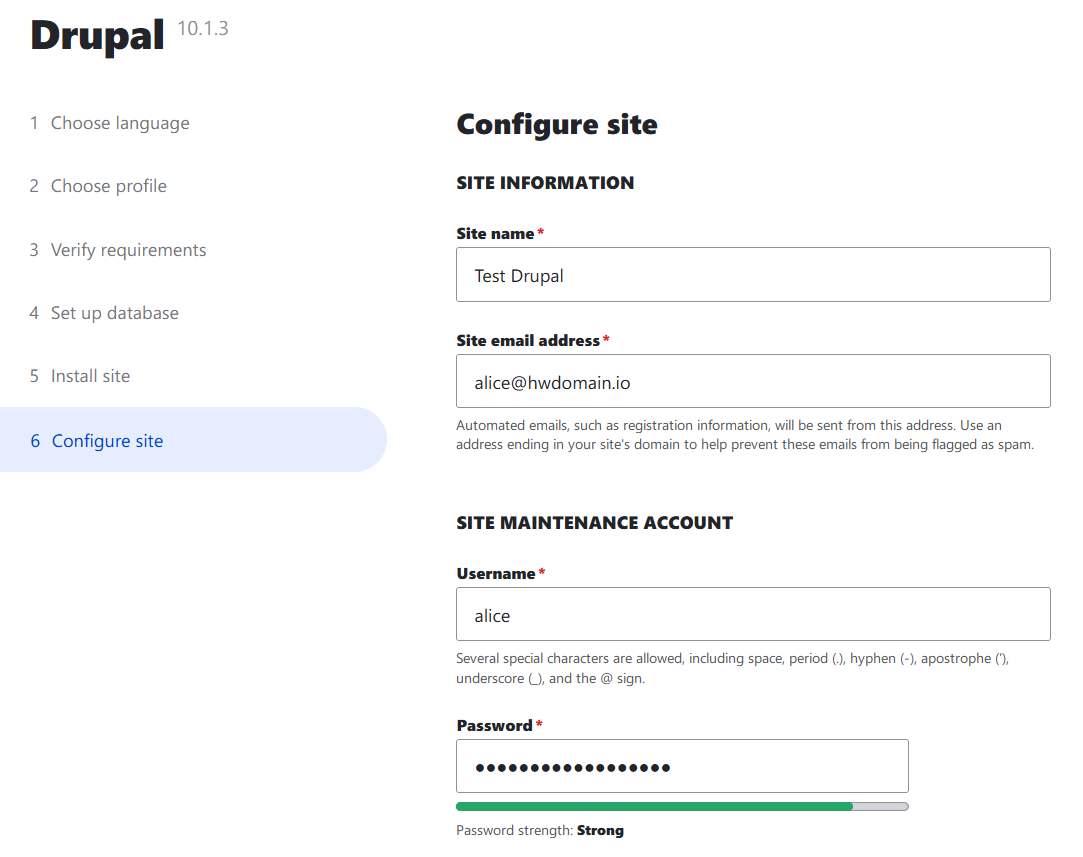
Upon completion, configure your site’s details and administrator credentials, then click Save and continue.
“Congratulations, you installed Drupal!” confirms successful installation.
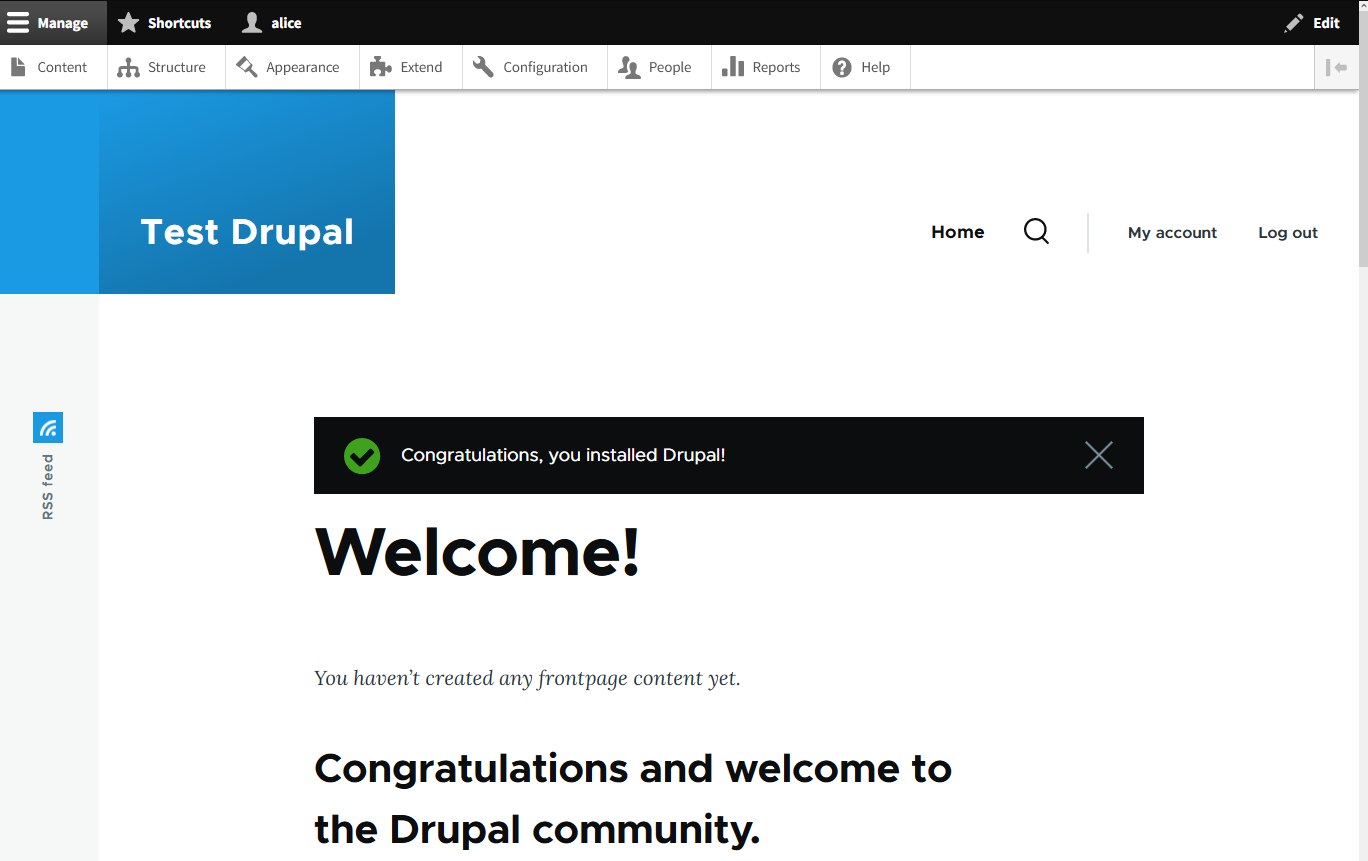
Begin managing your Drupal site by clicking Manage and accessing the Configuration menu.
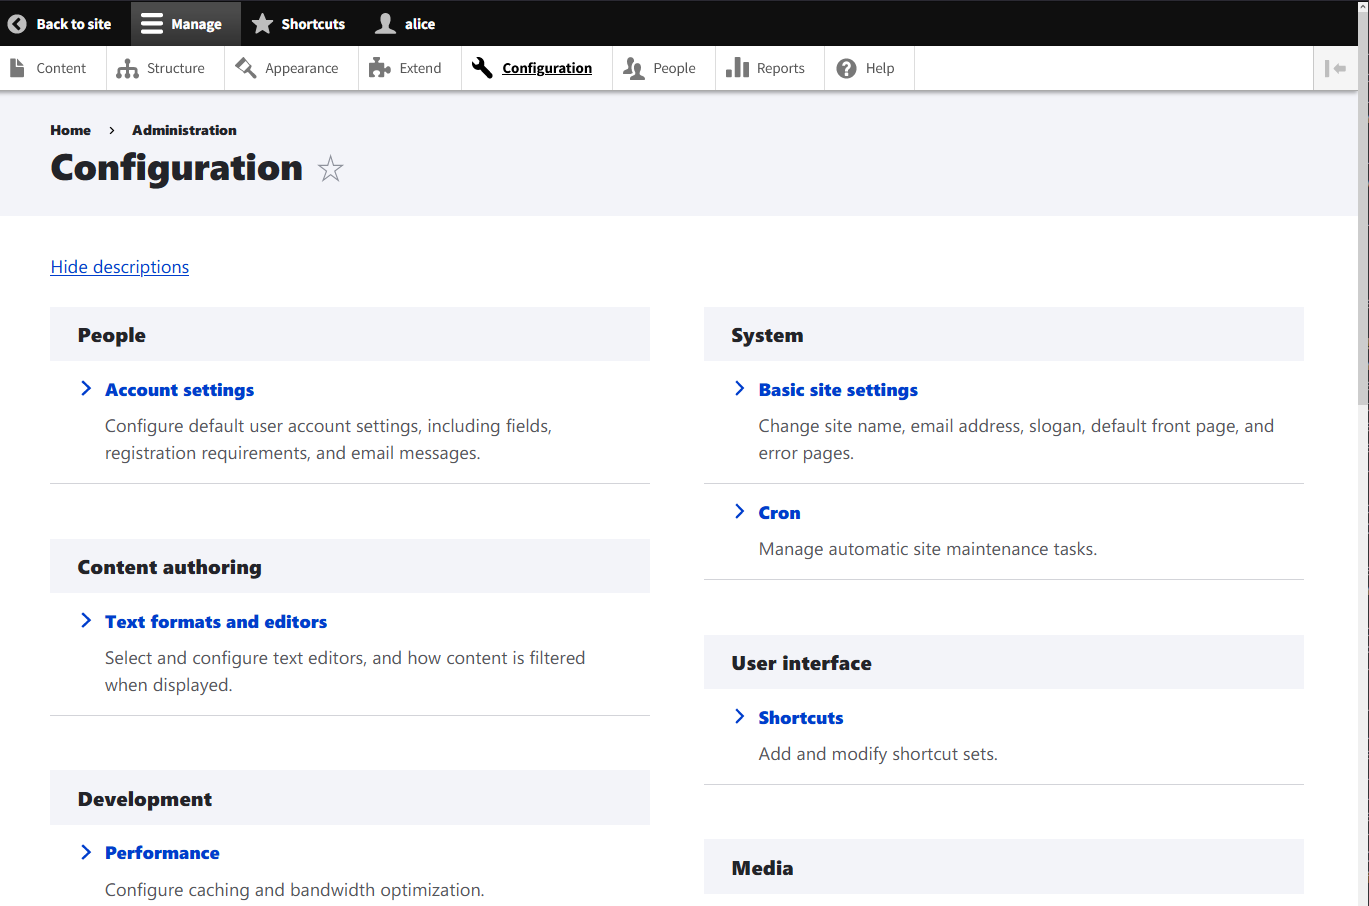
Additional Configuration for Drupal
Enhance Drupal by applying these additional configurations:
Adjust the settings.php file’s permissions and modify it:
sudo chmod 644 /var/www/drupal/sites/default/settings.php
sudo nano /var/www/drupal/sites/default/settings.php
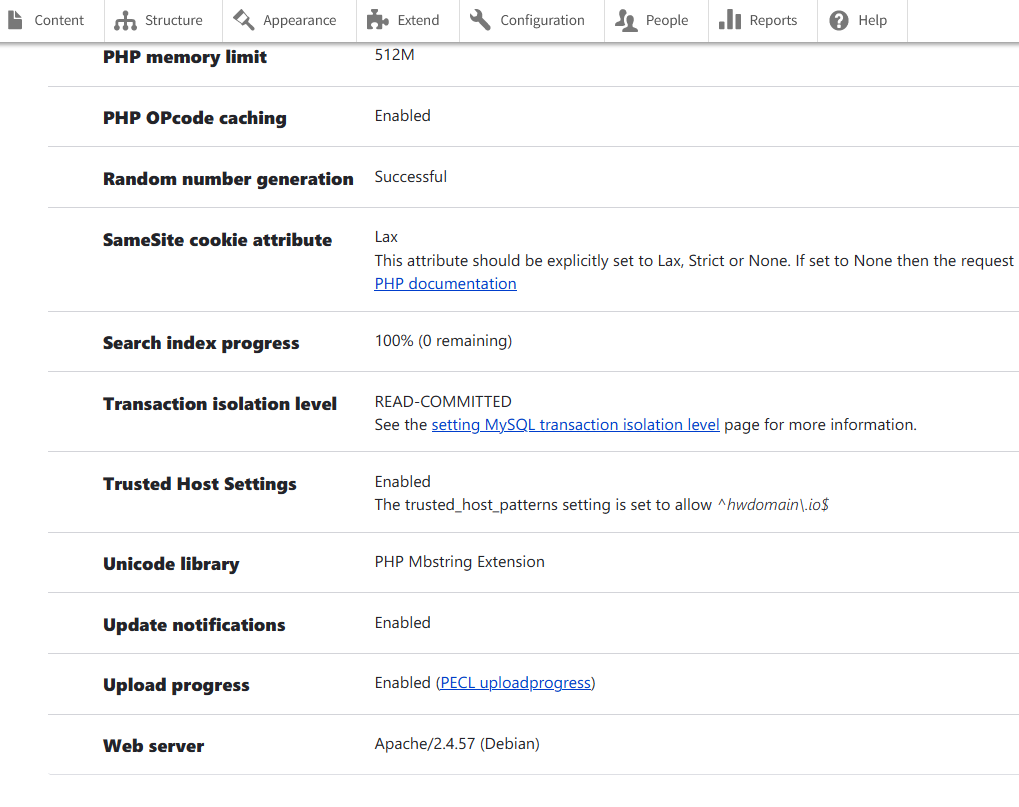
Locate “trusted_host_patterns” and define your domain:
$settings['trusted_host_patterns'] = [
  '^yourdomain\.com$',
];
Save the changes and restore file permissions:
sudo chmod 444 /var/www/drupal/sites/default/settings.php
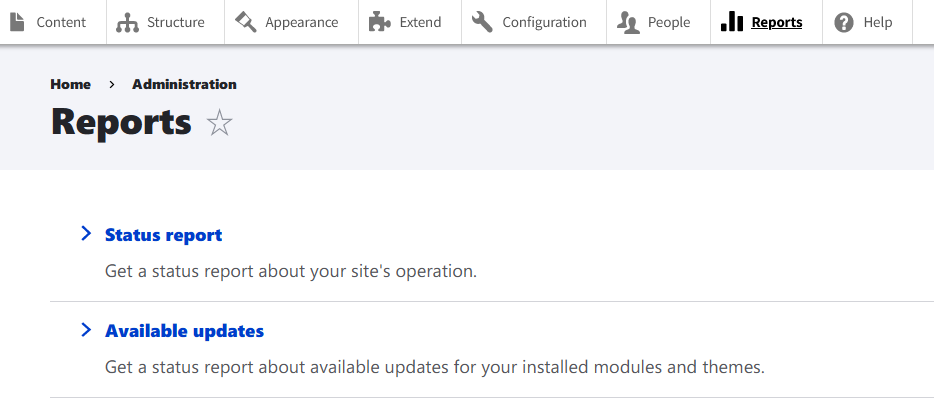
Access Reports > Status Reports for installation diagnostics.
Review detailed information about your installation and server environment under Details.
Conclusion
You’ve successfully installed Drupal CMS on a Debian 12 server using the LAMP stack and secured it with SSL/TLS from Let’s Encrypt. Explore Drupal’s themes and extensions to enhance your new website.
FAQ
What is Drupal?
Drupal is a free, open-source content management system (CMS) written in PHP, known for its robust content management capabilities and ability to handle complex sites.
Is Drupal difficult to learn?
While Drupal is powerful, it can have a steeper learning curve compared to other CMS options. However, extensive documentation and community support are available to aid new users.
Can Drupal handle high-traffic websites?
Yes, Drupal is designed to handle high-traffic sites and is used by many top websites across different industries requiring high performance and scalability.
Why do I need SSL/TLS certificates for Drupal?
SSL/TLS certificates are essential for securing data transferred between your website and its users, ensuring privacy and data integrity, and improving trustworthiness.
What should I do if I encounter installation issues?
If you face installation issues, check your server logs for errors, review the official Drupal installation documentation, and seek community support from forums or online resources.
