Emby is a robust open-source media server alternative to Plex. Compatible with multiple operating systems like Linux, FreeBSD, Windows, and MacOS, Emby also supports a wide range of client devices, from smartphones to desktops, making your media accessible virtually anywhere.
This guide walks you through installing Emby Media Server on an Ubuntu 22.04 server, utilizing Nginx as a reverse proxy, and securing your installation using SSL/TLS certificates through Let’s Encrypt.
Prerequisites
Ensure you have the following prerequisites in place before starting with Emby installation:
- An Ubuntu 22.04 server
- A non-root user with sudo privileges
- A domain name pointing to your server’s IP address
Installing Emby via DEB File
Emby offers a DEB package ready for installation on Ubuntu. Before you begin the installation process, update and upgrade your existing packages:
sudo apt update && sudo apt upgrade
Next, download the Emby DEB file. Please verify the latest version on the Emby download page:
wget https://github.com/MediaBrowser/Emby.Releases/releases/download/4.8.3.0/emby-server-deb_4.8.3.0_amd64.deb
Install Emby using the DEB file and address any missing dependencies:
sudo dpkg -i emby-server-deb_4.8.3.0_amd64.deb
sudo apt install -f
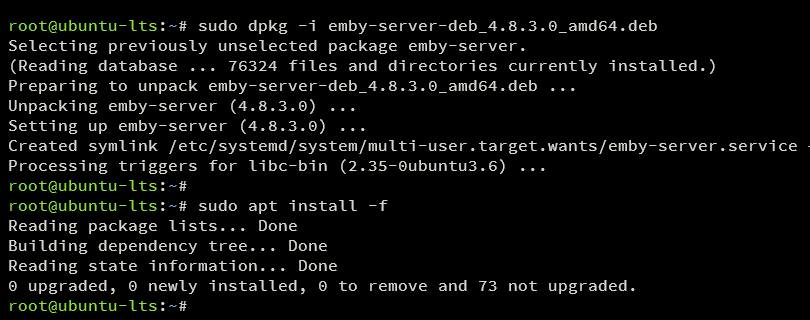
After installation, start and verify the Emby service:
sudo systemctl start emby-server
sudo systemctl status emby-server

By default, Emby operates on port 8096. Confirm open ports with the following command:
ss -tulpn

Installing Nginx as a Reverse Proxy
To route traffic through standard web ports, set up Nginx as a reverse proxy for Emby.
Install Nginx:
sudo apt install nginx
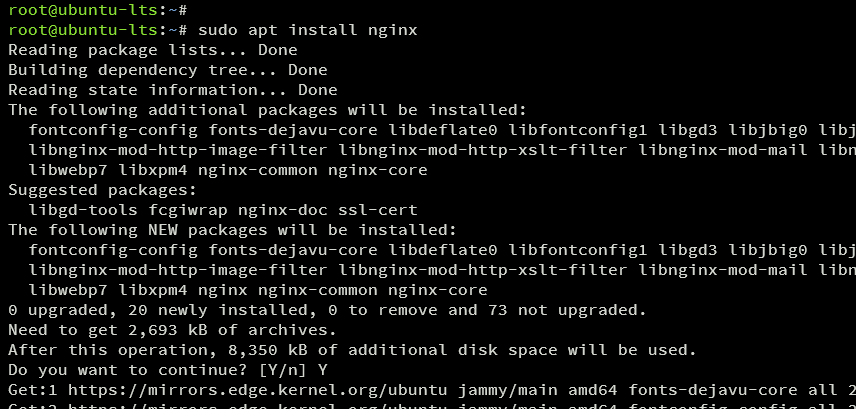
Create a new Nginx server block configuration:
sudo nano /etc/nginx/sites-available/emby
Insert and update the configuration, replacing server_name with your domain:
        server {
            listen 80;
            server_name emby.howtoforge.local;

            proxy_hide_header X-Powered-By;
            add_header X-Xss-Protection "1; mode=block" always;
            add_header X-Content-Type-Options "nosniff" always;
            add_header Strict-Transport-Security "max-age=2592000; includeSubdomains" always;
            add_header X-Frame-Options "SAMEORIGIN" always;
            add_header 'Referrer-Policy' 'no-referrer';

            add_header Content-Security-Policy "frame-ancestors mydomain.com emby.mydomain.com;";

            location / {
                proxy_pass http://127.0.0.1:8096;
                proxy_hide_header X-Powered-By;
                proxy_set_header Range $http_range;
                proxy_set_header If-Range $http_if_range;
                proxy_set_header X-Real-IP $remote_addr;
                proxy_set_header Host $host;
                proxy_set_header X-Forwarded-For $proxy_add_x_forwarded_for;
                proxy_http_version 1.1;
                proxy_set_header Upgrade $http_upgrade;
                proxy_set_header Connection "upgrade";
            }
        }
Save and exit the file. Activate the server block:
sudo ln -s /etc/nginx/sites-available/emby /etc/nginx/sites-enabled/
Test for syntax errors:
sudo nginx -t

Restart Nginx:
sudo systemctl restart nginx
sudo systemctl status nginx

Setting Up UFW Firewall
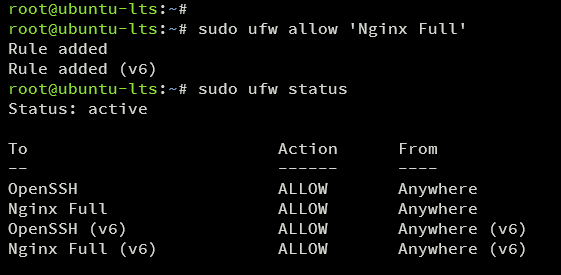
Configure UFW to permit HTTP and HTTPS traffic by adding the Nginx Full profile:
sudo ufw allow 'Nginx Full'
Verify the rules:
sudo ufw status
Securing Emby with SSL/TLS Certificates
To secure Emby, use Certbot to generate SSL/TLS certificates.
Install Certbot and its Nginx plugin:
sudo apt install certbot python3-certbot-nginx
Generate SSL/TLS certificates with Certbot. Replace domain and email details:
sudo certbot --nginx --agree-tos --redirect --hsts --staple-ocsp --email bob@howtoforge.local -d emby.howtoforge.local
Your certificates will be stored in /etc/letsencrypt/live/your-domain and your site should now securely load over HTTPS.
Emby Installation and Setup
Visit https://emby.howtoforge.local/. After confirming successful setup, follow these steps:
Select your language and click Next.
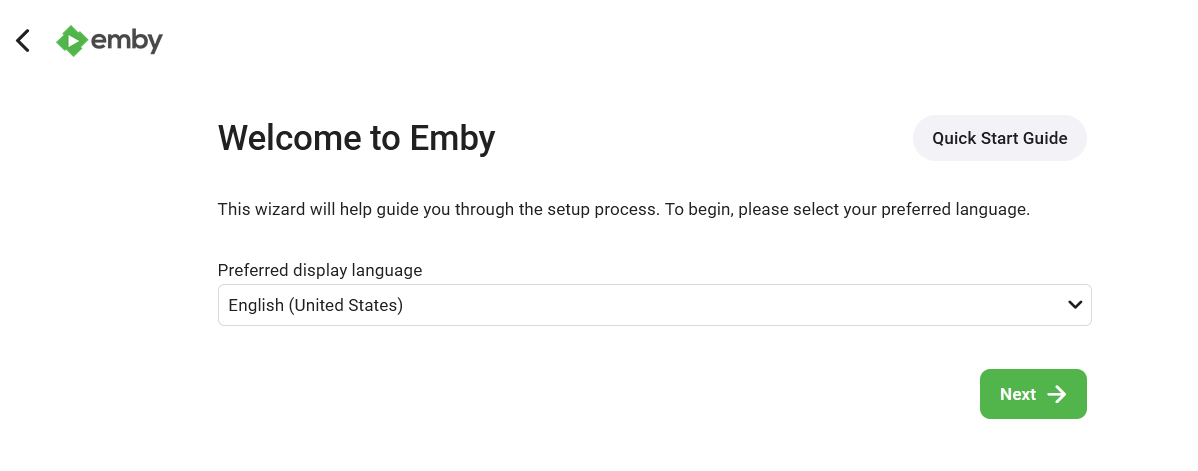
Create a new user and set a password, then click Next.
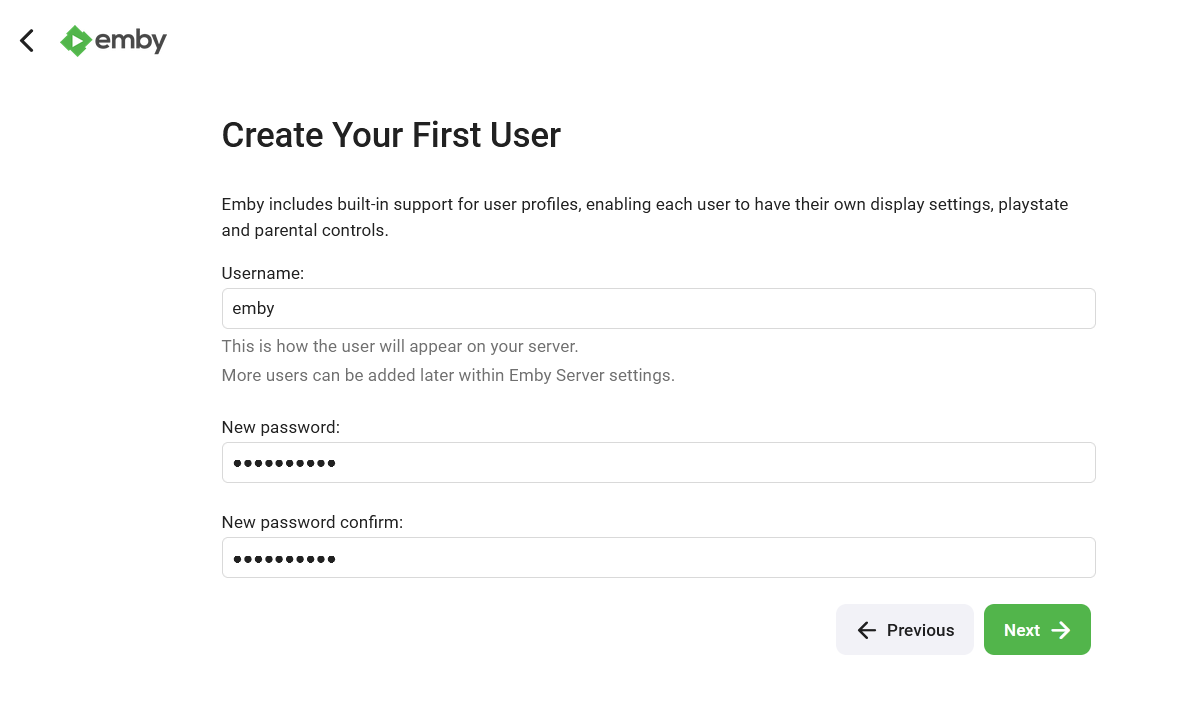
Skip Library setup for now by clicking Next.

Select Metadata language and click Next.
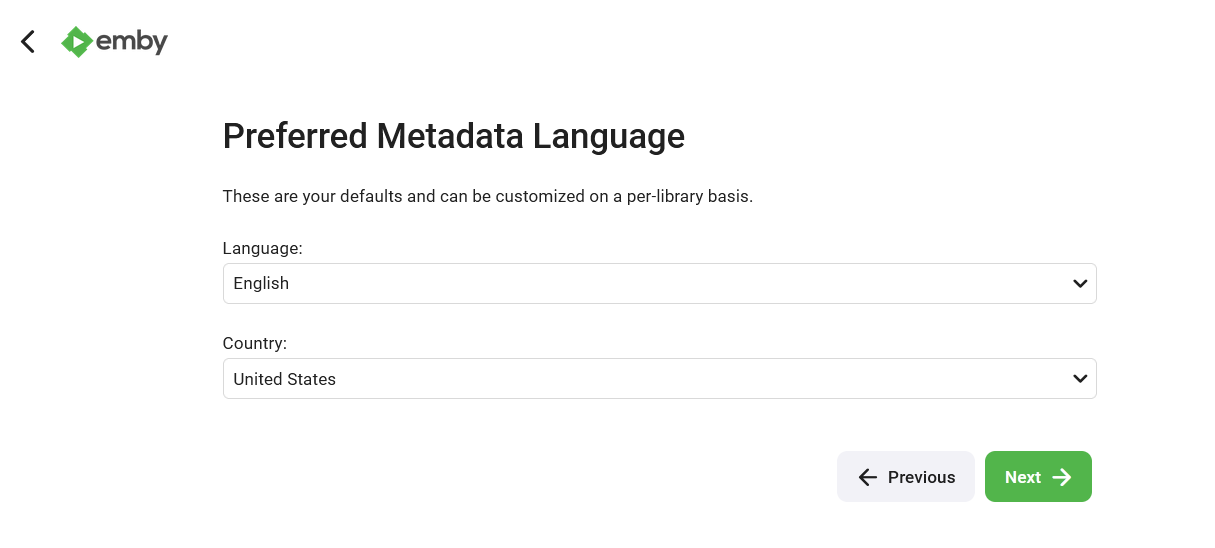
Enable automatic port mapping and proceed with Next.
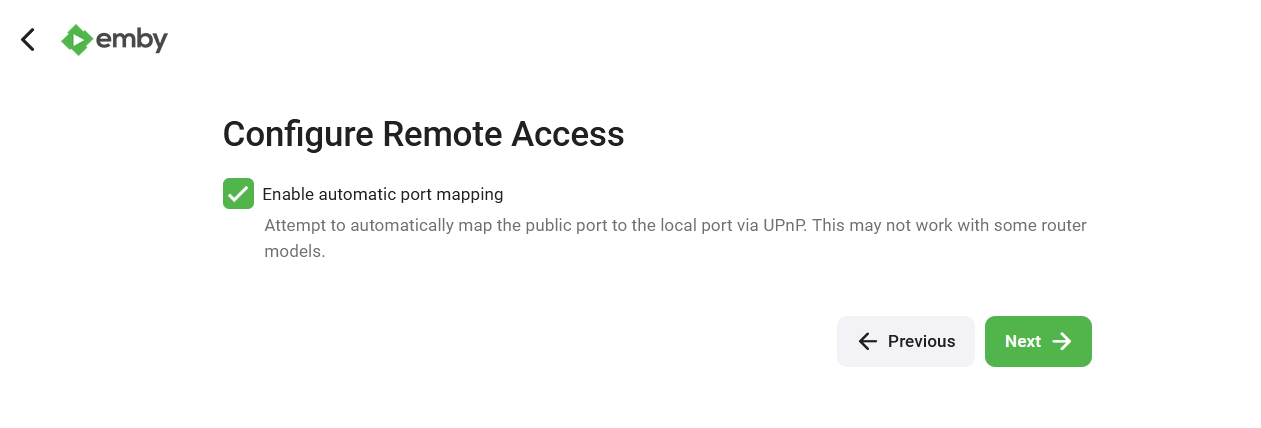
Accept terms of use and confirm with Next.
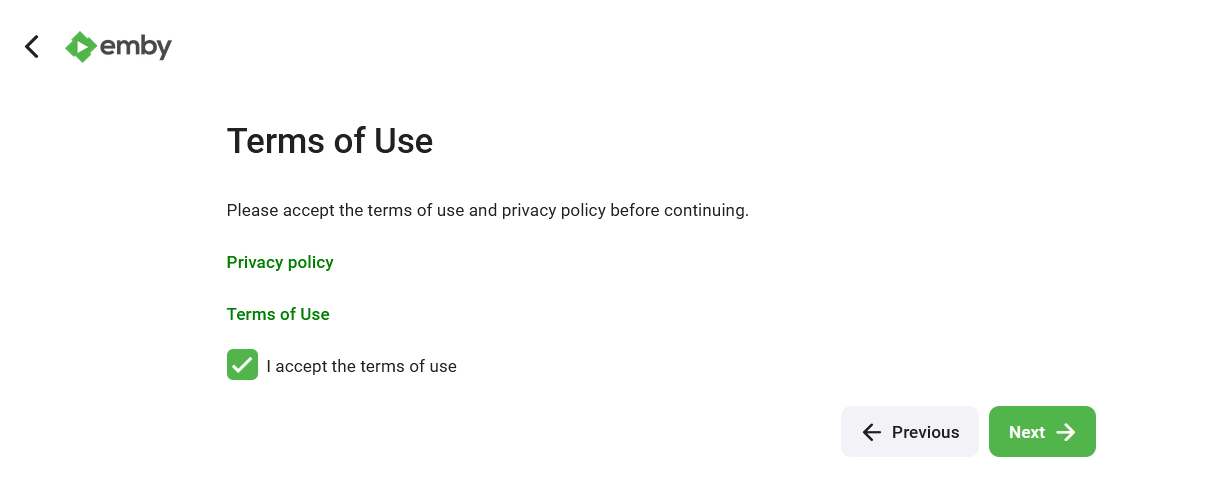
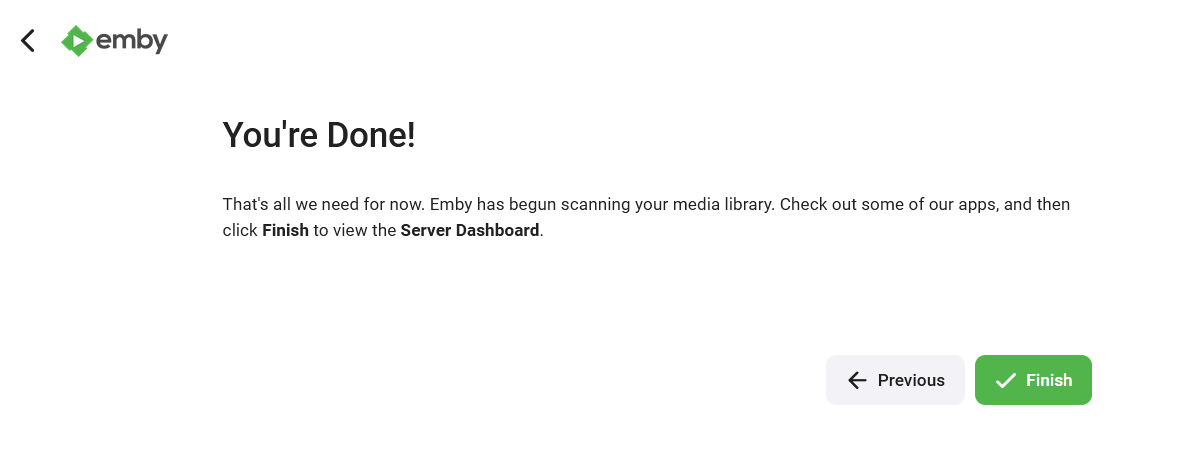
Upon completing setup, click Finish.
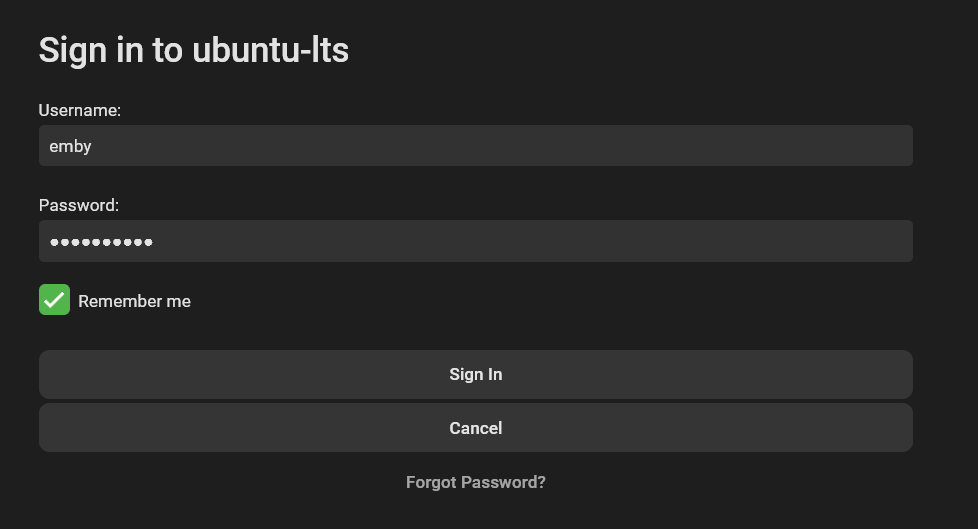
Log in with your admin credentials.
Access your Emby dashboard:

Conclusion
Congratulations! You have successfully set up the Emby Media Server on an Ubuntu 22.04 server. With Nginx as a reverse proxy and SSL/TLS encryption, your media files are now securely accessible from any device.
Frequently Asked Questions (FAQ)
- What is Emby?
- Emby is an open-source media server platform designed to organize and stream personal media files such as photos, videos, and music across a variety of devices.
- Why use Nginx as a reverse proxy?
- Nginx as a reverse proxy enhances security, performance, and the ability to handle increased traffic by managing and distributing requests to Emby more effectively.
- Do I need a domain name for this setup?
- Yes, a domain name is necessary for setting up SSL/TLS certificates and ensuring proper routing of requests to the server.
- How can I update Emby after installation?
- To update Emby, periodically check for new releases on their official website and download the latest DEB package for installation, following a similar process to the initial setup.
- Is it necessary to enable UFW for Nginx?
- While not strictly necessary, enabling UFW helps protect your server by allowing only approved traffic, such as HTTP and HTTPS requests, enhancing the security of your setup.
