EteSync is a robust open-source solution for synchronizing contacts, calendars, and tasks. It’s self-hosted, offers end-to-end encryption, and supports data sharing with other users. You can integrate EteSync with GNOME and KDE desktops, and it is accessible via desktop, web, Android, and iOS clients.
This guide will walk you through the process of installing EteSync with Apache on Ubuntu 20.04.
Prerequisites
- An Ubuntu 20.04 server.
- A valid domain name pointed at your server’s IP address.
- A configured root password on the server.
Getting Started
Begin by updating your system’s packages to the latest versions:
apt-get update -y
Once the packages are updated, proceed to the next steps.
Installing MariaDB Server
While EteSync uses SQLite by default, we will configure MariaDB as the database backend.
First, install the necessary dependencies:
apt-get install software-properties-common gnupg2 -y
Add the MariaDB GPG key and repository:
apt-key adv --recv-keys --keyserver hkp://keyserver.ubuntu.com:80 0xF1656F24C74CD1D8
add-apt-repository 'deb [arch=amd64,arm64,ppc64el] http://mirror.lstn.net/mariadb/repo/10.5/ubuntu focal main'
Update the MariaDB repository and install MariaDB server:
apt-get install mariadb-server -y
After installation, enter the MariaDB shell to create a database and a user for EteSync:
mysql
MariaDB [(none)]> create database etesync;
MariaDB [(none)]> create user etesync@localhost identified by 'securepassword';
MariaDB [(none)]> grant all privileges on etesync.* to etesync@localhost;
MariaDB [(none)]> flush privileges;
MariaDB [(none)]> exit;
With the database setup complete, proceed to the next step.
Installing and Configuring EteSync
Begin by installing Python dependencies needed by EteSync:
apt-get install python3-virtualenv python3-pip gcc libmysqlclient-dev build-essential git -y
Clone the latest EteSync version from GitHub:
git clone https://github.com/etesync/server.git etesync
Change to the EteSync directory, create, and activate a Python virtual environment:
        cd etesync
        virtualenv -p python3 .venv
        source .venv/bin/activate
Install EteSync requirements and adjust the configuration file:
        pip install -r requirements.txt
        cp etebase-server.ini.example etebase-server.ini
        nano etebase-server.ini
        media_root = /opt
        allowed_host1 = etesync.example.com

        ;engine = django.db.backends.sqlite3
        ;name = db.sqlite3

        engine = django.db.backends.mysql
        name = etesync
        user = etesync
        password = securepassword
        host = 127.0.0.1
        port = 3306
Save and close the file, then proceed to install additional modules:
        pip3 install daphne
        pip3 install mysqlclient
        pip3 install aioredis
Migrate the database and start EteSync:
        ./manage.py collectstatic
        ./manage.py migrate
        daphne -b 0.0.0.0 -p 8001 etebase_server.asgi:application
Verify the output to ensure the server starts correctly and press CTRL + C to stop it:
        2021-07-09 05:42:28,510 INFO     Starting server at tcp:port=8001:interface=0.0.0.0
        2021-07-09 05:42:28,511 INFO     Configuring endpoint tcp:port=8001:interface=0.0.0.0
        2021-07-09 05:42:28,512 INFO     Listening on TCP address 0.0.0.0:8001
Create an administrative user:
./manage.py createsuperuser
Enter your credentials:
        Username: etesync
        Email address: admin@example.com
        Password:
        Superuser created successfully.
Exit the virtual environment:
deactivate
Create a Systemd Unit File for EteSync
Create and enable a systemd service for EteSync:
nano /etc/systemd/system/etesync.service
        [Unit]
        Description=EteSync: End-to-End Encryption to Sync Calender, Contacts, Tasks and Notes.

        [Service]
        WorkingDirectory=/root/etesync
        ExecStart=/root/etesync/.venv/bin/daphne -b 127.0.0.1 -p 8001 -u /tmp/etebase_server.sock etebase_server.asgi:application
        User=root
        Group=root
        Restart=always
        RestartSec=5s

        [Install]
        WantedBy=multi-user.target
Reload the systemd daemon and start EteSync:
        systemctl daemon-reload
        systemctl start etesync
        systemctl enable etesync
        systemctl status etesync
Confirm the service is running:
        ? etesync.service - EteSync: End-to-End Encryption to Sync Calender, Contacts, Tasks and Notes.
        Loaded: loaded (/etc/systemd/system/etesync.service; disabled; vendor preset: enabled)
        Active: active (running) since Fri 2021-07-09 05:45:45 UTC; 5s ago
        Main PID: 16213 (daphne)
        Tasks: 1 (limit: 2353)
        Memory: 48.7M
        CGroup: /system.slice/etesync.service
        ??16213 /root/etesync/.venv/bin/python /root/etesync/.venv/bin/daphne -b 127.0.0.1 -p 8001 -u /tmp/etebase_server.sock etebase_se>
Configuring Apache as a Reverse Proxy
Install Apache and configure it as a reverse proxy:
        apt-get install apache2 -y
        a2enmod proxy proxy_http headers proxy_wstunnel
        nano /etc/apache2/sites-available/etesync.conf
        <VirtualHost *:80>
        ServerName etesync.example.com
        ErrorDocument 404 /404.html

        ErrorLog ${APACHE_LOG_DIR}/etebase_error.log
        CustomLog ${APACHE_LOG_DIR}/etebase_access.log combined

        ProxyPreserveHost On
        ProxyPass / http://127.0.0.1:8001/
        ProxyPassReverse / http://127.0.0.1:8001/
        Alias /static /etesync/static

        </VirtualHost>
Activate the virtual host and restart Apache:
        a2ensite etesync.conf
        systemctl restart apache2
        systemctl status apache2
Access EteSync Admin Console
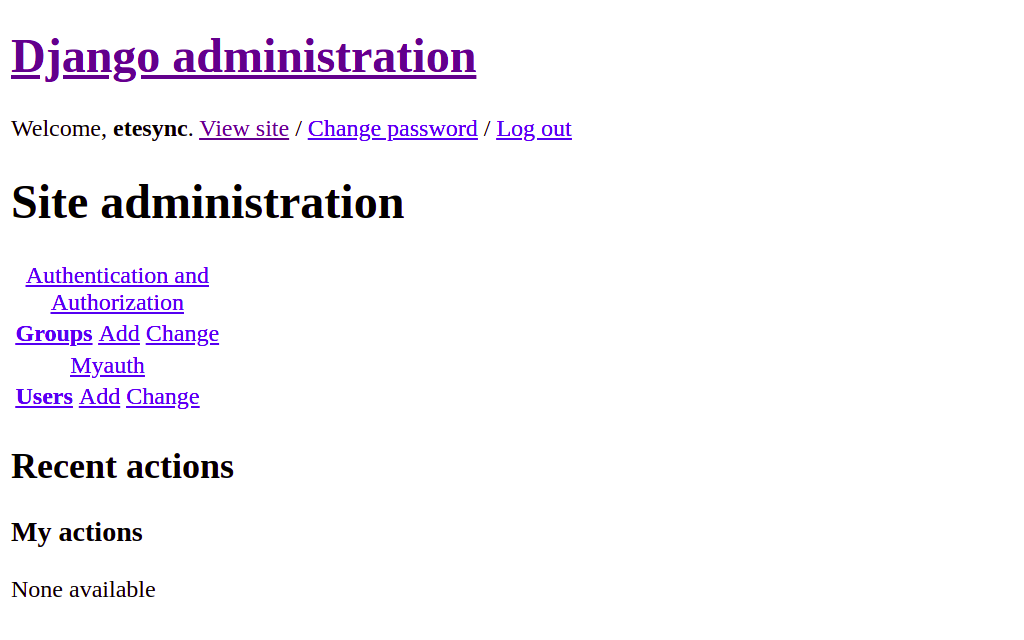
Access the EteSync admin console by navigating to http://etesync.example.com/admin/:

Log in with your admin credentials to access the dashboard:

Secure EteSync with Let’s Encrypt SSL
First, install the Certbot client to manage SSL certificates:
apt-get install python3-certbot-apache -y
Install and configure the SSL certificate for your domain:
certbot --apache -d etesync.example.com
During installation, follow the prompts to provide your email and agree to the terms:
        Saving debug log to /var/log/letsencrypt/letsencrypt.log
        Plugins selected: Authenticator apache, Installer apache
        Enter email address (used for urgent renewal and security notices): admin@example.com

        Please read the Terms of Service at
        https://letsencrypt.org/documents/LE-SA-v1.2-November-15-2017.pdf. You must agree in order to register
        (A)gree/(C)ancel: A

        Would you be willing to share your email address with EFF?
        (Y)es/(N)o: Y
        Obtaining a new certificate
        Enabling available site: /etc/apache2/sites-available/etesync-le-ssl.conf
Select redirect preference to enable HTTPS:
        1: No redirect
        2: Redirect (recommended)
Upon successful SSL setup, you will receive a confirmation:
Congratulations! You have successfully enabled https://etesync.example.com
Conclusion
Congratulations! You have successfully installed and secured EteSync on an Ubuntu 20.04 server. You can now effortlessly sync your calendar and contacts with EteSync.
FAQ
Q1: Why use MariaDB instead of SQLite?
A: MariaDB offers better performance, scalability, and manageability for larger datasets compared to SQLite.
Q2: How do I access the EteSync admin interface?
A: Navigate to http://your-domain.com/admin/ and log in with your admin credentials.
Q3: How can I enforce HTTPS on my EteSync installation?
A: During the Let’s Encrypt setup with Certbot, choose the redirect option to enforce HTTPS.
Q4: Can I integrate EteSync with my mobile device?
A: Yes, EteSync supports Android and iOS clients for seamless synchronization across devices.
Q5: Is EteSync suitable for small teams?
A: Absolutely. EteSync’s ability to share encrypted data makes it ideal for small teams looking for secure synchronization.
