Etherpad is a free and open-source alternative to services like Google Docs and Zoho Writer. It is a collaborative and real-time text editor for your team, accessible from anywhere at any time, being web-based.
Changes in Etherpad happen in real-time, and it supports versioning and built-in formatting, making it ideal for teams. It’s a highly customizable editor supporting various plugins and modern document formats such as doc, pdf, odt, markdown, and more.
In this tutorial, you’ll learn how to install and configure the Etherpad Real-time Collaborative Editor on Debian 11 Bullseye, using MariaDB as the database backend and Nginx as a reverse proxy with HTTPS enabled. By the end, Etherpad will be installed and secured through HTTPS encryption.
Prerequisites
Ensure you meet the following requirements before proceeding:
- A Debian 11 server, with at least 1 GB of RAM for testing. For production environments, consider more resources based on your needs.
- A non-root user with root privileges or root access directly.
- A domain name pointing to your server’s IP address. In this tutorial, we use the domain ‘etherpad.example.io‘.
Installing Package Dependencies
Etherpad is built on Node.js. As of writing, the latest version requires Node.js version 14.x or higher. This section details the package dependencies installation, including Node.js on Debian 11.
First, update your package list and install build dependencies:
sudo apt update
sudo apt install gzip git curl python libssl-dev pkg-config gcc g++ make build-essential -y
We’ll install Node.js from the Nodesource repository, specifically version 16.x, for our Etherpad installation. Add the Node.js repository to your system:
curl -sL https://deb.nodesource.com/setup_16.x | sudo -E bash -
Now, install Node.js 16.x from the Nodesource repository:
sudo apt install nodejs -y
Verify your Node.js version:
node --version
You should see an output confirming Node 16.x installed.
Installing and Configuring MariaDB Database
In this section, you’ll install MariaDB, set up the root password, and create a new database and user for Etherpad.
Install MariaDB:
sudo apt install mariadb-server -y
Secure your MariaDB installation:
mysql_secure_installation
Follow the prompts to set a root password and adjust security settings.
Log in to the MariaDB shell:
mysql -u root -p
Create a database and user for Etherpad:
CREATE DATABASE etherpad_lite_db;
CREATE USER 'etherpaduser'@'localhost' IDENTIFIED BY 'StrongPasswordEtherpadDB';
GRANT CREATE,ALTER,SELECT,INSERT,UPDATE,DELETE ON etherpad_lite_db.* TO 'etherpaduser'@'localhost';
Apply changes:
FLUSH PRIVILEGES;
EXIT

Installing and Configuring Etherpad
Create a new user for Etherpad:
sudo adduser --system --no-create-home --home=/opt/etherpad-lite --group etherpad
Clone the Etherpad source:
cd /opt/
git clone --branch master https://github.com/ether/etherpad-lite.git
Change ownership:
sudo chown -R etherpad:etherpad etherpad-lite
Install dependencies:
cd /opt/etherpad-lite
sudo su -s /bin/bash -c "./bin/installDeps.sh" etherpad
Configure Etherpad with MariaDB in the ‘settings.json’ file:
nano settings.json
Update the database section with your MariaDB settings.
Create and configure a systemd service file:
sudo nano /etc/systemd/system/etherpad.service
[Unit]
Description=Etherpad-lite, the collaborative editor.
After=syslog.target network.target

[Service]
Type=simple
User=etherpad
Group=etherpad
WorkingDirectory=/opt/etherpad-lite
Environment=NODE_ENV=production
ExecStart=/usr/bin/node --experimental-worker /opt/etherpad-lite/node_modules/ep_etherpad-lite/node/server.js
Restart=always

[Install]
WantedBy=multi-user.target
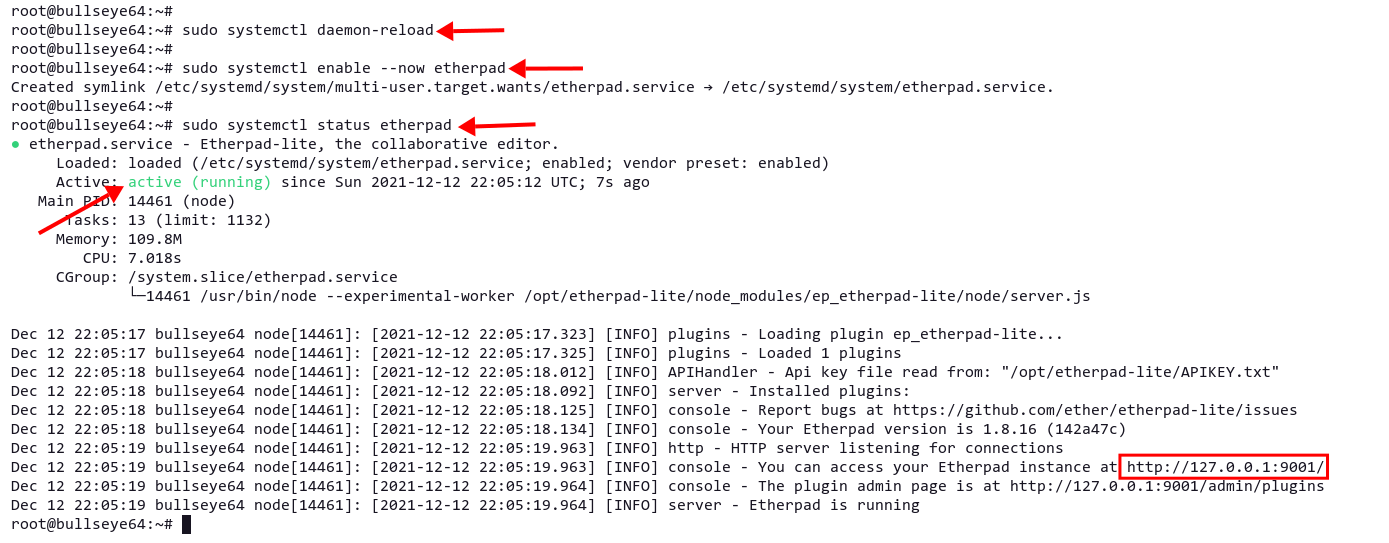
Reload systemd, then start and enable Etherpad:
sudo systemctl daemon-reload
sudo systemctl enable --now etherpad
sudo systemctl status etherpad
Installing and Configuring Nginx
Install Nginx:
sudo apt install nginx -y
Allow HTTP and HTTPS through the firewall:
sudo ufw allow "Nginx Full"
Create an Nginx virtual host file for Etherpad:
sudo nano /etc/nginx/sites-available/etherpad
# enforce HTTPS
server {
    listen        80;
    listen        [::]:80;
    server_name   etherpad.example.io;
    return 301    https://$host$request_uri;
}

# we're in the http context here
map $http_upgrade $connection_upgrade {
    default upgrade;
    ''          close;
}

server {
    listen        443 ssl http2;
    listen        [::]:443 ssl http2;
    server_name   etherpad.example.io;

    access_log    /var/log/nginx/eplite.access.log;
    error_log     /var/log/nginx/eplite.error.log;

    ssl_certificate     /etc/letsencrypt/live/etherpad.example.io/fullchain.pem;
    ssl_certificate_key /etc/letsencrypt/live/etherpad.example.io/privkey.pem;

    ssl_session_timeout 5m;

    ssl_protocols TLSv1.2;
    ssl_prefer_server_ciphers on;
    ssl_ciphers "EECDH+ECDSA+AESGCM EECDH+aRSA+AESGCM EECDH+ECDSA+SHA384 \
    EECDH+ECDSA+SHA256 EECDH+aRSA+SHA384 EECDH+aRSA+SHA256 EECDH+aRSA+RC4 \
    EECDH EDH+aRSA RC4 !aNULL !eNULL !LOW !3DES !MD5 !EXP !PSK !SRP !DSS";

    location / {
        proxy_pass          http://127.0.0.1:9001;
        proxy_buffering     off;
        proxy_set_header    Host $host;
        proxy_pass_header   Server;

        proxy_set_header    X-Real-IP $remote_addr;
        proxy_set_header    X-Forwarded-For $remote_addr;
        proxy_set_header    X-Forwarded-Proto $scheme;
        proxy_http_version  1.1;

        proxy_set_header    Upgrade $http_upgrade;
        proxy_set_header    Connection $connection_upgrade;
    }
}
Activate the virtual host:
sudo ln -s /etc/nginx/sites-available/etherpad /etc/nginx/sites-enabled/
Check Nginx configuration for errors:
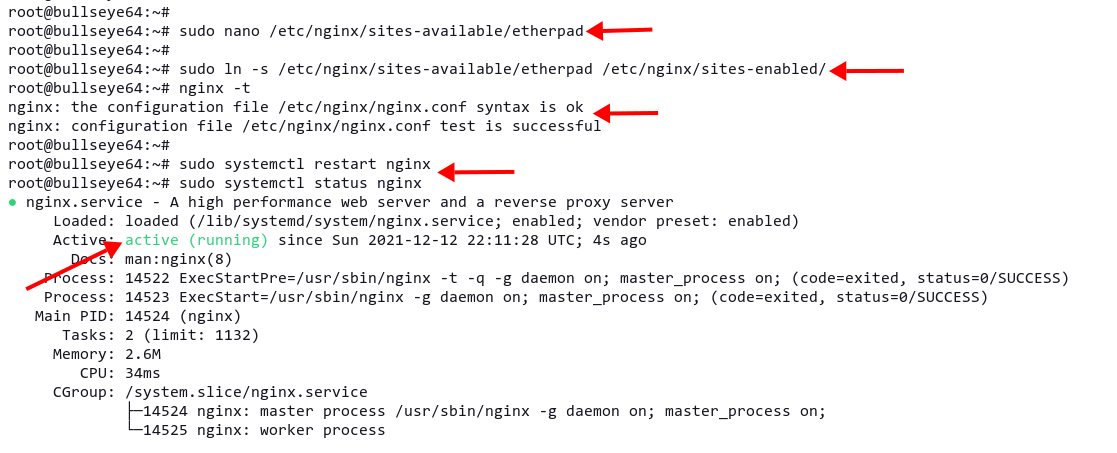
sudo nginx -t
Restart Nginx to apply changes:
sudo systemctl restart nginx
Your Etherpad is now accessible at http://etherpad.example.io.
Verify Etherpad Installation
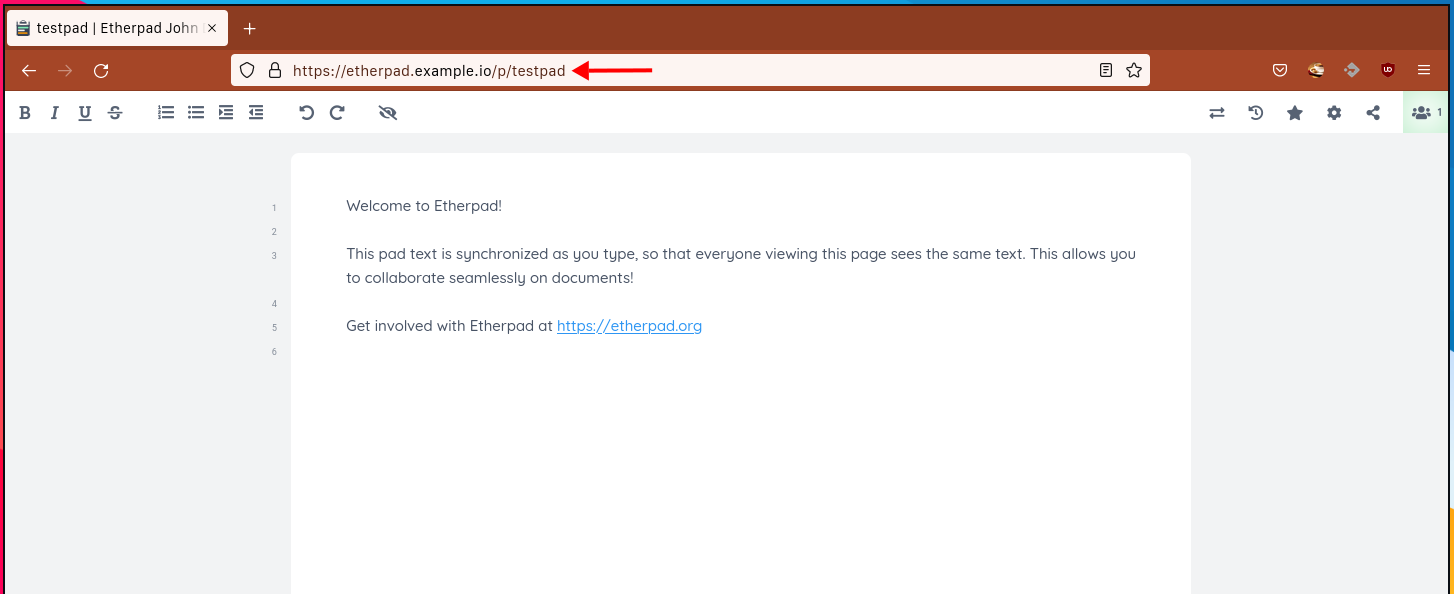
Access Etherpad in your web browser at http://etherpad.example.io/. You should be redirected to HTTPS.
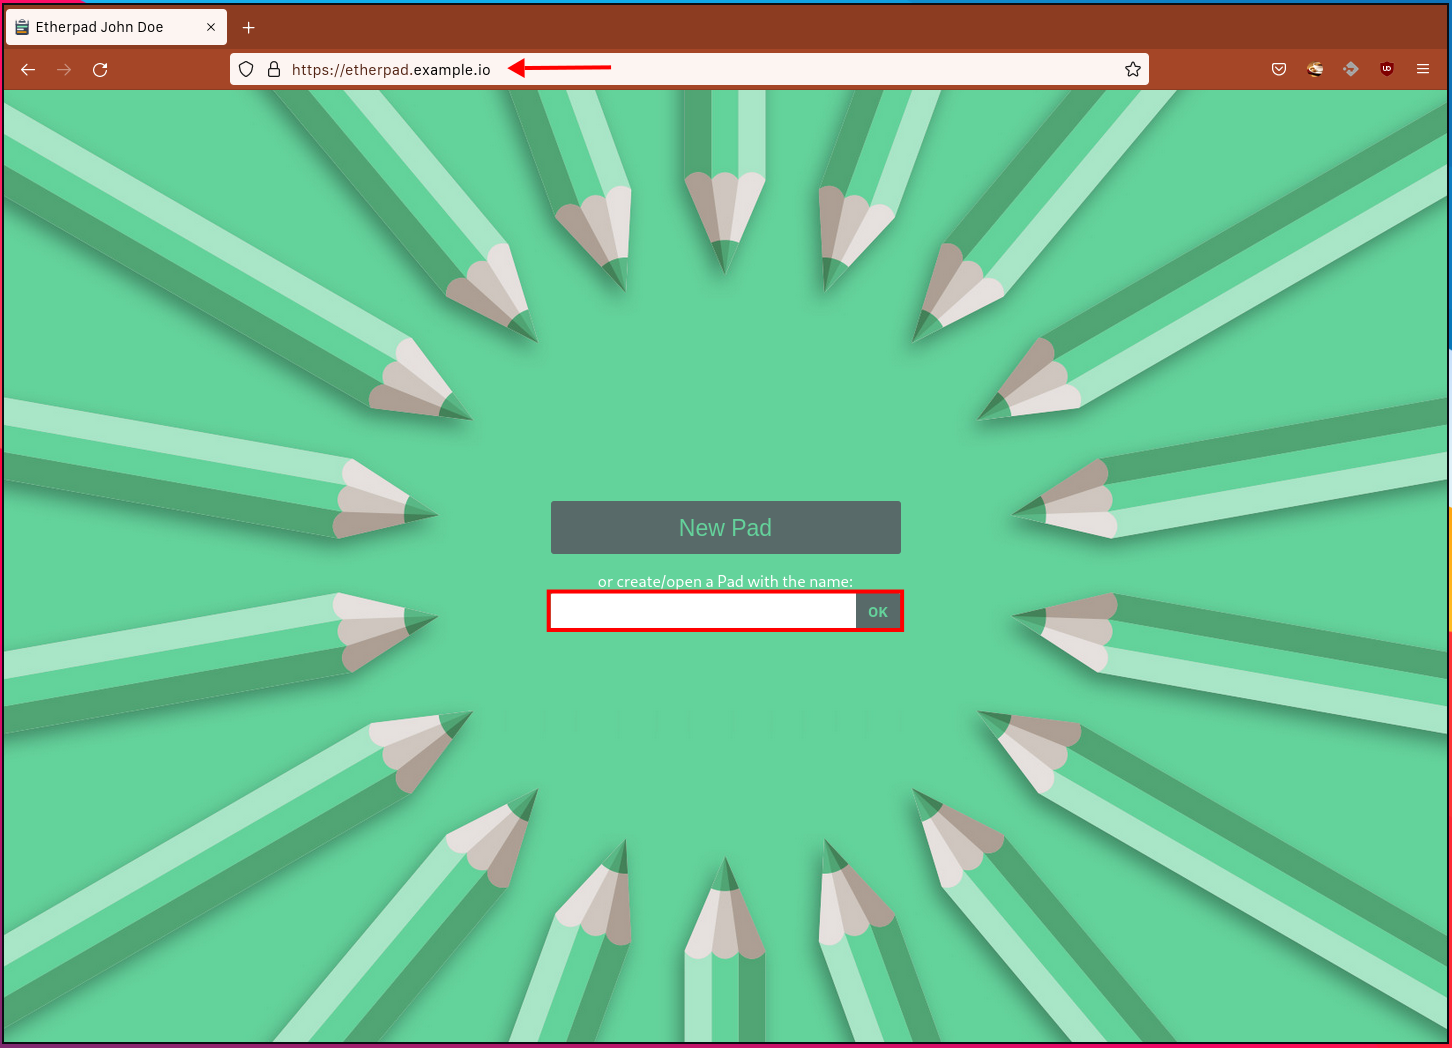
Create a new pad by entering a name and clicking ‘OK‘.
Conclusion
You’ve successfully installed and configured Etherpad on Debian 11, with Nginx as a reverse proxy. For more information, refer to the official Etherpad documentation.
FAQ
Q: What are the key prerequisites for installing Etherpad?
A: You’ll need a Debian 11 server, at least 1 GB of RAM, a non-root user with root privileges, and a domain name pointing to your server’s IP address.
Q: Why do I need to use a reverse proxy like Nginx?
A: A reverse proxy increases your application’s performance and security, and also facilitates HTTPS encryption.
Q: How can I ensure my Etherpad instance is secure?
A: Use HTTPS, limit back-end access to local connections, and secure your database with strong passwords and proper user permissions.
Q: Can I modify the default port that Etherpad uses?
A: Yes, you can change the port in the `settings.json` file, but ensure your proxy server configuration matches this setting.
