Fuel CMS is an open-source content management system designed for high-quality websites and blogs. It is developed on the CodeIgniter framework, a widely used PHP web platform. In this tutorial, we will guide you through the process of installing Fuel CMS on a Fedora 31-based server.
Prerequisites
- A server operating on Fedora 31 with the LEMP Stack installed. To configure this environment, check out our comprehensive guide.
- A non-root user with sudo privileges.
- Update your system packages to their latest versions:
$ sudo dnf upgrade
Configure MariaDB for Fuel CMS
Start by setting up a database for Fuel CMS. Access the MySQL prompt:
$ sudo mysqlExecute the following commands to create a database fuelcms, a user fueluser, and grant permissions.
mysql> CREATE DATABASE fuelcms;
mysql> CREATE USER 'fueluser'@'localhost' IDENTIFIED BY 'yourpassword';
mysql> GRANT ALL PRIVILEGES ON fuelcms.* TO 'fueluser'@'localhost';
mysql> exit
Configure PHP for Fuel CMS
While our guide initially installs PHP 7.4, Fuel CMS is currently incompatible. Follow the steps below to install PHP 7.3:
$ sudo dnf install php73-php-fpm php73-php-mysqlnd php73-php-cli -yEnable and start PHP 7.3:
$ sudo systemctl start php73-php-fpm
$ sudo systemctl enable php73-php-fpm
Verify the installation:
$ php73 --versionModify the PHP-FPM configuration file to set the Unix user/group of PHP processes to nginx:
$ sudo nano /etc/opt/remi/php73/php-fpm.d/www.conf; Unix user/group of processes
user = nginx
group = nginx
listen.acl_users = nginxNote the path for listen and save it:
listen = /var/opt/remi/php73/run/php-fpm/www.sockSave and restart PHP-FPM:
$ sudo systemctl restart php73-php-fpmConfigure Nginx
Create a new configuration file:
$ sudo nano /etc/nginx/sites-available/fuel.confInsert the configuration block:
server {
  listen 80;
  listen [::]:80;
  root /var/www/fuel;
  index index.php index.html index.htm;
  server_name fuel.example.com;

  client_max_body_size 100M;

  location / {
    try_files $uri $uri/ /index.php?q=$uri&$args;
  }
  access_log /var/log/nginx/fuel.example.com.access.log;
  error_log /var/log/nginx/fuel.example.com.error.log;

  location ~ \.php$ {
    fastcgi_pass unix:/run/php-fpm/www.sock;
    fastcgi_index index.php;
    fastcgi_param SCRIPT_FILENAME $document_root$fastcgi_script_name;
    include fastcgi_params;
  }
}
Link the configuration to enable it:
$ sudo ln -s /etc/nginx/sites-available/fuel.conf /etc/nginx/sites-enabled/Test and reload Nginx:
$ sudo nginx -t
$ sudo systemctl reload nginx
Install Fuel CMS
Create the document root for Fuel CMS:
$ sudo mkdir -p /var/www/fuelGo to the document root and download Fuel CMS:
$ cd /var/www/fuel
$ sudo wget https://github.com/daylightstudio/FUEL-CMS/archive/master.zip
Extract the contents:
$ sudo unzip master.zip
$ sudo rm master.zip
$ sudo mv FUEL-CMS-master/* .
$ sudo rm -r FUEL-CMS-master
Create a session directory and configure database settings:
$ sudo mkdir /var/www/fuel/fuel/application/sessions
$ sudo nano /var/www/fuel/fuel/application/config/database.php
$db['default'] = array(
'dsn' => '',
'hostname' => 'localhost',
'username' => 'fueluser',
'password' => 'yourpassword',
'database' => 'fuelcms',
'dbdriver' => 'mysqli',Import the database schema:
$ mysql -u fueluser -p fuelcms < /var/www/fuel/fuel/install/fuel_schema.sqlGenerate and set an encryption key:
$ openssl rand -base64 20
$ sudo nano /var/www/fuel/fuel/application/config/config.php
Update the configuration file with the encryption key:
$config['encryption_key'] = 'nisT56baLm+U24ZYFRvVbVKIdOE=';Enable the administration panel:
$ sudo nano /var/www/fuel/fuel/application/config/MY_fuel.php$config['admin_enabled'] = TRUE;
$config['fuel_mode'] = 'auto';Assign appropriate permissions:
$ sudo chown -R nginx:nginx /var/www/fuelConfiguring Fuel CMS
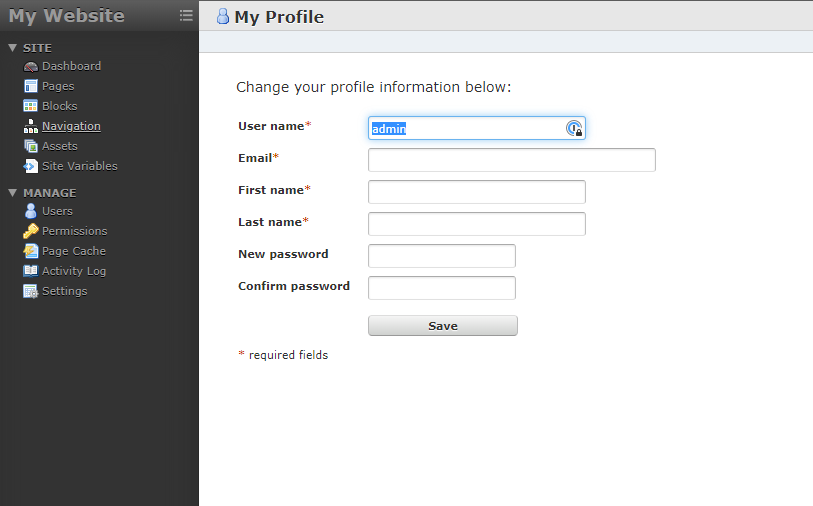
Log into the administration panel at fuel.example.com/fuel. You’ll receive a prompt to change the password:

Follow further instructions on the administration panel to customize your user settings.
Setting up HTTPS using Let’s Encrypt
Install Certbot for SSL certificate management:
$ sudo dnf install certbot certbot-nginx -y
$ sudo certbot --nginx -d fuel.example.com
Follow the prompts to configure your certificate, choosing option 2 to redirect traffic to HTTPS.
Set up automatic certificate renewal:
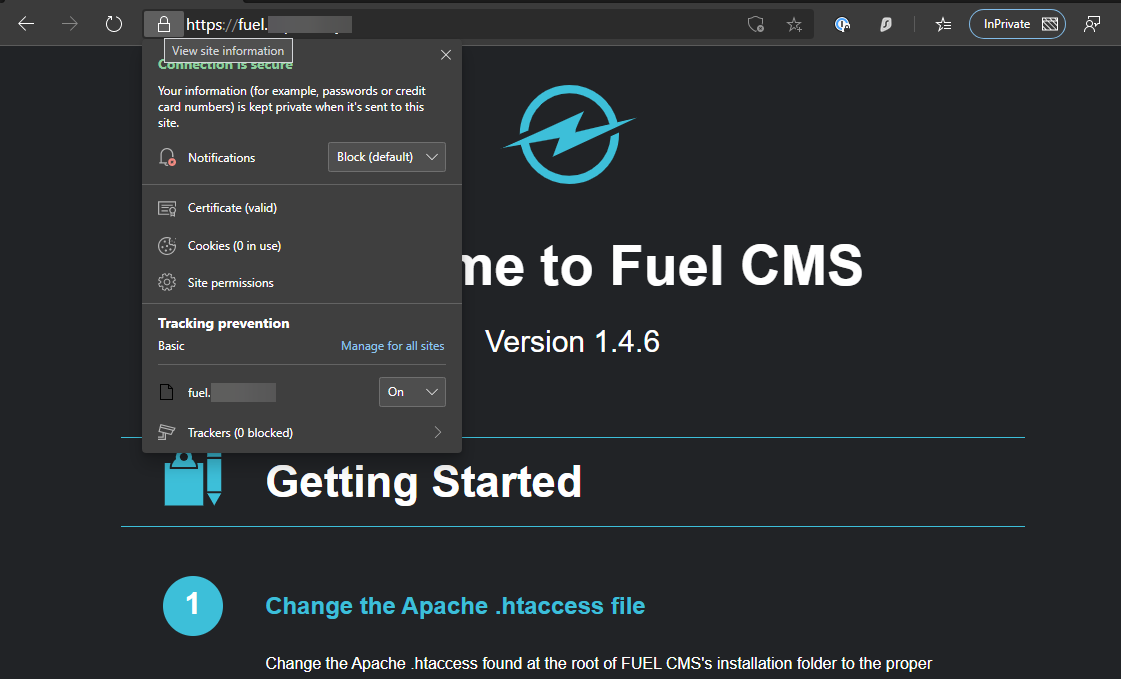
$ echo "0 0,12 * * * root python -c 'import random; import time; time.sleep(random.random() * 3600)' && certbot renew" | sudo tee -a /etc/crontab > /dev/nullVisit https://fuel.example.com to verify your site’s security:

Conclusion
This concludes our guide on installing Fuel CMS. You are now ready to build and maintain your applications using this powerful CMS. For any queries, feel free to post your comments below.
FAQ
What is Fuel CMS?
Fuel CMS is an open-source content management system built with the CodeIgniter PHP framework.
Why do I need to install PHP 7.3?
As of now, Fuel CMS is not compatible with PHP 7.4, requiring version 7.3 for successful installation.
What should I do if I encounter an error during installation?
Double-check your configuration files for any discrepancies and ensure your system meets the necessary prerequisites. Consult Fuel CMS documentation or community forums for additional assistance.
How do I access the Fuel CMS administration panel?
Once installed, you can access the panel at fuel.example.com/fuel. Ensure your configurations allow access to this path.
Can I secure my site with HTTPS?
Yes, you can secure your site using Let’s Encrypt and Certbot. Follow the instructions in this guide to set it up.
