Fuel CMS is a robust, open-source content management system engineered in PHP, perfect for crafting dynamic websites and blogs. Harnessing the power of the CodeIgniter PHP web framework, it provides a foundation for advanced web development projects.
Fuel CMS boasts an array of powerful features, including:
- Support for multiple languages, enabling SEO-friendly page content creation in any language.
- Easy editing of page data to see real-time results.
- Efficient management and uploading of site images, PDFs, stylesheets, and JavaScript.
- User-friendly form creation for layout variables to facilitate page building.
This guide will walk you through installing Fuel CMS on an Ubuntu 18.04 system.
Prerequisites
- An Ubuntu 18.04 server.
- A non-root user with sudo privileges.
Install LAMP Server
Fuel CMS requires a LAMP stack (Linux, Apache, MySQL/MariaDB, and PHP). Begin by installing Apache and MariaDB:
sudo apt-get install apache2 mariadb-server -y
Starting and enabling Apache and MariaDB to load at boot time:
sudo systemctl start apache2
sudo systemctl enable apache2
sudo systemctl start mysql
sudo systemctl enable mysql
Next, install PHP 7.1, as it’s not included by default on Ubuntu 18.04. Begin by adding the Ondrej PHP repository:
sudo apt-get install software-properties-common -y
sudo add-apt-repository ppa:ondrej/php
After adding the repository, update the package list and install PHP 7.1:
sudo apt-get update -y
sudo apt-get install php7.1 libapache2-mod-php7.1 php7.1-gd php7.1-xml php7.1-cli php7.1-zip php7.1-common php7.1-sqlite3 php7.1-mcrypt php7.1-curl php7.1-intl php7.1-mbstring php7.1-xmlrpc php7.1-mysql -y
After installation, modify the php.ini file:
sudo nano /etc/php/7.1/apache2/php.ini
Apply the following changes:
file_uploads = On
allow_url_fopen = On
short_open_tag = On
memory_limit = 256M
upload_max_filesize = 120M
max_execution_time = 300
date.timezone = Your/Region
Configure MariaDB
Secure the fresh MariaDB installation:
sudo mysql_secure_installation
Respond to the prompts as follows:
Enter current password for root (enter for none):
Set root password? [Y/n]: N
Remove anonymous users? [Y/n]: Y
Disallow root login remotely? [Y/n]: Y
Remove test database and access to it? [Y/n]: Y
Reload privilege tables now? [Y/n]: Y
Create a database and user for Fuel CMS:
mysql -u root -p
Upon prompting, execute:
MariaDB [(none)]> CREATE DATABASE fuelcmsdb;
MariaDB [(none)]> CREATE USER 'fueluser'@'localhost' IDENTIFIED BY 'password';
MariaDB [(none)]> GRANT ALL ON fuelcmsdb.* TO 'fueluser'@'localhost' IDENTIFIED BY 'password' WITH GRANT OPTION;
MariaDB [(none)]> FLUSH PRIVILEGES;
MariaDB [(none)]> exit
Install Fuel CMS
Retrieve the latest Fuel CMS version from GitHub:
wget https://github.com/daylightstudio/FUEL-CMS/archive/master.zip
Unzip and place it within the web root directory:
unzip master.zip
sudo cp -r FUEL-CMS-master /var/www/html/fuelcms
Assign the correct permissions:
sudo chown -R www-data:www-data /var/www/html/fuelcms/
sudo chmod -R 755 /var/www/html/fuelcms/
Create an Apache virtual host configuration:
sudo nano /etc/apache2/sites-available/fuelcms.conf
Include the following:
<VirtualHost *:80>
     ServerAdmin admin@example.com
     DocumentRoot /var/www/html/fuelcms
     ServerName example.com

     <Directory /var/www/html/fuelcms/>
          Options FollowSymlinks
          AllowOverride All
          Require all granted
     </Directory>

     ErrorLog ${APACHE_LOG_DIR}/fuelcms_error.log
     CustomLog ${APACHE_LOG_DIR}/fuelcms_access.log combined
</VirtualHost>
Enable the virtual host and mod_rewrite module, then restart Apache:
sudo a2ensite fuelcms
sudo a2enmod rewrite
sudo systemctl restart apache2
Import the database schema and configure database access:
sudo mysql -u fueluser -p fuelcmsdb < /var/www/html/fuelcms/fuel/install/fuel_schema.sql
sudo nano /var/www/html/fuelcms/fuel/application/config/database.php
Edit the following:
$db['default'] = array(
    'dsn'   => '',
    'hostname' => 'localhost',
    'username' => 'fueluser',
    'password' => 'password',
    'database' => 'fuelcmsdb',
    'dbdriver' => 'mysqli',
    'dbprefix' => '',
);
Generate a random encryption key with OpenSSL:
openssl rand -base64 20
Next, update the config.php file:
sudo nano /var/www/html/fuelcms/fuel/application/config/config.php
Add the generated key:
$config['encryption_key'] = 'your_generated_key';
Lastly, ensure the admin is enabled in MY_fuel.php:
sudo nano /var/www/html/fuelcms/fuel/application/config/MY_fuel.php
Modify these lines:
// whether the admin backend is enabled or not
$config['admin_enabled'] = TRUE;
$config['fuel_mode'] = 'AUTO';
Access Fuel CMS
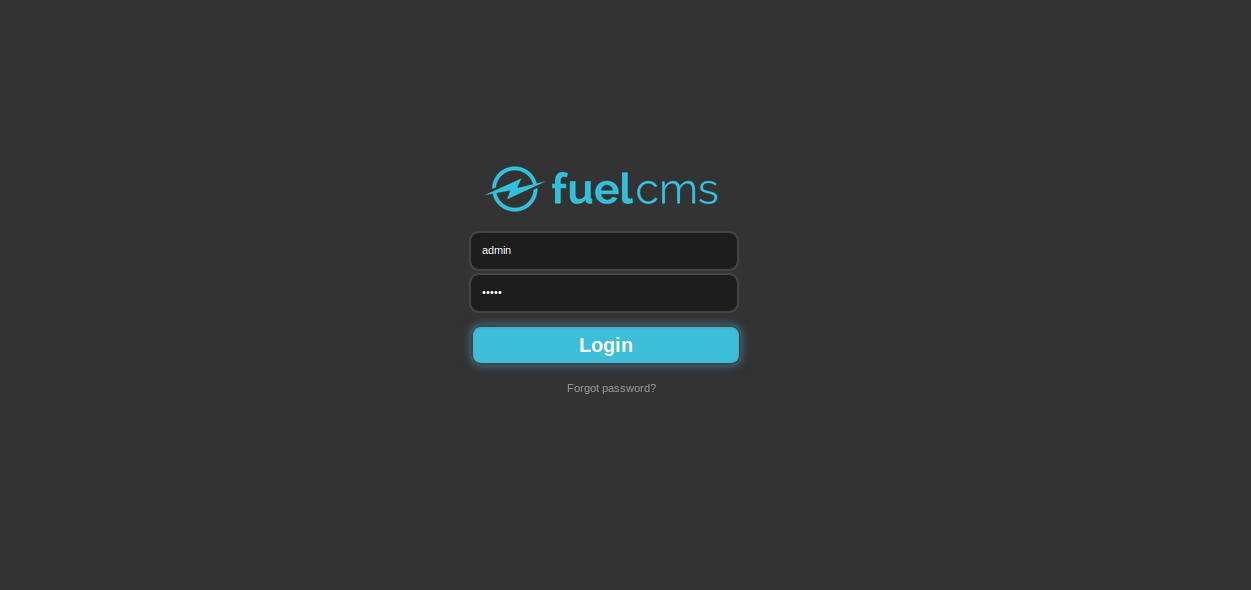
Fuel CMS is now ready. Access it through your browser at http://example.com/fuel.

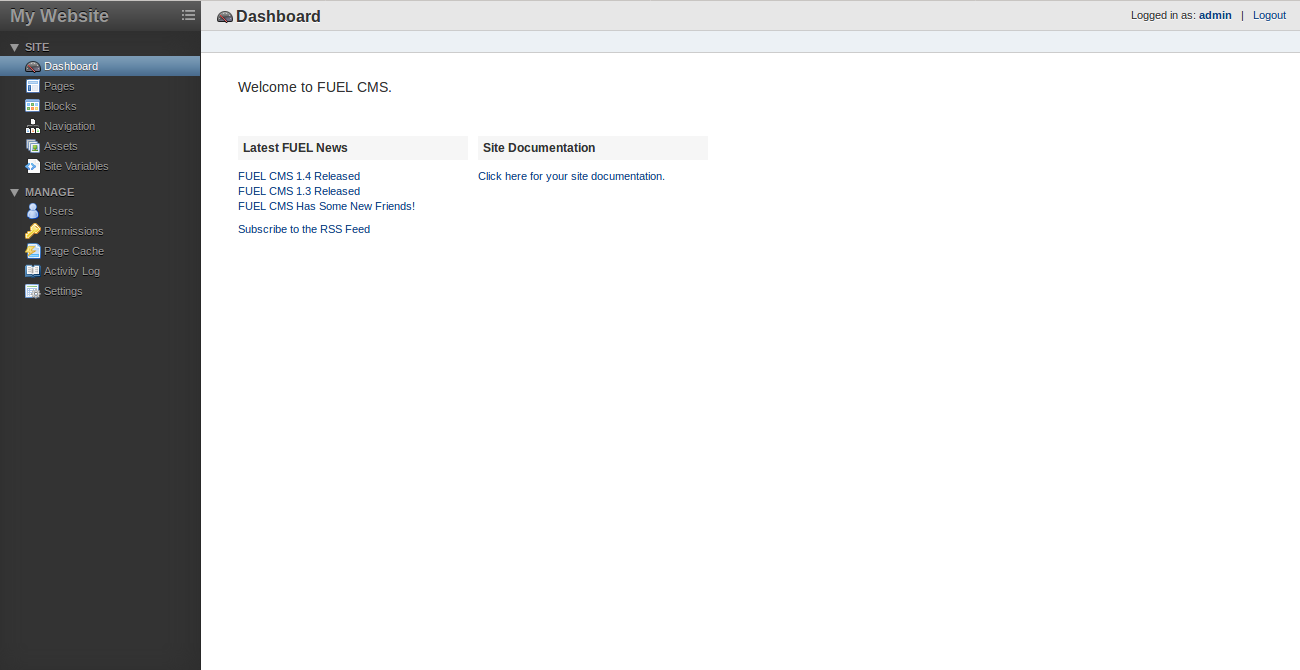
Log in with username: admin and password: admin. Upon success, you’ll see the dashboard:

Helpful Links
Frequently Asked Questions (FAQ)
- Is Fuel CMS free to use?
Yes, Fuel CMS is free and open-source software. - What languages does Fuel CMS support?
Fuel CMS supports multiple languages, making it versatile for creating multilingual content. - How do I reset the admin password?
You can reset the admin password by accessing the database and updating the appropriate user record in the users table. - Where can I find additional support for Fuel CMS?
For more support, visit the official forums or consult the documentation.