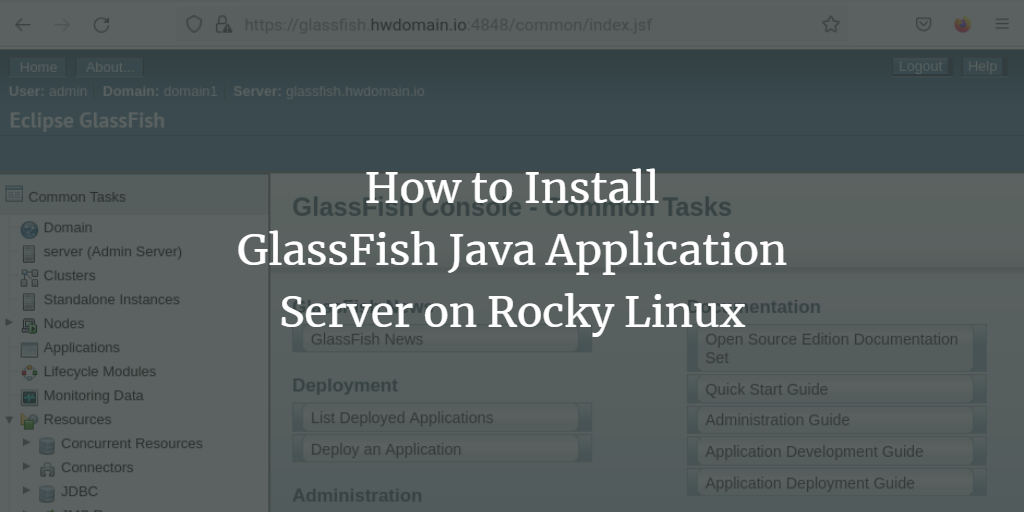
GlassFish is a free and open-source implementation of the Java EE Platform developed by Eclipse, recognized as the leading platform for Java development. This lightweight application server supports multiple Java technologies such as Enterprise JavaBeans, JPA, JavaServer Faces, and JMS, facilitating the deployment of Java-based applications.
Developers favor GlassFish for its ease of use and scalable architecture. Originally launched by Sun Microsystems, GlassFish is available under the Common Development and Distribution License and the GNU General Public License.
This tutorial guides you through the installation of GlassFish Java Application Server with an Nginx reverse proxy on Rocky Linux. You will install Java OpenJDK, set up GlassFish from the binary package, and configure Nginx as a reverse proxy.
Prerequisites
Ensure the following requirements are met:
- A Rocky Linux server (version 8 or 9).
- A non-root user with sudo privileges.
- A local domain name for the local development server.
Installing Java OpenJDK
Since GlassFish is a Java application server, you need to install Java OpenJDK on your server. At this tutorial’s publication, GlassFish 6.2.5 requires Java OpenJDK 11.
Install Java OpenJDK 11 using the command:
sudo dnf install java-11-openjdk
When prompted, confirm with ‘y’ and press ENTER. Verify the installation by executing:
java -version

After Java is ready, proceed to download and install GlassFish manually.
Downloading GlassFish Application
Download the GlassFish binary distribution package from the Eclipse website. Start by installing the unzip package:
sudo dnf install unzip
Then create a dedicated user for GlassFish:
sudo useradd -m -d /opt/glassfish6 -U -s /bin/false glassfish
Navigate to the /tmp directory and download GlassFish using:
cd /tmp
wget https://download.eclipse.org/ee4j/glassfish/glassfish-6.2.5.zip
Extract the zip file to /opt:
unzip /tmp/glassfish-6.2.5.zip -d /opt
Change ownership of the installation directory:
sudo chown -R glassfish:glassfish /opt/glassfish6
Running GlassFish as a Systemd Service
Use a systemd service to manage GlassFish. Create a service file:
sudo nano /lib/systemd/system/glassfish.service
Add the configuration:
[Unit]
  Description = GlassFish Server v6
  After = syslog.target network.target

  [Service]
  User=glassfish
  ExecStart=/opt/glassfish6/bin/asadmin start-domain
  ExecReload=/opt/glassfish6/bin/asadmin restart-domain
  ExecStop=/opt/glassfish6/bin/asadmin stop-domain
  Type = forking

  [Install]
  WantedBy = multi-user.target
Apply changes and start GlassFish:
sudo systemctl daemon-reload
sudo systemctl start glassfish
sudo systemctl enable glassfish
Configuring GlassFish Administration
Set up an admin user and password:
sudo -u glassfish /opt/glassfish6/bin/asadmin --port 4848 change-admin-password
Secure the administration console:
sudo -u glassfish /opt/glassfish6/bin/asadmin --port 4848 enable-secure-admin
Restart the service:
sudo systemctl restart glassfish
Update firewall rules to allow necessary ports:
sudo firewall-cmd --add-port=8080/tcp --zone=public
sudo firewall-cmd --add-port=4848/tcp --zone=public
Setting up Nginx as a Reverse Proxy
Install Nginx and configure it as a reverse proxy:
sudo dnf install nginx
Create a new server block:
sudo nano /etc/nginx/conf.d/glassfish.conf
Include the following configuration, replacing glassfish.hwdomain.io with your domain:
upstream glassfish6 {
    server 127.0.0.1:8080 weight=100 max_fails=5 fail_timeout=5;
  }

  server {
    listen        80;
    server_name   glassfish.hwdomain.io;

    location / {
      proxy_set_header X-Forwarded-Host $host;
      proxy_set_header X-Forwarded-Server $host;
      proxy_set_header X-Forwarded-For $proxy_add_x_forwarded_for;
      proxy_pass http://glassfish6/;
    }
  }
Verify and start Nginx:
sudo nginx -t
sudo systemctl start nginx
sudo systemctl enable nginx
Setting up Firewalld
Update Firewalld to allow HTTP, HTTPS, and GlassFish administration port:
sudo firewall-cmd --add-service=http --permanent
sudo firewall-cmd --add-service=https --permanent
sudo firewall-cmd --add-port=4848/tcp --permanent
sudo firewall-cmd --reload
sudo firewall-cmd --list-all
Accessing GlassFish
Edit your local /etc/hosts file:
sudo nano /etc/hosts
Add your server’s IP and domain name:
192.168.5.100 glassfish.hwdomain.io
Access GlassFish via glassfish.hwdomain.io for the application and glassfish.hwdomain.io:4848 for administration.
Conclusion
You’ve successfully installed and configured GlassFish on Rocky Linux, including setting up Nginx as a reverse proxy. You can now deploy applications and configure GlassFish for high availability.
FAQ
What is GlassFish used for?
GlassFish is used to implement Java EE applications, allowing developers to deploy a wide range of enterprise applications.
Is GlassFish free?
Yes, GlassFish is free to use under the Common Development and Distribution License and the GNU General Public License.
Why use Nginx with GlassFish?
Nginx acts as a reverse proxy for GlassFish, allowing it to handle HTTP/HTTPS requests efficiently and securely.
How can I verify that Java is installed correctly?
Use the command java -version to check if Java OpenJDK is installed and see its version.
