GlassFish is a free and open-source implementation of the Java EE Platform, developed by Eclipse. As the pioneering implementation of the Java EE platform, GlassFish is used for deploying Java applications worldwide. It offers a scalable architecture with support for various Java technologies, including Enterprise JavaBeans, JPA, JavaServer Faces, and JMS.
This guide will walk you through the installation process of GlassFish on an AlmaLinux 9 server with an Nginx reverse proxy. Additionally, we will secure GlassFish by enabling authentication and setting up a secure SSL/TLS connection for administration.
Prerequisites
Before starting, ensure you have the following:
- An AlmaLinux 9 server.
- A non-root user with administrative privileges.
- A local domain name pointed to your server’s IP address.
Setting Up Dependencies
First, configure your AlmaLinux system by adding a system user for GlassFish and installing the necessary Java OpenJDK packages.
Create a new system user ‘glassfish’ with the following command. This user will have the default home directory /opt/glassfish7, which will serve as the installation directory for GlassFish.
sudo useradd -m -d /opt/glassfish7 -U -s /bin/false glassfish
Next, install Java OpenJDK 21 and unzip packages using the command below. Confirm the installation by typing ‘y’ when prompted.
sudo dnf install java-21-openjdk unzip nano

Upon completion, verify the Java version to ensure Java 17 or 21 is installed on your AlmaLinux server:
java --version

Downloading the GlassFish Package
Once the system user is created and Java is installed, download the latest GlassFish package. Visit the GlassFish download page and copy the link for the most recent version.
Use the wget command below to download the GlassFish package:
wget https://download.eclipse.org/ee4j/glassfish/glassfish-7.0.12.zip
After downloading, extract the glassfish-7.0.12.zip file to the /opt directory using this command:
unzip glassfish-7.0.12.zip -d /opt
Finally, set the ownership of the /opt/glassfish7 directory to the ‘glassfish’ user:
sudo chown -R glassfish:glassfish /opt/glassfish7
Setting Up systemd Service for GlassFish
GlassFish will run as a systemd service for ease of management and background operation. Create a new systemd service file at /etc/systemd/system/glassfish7.service using the nano editor:
sudo nano /etc/systemd/system/glassfish7.service
Add the following systemd configuration:
[Unit]
Description=GlassFish Server v7
After=syslog.target network.target
[Service]
User=glassfish
ExecStart=/opt/glassfish7/bin/asadmin start-domain
ExecReload=/opt/glassfish7/bin/asadmin restart-domain
ExecStop=/opt/glassfish7/bin/asadmin stop-domain
Type=forking

[Install]
WantedBy=multi-user.target
Save the file and close the editor. Reload the systemd manager to apply the new service file:
sudo systemctl daemon-reload
Start and enable the GlassFish service using these commands. GlassFish will operate on ports 8080 and 4848 by default:
sudo systemctl start glassfish7
sudo systemctl enable glassfish7

Verify the status of the glassfish7 service to ensure it is running:
sudo systemctl status glassfish7

Setting Up GlassFish Administrator
Now that GlassFish is running, configure the admin user and enable secure administration for added security.
Create a new administrator user for GlassFish:
sudo -u glassfish /opt/glassfish7/bin/asadmin --port 4848 change-admin-password
During the process, provide the default user ‘admin’ and press ENTER for the initial password (which is empty by default). Then set and confirm a new password.
Upon success, you’ll receive the message: ‘Command change-admin-password executed successfully‘.

Next, enable secure administration, generating SSL/TLS certificates for GlassFish:
sudo -u glassfish /opt/glassfish7/bin/asadmin --port 4848 enable-secure-admin
Enter the GlassFish admin credentials when prompted. Upon success, you’ll see: ‘Command enable-secure-admin executed successfully‘.

Restart the glassfish7 service to apply these changes:
sudo systemctl restart glassfish7
Running GlassFish with Nginx Reverse Proxy
Use Nginx as a reverse proxy for GlassFish. Install Nginx on your AlmaLinux server:
sudo dnf install nginx
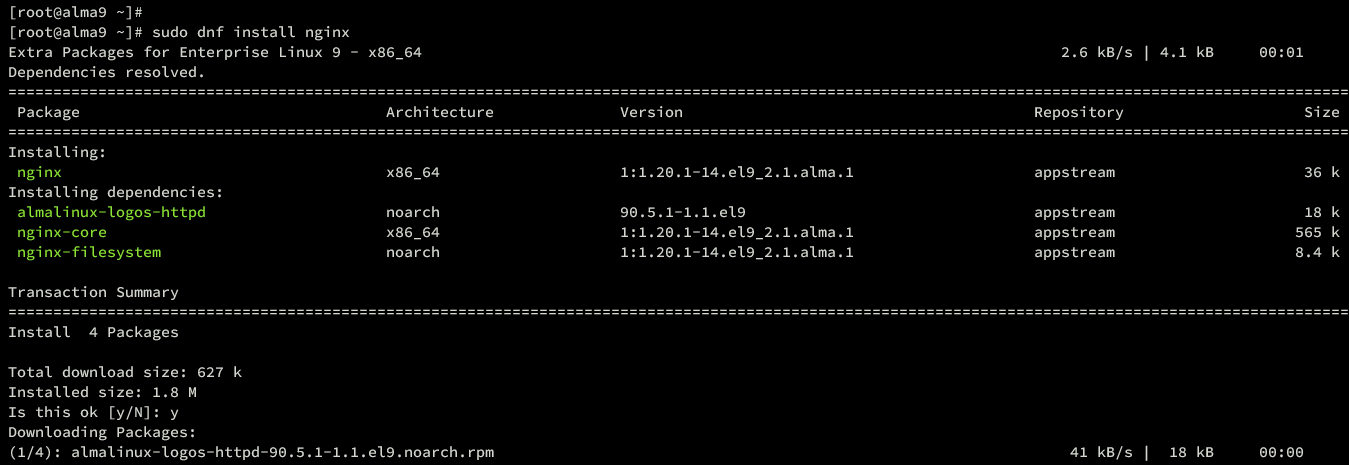
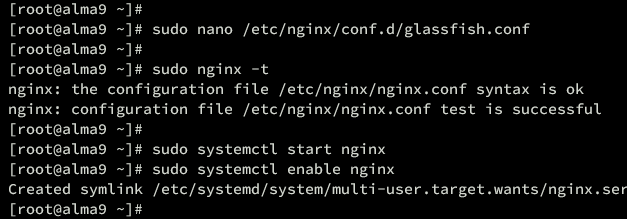
Create a new server block configuration for GlassFish as a reverse proxy at /etc/nginx/conf.d/glassfish.conf:
sudo nano /etc/nginx/conf.d/glassfish.conf
Insert the following configuration, replacing the domain name with your own:
upstream glassfish7 {
server 127.0.0.1:8080 weight=100 max_fails=5 fail_timeout=5;
}
server {
listen 80;
server_name glassfish.howtoforge.local;
location / {
proxy_set_header X-Forwarded-Host $host;
proxy_set_header X-Forwarded-Server $host;
proxy_set_header X-Forwarded-For $proxy_add_x_forwarded_for;
proxy_pass http://glassfish7/;
}
}
Save and exit the configuration file. Verify the Nginx configuration syntax:
sudo nginx -t
If everything is correct, the output will read ‘syntax is ok – test is successful’. Start and enable Nginx:
sudo systemctl start nginx
sudo systemctl enable nginx
Verify Nginx to confirm the service is running and enabled:
sudo systemctl status nginx

Setting Up Firewalld
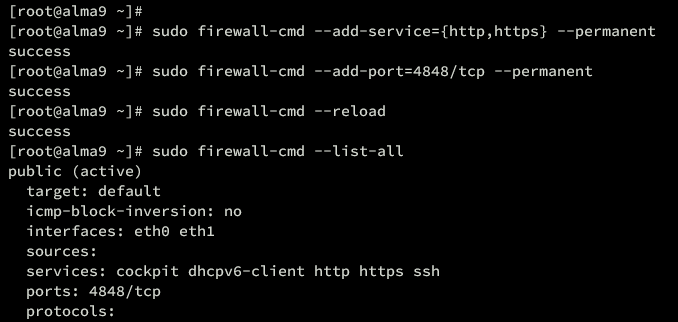
With Nginx running, open HTTP and HTTPS ports on your server via firewalld. Also, open port 4848 for GlassFish administration.
Allow HTTP and HTTPS services:
sudo firewall-cmd --add-service={http,https} --permanent
Permit TCP port 4848 for GlassFish:
sudo firewall-cmd --add-port=4848/tcp --permanent
Reload firewalld to apply changes:
sudo firewall-cmd --reload
sudo firewall-cmd --list-all
Accessing GlassFish
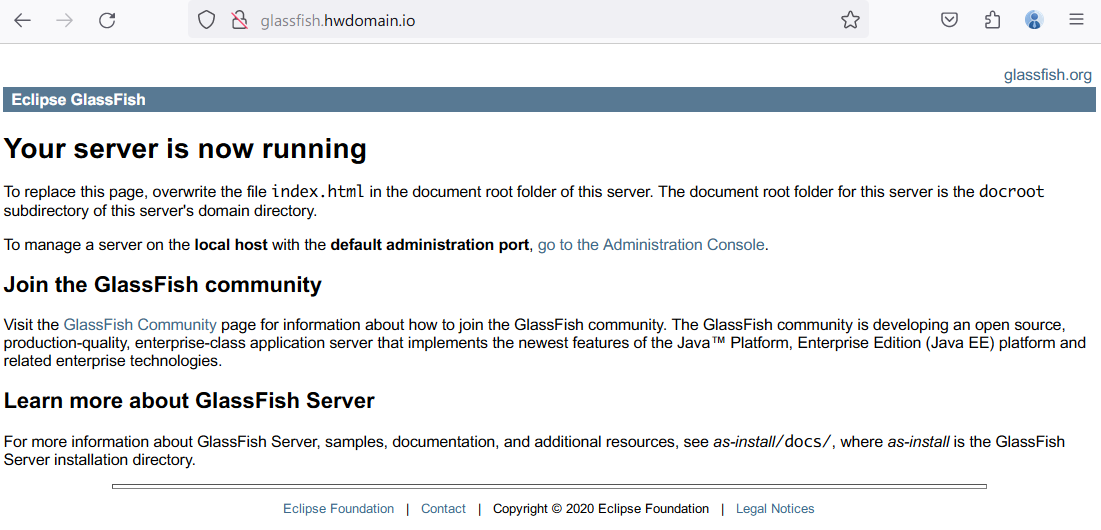
In your web browser, visit http://glassfish.howtoforge.local/. On success, the GlassFish index page should appear.
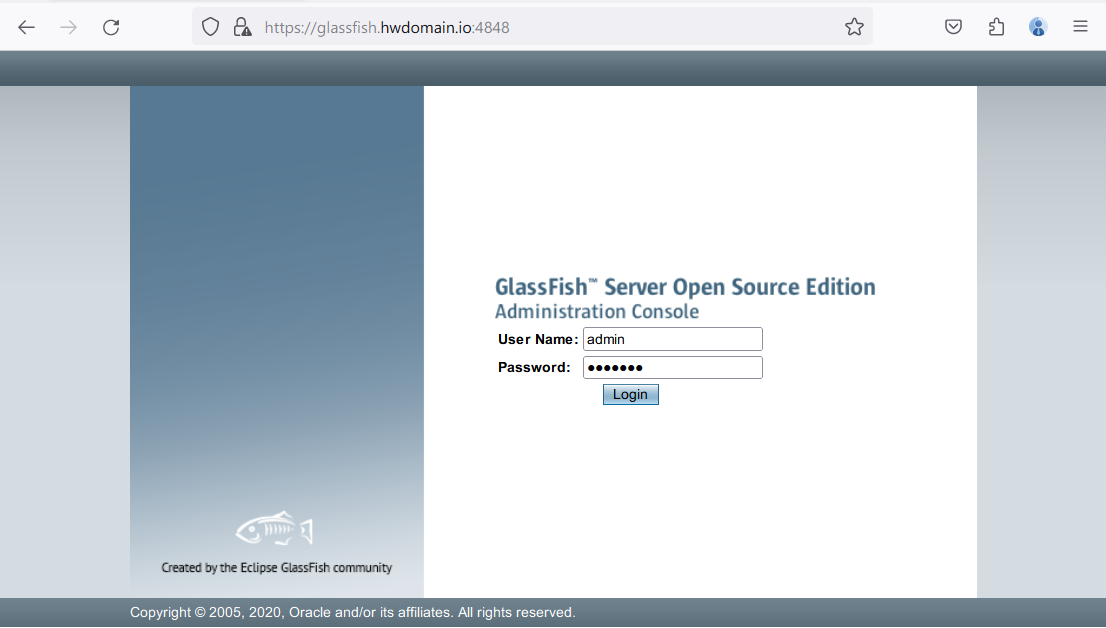
To access GlassFish administration, navigate to http://glassfish.howtoforge.local:4848/. Enter ‘admin’ as the user and your password, then click login.
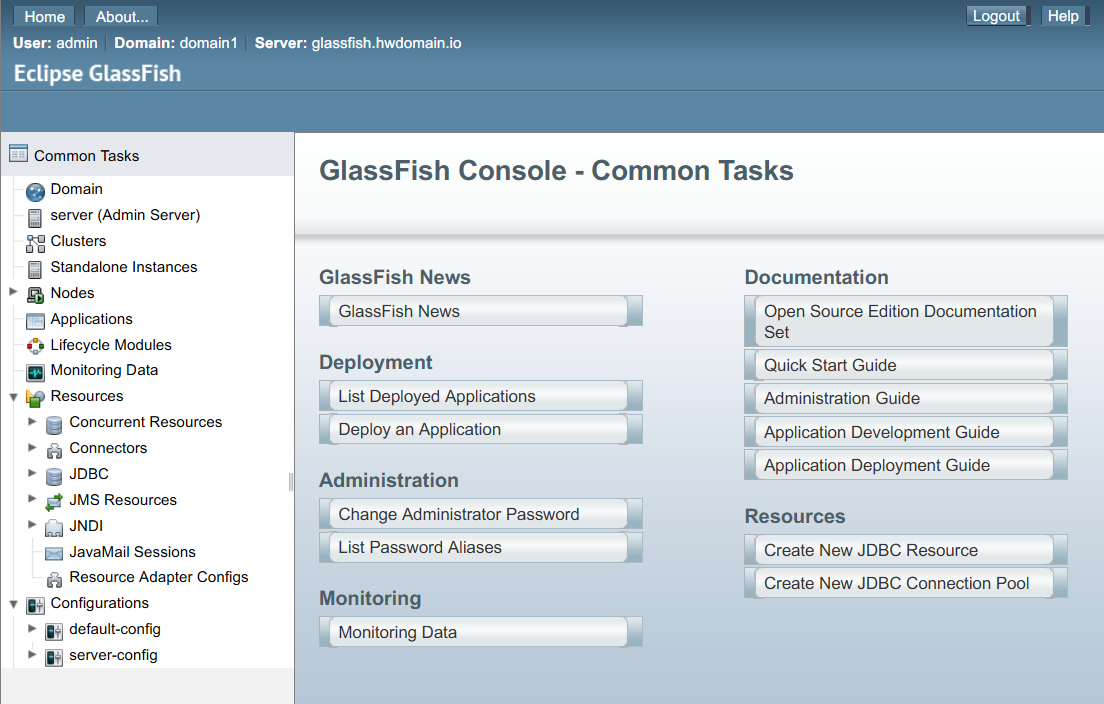
The correct credentials will display the GlassFish dashboard.
Conclusion
You’ve successfully installed and configured GlassFish on an AlmaLinux 9 server. This includes setting up the administrator, securing admin access, and using Nginx as a reverse proxy for GlassFish.
Frequently Asked Questions (FAQ)
What is GlassFish used for?
GlassFish is used for deploying Java applications, offering a scalable architecture compatible with multiple Java technologies.
Why use Nginx as a reverse proxy for GlassFish?
Using Nginx as a reverse proxy enhances security and allows efficient traffic handling and load balancing for your GlassFish server.
How can I ensure GlassFish is running properly?
Use the sudo systemctl status glassfish7 command to check if the GlassFish service is active and operational.
What should I do if I encounter issues with GlassFish installation?
Ensure all prerequisites are met, check command syntax, and consult the GlassFish documentation for troubleshooting steps.
