Icinga 2 is a powerful, open-source monitoring system widely employed to ensure the health of networked hosts and services. It efficiently monitors various system metrics such as CPU load, memory usage, disk space, and a range of network services including IMAP, POP3, SMTP, HTTP, as well as network devices like routers and switches. Compatible with a wide array of operating systems, Icinga 2 can be installed on Debian, Ubuntu, CentOS, RHEL, FreeBSD, Fedora, ArchLinux, and others.
This tutorial will guide you through installing and configuring Icinga 2 and Icinga Web 2 on a Debian 10 system.
Requirements
- A server running Debian 10.
- A static IP address configured on your server.
- An active root password configured on your server.
Getting Started
Before installing, it’s essential to update your system to the latest versions of available packages. Run the following commands:
apt-get update -y
 apt-get upgrade -y
After updating, restart the system to apply the changes.
Install Apache and PHP
To serve Icinga Web 2, Apache and PHP need to be installed along with several PHP modules. Execute the following command:
apt-get install apache2 libapache2-mod-php php php-common php-curl php-gd php-curl php-dom php-mysql php-intl php-imagick -y
Next, edit the php.ini file to adjust necessary settings:
nano /etc/php/7.3/apache2/php.ini
Modify the following lines:
memory_limit = 256M
file_uploads = On
allow_url_fopen = On
allow_url_include = Off
post_max_size = 64M
upload_max_filesize = 100M
max_execution_time = 300
default_charset = "UTF-8"
date.timezone = "Asia/Kolkata"
Save and close the file, then restart Apache to implement these changes:
systemctl restart apache2
Install Icinga2
With its default presence in Debian 10’s repository, installing Icinga2 along with necessary tools is straightforward. Run:
apt-get install icinga2 vim-icinga2 monitoring-plugins-basic monitoring-plugins-common icingacli -y
Start and enable the Icinga2 service using:
systemctl start icinga2
 systemctl enable icinga2
Verify Icinga2’s status with:
systemctl status icinga2.service
The output should reflect that Icinga2 is running as expected.
Install and Configure MariaDB and IDO Modules
Proceed by installing MariaDB server and IDO modules using:
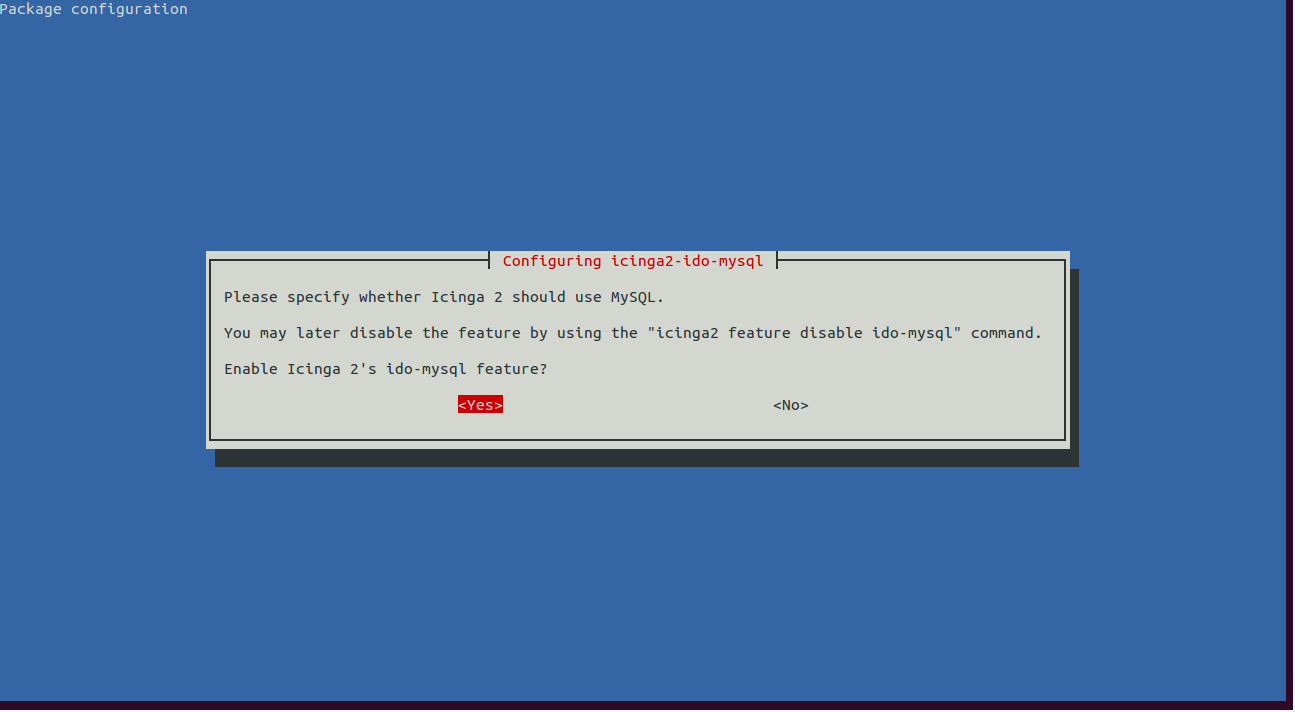
apt-get install mariadb-common mariadb-server icinga2-ido-mysql
During installation, configure IDO by choosing to enable it when prompted:
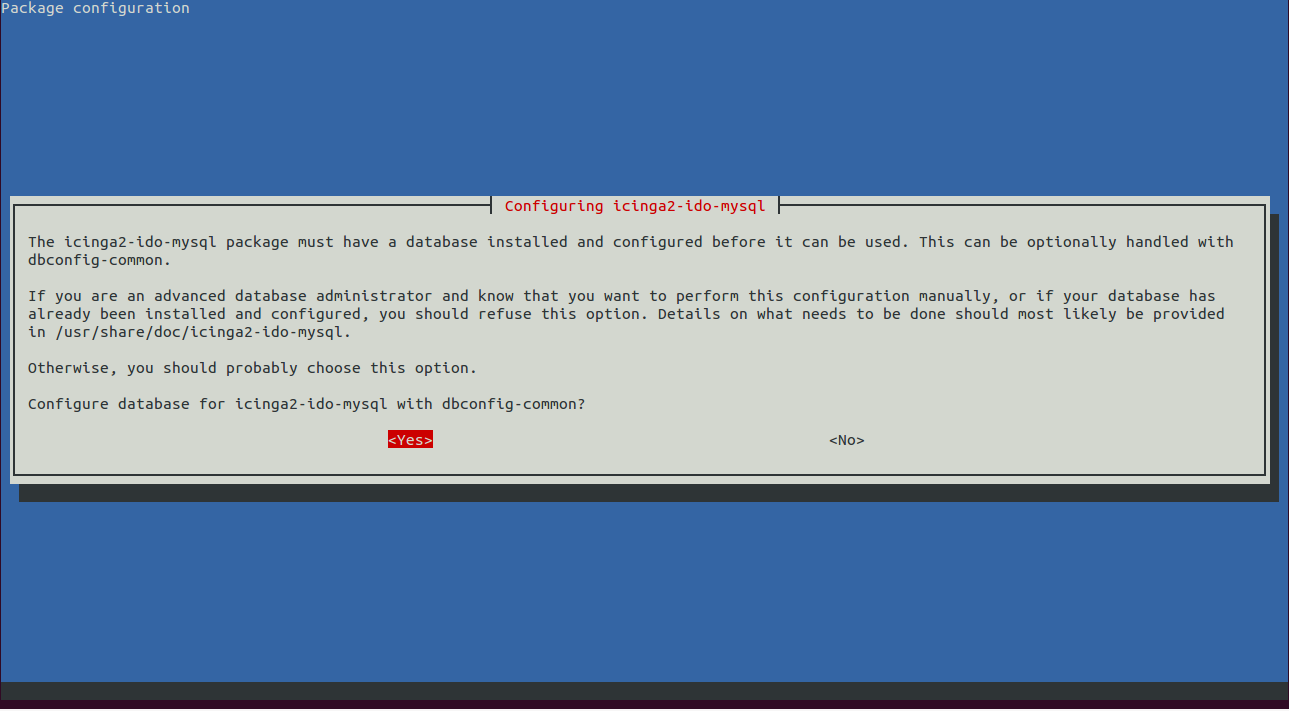
Opt for database configuration using dbconfig-common:

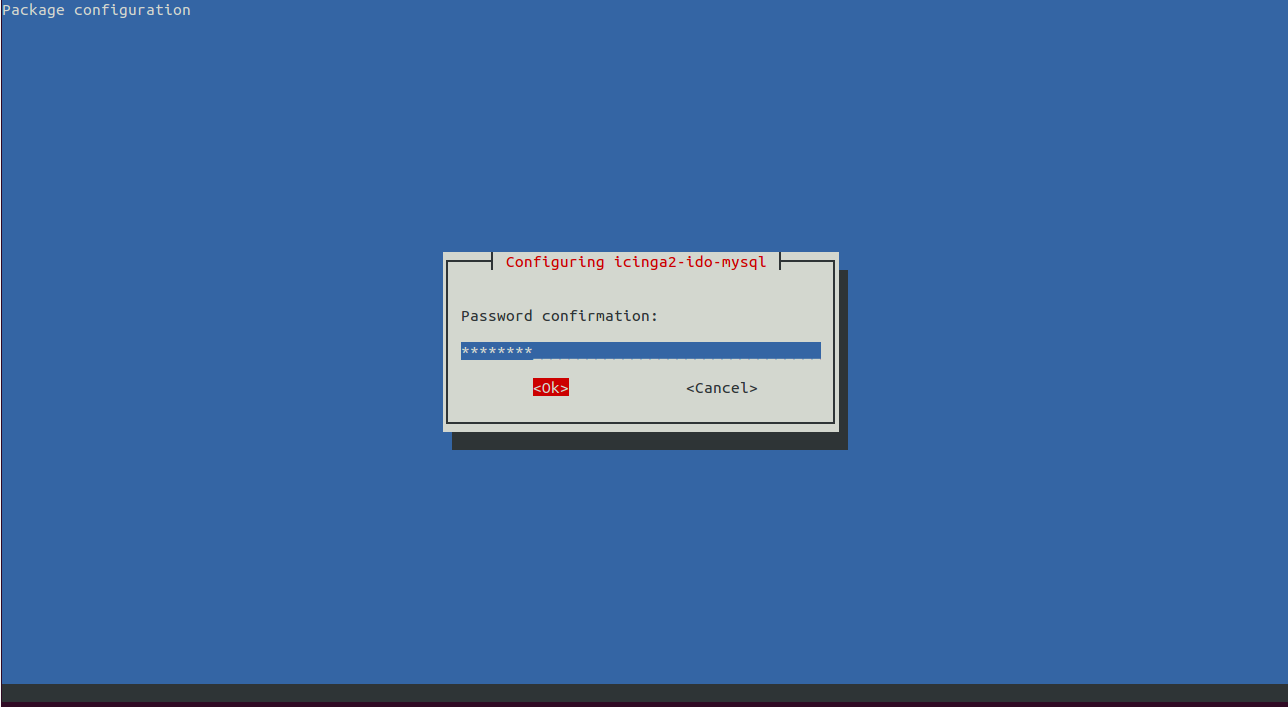
Set your MySQL application password at the prompts:
Create a database and user for Icinga Web 2 through the MariaDB shell:
mysql -u root -p
MariaDB [(none)]> CREATE DATABASE icingaweb2;
 MariaDB [(none)]> GRANT ALL PRIVILEGES ON icingaweb2.* TO 'icingaweb2'@'localhost' IDENTIFIED BY 'password';
MariaDB [(none)]> FLUSH PRIVILEGES;
 MariaDB [(none)]> EXIT;
Install Icinga Web 2
Install Icinga Web 2, a PHP-based interface for managing Icinga2, with:
apt-get install icingaweb2 -y
Then, set up necessary system group permissions:
addgroup --system icingaweb2
 usermod -a -G icingaweb2 www-data
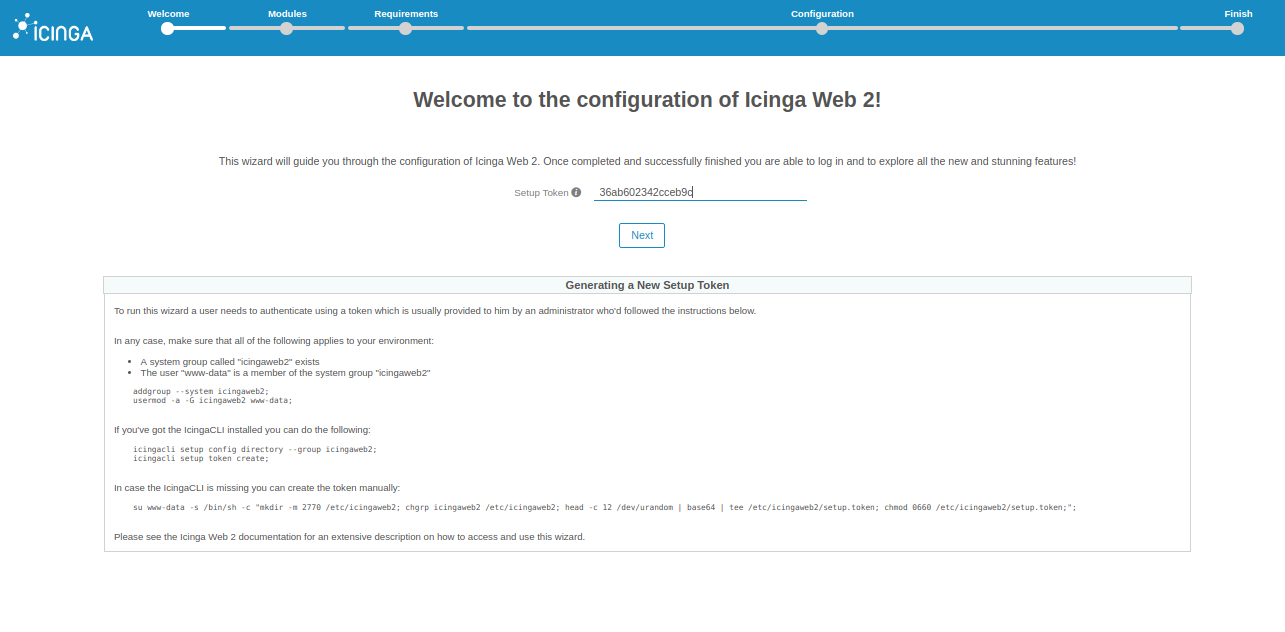
Generate a setup token for Icinga Web 2, essential for the initial configuration:
icingacli setup config directory --group icingaweb2
 icingacli setup token create
Remember the token outputted, such as:
36ab602342cceb9c
Restart services to finalize configuration:
systemctl restart apache2
 systemctl restart icinga2
Access Icinga Web 2
To complete the setup, navigate to http://your-ip-address/icingaweb2/setup in your web browser. Follow the setup wizard, entering the setup token when prompted:
Configure modules, database, and other settings as directed in the sequence of instruction screens:

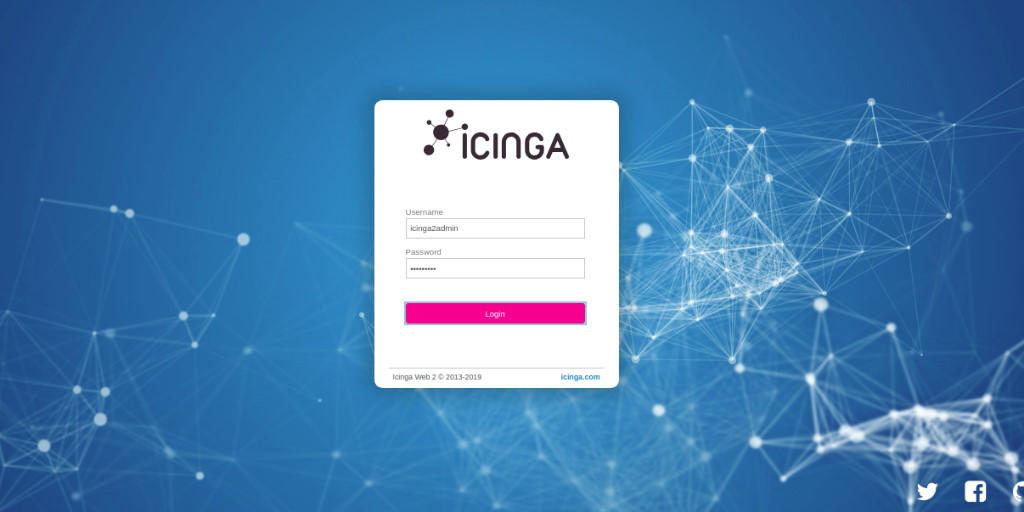
The installation is successful once you reach the “Login to Icinga Web 2” screen and can access the dashboard:
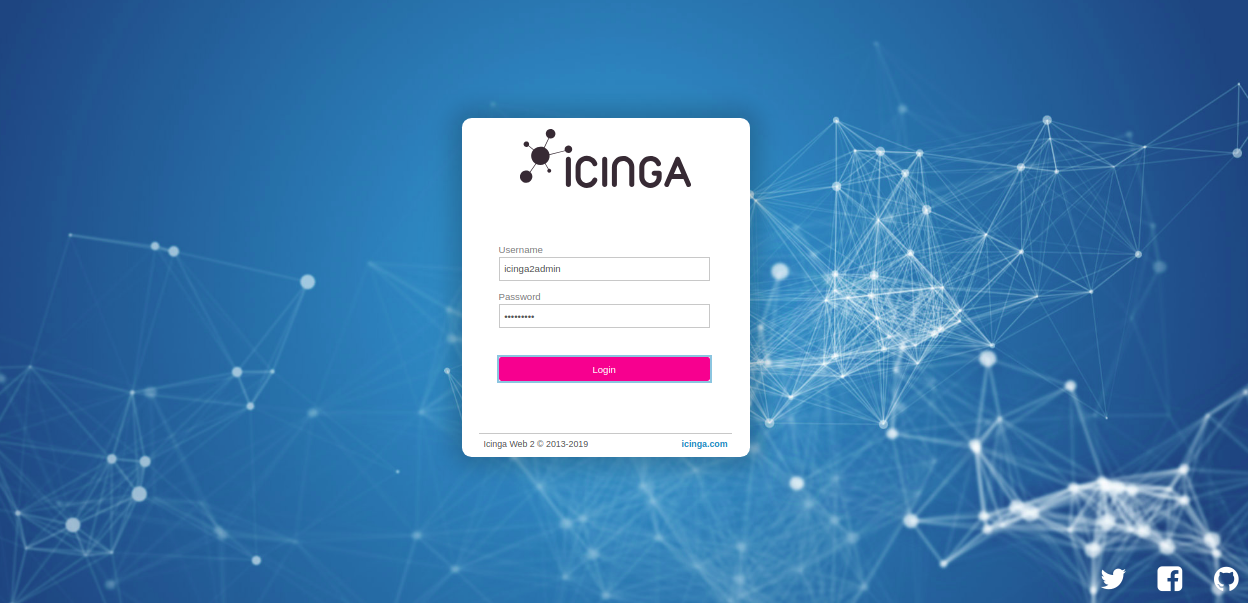
Now you’re ready to begin adding hosts and start monitoring your systems effectively.
FAQ
1. What is Icinga 2?
Icinga 2 is an open-source monitoring system for networked hosts and services, helping to monitor system health and performance metrics like CPU, memory, and disk usage.
2. Can I install Icinga 2 on different operating systems?
Yes, Icinga 2 is versatile and can be installed on operating systems like Debian, Ubuntu, CentOS, RHEL, FreeBSD, Fedora, and ArchLinux, among others.
3. What prerequisites do I need before installing Icinga on Debian 10?
You need a Debian 10 server with a configured static IP address and root privileges.
4. How do I access Icinga Web 2 after installation?
After successful installation, access Icinga Web 2 by navigating to http://your-ip-address/icingaweb2/setup in your web browser.
5. What should I do if I forget the setup token for Icinga Web 2?
If you forget the setup token, you can generate a new one using the command icingacli setup token create while ensuring the permissions remain intact.