InvoicePlane is a free and open-source invoicing application. You can find its source code on GitHub. This guide will walk you through the installation process of InvoicePlane on a fresh CentOS 7 system.
Requirements
- WebServer (Apache, NGINX). This tutorial uses Nginx.
- MySQL version 5.5 or greater, or the equivalent version of MariaDB.
- PHP version 7.0 or greater with the following PHP extensions installed and activated:
php-gdphp-hashphp-jsonphp-mbstringphp-mcryptphp-mysqliphp-opensslphp-recodephp-xmlrpcphp-zlib
Prerequisites
- A server running CentOS 7.
- A non-root user with sudo privileges.
Initial Steps
First, verify your CentOS system version:
cat /etc/centos-release
# CentOS Linux release 7.6.1810 (Core)
Set up the timezone:
timedatectl list-timezones
sudo timedatectl set-timezone 'Region/City'
Update your operating system’s packages:
sudo yum update -y
Install required packages:
sudo yum install -y vim wget curl git bash-completion unzip
Step 1 – Install PHP and Required PHP Extensions
InvoicePlane requires PHP version 7.0 or greater. The default CentOS repositories don’t include this version, so you need to set up a third-party repository, such as Webtatic.
Setup the Webtatic YUM repository:
sudo rpm -Uvh https://mirror.webtatic.com/yum/el7/webtatic-release.rpm
Install PHP and the necessary PHP extensions:
sudo yum install -y php72w php72w-cli php72w-fpm php72w-common php72w-gd php72w-json php72w-mbstring php72w-mcrypt php72w-mysql php72w-xmlrpc php72w-recode
Verify the PHP version:
php --version

# PHP 7.2.12 (cli) (built: Nov 11 2018 14:54:16) ( NTS )
# Copyright (c) 1997-2018 The PHP Group
# Zend Engine v3.2.0, Copyright (c) 1998-2018 Zend Technologies
Start and enable the PHP-FPM service:
sudo systemctl start php-fpm.service
sudo systemctl enable php-fpm.service
Step 2 – Install MariaDB
Install the MariaDB database server:
sudo yum install -y mariadb-server
Check MariaDB version:
mysql --version
# mysql Ver 15.1 Distrib 5.5.60-MariaDB, for Linux (x86_64) using readline 5.1
Start and enable the MariaDB service:
sudo systemctl start mariadb.service
sudo systemctl enable mariadb.service
To secure MariaDB, run the MySQL secure installation script and set the root password:
sudo mysql_secure_installation
Answer the following prompts:
Enter current password for root (enter for none):
Set root password? [Y/n]: Y
Remove anonymous users? [Y/n]: Y
Disallow root login remotely? [Y/n]: Y
Remove test database and access to it? [Y/n]:  Y
Reload privilege tables now? [Y/n]:  Y
Log into the MariaDB shell as the root user:
mysql -u root -p
# Enter password
Create a database and a user for InvoicePlane:
CREATE DATABASE dbname;
GRANT ALL ON dbname.* TO 'username' IDENTIFIED BY 'password';
FLUSH PRIVILEGES;
Exit the MariaDB shell:
quit
Step 3 – Install NGINX
Install the Nginx web server:
sudo yum install -y nginx
Check the NGINX version:
nginx -v
# nginx version: nginx/1.12.2
Start and enable the Nginx service:
sudo systemctl start nginx.service
sudo systemctl enable nginx.service
Configure NGINX for InvoicePlane:
sudo vim /etc/nginx/conf.d/invoiceplane.conf
server {
    listen 80;
    listen [::]:80;

    server_name example.com;

    root /var/www/invoiceplane;

    index index.php index.html;

    location / {
        try_files $uri $uri/ /index.php?$query_string;
    }

    location ~ \.php$ {
        fastcgi_index index.php;
        try_files $uri =404;
        include fastcgi_params;
        fastcgi_param SCRIPT_FILENAME $document_root$fastcgi_script_name;
        fastcgi_pass 127.0.0.1:9000;
    }
}
Test the NGINX configuration:
sudo nginx -t
Reload NGINX:
sudo systemctl reload nginx.service
Step 4 – Install InvoicePlane
Download the latest stable version of InvoicePlane and extract the archive:
sudo mkdir -p /var/www
cd /var/www
sudo curl -O -J -L https://invoiceplane.com/download/v1.5.9
sudo unzip v1.5.9.zip
sudo rm v1.5.9.zip
sudo mv ip invoiceplane
Navigate to the /var/www/invoiceplane directory:
cd /var/www/invoiceplane
Copy the ipconfig.php.example file and rename it to ipconfig.php:
sudo cp ipconfig.php.example ipconfig.php
Edit the ipconfig.php file to include your URL:
sudo vim ipconfig.php
# Example:
IP_URL=http://example.com
Change ownership of the /var/www/invoiceplane directory to nginx:
sudo chown -R nginx:nginx /var/www/invoiceplane
Edit the PHP-FPM configuration to set the user and group to nginx:
sudo vim /etc/php-fpm.d/www.conf
# user = nginx
# group = nginx
Set the timezone in PHP:
sudo vim /etc/php.ini
date.timezone = Region/City
Restart the PHP-FPM service:
sudo systemctl restart php-fpm.service
Run the InvoicePlane installer from your web browser and follow the instructions:
http://example.com/index.php/setup
Once the installation is complete, log into InvoicePlane with the credentials you set during installation.
For security, disable the setup by setting DISABLE_SETUP=true in your ipconfig.php file.
Step 5 – Complete the InvoicePlane Setup
Access the web installation wizard:
Open your browser and navigate to http://example.com. You should see the following pages:
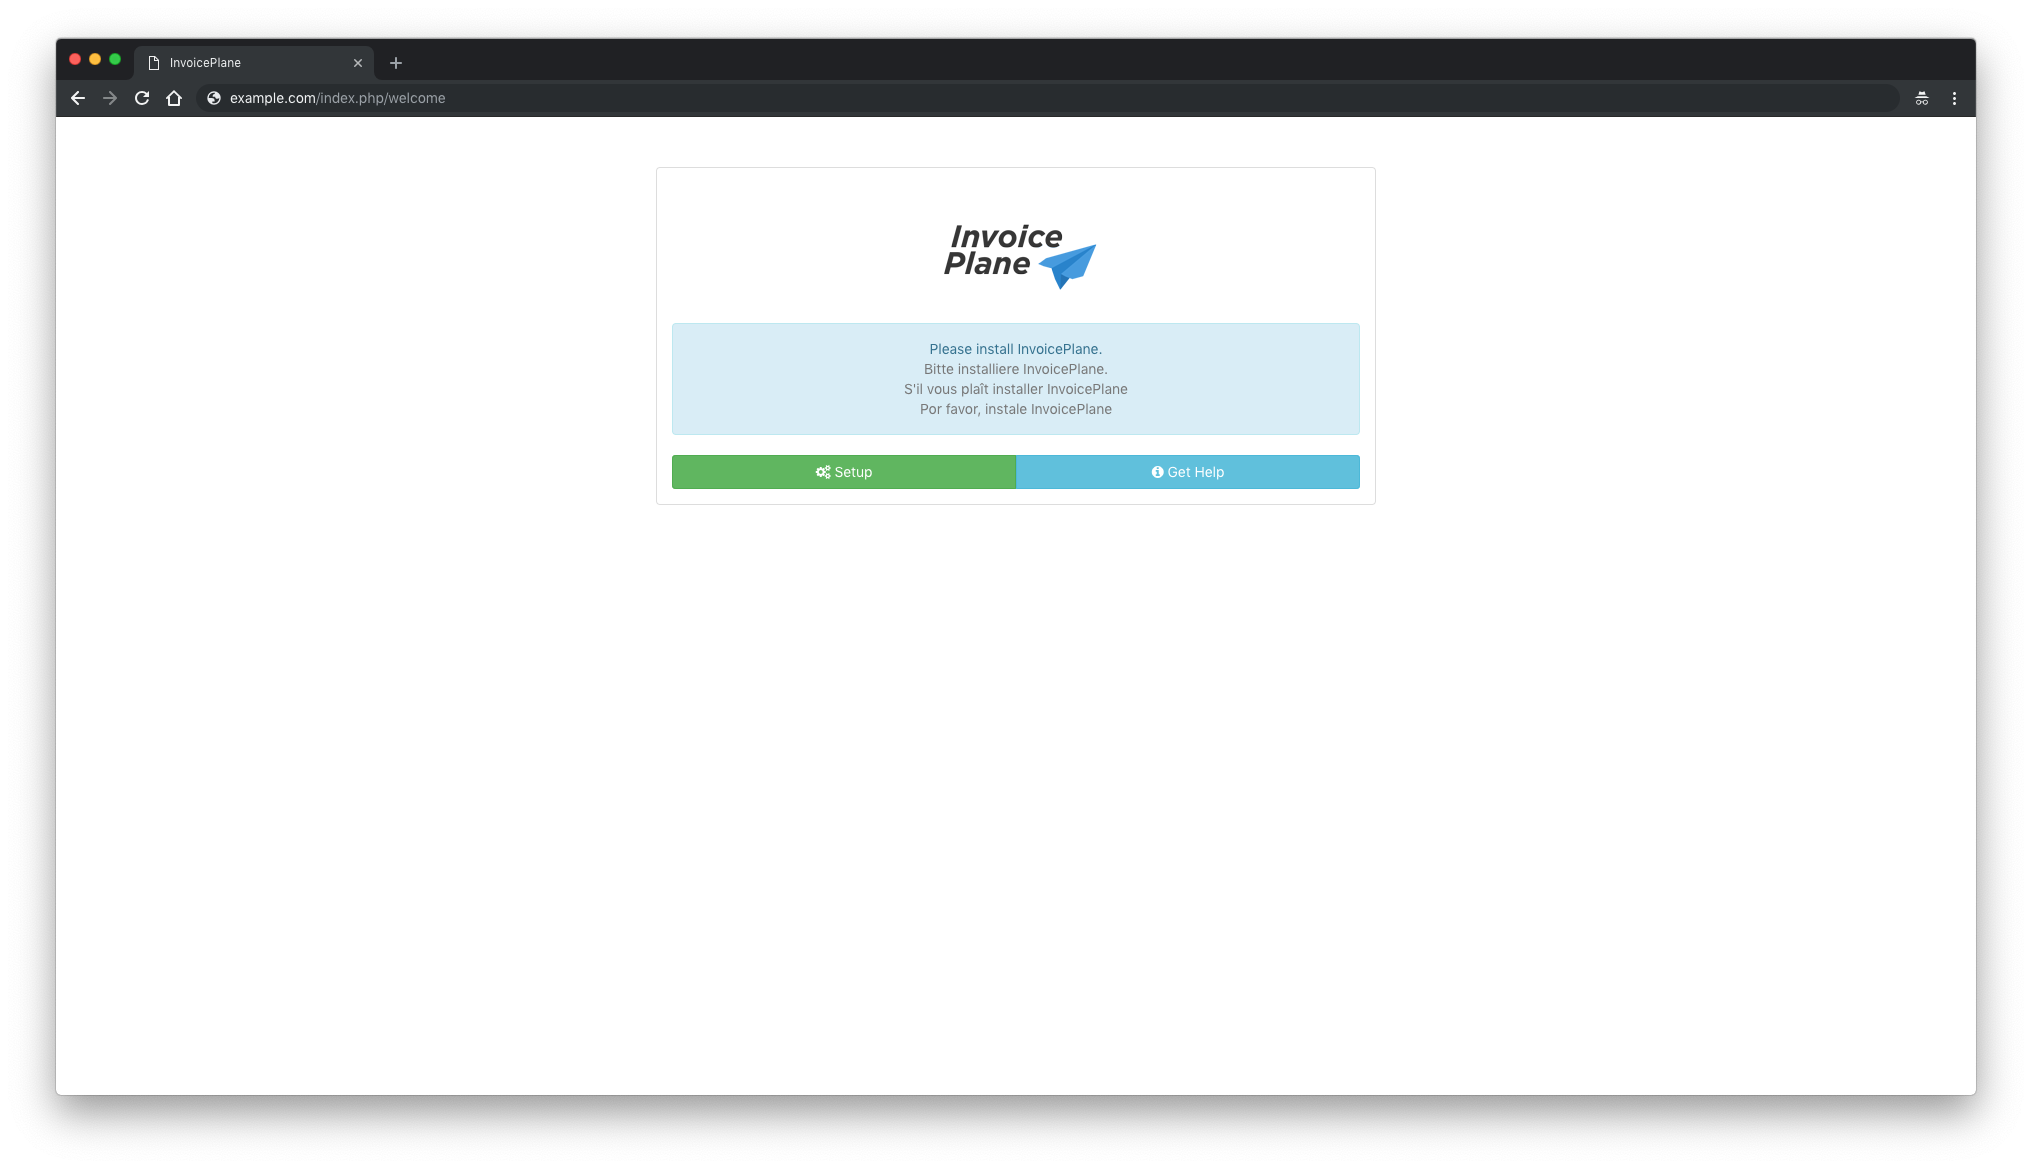
Click Setup to proceed:
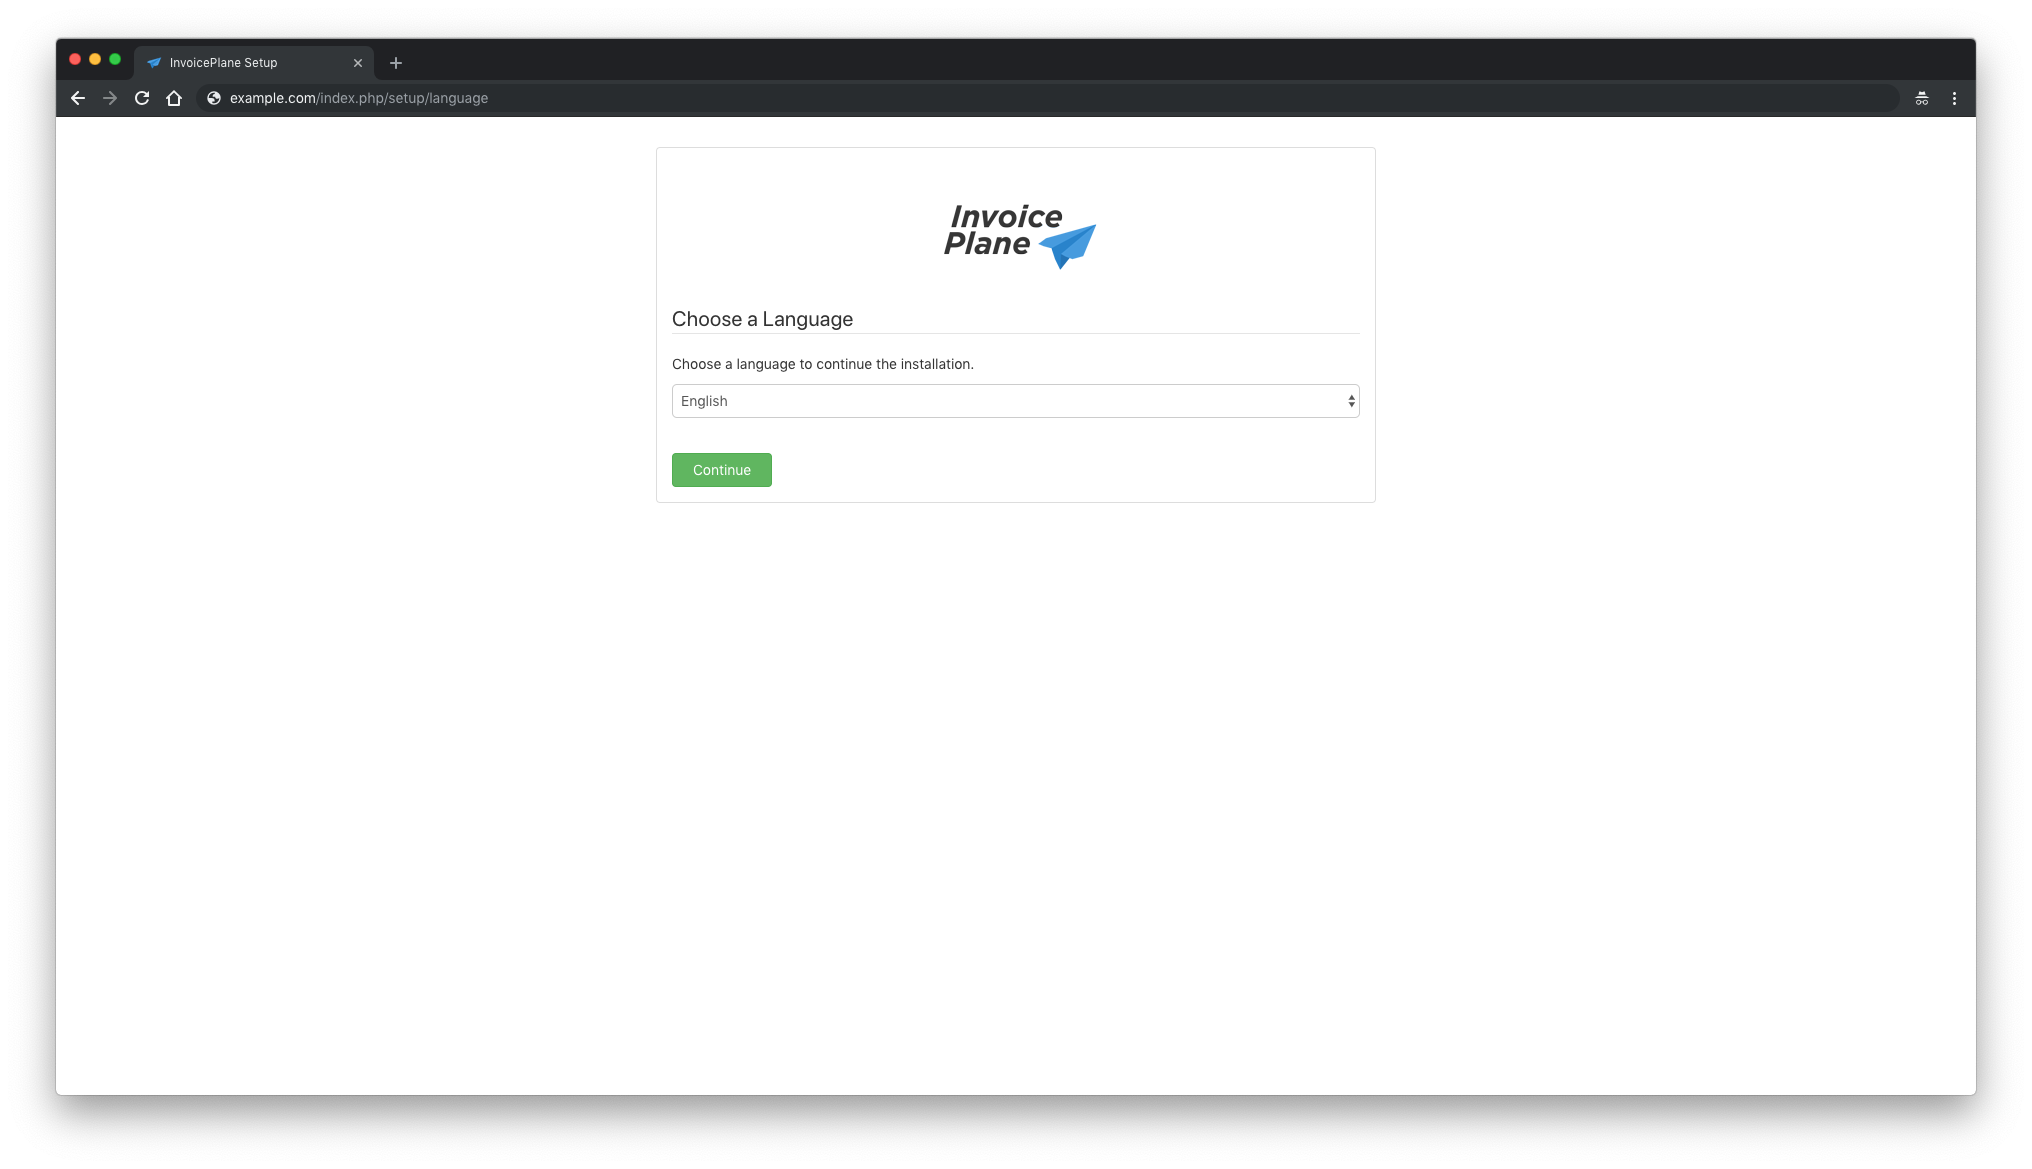
Select your language and continue:
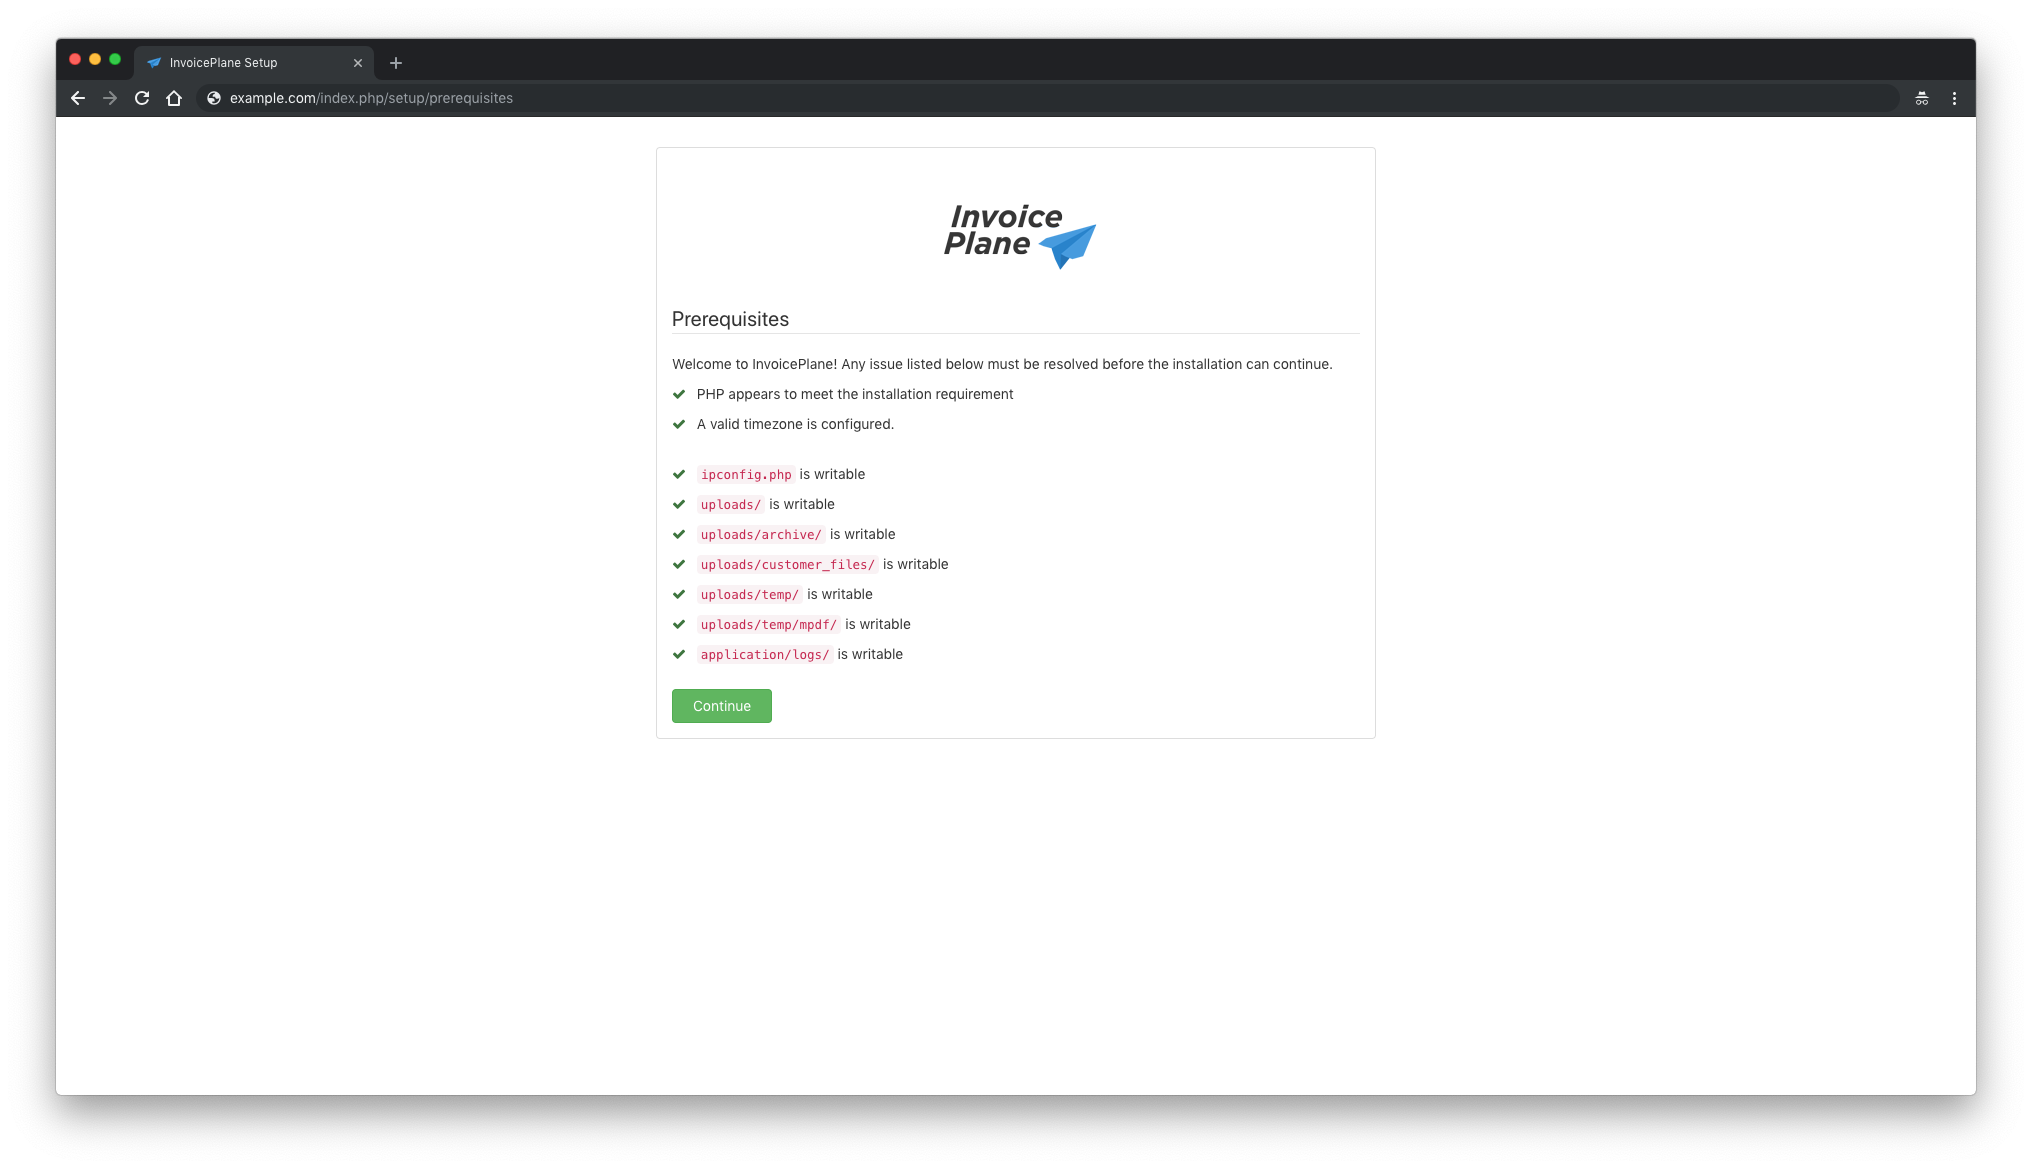
Click Continue:
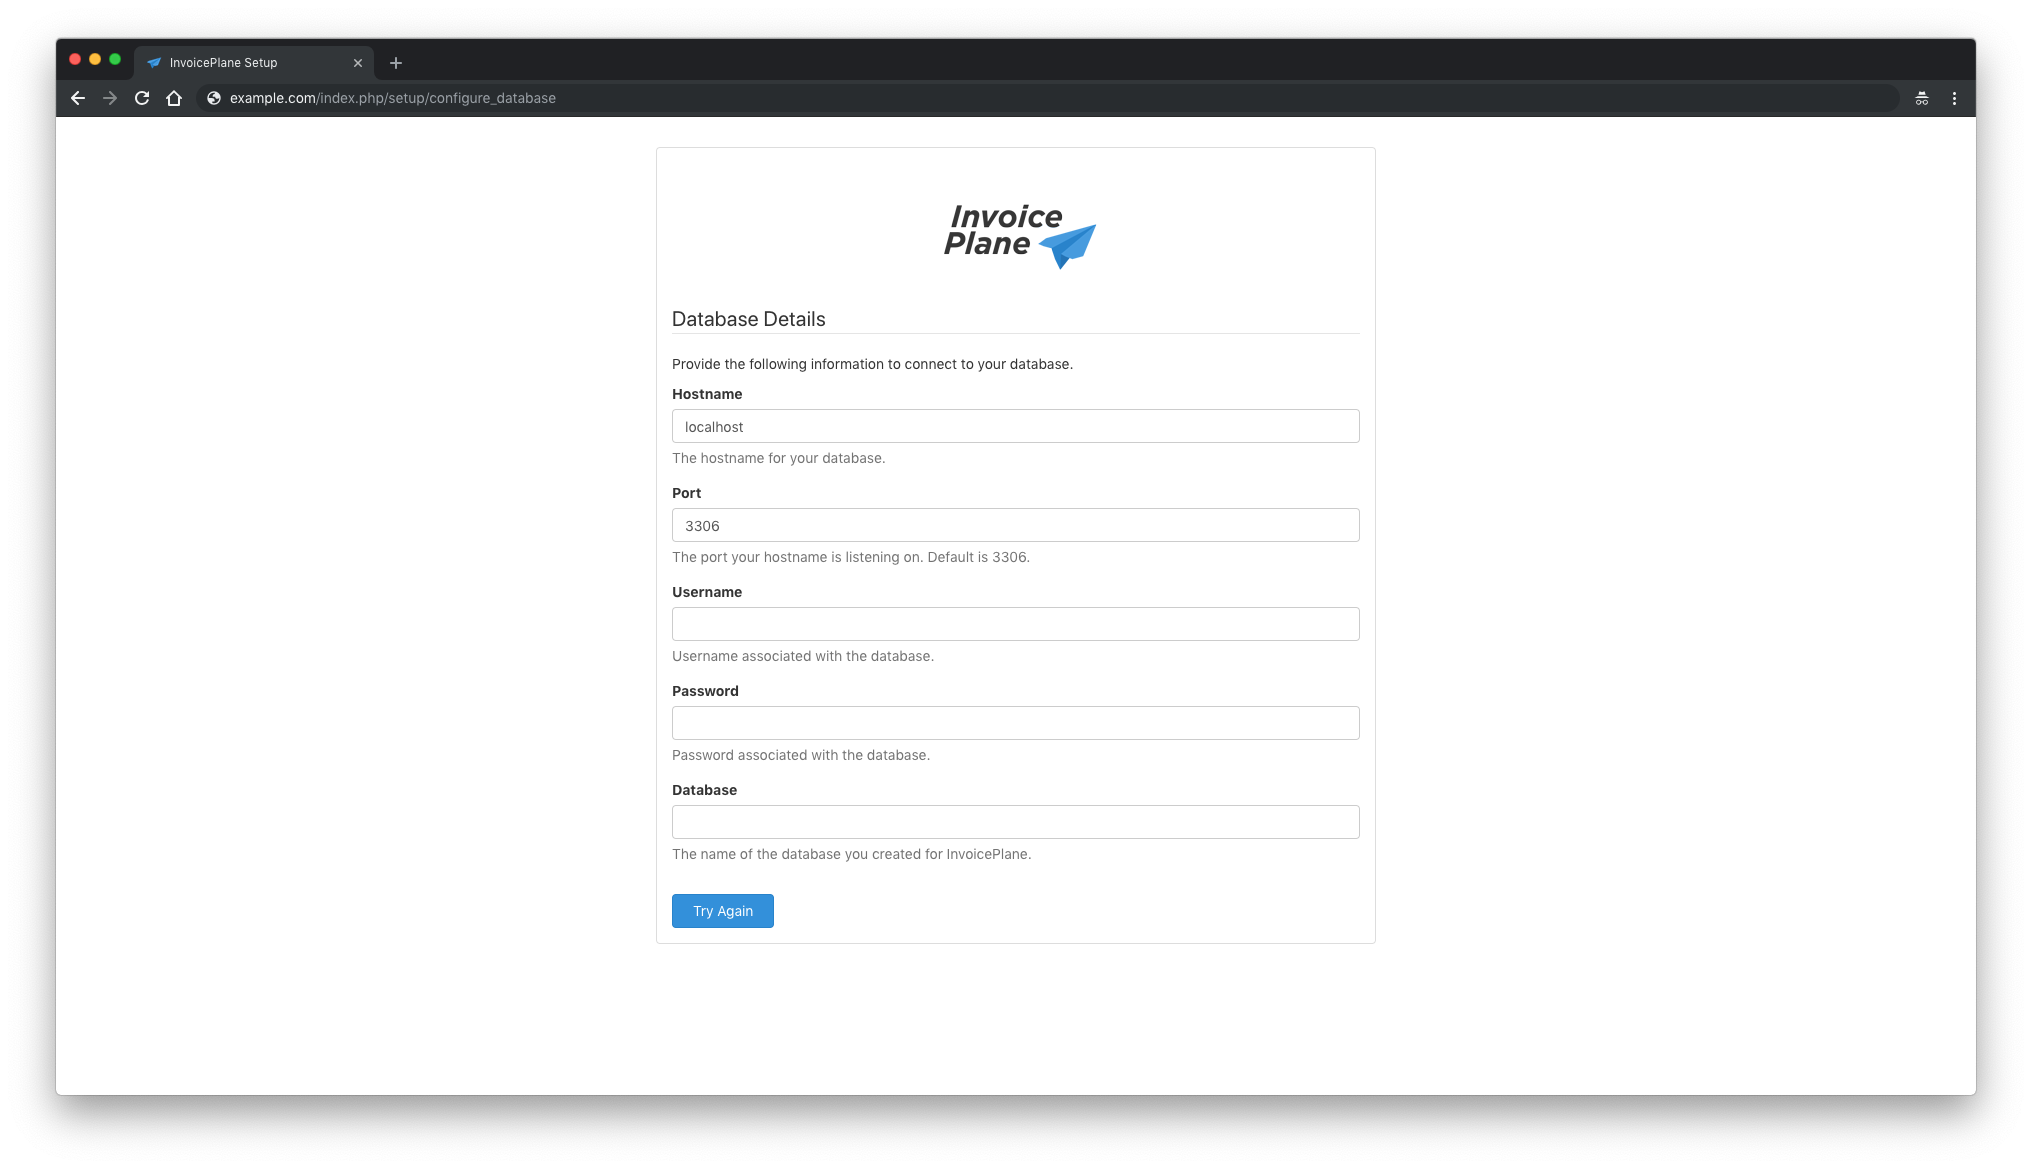
Enter database details and proceed:
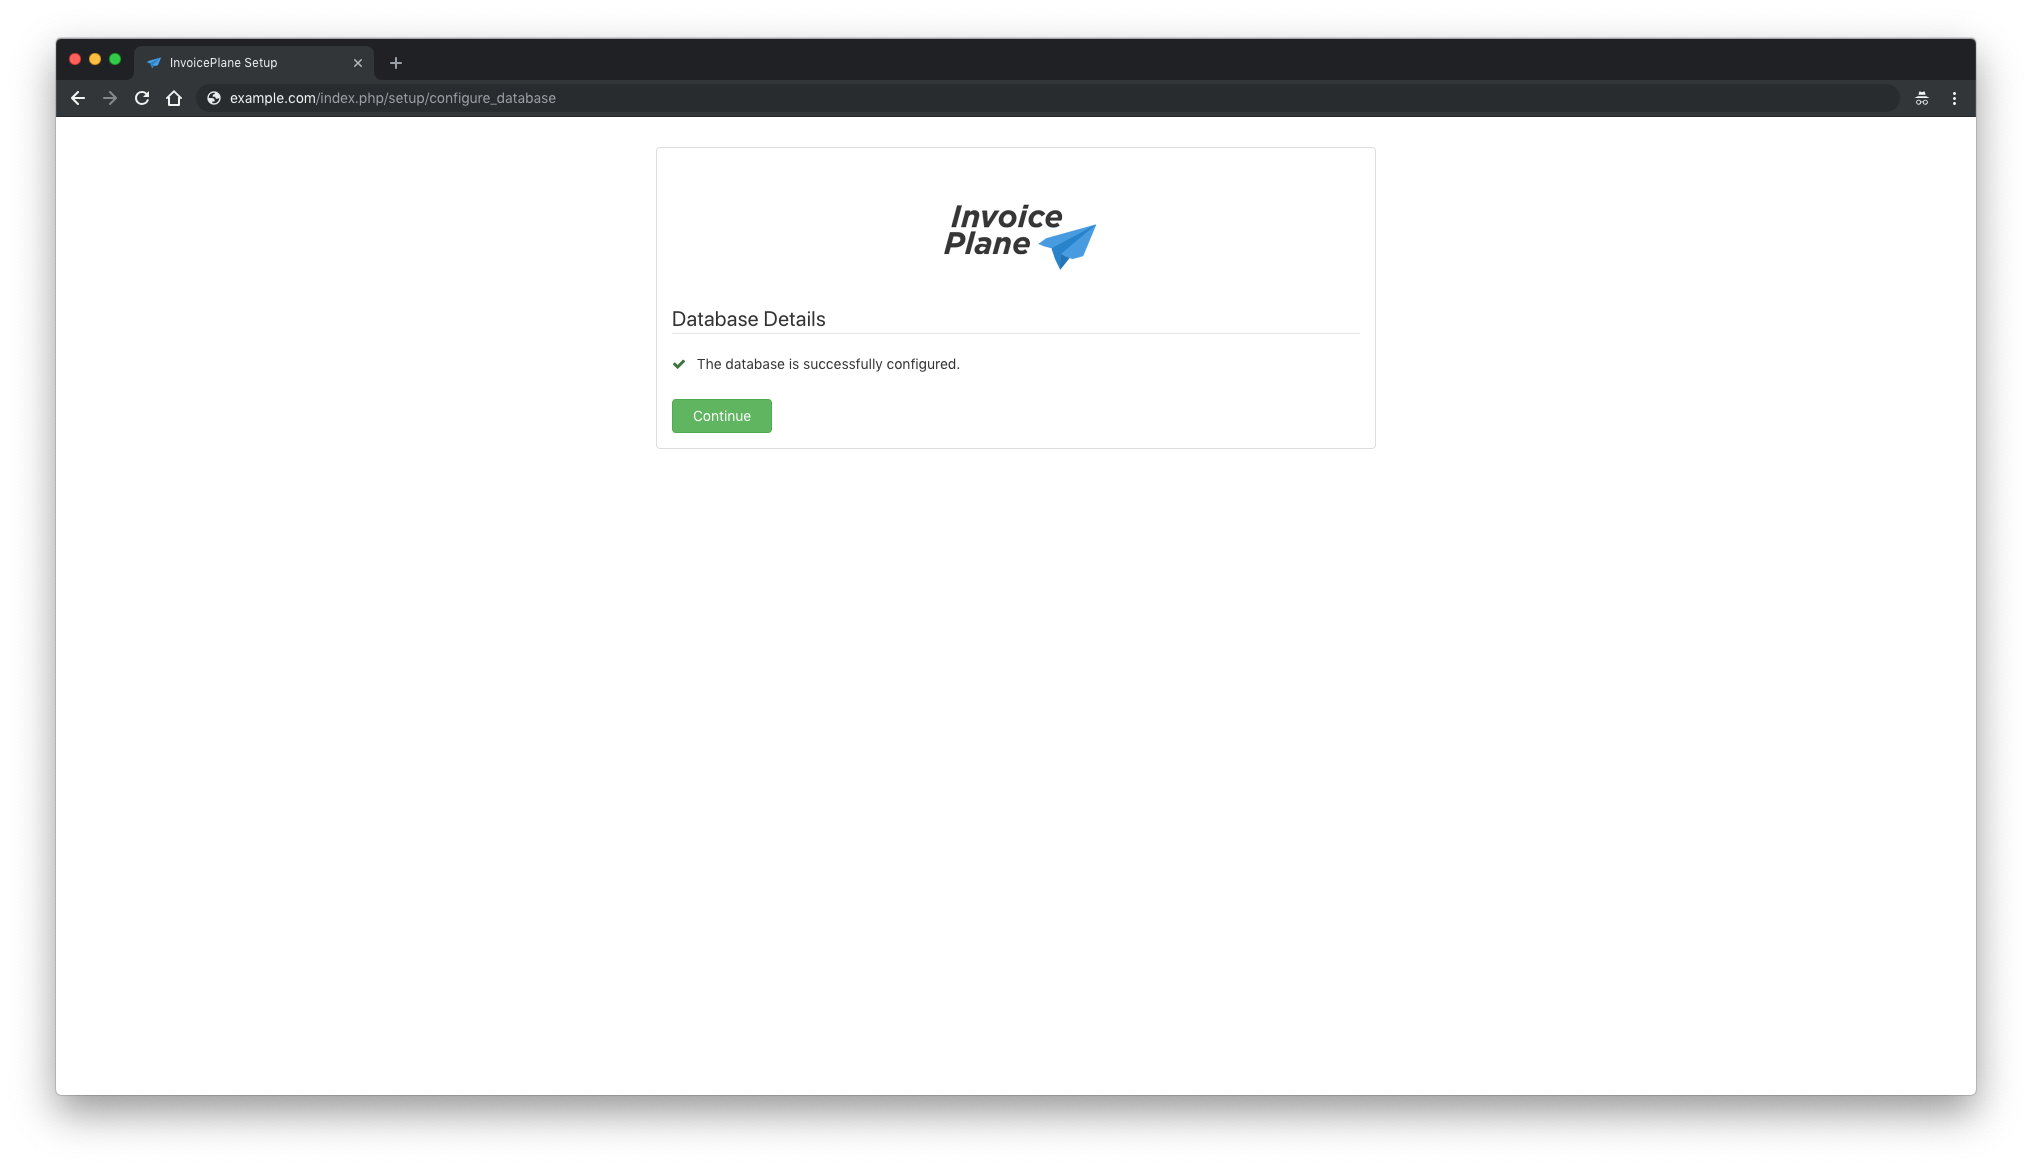
Click Continue following setup steps:
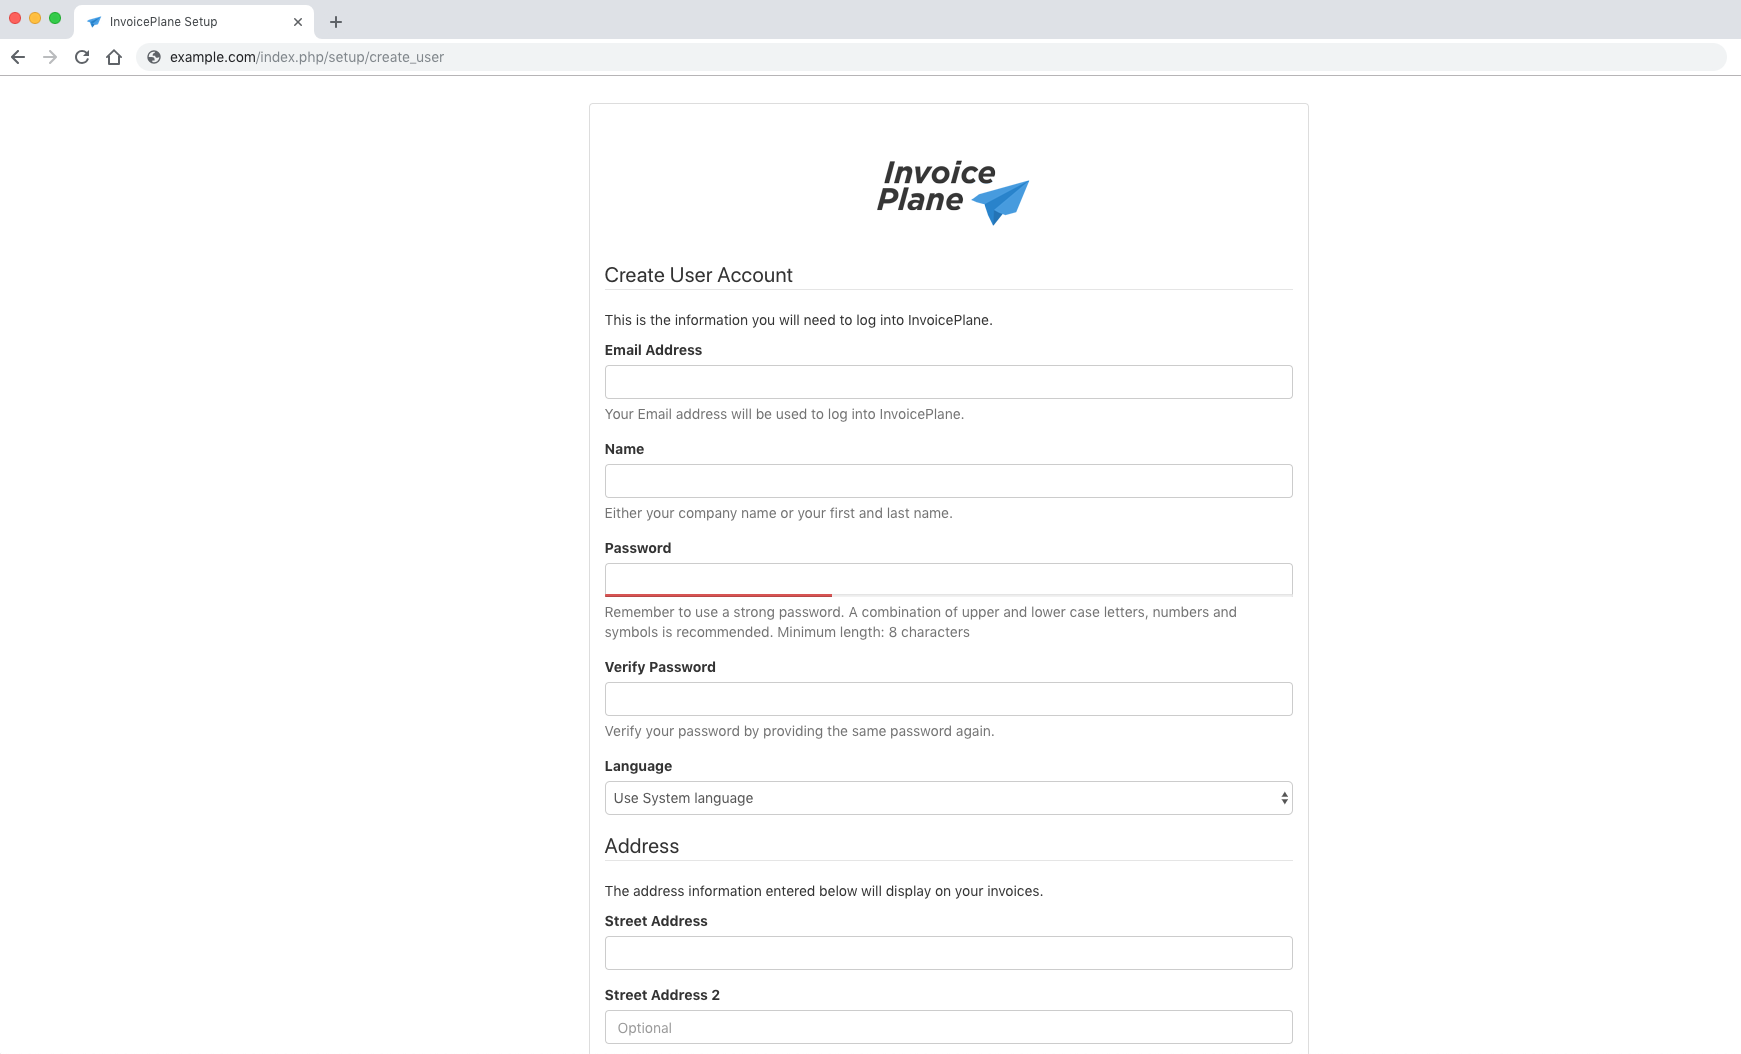
After setup, the following screen confirms a successful installation:
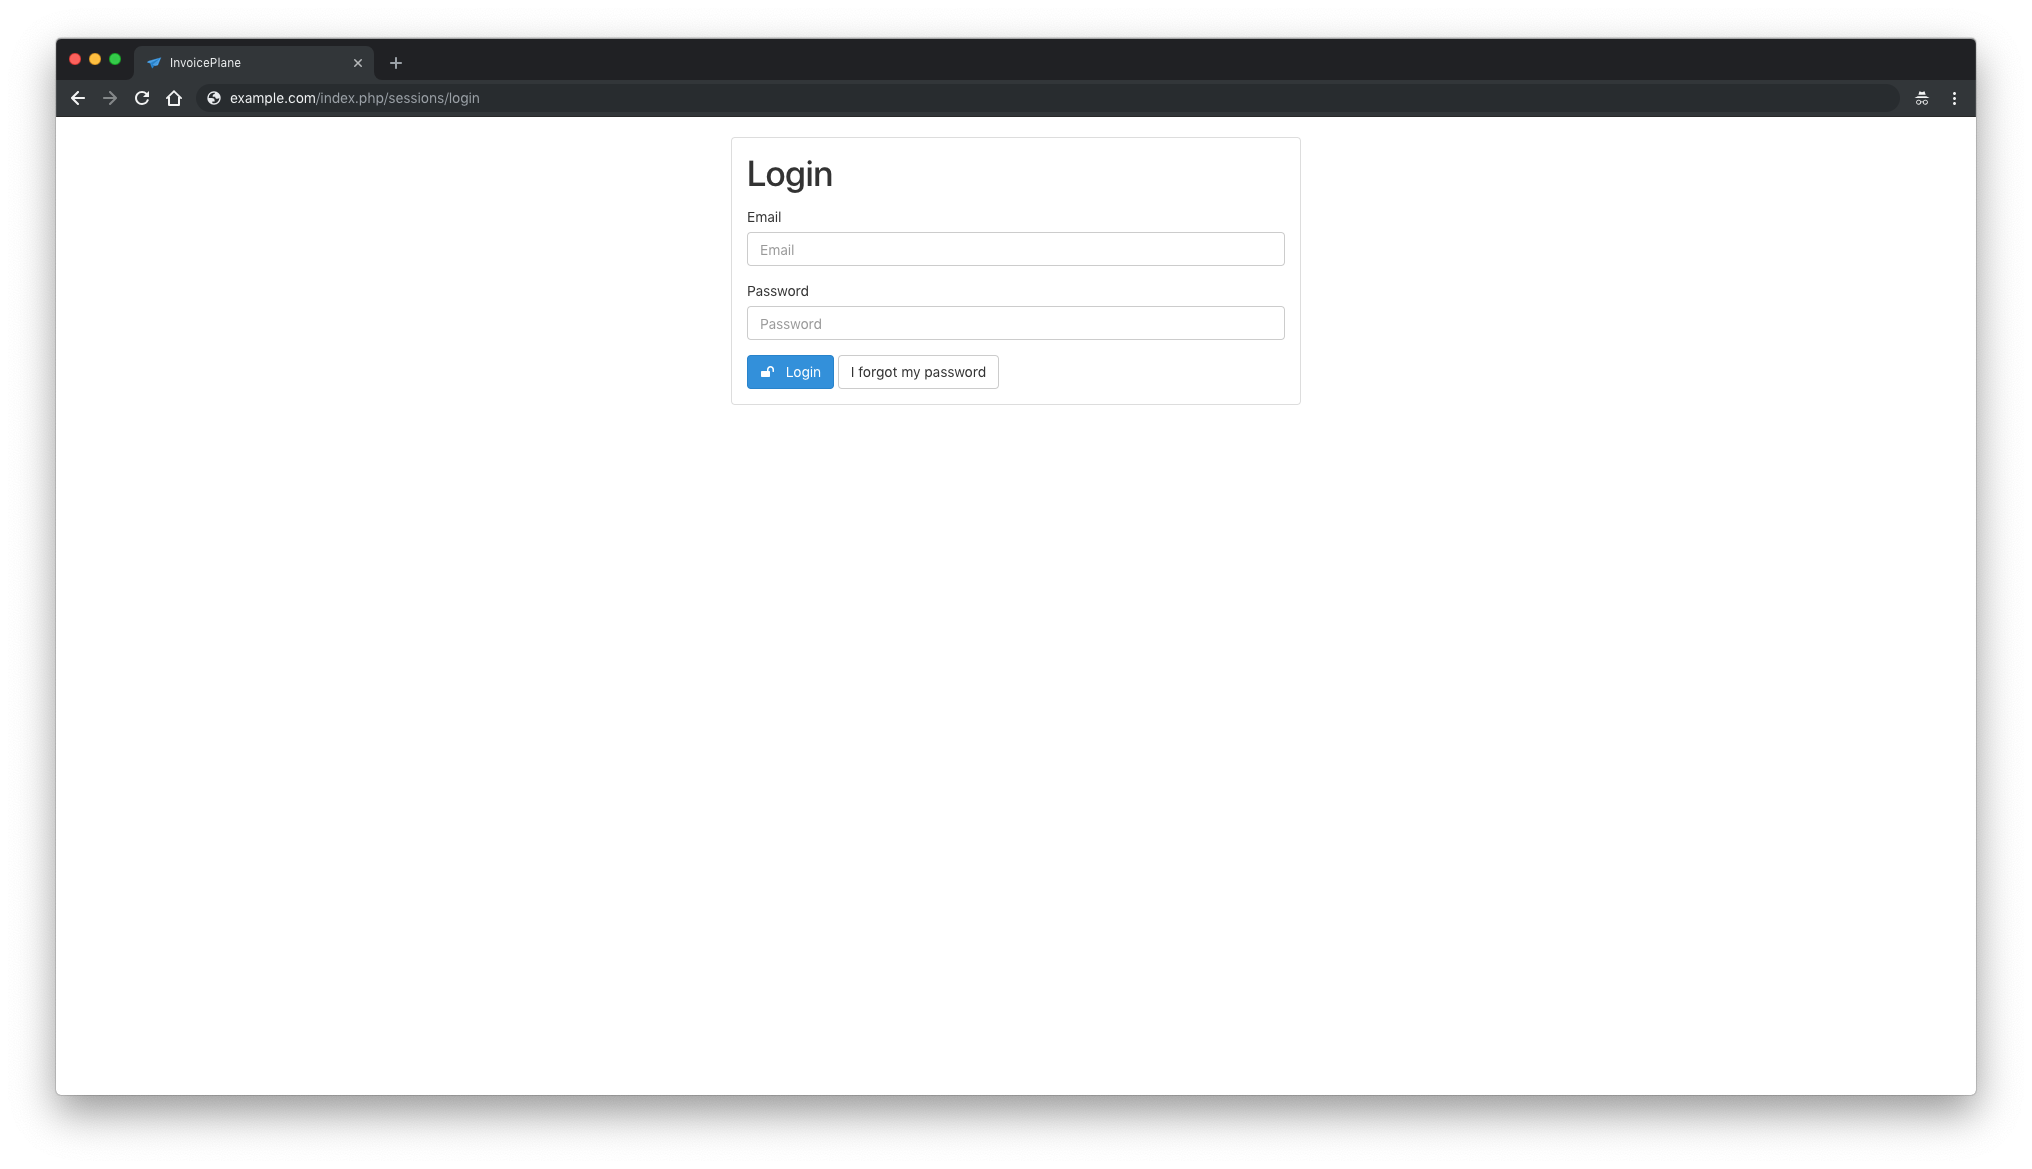
Click Login to access the InvoicePlane administration area.
Useful Links
FAQ
How can I secure my InvoicePlane installation?
After installing, you can enhance security by disabling setup access in the ipconfig.php file by setting DISABLE_SETUP=true.
Can I use a database other than MariaDB?
Yes, InvoicePlane supports MySQL version 5.5 or greater as well.
What should I do if I encounter an error during setup?
Verify all input details such as database credentials, ensure services like NGINX and PHP-FPM are running, and check log files for any specific error messages.
