Jitsi Meet is a powerful, free, and open-source video-conferencing application. Perfect for both standalone use and integration into web applications, it leverages WebRTC to facilitate multi-user video conferencing without requiring additional software or browser extensions.
Features
- Screen sharing, group chat, presentations, and more
- Integration with Google and Microsoft Calendar
- Invite participants via a simple URL
- Support for end-to-end TLS encryption
- Universal multi-platform availability
- Collaborative document editing
In this tutorial, we’ll guide you through the steps to install Jitsi Meet on a Debian 10 server.
Prerequisites
- A server with Debian 10 and at least 4 GB of RAM.
- A valid domain name pointing to your server’s IP. Here, we’ll use the subdomain
jitsi.linuxbuz.comof the domainlinuxbuz.com. - Configured root password for your server.
Getting Started
Before you begin, ensure your system’s packages are updated to the latest version with the commands:
apt-get update -y
apt-get upgrade -y
After updates, restart your system to apply the changes.
Install Nginx Web Server
Jitsi Meet requires a web server; Nginx is a suitable choice. Install Nginx with:
apt-get install nginx -y
After installation, continue to the next steps.
Install Jitsi Meet
Install necessary dependencies with:
apt-get install gnupg2 apt-transport-https software-properties-common -y
Add the Jitsi GPG key:
wget -qO - https://download.jitsi.org/jitsi-key.gpg.key | apt-key add -
Now, insert the Jitsi repository:
sh -c "echo 'deb https://download.jitsi.org stable/' > /etc/apt/sources.list.d/jitsi-stable.list"
Update the repository list:
apt-get update -y
Install Jitsi Meet:
apt-get install jitsi-meet
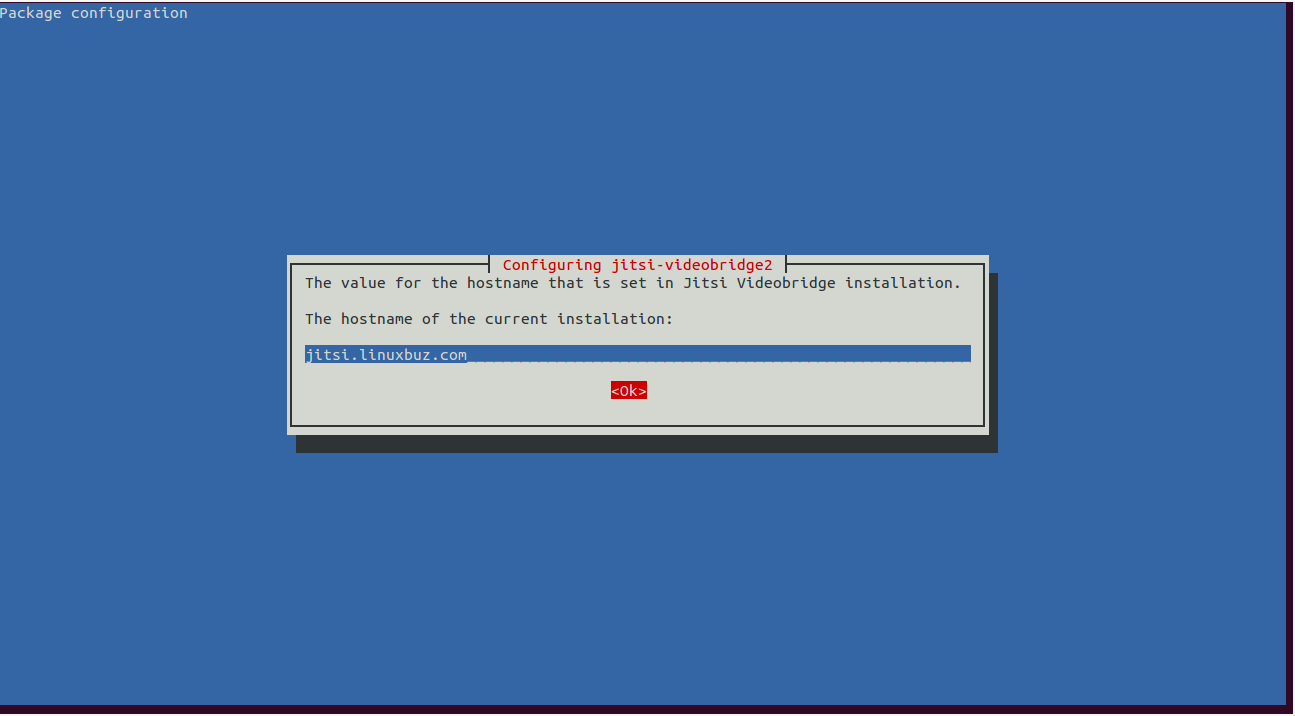
Input the server’s FQDN as prompted:
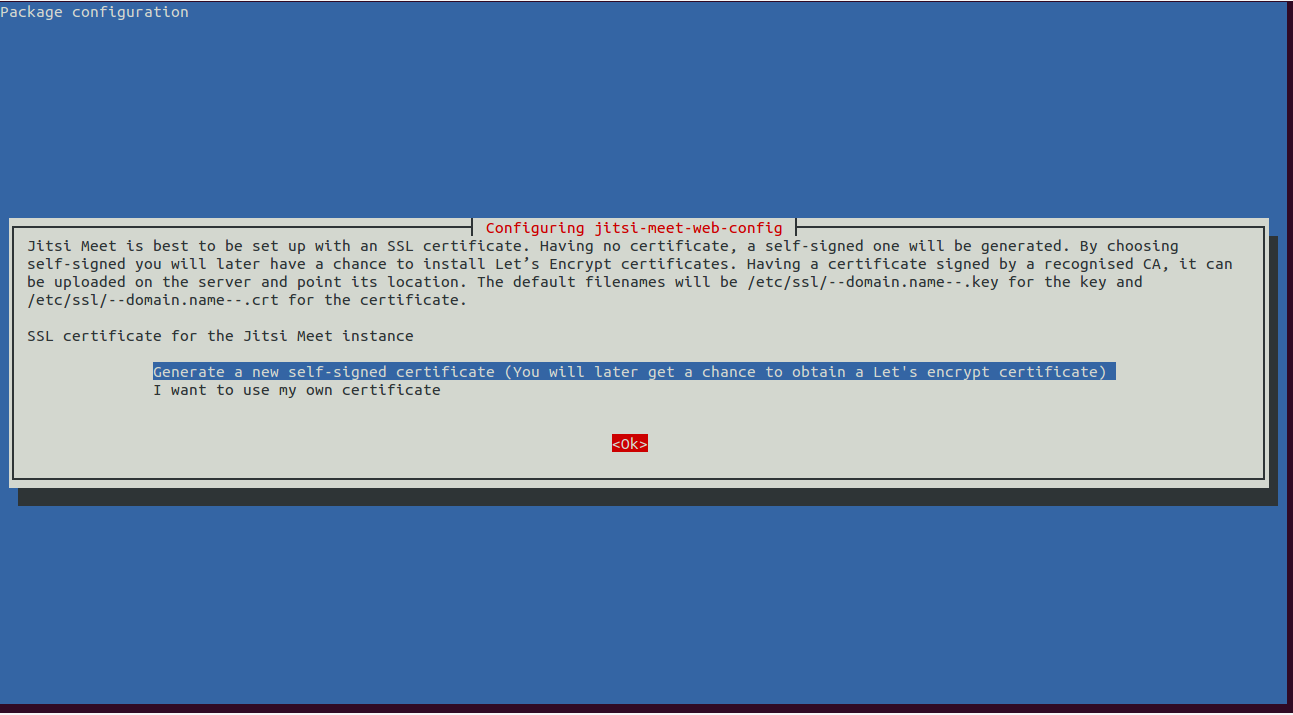
Choose to generate a new self-signed certificate (you can obtain a Let’s Encrypt certificate later):
Secure Jitsi Meet with Let’s Encrypt SSL
With Jitsi Meet installed, secure it using a Let’s Encrypt SSL certificate. Begin by adding the Certbot repository:
echo "deb http://ftp.debian.org/debian buster-backports main" >> /etc/apt/sources.list
Then, update the repository and install Certbot:
apt-get update -y
apt-get install python3-certbot-nginx -t buster-backports
Execute the Let’s Encrypt script and provide your email address when prompted:
/usr/share/jitsi-meet/scripts/install-letsencrypt-cert.sh
Enter your email and press [ENTER]:
your-email@example.com
Upon successful completion, you’ll see confirmation and certificate details.
Access Jitsi Meet
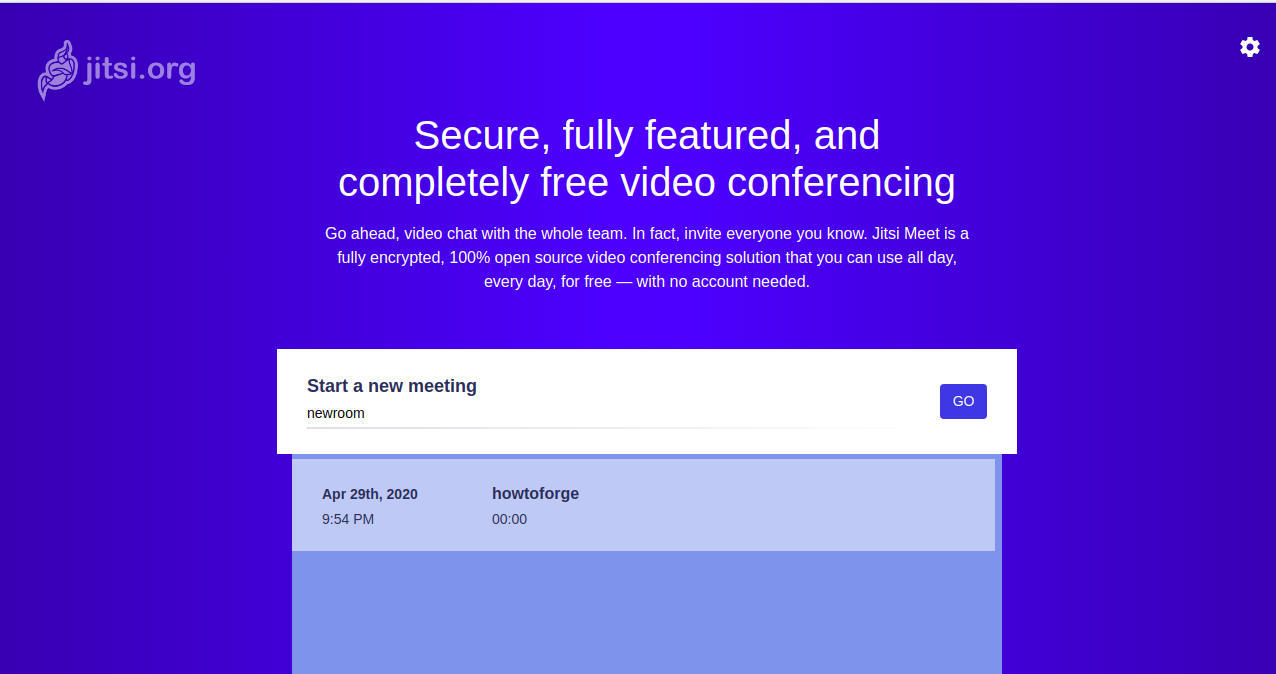
With Jitsi Meet secured, use your browser to go to https://jitsi.linuxbuz.com. Here’s what you’ll see:
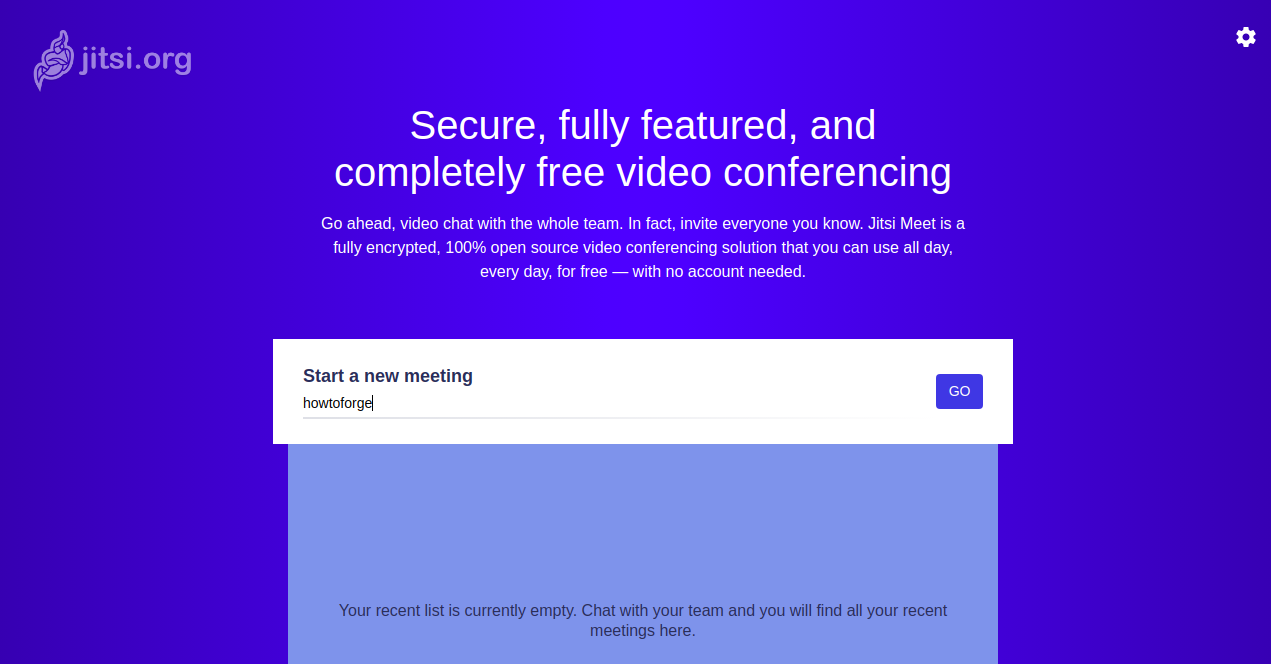
Create and join rooms, following on-screen prompts for microphone and camera access:
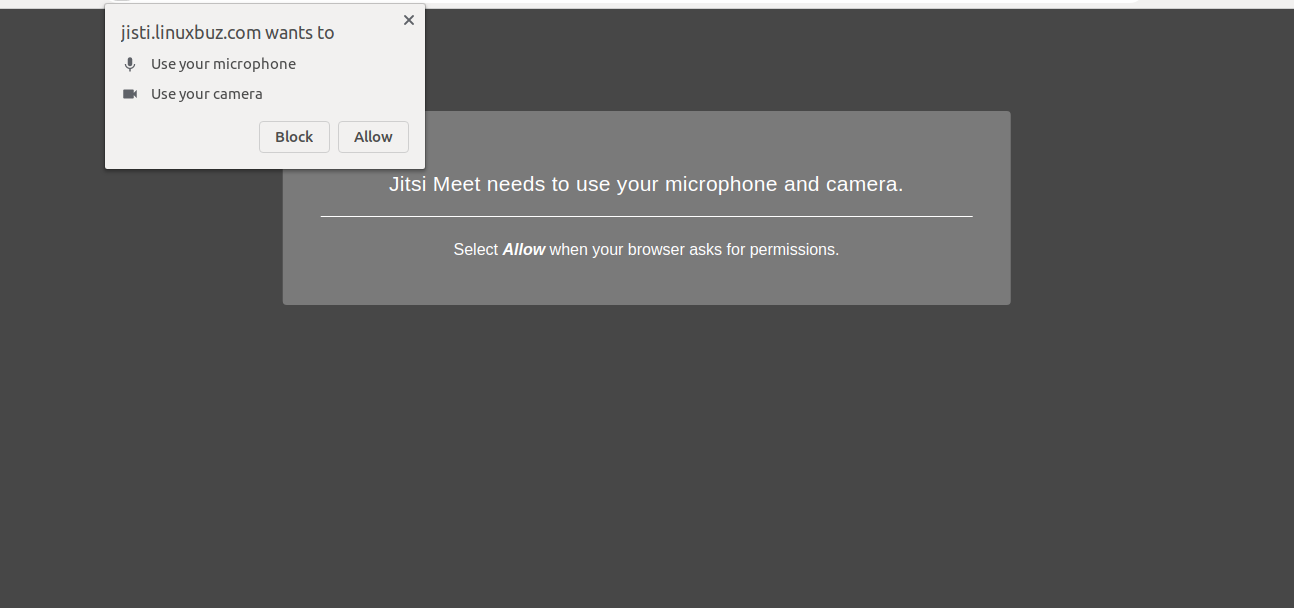
Enter the conference room:

Set Up User Authentication for Jitsi Meet
For better security, set up Jitsi Meet to ensure only registered users can create rooms. Edit the configuration:
nano /etc/prosody/conf.avail/jitsi.linuxbuz.com.cfg.lua
Change:
authentication = "anonymous"
To:
authentication = "internal_plain"
Append these lines for guest access:
VirtualHost "guest.jitsi.linuxbuz.com"
    authentication = "anonymous"
    c2s_require_encryption = false
Edit the Jitsi configuration:
nano /etc/jitsi/meet/jitsi.linuxbuz.com-config.js
Update line:
anonymousdomain: 'guest.jitsi.linuxbuz.com',
Configure Jicofo:
nano /etc/jitsi/jicofo/sip-communicator.properties
Add:
org.jitsi.jicofo.auth.URL=XMPP:jitsi.linuxbuz.com
Create a user with:
prosodyctl register jitsiuser jitsi.linuxbuz.com password
Restart services:
systemctl restart prosody
systemctl restart jicofo
systemctl restart jitsi-videobridge2
Verification
Check if all services are running smoothly:
systemctl status jitsi-videobridge2 prosody jicofo
You should see status outputs indicating active services. Access the Jitsi Meet URL, enter your room name, and authenticate:
Conclusion
Congratulations! Jitsi Meet is now successfully installed and secured on your Debian 10 server. Share meeting links, set room passwords, and manage audio/video settings all from your web browser.
FAQ
1. What is Jitsi Meet used for?
Jitsi Meet is used for secure, multi-participant video conferencing and collaborative communication over the internet.
2. Can I access Jitsi Meet via mobile devices?
Yes, Jitsi Meet is accessible via mobile web browsers and offers apps for iOS and Android devices.
3. How can I ensure that only authorized users can create conference rooms?
Follow the steps outlined in the “Set Up User Authentication for Jitsi Meet” section to restrict room creation to registered users while allowing guest access for joining conferences.
4. What is the role of Let’s Encrypt SSL in Jitsi Meet?
Let’s Encrypt SSL secures your conferencing by encrypting data and validating your server’s identity to users, ensuring privacy and protection against unauthorized access.
