Koel is a web-based audio streaming service implemented in the Laravel PHP framework. It serves as your personal music streaming server, allowing access to your music library from anywhere. Koel supports multiple media formats, including AAC, OGG, WMA, FLAC, and APE.
In this tutorial, you’ll learn how to install Koel Music Streaming Server using Docker on a Rocky Linux 8 machine.
Prerequisites
- A server running Rocky Linux 8.5.
- A non-root user with sudo privileges.
- Update your system packages:
$ sudo dnf update
- Install essential packages:
$ sudo dnf install yum-utils nano curl
- A custom domain name pointing to the server, such as
koel.example.com.
Step 1 – Configure the Firewall
First, configure the firewall. Rocky Linux utilizes Firewalld. Check the firewall’s status by running:
$ sudo firewall-cmd --state
The expected output is:
running
List all active services and ports:
$ sudo firewall-cmd --permanent --list-services
Expected output:
cockpit dhcpv6-client ssh
Allow HTTP and HTTPS services with the following commands:
$ sudo firewall-cmd --permanent --add-service=http
$ sudo firewall-cmd --permanent --add-service=https
Reload the firewall for changes to take effect:
$ sudo firewall-cmd --reload
Step 2 – Install Docker
Install the latest version of Docker by adding its official repository:
$ sudo yum-config-manager --add-repo https://download.docker.com/linux/centos/docker-ce.repo
Then, install Docker:
$ sudo dnf install docker-ce docker-ce-cli containerd.io
Enable and start the Docker daemon:
$ sudo systemctl enable docker --now
Ensure it is running with:
$ sudo systemctl status docker
Step 3 – Install Docker Compose
Download Docker Compose:
$ sudo curl -L "https://github.com/docker/compose/releases/download/1.29.2/docker-compose-$(uname -s)-$(uname -m)" -o /usr/local/bin/docker-compose
Grant execution permissions to the binary:
$ sudo chmod +x /usr/local/bin/docker-compose
Verify the installation:
$ docker-compose --version
Execute the following to install Docker Compose command autocompletion:
$ sudo curl -L https://raw.githubusercontent.com/docker/compose/1.29.2/contrib/completion/bash/docker-compose -o /etc/bash_completion.d/docker-compose
Reload your profile settings:
$ source ~/.bashrc
Step 4 – Create Koel App Key
Generate Koel’s app key by running the Koel container temporarily:
$ docker run -it --rm phanan/koel bash
Inside the container, create the application key:
$ php artisan key:generate --force
Display and copy the app key:
$ cat .env
Exit the container:
$ exit
Step 5 – Create Koel Environment File
Create a directory for Koel:
$ mkdir ~/koel
Navigate to the folder:
$ cd ~/koel
Create a music directory:
$ mkdir music
Create and edit the .env file:
$ nano .env
Paste the following content:
APP_NAME=Koel
APP_KEY=base64:yourGeneratedAppKeyHere
MEDIA_PATH=/music
APP_ENV=production
APP_DEBUG=true
APP_URL=https://koel.example.com
APP_MAX_SCAN_TIME=600
MEMORY_LIMIT=512
STREAMING_METHOD=x-sendfile
ALLOW_DOWNLOAD=true
CACHE_MEDIA=true
FORCE_HTTPS=true
APP_LOG_LEVEL=debug
BROADCAST_DRIVER=log
CACHE_DRIVER=file
SESSION_DRIVER=file
QUEUE_DRIVER=sync
Adjust the settings based on your setup, ensuring to replace placeholders with actual values.
Step 6 – Create Koel Docker Compose File
Create and edit docker-compose.yml:
$ nano docker-compose.yml
Insert the configuration:
version: '3.3'
services:
  koel:
    image: phanan/koel
    container_name: koel
    depends_on:
      - koeldb
    restart: unless-stopped
    ports:
      - 8080:80
    environment:
      - DB_CONNECTION=mysql
      - DB_HOST=koeldb
      - DB_USERNAME=koel
      - DB_PASSWORD=koelpassword
      - DB_DATABASE=koel
    volumes:
      - ./music:/music
      - ./.env:/var/www/html/.env
      - covers:/var/www/html/public/img/covers
      - search_index:/var/www/html/storage/search-indexes

  koeldb:
    image: mysql/mysql-server:8.0
    restart: unless-stopped
    volumes:
      - db:/var/lib/mysql
    environment:
      - MYSQL_ROOT_PASSWORD=rootpassword
      - MYSQL_DATABASE=koel
      - MYSQL_USER=koel
      - MYSQL_PASSWORD=koelpassword

volumes:
  db:
    driver: local
  covers:
    driver: local
  search_index:
    driver: local
Save the file and ensure you set strong passwords and correct environment variables.
Step 7 – Start Koel Container
Launch the Koel container:
$ docker-compose up -d
Initialize Koel for the First Time
Access the Koel container shell:
$ docker exec --user www-data -it koel bash
Create an admin account:
$ php artisan koel:init --no-assets
Change Administrator Password
Modify the admin account password:
$ php artisan koel:admin:change-password
Then exit:
$ exit
Step 8 – Install SSL
To secure with SSL, first download and enable the EPEL repository:
$ sudo dnf install epel-release
Next, install Certbot:
$ sudo dnf install certbot
Generate an SSL certificate:
$ sudo certbot certonly --standalone --agree-tos --no-eff-email --staple-ocsp --preferred-challenges http -m name@example.com -d koel.example.com
Create a Diffie-Hellman group certificate:
$ sudo openssl dhparam -out /etc/ssl/certs/dhparam.pem 4096
Set up a web root directory for certificate auto-renewal:
$ sudo mkdir -p /var/lib/letsencrypt
Configure a cron job for certificate renewal:
#!/bin/sh
certbot renew --cert-name koel.example.com --webroot -w /var/lib/letsencrypt/ --post-hook "systemctl reload nginx"
Make the cron job file executable:
$ sudo chmod +x /etc/cron.daily/certbot-renew
Step 9 – Install Nginx
Install Nginx by setting up its repository:
[nginx-stable]
name=nginx stable repo
baseurl=http://nginx.org/packages/centos/$releasever/$basearch/
gpgcheck=1
enabled=1
gpgkey=https://nginx.org/keys/nginx_signing.key
module_hotfixes=true

[nginx-mainline]
name=nginx mainline repo
baseurl=http://nginx.org/packages/mainline/centos/$releasever/$basearch/
gpgcheck=1
enabled=0
gpgkey=https://nginx.org/keys/nginx_signing.key
module_hotfixes=true
Install Nginx:
$ sudo dnf install nginx
Enable and start Nginx:
$ sudo systemctl enable nginx --now
Configure Nginx for SSL and proxy setup, save the configuration in /etc/nginx/conf.d/koel.conf, then verify:
$ sudo nginx -t
Finally, restart Nginx:
$ sudo systemctl restart nginx
Step 10 – Access Koel
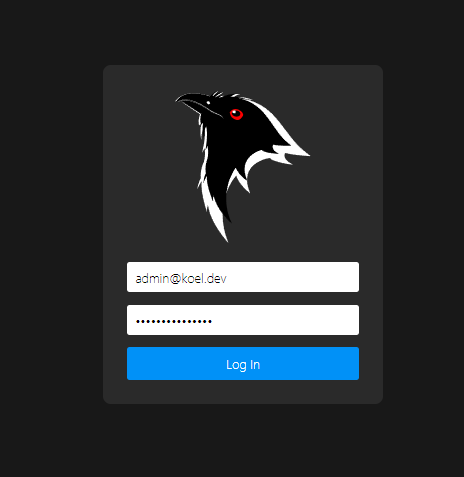
Visit https://koel.example.com in your browser. Log in with the admin credentials:

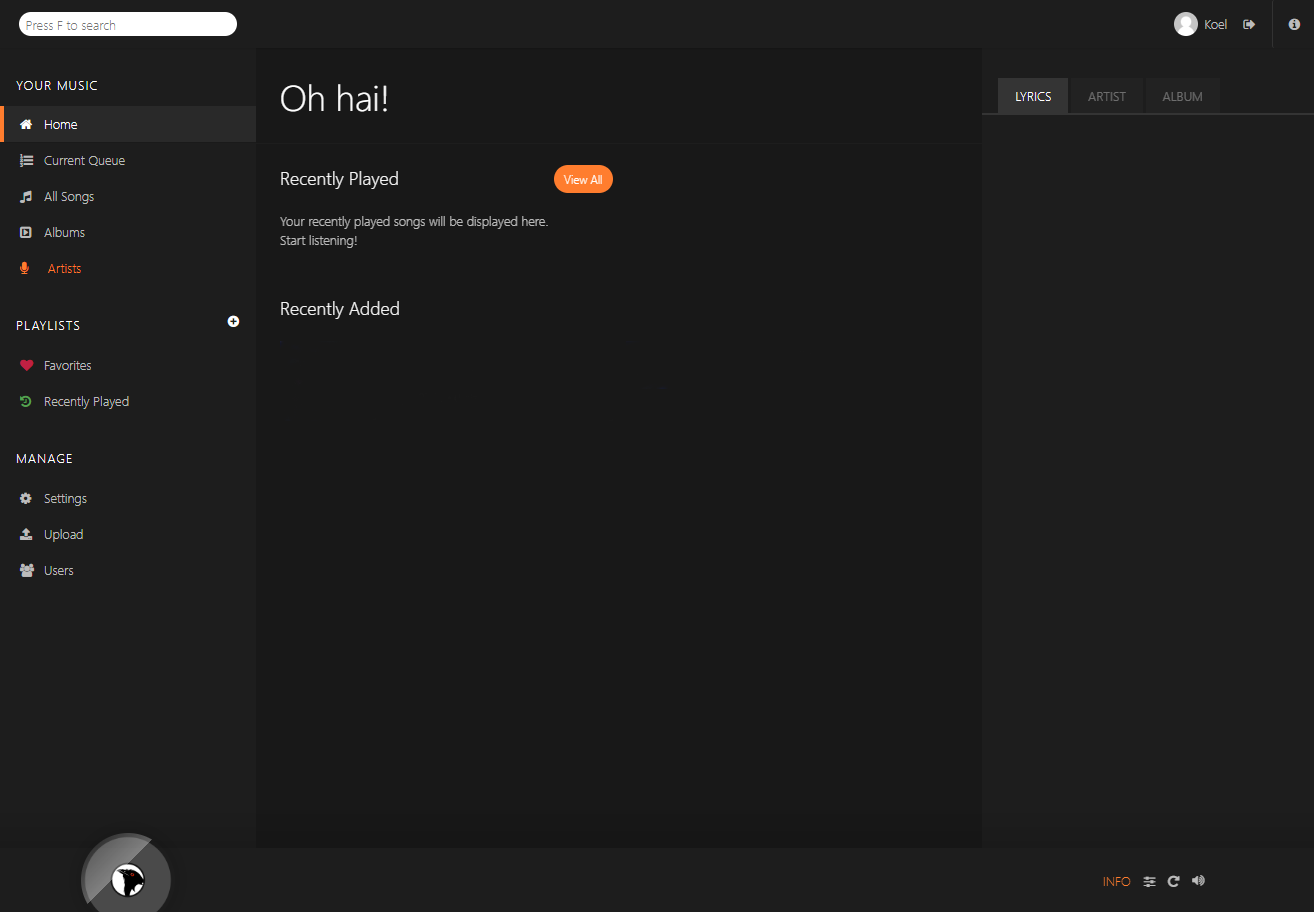
On successful login, you will see the dashboard:

Step 11 – Import Music
To add music, upload files to ~/koel/music.
$ scp test.mp3 user@<yourserverIP>:/home/user/koel/music
Once uploaded, synchronize with Koel:
$ docker exec --user www-data koel php artisan koel:sync
Step 12 – Update Koel
Navigate to the Koel directory:
$ cd ~/koel
Pull the latest Docker image:
$ docker-compose pull
Bring down the current container:
$ docker-compose down --remove-orphans
Start the updated containers:
$ docker-compose up -d
Verify that containers are running:
$ docker ps
Conclusion
Congratulations! You’ve successfully installed the Koel Music Streaming Service using Docker on a Rocky Linux server. If you have any questions or run into issues, feel free to leave comments below.
Frequently Asked Questions
- What is Koel?Koel is a personal music streaming service built on the Laravel PHP framework.
- Why use Docker for Koel?Docker simplifies the installation and management process, ensuring that all dependencies are properly configured and isolated.
- Can Koel be accessed from the internet?Yes, Koel can be accessed anywhere over the internet if properly set up with a public domain and secured with SSL certificates.
- Does Koel support multiple users?Koel allows multiple users, with permissions set as the administrator deems necessary.
- How do I update my Koel installation?Updating involves pulling the latest Docker image, taking the old container down, and starting the newly updated container.
