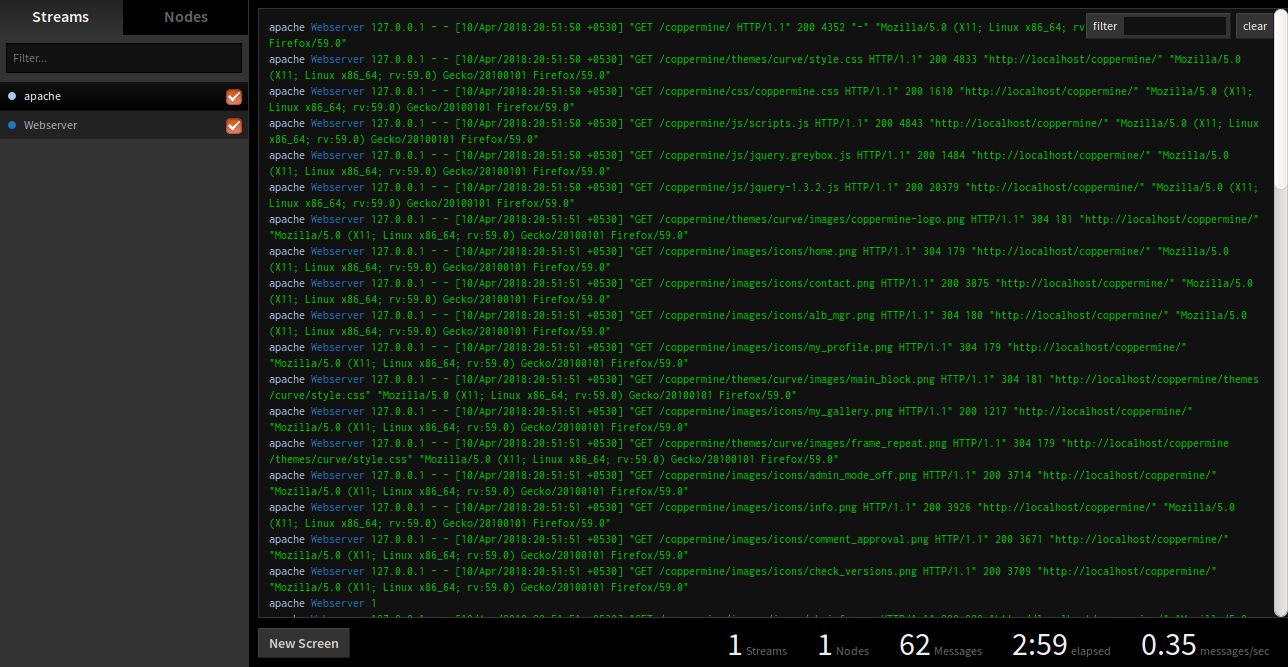
Log.io is a versatile log management tool that leverages Node.js and Socket.io to deliver real-time monitoring of system logs through a web browser. This system is composed of two main components: the log.io server and the harvester. The harvester observes log files specified in its configuration and transmits them to the log.io server, which in turn broadcasts these log messages to client browsers.
In this tutorial, you will learn the steps to install Log.io on an Ubuntu 16.04 server.
Requirements
- An Ubuntu 16.04 server with Apache installed.
- Administrative (root) access to the server.
Install Node.js and NPM
Node.js is a robust JavaScript server-side platform ideal for creating network applications with backend capabilities. It comes with NPM, a package manager that handles application dependencies. These tools can be easily installed from Ubuntu’s default repositories using the command below:
apt-get install nodejs npm -y
Once the installation of Node.js and NPM is complete, proceed to the configuration of Log.io.
Install and Configure Log.io
Before installing Log.io, you’ll need to bypass an SSL certificate error in NPM with the following command:
npm config set strict-ssl false
Now, install Log.io using NPM:
npm install -g log.io --user "root"
After the installation, a new directory named .log.io will be created under /root. Change your working directory to this folder to access configuration files:
cd .log.io
ls
Inside, you’ll find three configuration files:
harvester.conf
log_server.conf
web_server.conf
First, edit the harvester.conf to specify which logs to monitor; by default, it only monitors Apache logs:
nano harvester.conf
Update the configuration as per your requirement:
exports.config = {
  nodeName: "Webserver",
  logStreams: {
    apache: [
      "/var/log/apache2/access.log",
      "/var/log/apache2/error.log"
    ]

  },
  server: {
    host: '0.0.0.0',
    port: 28777
  }
}
Save and close the file. Next, adjust log_server.conf to specify the listening IP address:
nano log_server.conf
Modify it as follows:
exports.config = {
  host: '0.0.0.0',
  port: 28777
}
After that, configure web_server.conf to set the port number or enable HTTP authentication and SSL for enhanced security:
nano web_server.conf
Edit the file like this:
exports.config = {
  host: '0.0.0.0',
  port: 28778,

  /*
  // Enable HTTP Basic Authentication
  auth: {
    user: "admin",
    pass: "1234"
  },
  */

  /*
  // Enable HTTPS/SSL
  ssl: {
    key: '/path/to/privatekey.pem',
    cert: '/path/to/certificate.pem'
  },
  */

  /*
  // Restrict access to websocket (socket.io)
  // Uses socket.io 'origins' syntax
  restrictSocket: '*:*',
  */

  /*
  // Restrict access to http server (express)
  restrictHTTP: [
    "192.168.29.39",
    "10.0.*"
  ]
  ]
  */

}
Save and close the file after editing. Now, start the Log.io services with these commands:
log.io-server &
log.io-harvester &
Access Log.io Web Interface
The Log.io server should now be running, listening on port 28778. Open your web browser and visit http://your-ip-address:28778 to access the Log.io dashboard.

Useful Links
FAQ
1. Can I change the default ports for Log.io?
Yes, you can change the default ports by editing the log_server.conf and web_server.conf files to update the port numbers according to your requirements.
2. How do I secure the Log.io web interface?
You can secure the web interface by enabling HTTP authentication and SSL in the web_server.conf file. You’ll need to provide a username and password for authentication and paths to your SSL certificate and key for HTTPS.
3. What should I do if I receive an SSL error while using NPM?
If you encounter an SSL error, you can temporarily disable SSL validation by running npm config set strict-ssl false. However, it is advisable to fix the underlying SSL certificate issues on your server for enhanced security.