Magento is a leading open-source e-commerce platform renowned for its ability to help businesses launch fully-functional online stores swiftly. Developed in PHP using the Zend Framework, it employs an Entity Attribute Value (EAV) database model. Magento offers a user-friendly interface, allowing seamless customization of your online store to effectively showcase and sell your products and services.
This guide provides a comprehensive step-by-step tutorial on installing Magento on CentOS 8, including securing it with a free SSL certificate from Let’s Encrypt.
Requirements
- A server running CentOS 8 with at least 2 GB of RAM.
- A valid domain name pointed to your server IP.
- Root access to the server.
Step 1: Install LEMP Server
Begin by installing Nginx, MariaDB, PHP, and required PHP libraries. Execute the following command:
dnf install nginx mariadb-server php php-cli php-mysqlnd php-opcache php-xml php-gd php-soap php-bcmath php-intl php-mbstring php-json php-iconv php-fpm php-zip unzip git -y
After installation, start Nginx, MariaDB, and PHP-FPM services, ensuring they are enabled on startup:
systemctl start nginx
 systemctl start mariadb
 systemctl start php-fpm
 systemctl enable nginx
 systemctl enable mariadb
 systemctl enable php-fpm
Next, you need to tweak PHP settings:
nano /etc/php.ini
Modify the following parameters:
memory_limit =512M
upload_max_filesize = 200M
zlib.output_compression = On
max_execution_time = 300
date.timezone = Asia/Kolkata
Save and close the file when finished.
Step 2: Configure the Database
To secure MariaDB, run the following security script:
mysql_secure_installation
Answer the prompts similarly to the following:
Enter current password for root (enter for none):
Set root password? [Y/n] Y
New password:
Re-enter new password:
Remove anonymous users? [Y/n] Y
Disallow root login remotely? [Y/n] Y
Remove test database and access to it? [Y/n] Y
Reload privilege tables now? [Y/n] Y
After securing MariaDB, log in to the database shell:
mysql -u root -p
Create a database and user for Magento:
CREATE DATABASE magentodb;
 GRANT ALL ON magentodb.* TO magento@localhost IDENTIFIED BY 'password';
Flush privileges and exit the database shell:
flush privileges;
 exit;
Step 3: Configure PHP-FPM for Magento
To set up PHP-FPM for Magento, create the following configuration file:
nano /etc/php-fpm.d/magento.conf
Insert these lines:
[magento]
user = nginx
group = nginx
listen.owner = nginx
listen.group = nginx
listen = /run/php-fpm/magento.sock
pm = ondemand
pm.max_children =  50
pm.process_idle_timeout = 10s
pm.max_requests = 500
chdir = /
Save the changes and restart the PHP-FPM service:
systemctl restart php-fpm
Step 4: Download and Setup Magento
Proceed by downloading Magento with the command:
cd /var/www/html
 wget https://github.com/magento/magento2/archive/2.3.zip
Extract the downloaded file:
unzip 2.3.zip
Change the directory to ‘magento2’:
mv magento2-2.3 magento2
Now, install Composer to manage Magento dependencies:
curl -sS https://getcomposer.org/installer | php
 mv composer.phar /usr/local/bin/composer
Navigate to the Magento directory and install necessary dependencies:
cd /var/www/html/magento2
 composer update
 composer install
Set up Magento crontab to automate tasks:
./bin/magento cron:install
You can verify the setup using:
crontab -l
Ensure appropriate permissions on the Magento directory:
chown -R nginx:nginx /var/www/html/magento2
 chmod -R 755 /var/www/html/magento2
Step 5: Configure Nginx for Magento
Create an Nginx virtual host configuration file:
nano /etc/nginx/conf.d/magento.conf
Add the following configuration:
upstream fastcgi_backend {
  server unix:/run/php-fpm/magento.sock;
}

server {
    listen 80;
    server_name magento.linuxbuz.com;

    set $MAGE_ROOT /var/www/html/magento2;
    set $MAGE_MODE developer;

    access_log /var/log/nginx/magento-access.log;
    error_log /var/log/nginx/magento-error.log;

    include /var/www/html/magento2/nginx.conf.sample;
}
Apply the changes by restarting the services:
systemctl restart php-fpm
 systemctl restart nginx
Step 6: Configure SELinux and Firewall
Allow HTTP and HTTPS traffic through the firewall:
firewall-cmd --permanent --add-service=http
 firewall-cmd --permanent --add-service=https
 firewall-cmd --reload
Disable SELinux enforcement temporarily to avoid potential conflicts:
semanage permissive -a httpd_t
Step 7: Secure Magento with Let’s Encrypt SSL
Download and set permissions for Certbot:
wget https://dl.eff.org/certbot-auto
 mv certbot-auto /usr/local/bin/certbot-auto
 chown root /usr/local/bin/certbot-auto
 chmod 0755 /usr/local/bin/certbot-auto
Acquire and apply an SSL certificate to your domain:
certbot-auto --nginx -d magento.linuxbuz.com
Provide the required information and agree to the terms of service. Upon successful verification, choose to redirect HTTP traffic to HTTPS for better security.
Step 8: Access and Finalize Magento Setup
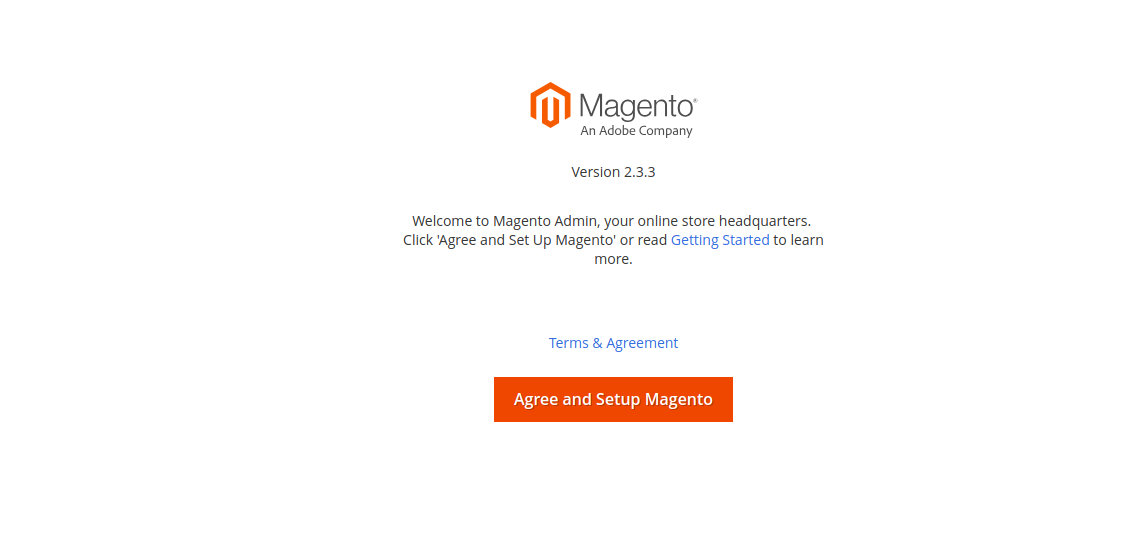
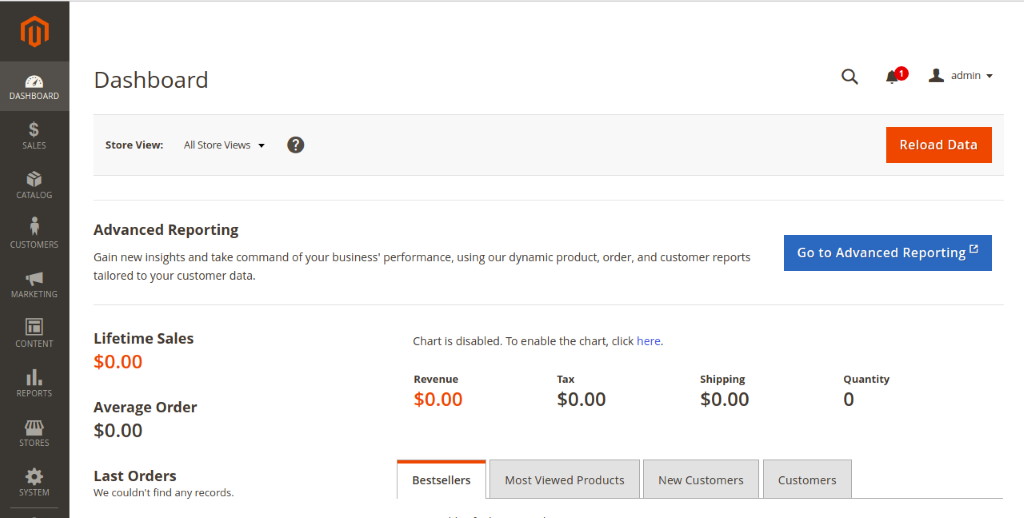
Now, navigate to https://magento.linuxbuz.com to access the Magento setup wizard. Follow the prompts to complete the installation as shown by the screenshots below:

Once completed, your Magento store will be ready. Access your store’s admin interface using https://magento.linuxbuz.com/admin_your_random_string and begin customizing your store!
FAQ
- Q: Can I install Magento on a server with less RAM?
A: While Magento recommends at least 2 GB of RAM, it might operate with less, but performance could be degraded. - Q: Why do I need Let’s Encrypt SSL?
A: SSL encrypts the connection, increasing security for your visitors. Let’s Encrypt offers free SSL certificates. - Q: Is SELinux mandatory?
A: Enforcing SELinux can provide security benefits, but configuring it correctly can be complex. Temporarily making it permissive simplifies setup.
