Magento is a free and open-source eCommerce platform that enables you to host your online store. Developed in PHP, it leverages the Zend framework, offering versatility and scalability suitable for a range of store sizes, from small to large enterprises. Its user-friendliness and non-requirement for programming knowledge make it a popular choice for thousands of online stores worldwide.
In this guide, we will walk you through the steps to install Magento 2 on Debian 11.
Prerequisites
- A server running Debian 11.
- A valid domain name pointed to your server’s IP address.
- Root privileges configured on the server.
Step 1: Install Apache, PHP, and Required Extensions
First, install Apache, PHP, and the necessary PHP extensions with the following command:
apt-get install apache2 php libapache2-mod-php php-common php-gmp php-curl php-soap php-bcmath php-intl php-mbstring php-xmlrpc php-mysql php-gd php-xml php-cli php-zip -y
After the installation, edit the php.ini file to modify some default settings:
nano /etc/php/7.4/apache2/php.ini
Update the following values:
file_uploads = On
allow_url_fopen = On
short_open_tag = On
memory_limit = 512M
upload_max_filesize = 128M
max_execution_time = 3600
Save the file and restart Apache to apply the changes:
systemctl restart apache2
Step 2: Install and Configure MySQL Server
Magento 2 requires MySQL 8, as MariaDB 10.5 from Debian 11’s repository is not compatible. Start by downloading the MySQL package:
wget https://repo.mysql.com//mysql-apt-config_0.8.18-1_all.deb
Install it using the subsequent command:
apt install ./mysql-apt-config_0.8.18-1_all.deb -y
You will be prompted to select the MySQL version:

Select MySQL Server 8 and confirm your choice.
Next, update the repository and install MySQL Server 8:
apt-get update -y
apt-get install mysql-server -y
After installation, connect to MySQL:
mysql -u root -p
Create a database and a user for Magento 2 as follows:
mysql> CREATE DATABASE magento2;
mysql> CREATE USER 'magento2'@'localhost' IDENTIFIED BY 'password';
Grant privileges and flush changes:
mysql> GRANT ALL PRIVILEGES ON magento2.* TO 'magento2'@'localhost';
mysql> FLUSH PRIVILEGES;
mysql> EXIT;
Step 3: Install Composer
Composer is essential for managing PHP dependencies. Begin by installing curl:
apt-get install curl -y
Then, install Composer:
curl -sS https://getcomposer.org/installer | php -- --install-dir=/usr/local/bin --filename=composer
Verify the Composer installation:
composer --version
Step 4: Download and Install Magento 2
Navigate to the Apache web root and download Magento 2 using Composer:
cd /var/www/html
composer create-project --repository-url=https://repo.magento.com/ magento/project-community-edition magento2
Enter your Magento account credentials when prompted. Then, apply appropriate permissions:
chown -R www-data:www-data /var/www/html/magento2/
cd /var/www/html/magento2
find var generated vendor pub/static pub/media app/etc -type f -exec chmod g+w {} +
find var generated vendor pub/static pub/media app/etc -type d -exec chmod g+ws {} +
chown -R :www-data .
chmod u+x bin/magento
Disable the Elasticsearch module:
php bin/magento module:disable {Magento_Elasticsearch,Magento_InventoryElasticsearch,Magento_Elasticsearch6,Magento_Elasticsearch7}
Proceed with Magento 2 installation:
bin/magento setup:install --base-url=http://magento.example.com --db-host=localhost --db-name=magento2 --db-user=magento2 --db-password=password --admin-firstname=admin --admin-lastname=admin --admin-email=admin@example.com --admin-user=admin --admin-password=Secure@password123 --language=en_US --currency=USD --timezone=America/Chicago --use-rewrites=1
Disable two-factor authentication and configure cron tasks:
sudo -u www-data bin/magento module:disable Magento_TwoFactorAuth
sudo -u www-data bin/magento cache:flush
sudo -u www-data bin/magento cron:install
Step 5: Create an Apache Virtual Host Configuration
Create a configuration file for Magento 2:
nano /etc/apache2/sites-available/magento2.conf
Add the following content:
<VirtualHost *:80>
     ServerAdmin admin@example.com
     DocumentRoot /var/www/html/magento2/
     ServerName magento.example.com

     <Directory /var/www/html/magento2/>
          Options FollowSymlinks
          AllowOverride All
          Require all granted
     </Directory>

     ErrorLog ${APACHE_LOG_DIR}/magento2_error.log
     CustomLog ${APACHE_LOG_DIR}/magento2_access.log combined
</VirtualHost>
Activate the virtual host and the rewrite module, then restart Apache:
a2ensite magento2.conf
a2enmod rewrite
systemctl restart apache2
Step 6: Access Magento 2 Web Interface
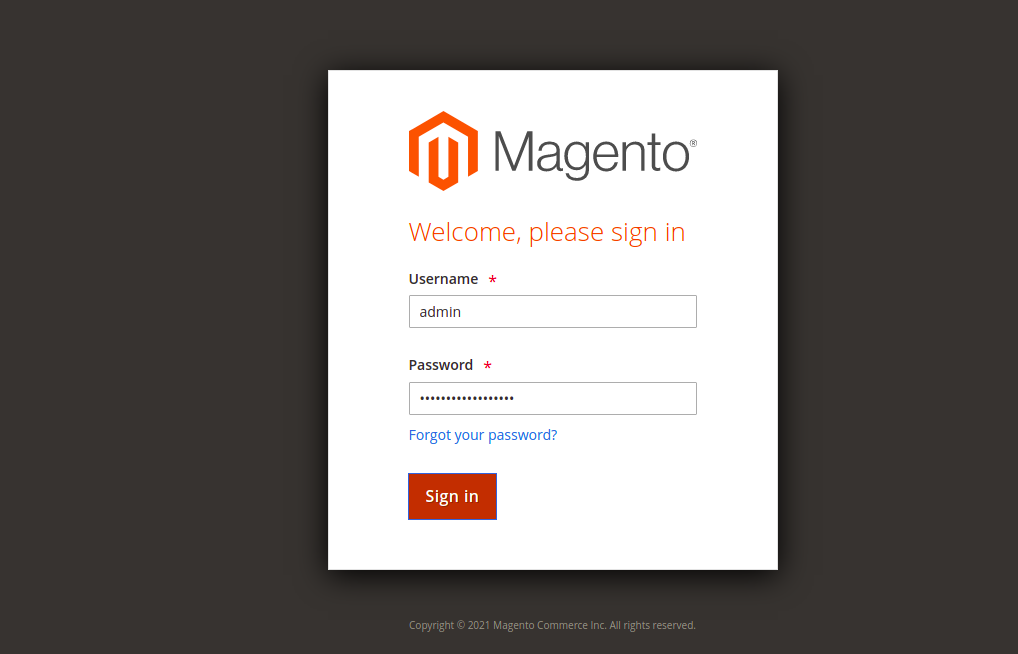
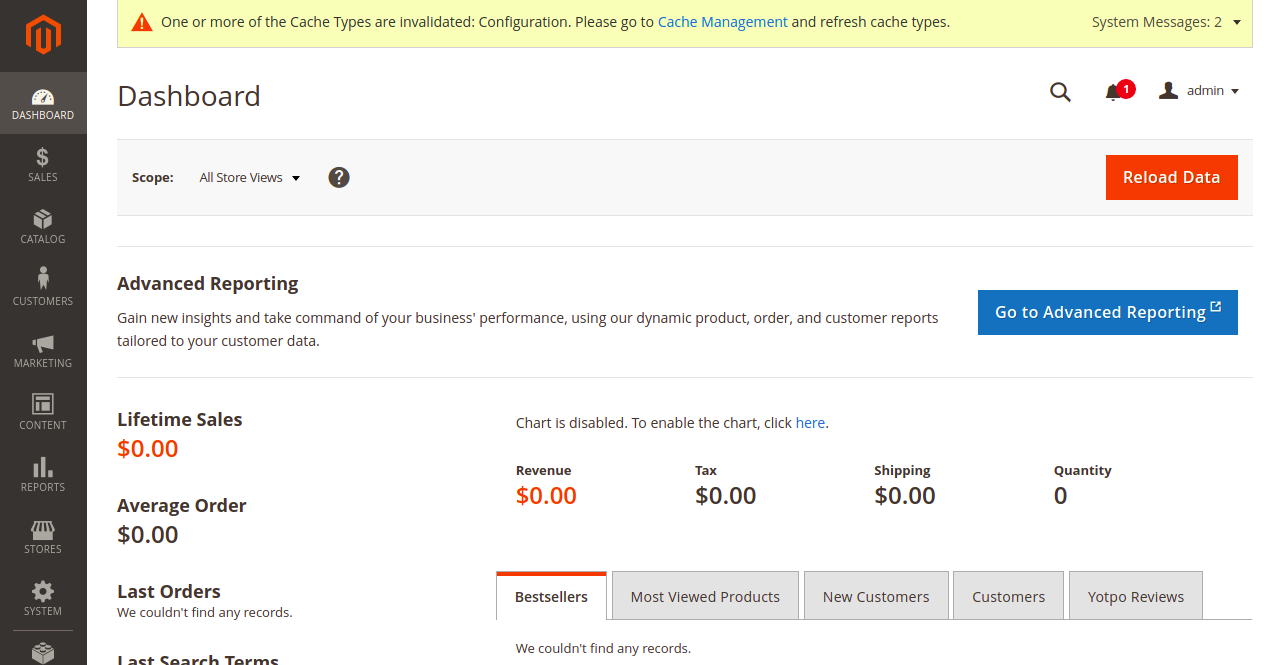
Navigate to the Magento 2 admin interface at http://magento.example.com/admin_fgadpx using your browser. Log in with your credentials to access the Magento 2 dashboard:


Conclusion
Congratulations! You’ve successfully installed Magento 2 on Debian 11. You are now ready to set up your online store with ease using Magento’s robust features. If you have any questions, feel free to reach out.
FAQ
- What PHP version is required for Magento 2 on Debian 11?
Magento 2 requires PHP 7.4 or newer versions. - How do I get Magento authentication keys?
You can obtain Magento authentication keys from the Magento Marketplace by creating an account if you haven’t already. - Is MariaDB compatible with Magento 2?
Magento 2 requires MySQL 8, as the version MariaDB 10.5 provided by Debian 11 is unsupported. - Why do I need Composer?
Composer is necessary for managing PHP dependencies required by Magento 2. - Can I change the admin URL?
Yes, you can change the Magento 2 admin URL by modifying server settings after the installation.
