Mastodon is a free, decentralized, open-source social network created as an alternative to Twitter. Like Twitter, people can follow each other and post messages, images, and videos. However, unlike Twitter, there is no central authority or storage for content.
Instead, Mastodon operates across thousands of different servers, each managed by various community members. Users can sign up on one server and connect across the network to interact with others on different instances.
This guide will teach you how to set up your Mastodon server instance on an Ubuntu 18.04 server using Docker.
Prerequisites
- An Ubuntu 18.04 server with a non-root sudo user.
- Ensure your system is up to date:
$ sudo apt update $ sudo apt upgrade - Set up an email notification system. Using a third-party transactional mail service, such as Mailgun (which this guide uses), Sendgrid, Amazon SES, or Sparkpost, is recommended.
- A domain name pointing to your server. For this tutorial, we’ll use example.com.
Step 1 – Installing Dependencies
Run the following commands to install necessary dependencies:
$ sudo apt update
$ sudo apt install ca-certificates curl ufw apt-transport-https software-properties-common git -y
Configure Git:
$ git config --global user.name "Your Name"
$ git config --global user.email "youremail@domain.com"
Step 2 – Configuring Firewall
Set up ufw (Uncomplicated Firewall) to prevent lockout by allowing SSH access:
$ sudo ufw allow OpenSSH
$ sudo ufw enable
$ sudo ufw allow http
$ sudo ufw allow https
$ sudo ufw status
Step 3 – Install Docker
Add Docker’s GPG key and verify it:
$ curl -fsSL https://download.docker.com/linux/ubuntu/gpg | sudo apt-key add -
$ sudo apt-key fingerprint 0EBFCD88
Add Docker’s repository and install Docker-CE:
$ sudo add-apt-repository "deb [arch=amd64] https://download.docker.com/linux/ubuntu $(lsb_release -cs) stable"
$ sudo apt update
$ sudo apt install docker-ce -y
$ sudo systemctl status docker
Add your user to the Docker group, switch user, and run the Hello World program:
sudo usermod -aG docker $USER
$ su - ${USER}
$ docker run hello-world
Step 4 – Install Docker Compose
Install Docker Compose for easier Mastodon management:
$ sudo curl -L "https://github.com/docker/compose/releases/download/1.24.1/docker-compose-$(uname -s)-$(uname -m)" -o /usr/local/bin/docker-compose
$ sudo chmod +x /usr/local/bin/docker-compose
$ sudo curl -L https://raw.githubusercontent.com/docker/compose/1.24.1/contrib/completion/bash/docker-compose -o /etc/bash_completion.d/docker-compose
$ docker-compose --version
Step 5 – Install Mastodon
Clone the Mastodon repository and configure the environment:
$ git clone https://github.com/tootsuite/mastodon
$ cd mastodon
$ cp .env.production.sample .env.production
$ docker-compose build
$ SECRET_KEY_BASE=$(docker-compose run --rm web bundle exec rake secret)
$ sed -i -e "s/SECRET_KEY_BASE=/&${SECRET_KEY_BASE}/" .env.production
$ OTP_SECRET=$(docker-compose run --rm web bundle exec rake secret)
$ sed -i -e "s/OTP_SECRET=/&${OTP_SECRET}/" .env.production
$ PAPERCLIP_SECRET=$(docker-compose run --rm web bundle exec rake secret)
$ sed -i -e "s/PAPERCLIP_SECRET=/&${PAPERCLIP_SECRET}/" .env.production
$ docker-compose run --rm web bundle exec rake mastodon:webpush:generate_vapid_key
$ sudo nano ./.env.production
Configure SMTP values:
SMTP_SERVER = smtp.mailgun.org
SMTP_PORT = 587
SMTP_LOGIN = username
SMTP_PASSWORD = password
SMTP_FROM_ADDRESS = notifications@example.com
Rebuild the Docker image, set up the database, pre-compile assets, and execute containers:
$ docker-compose build
$ docker-compose run --rm web rails db:migrate
$ docker-compose run --rm web rails assets:precompile
$ docker-compose up -d
Step 6 – Install and Configure Nginx
Install Nginx and configure sites:
$ sudo apt install nginx -y
$ sudo rm /etc/nginx/sites-available/default
$ sudo rm /etc/nginx/sites-enabled/default
$ sudo touch /etc/nginx/sites-available/mastodon
$ sudo ln -s /etc/nginx/sites-available/mastodon /etc/nginx/sites-enabled/mastodon
$ sudo nano /etc/nginx/sites-available/mastodon
Copy and paste the configuration:
map $http_upgrade $connection_upgrade {
  default upgrade;
  ''      close;
}
Step 7 – Install and Configure Let’s Encrypt
Ensure Nginx is stopped, add the Certbot repository, install Certbot, and create certificates:
$ sudo systemctl stop nginx
$ sudo add-apt-repository ppa:certbot/certbot
$ sudo apt update
$ sudo apt install certbot
$ sudo certbot certonly --standalone -d example.com
$ sudo systemctl start nginx
$ sudo certbot certonly --webroot -d example.com -w /home/user/mastodon/public/
Configure Automatic Renewal
Create a cron job for certificate renewal:
$ sudo nano /etc/cron.daily/letsencrypt-renew
Add the following script:
#!/usr/bin/env bash
certbot renew
systemctl reload nginx
$ sudo chmod +x /etc/cron.daily/letsencrypt-renew
$ sudo systemctl restart cron
Step 8 – Create Your Mastodon User
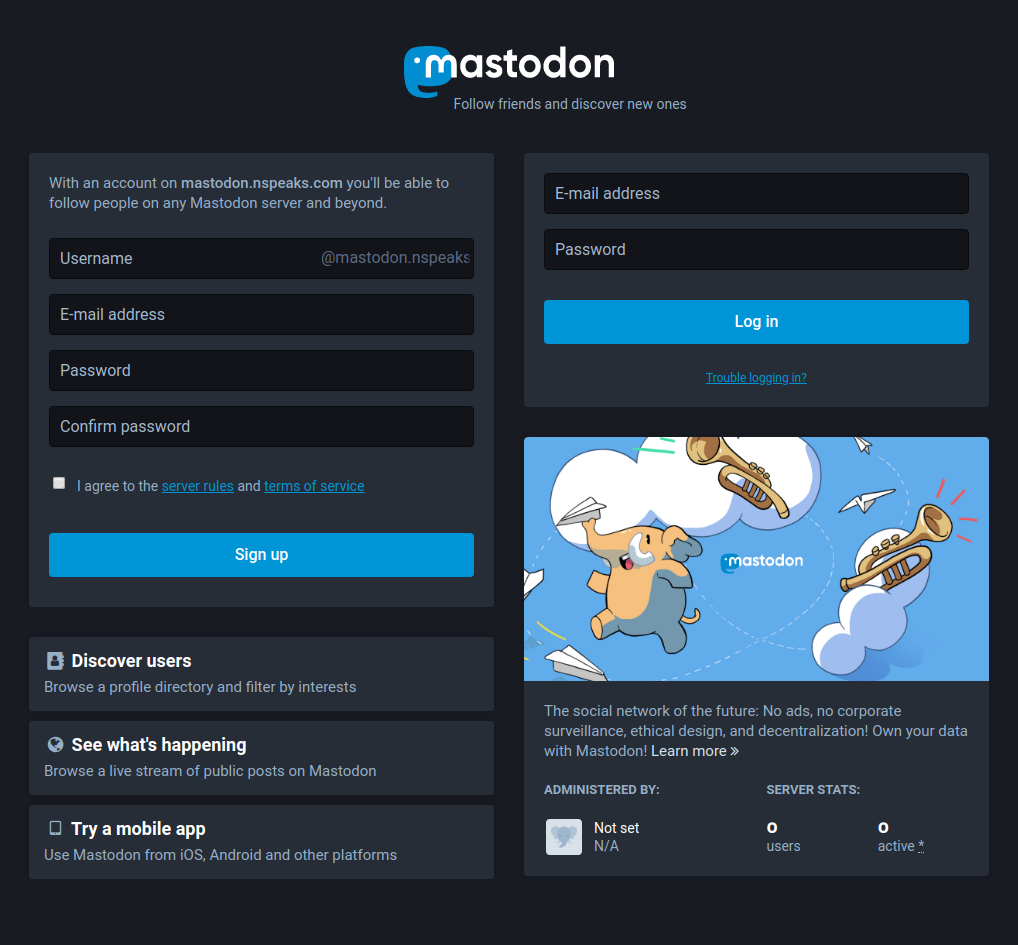
Visit your Mastodon site in a browser and create a new account. You can manually confirm the signup through Docker:
$ docker ps
$ docker exec -it mastodon_streaming_1 /bin/bash
$ RAILS_ENV=production bin/tootctl accounts modify howtoforge --confirm
$ RAILS_ENV=production bin/tootctl accounts modify howtoforge --role admin
$ exit
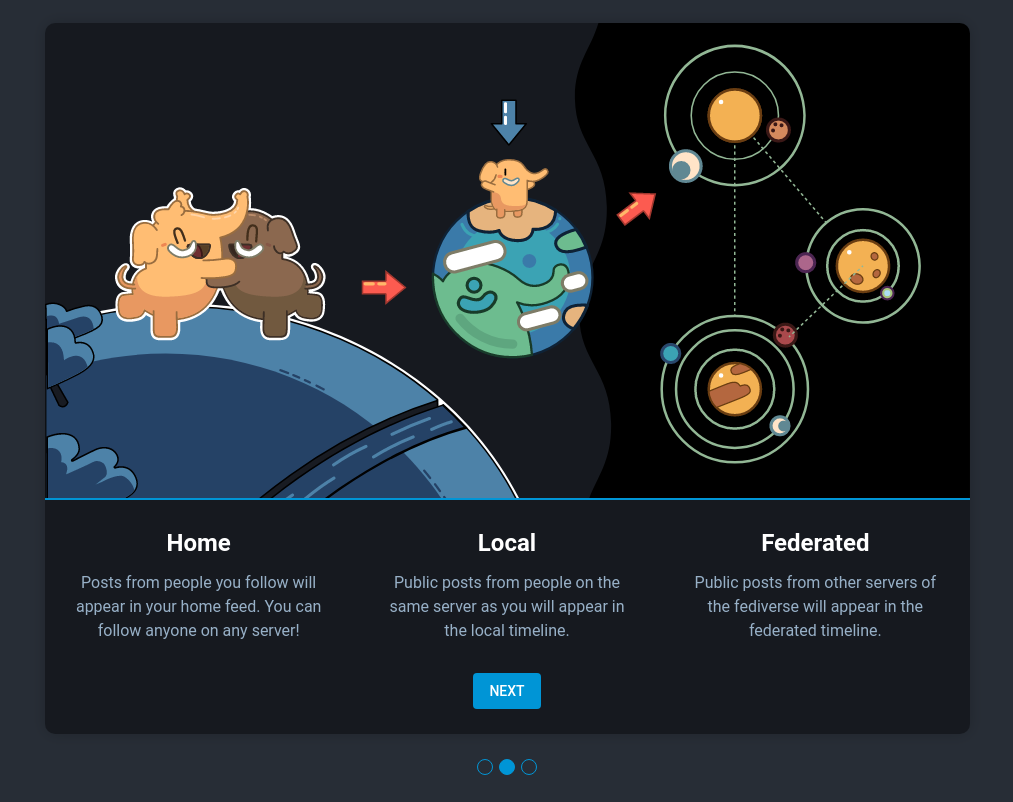
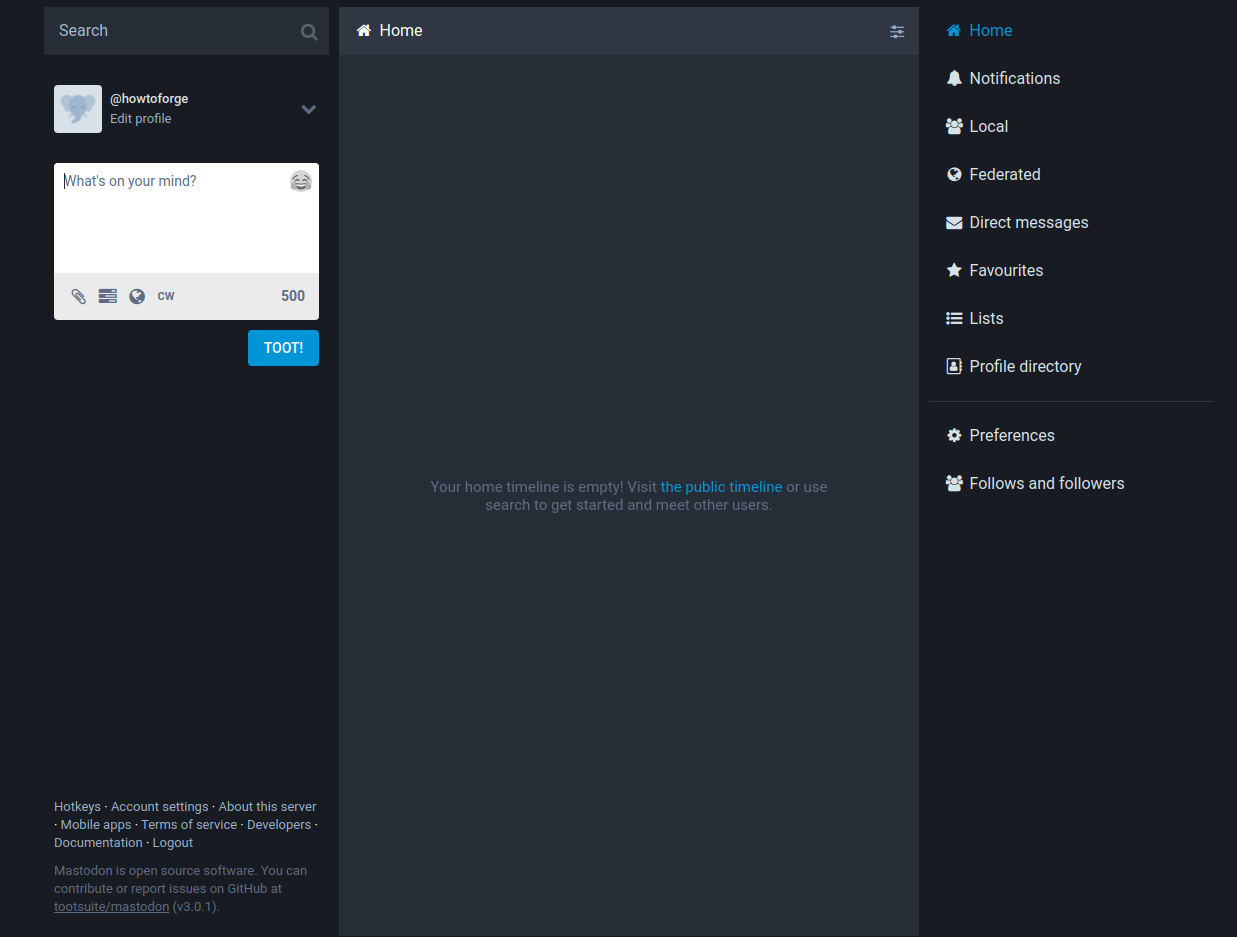
Log in to your instance with your credentials:


Step 9 – Maintenance
Monitor Mastodon’s performance and logs:
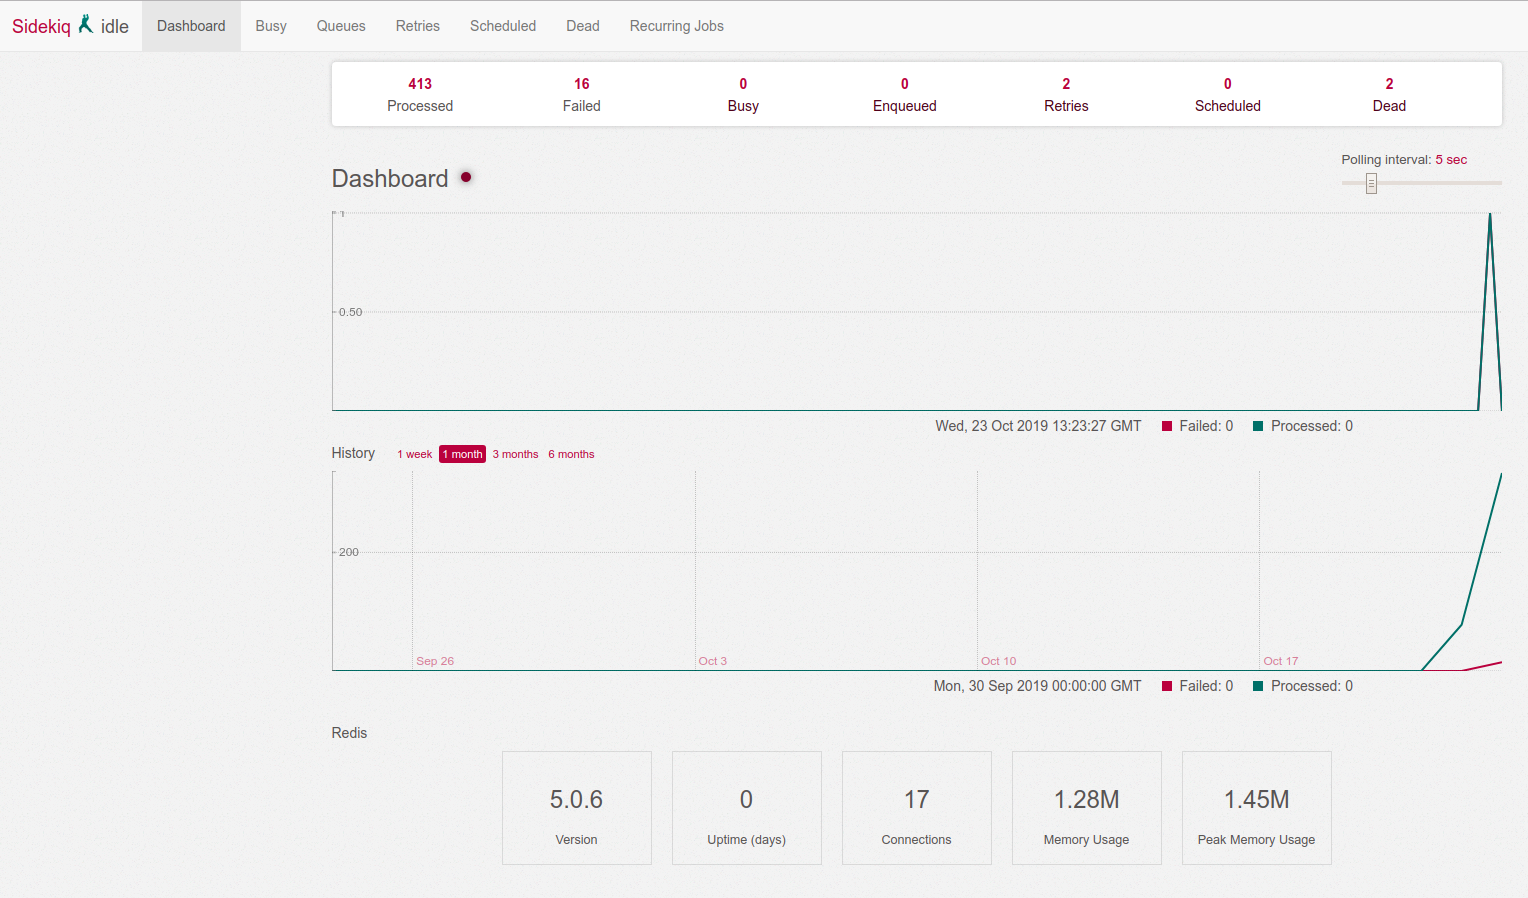
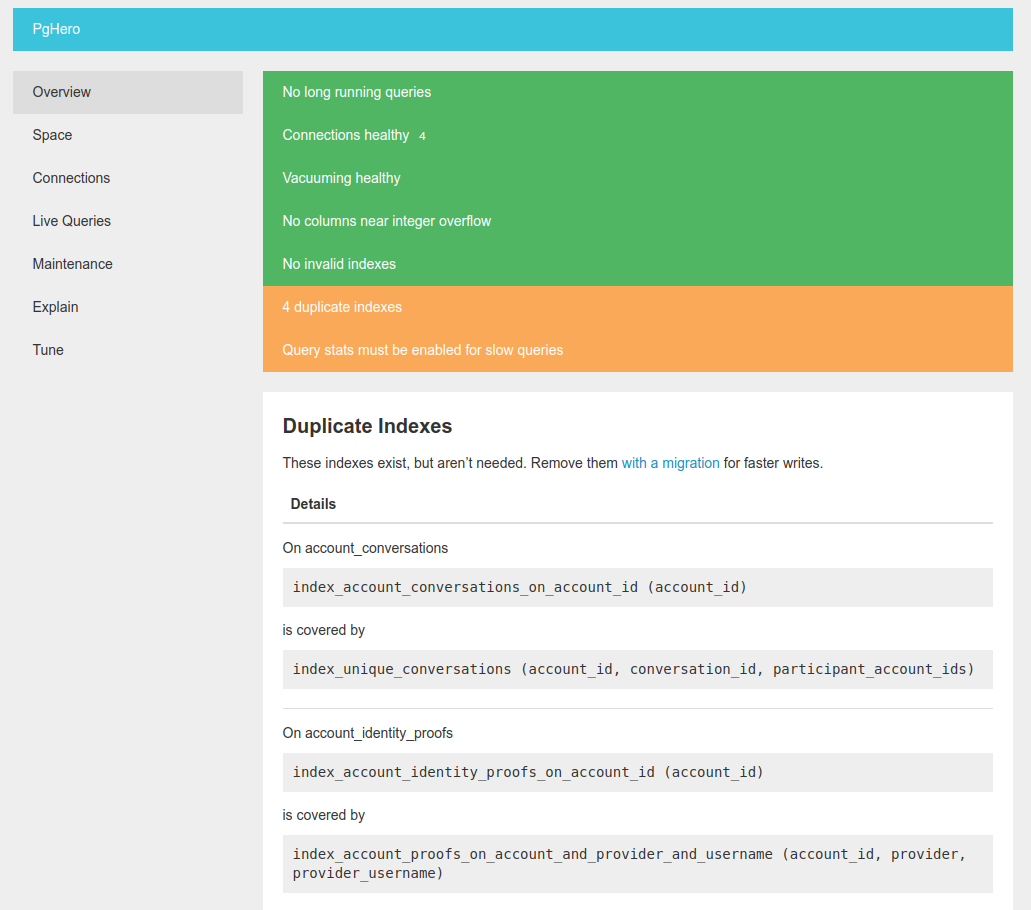
If your site doesn’t load, check Docker logs:
$ docker-compose down
$ docker-compose up
Step 10 – Upgrading Your Mastodon
Proceed with the following steps to upgrade:
$ cd /home/user/mastdon
$ git fetch
$ git status
$ git stash
$ git checkout <version/tag>
$ git stash pop
$ docker-compose build
$ docker-compose run --rm web rails db:migrate
$ docker-compose run --rm web rails assets:precompile
$ docker-compose up -d
For more information about Mastodon, refer to their documentation.
FAQ
- What is Mastodon?
- Mastodon is an open-source decentralized social network, functioning as an alternative to Twitter but without a centralized authority.
- Is it necessary to use a third-party email service?
- Yes, using services like Mailgun, SendGrid, Amazon SES, or Sparkpost is recommended for handling email notifications.
- Can I use a different version of Ubuntu?
- This guide is specific to Ubuntu 18.04. Using other versions may require adjustments to the instructions.
- How can I ensure my SSL certificate renews automatically?
- Create a cron job as detailed in the guide to automate SSL certificate renewal using Certbot.
- How do I become an administrator of my instance?
- You can manually confirm your username and change your role to admin via Docker commands.
