Mattermost is an open-source messaging platform utilized for chatting, file sharing, project management, and workflow orchestration. Written in Go, Mattermost stands as an alternative to professional platforms like Slack, and it supports both cloud-hosted and self-hosted solutions. Hosting on your server offers full control over communications and sensitive data.
In this guide, we’ll walk through installing the Mattermost Team Messaging System on an Ubuntu 22.04 server.
Prerequisites
- A server running Ubuntu 22.04 with at least 2 GB of RAM, covering up to 1000 users.
- A non-root user with sudo privileges.
- The Uncomplicated Firewall (UFW) enabled and active.
- A Fully Qualified Domain Name (FQDN) pointing to the server, e.g.,
mattermost.example.com. - Ensure the system is updated:
$ sudo apt update && sudo apt upgrade
Step 1 – Configure Firewall
Before installing packages, configure your firewall to allow HTTP and HTTPS connections:
$ sudo ufw status
You should see:
Status: active

    To                         Action      From
    --                         ------      ----
    OpenSSH                    ALLOW       Anywhere
    OpenSSH (v6)               ALLOW       Anywhere (v6)
Open port 8065 temporarily for installation confirmation, which will be closed later:
$ sudo ufw allow 8065
Allow HTTP and HTTPS ports:
$ sudo ufw allow http
    $ sudo ufw allow https
Reconfirm the firewall status:
$ sudo ufw status
    Status: active

    To                         Action      From
    --                         ------      ----
    OpenSSH                    ALLOW       Anywhere
    80/tcp                     ALLOW       Anywhere
    443                        ALLOW       Anywhere
    8065                       ALLOW       Anywhere
    OpenSSH (v6)               ALLOW       Anywhere (v6)
    80/tcp (v6)                ALLOW       Anywhere (v6)
    443 (v6)                   ALLOW       Anywhere (v6)
    8065 (v6)                  ALLOW       Anywhere (v6)
Step 2 – Install PostgreSQL
Install PostgreSQL, which is the recommended choice over MySQL:
$ sudo apt install postgresql postgresql-contrib
Verify installation:
$ psql --version
    psql (PostgreSQL) 14.4 (Ubuntu 14.4-0ubuntu0.22.04.1)
Step 3 – Configure PostgreSQL
Access the PostgreSQL shell with the Linux user postgres:
$ sudo -u postgres psql
Create a Mattermost database and user, replacing mmuser-password with a secure password:
postgres=# CREATE DATABASE mattermostdb;
    postgres=# CREATE USER mmuser WITH PASSWORD 'mmuser-password';
    postgres=# GRANT ALL PRIVILEGES ON DATABASE mattermost TO mmuser;
    postgres=# \q
Edit pg_hba.conf to enable trusted connections:
$ sudo nano /etc/postgresql/{version}/main/pg_hba.conf
Change method from peer and scram-sha-256 to trust:
# "local" is for Unix domain socket connections only
    local   all             all                                     trust
    # IPv4 local connections:
    host    all             all             127.0.0.1/32            trust
    # IPv6 local connections:
    host    all             all             ::1/128                 trust
Restart PostgreSQL:
$ sudo systemctl restart postgresql
Verify connection to Mattermost SQL user:
$ psql --dbname=mattermost --username=mmuser --password
If prompted, enter the password and exit with \q.
Step 4 – Download Mattermost
Download the latest Mattermost version:
$ wget https://releases.mattermost.com/7.0.1/mattermost-7.0.1-linux-amd64.tar.gz
Extract and move files:
$ tar -xvzf mattermost*.gz
    $ sudo mv mattermost /opt
Create Mattermost data storage:
$ sudo mkdir /opt/mattermost/data
Step 5 – Create System User and Set Permissions
Edit config.json for domain and SQL settings:
$ sudo nano /opt/mattermost/config/config.json
Set your domain:
"SiteURL": "https://mattermost.example.com",
Change driver to MySQL and configure datasource:
"DriverName": "mysql",
    "DataSource": "mmuser:YourPassword23!@tcp(localhost:3306)/mattermostdb?charset=utf8mb4,utf8&writeTimeout=30s"
Create system user for Mattermost:
$ sudo useradd --system --user-group mattermost
Configure permissions:
$ sudo chown -R mattermost:mattermost /opt/mattermost
    $ sudo chmod -R g+w /opt/mattermost
Start Mattermost server:
$ cd /opt/mattermost
    $ sudo -u mattermost ./bin/mattermost
Look for Server is listening on [::]:8065 and visit http://<serverIPaddress>:8065 to access.

Stop the server with Ctrl + C.
Step 6 – Create a Systemd Unit File
Create a unit file for Mattermost service management:
$ sudo nano /lib/systemd/system/mattermost.service
Add the service configuration:
[Unit]
    Description=Mattermost
    After=network.target
    After=postgresql.service
    BindsTo=postgresql.service

    [Service]
    Type=notify
    ExecStart=/opt/mattermost/bin/mattermost
    TimeoutStartSec=3600
    KillMode=mixed
    Restart=always
    RestartSec=10
    WorkingDirectory=/opt/mattermost
    User=mattermost
    Group=mattermost
    LimitNOFILE=49152

    [Install]
    WantedBy=multi-user.target
Enable and start the Mattermost service:
$ sudo systemctl daemon-reload
    $ sudo systemctl start mattermost
    $ sudo systemctl enable mattermost
Step 7 – Install Nginx
Add Nginx repository and install the latest version:
$ curl https://nginx.org/keys/nginx_signing.key | gpg --dearmor | sudo tee /usr/share/keyrings/nginx-archive-keyring.gpg >/dev/null
    $ echo "deb [signed-by=/usr/share/keyrings/nginx-archive-keyring.gpg arch=amd64] http://nginx.org/packages/ubuntu `lsb_release -cs` nginx" | sudo tee /etc/apt/sources.list.d/nginx.list
    $ sudo apt update
    $ sudo apt install nginx
Verify Nginx version:
$ nginx -v
Step 8 – Install SSL
Install Certbot for SSL certificate generation:
$ sudo snap install core
    $ sudo snap install --classic certbot
    $ sudo ln -s /snap/bin/certbot /usr/bin/certbot
    $ sudo certbot certonly --standalone --agree-tos --no-eff-email --staple-ocsp --preferred-challenges http -m name@example.com -d mattermost.example.com
Generate a Diffie-Hellman certificate:
$ sudo openssl dhparam -dsaparam -out /etc/ssl/certs/dhparam.pem 4096
Edit renewal configuration for automatic Nginx stop/start:
$ sudo nano /etc/letsencrypt/renewal/mattermost.example.com.conf
Add the following:
pre_hook = systemctl stop nginx
    post_hook = systemctl start nginx
Run a dry run to test SSL renewal:
$ sudo certbot renew --dry-run
Step 9 – Configure Nginx
Edit nginx.conf and configure Mattermost as a reverse proxy:
$ sudo nano /etc/nginx/nginx.conf
server_names_hash_bucket_size 64;
$ sudo nano /etc/nginx/conf.d/mattermost.conf
Configure Nginx:
upstream backend {
       server 127.0.0.1:8065;
       keepalive 32;
    }

    proxy_cache_path /var/cache/nginx levels=1:2 keys_zone=mattermost_cache:10m max_size=3g inactive=120m use_temp_path=off;

    server {
      listen 80 default_server;
      server_name   mattermost.example.com;
      return 301 https://$server_name$request_uri;
    }

    server {
       listen 443 ssl http2;
       server_name    mattermost.example.com;

       http2_push_preload on; # Enable HTTP/2 Server Push

       ssl_certificate /etc/letsencrypt/live/mattermost.example.com/fullchain.pem;
       ssl_certificate_key /etc/letsencrypt/live/mattermost.example.com/privkey.pem;
       ssl_trusted_certificate /etc/letsencrypt/live/mattermost.example.com/chain.pem;
       ssl_session_timeout 1d;

       # Enable TLS versions (TLSv1.3 is required upcoming HTTP/3 QUIC).
       ssl_protocols TLSv1.2 TLSv1.3;

       # Enable TLSv1.3's 0-RTT. Use $ssl_early_data when reverse proxying to
       # prevent replay attacks.
       #
       # @see: https://nginx.org/en/docs/http/ngx_http_ssl_module.html#ssl_early_data
       ssl_early_data on;

       ssl_ciphers 'ECDHE-ECDSA-AES256-GCM-SHA384:ECDHE-RSA-AES256-GCM-SHA384:ECDHE-ECDSA-CHACHA20-POLY1305:ECDHE-RSA-CHACHA20-POLY1305:ECDHE-ECDSA-AES256-SHA384:ECDHE-RSA-AES256-SHA384';
       ssl_prefer_server_ciphers on;
       ssl_session_cache shared:SSL:50m;
       # HSTS (ngx_http_headers_module is required) (15768000 seconds = six months)
       add_header Strict-Transport-Security max-age=15768000;
       # OCSP Stapling ---
       # fetch OCSP records from URL in ssl_certificate and cache them
       ssl_stapling on;
       ssl_stapling_verify on;
       ssl_dhparam /etc/ssl/certs/dhparam.pem;

       add_header X-Early-Data $tls1_3_early_data;

       location ~ /api/v[0-9]+/(users/)?websocket$ {
           proxy_set_header Upgrade $http_upgrade;
           proxy_set_header Connection "upgrade";
           client_max_body_size 50M;
           proxy_set_header Host $http_host;
           proxy_set_header X-Real-IP $remote_addr;
           proxy_set_header X-Forwarded-For $proxy_add_x_forwarded_for;
           proxy_set_header X-Forwarded-Proto $scheme;
           proxy_set_header X-Frame-Options SAMEORIGIN;
           proxy_buffers 256 16k;
           proxy_buffer_size 16k;
           client_body_timeout 60;
           send_timeout 300;
           lingering_timeout 5;
           proxy_connect_timeout 90;
           proxy_send_timeout 300;
           proxy_read_timeout 90s;
           proxy_http_version 1.1;
           proxy_pass http://backend;
       }

       location / {
           client_max_body_size 50M;
           proxy_set_header Connection "";
           proxy_set_header Host $http_host;
           proxy_set_header X-Real-IP $remote_addr;
           proxy_set_header X-Forwarded-For $proxy_add_x_forwarded_for;
           proxy_set_header X-Forwarded-Proto $scheme;
           proxy_set_header X-Frame-Options SAMEORIGIN;
           proxy_buffers 256 16k;
           proxy_buffer_size 16k;
           proxy_read_timeout 600s;
           proxy_cache mattermost_cache;
           proxy_cache_revalidate on;
           proxy_cache_min_uses 2;
           proxy_cache_use_stale timeout;
           proxy_cache_lock on;
           proxy_http_version 1.1;
           proxy_pass http://backend;
       }
    }

    # This block is useful for debugging TLS v1.3. Please feel free to remove this
    # and use the `$ssl_early_data` variable exposed by NGINX directly should you
    # wish to do so.
    map $ssl_early_data $tls1_3_early_data {
      "~." $ssl_early_data;
      default "";
    }
Give Nginx permissions to cache directory and restart:
$ sudo chown -R nginx:nginx /var/cache/nginx
    $ sudo nginx -t
    $ sudo systemctl restart nginx
Step 10 – Access Mattermost Server
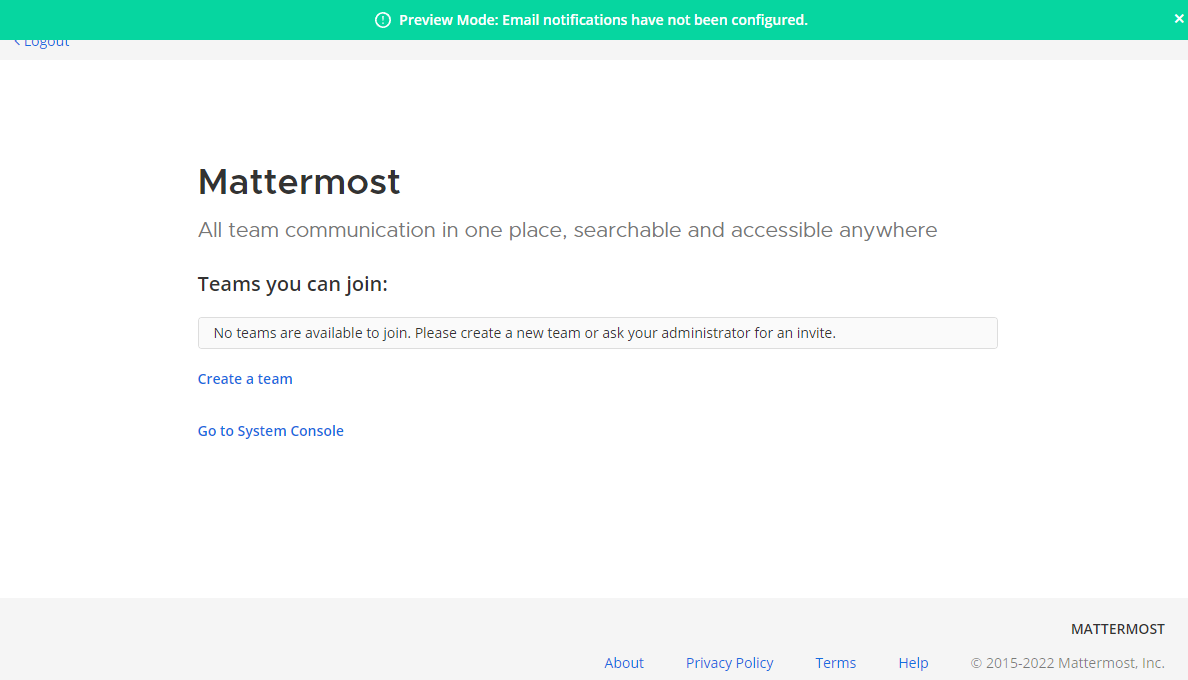
Access Mattermost at https://mattermost.example.com. Complete initial setup as system administrator.
Close unnecessary port 8065:
$ sudo ufw delete allow 8065
Create your first team from the Mattermost team creation page.

Step 11 – Configure Mattermost Server
Configure through the System Console for easier management. Access via the Product Button on the dashboard.

Configure Email Notifications
Enable email notifications under System Console >> Site Configuration >> Notifications:
- Enable Email Notifications
- Set Notification Display Name to “No-Reply”
- Set Notification From Address to something like name@example.com
- Set Support Email Address to something like support@example.com
Enable SMTP under System Console >> Environment >> SMTP using Amazon SES or similar.
Verify with Test Connection.
$ sudo systemctl restart mattermost
Conclusion
This completes the setup and configuration of the Mattermost Team Messaging system on an Ubuntu 22.04 server. If you have questions, feel free to leave them in the comments below.
Frequently Asked Questions (FAQ)
Why choose PostgreSQL over MySQL for Mattermost?
PostgreSQL is recommended for its advanced features, performance, and better compatibility with Mattermost.
Can I use a different domain name instead of mattermost.example.com?
Yes, you can replace the placeholder with your actual domain name throughout the setup process.
What should I do if my SSL certificate renewal fails?
First, ensure the Nginx service can be stopped and started as configured in the pre_hook and post_hook settings in your renewal configuration file. If issues persist, check Certbot logs for specific errors.
Is it necessary to use Nginx for proxying Mattermost?
While Nginx is commonly used for its performance and ease of configuration, you can also use other reverse proxies, like Apache. However, you will need to adjust the configuration steps accordingly.
How do I update Mattermost after installation?
Regularly check for new Mattermost releases on their official site. Follow updated version release notes to manually download and install or automate the update process with scripts.
