Mautic is an open-source, self-hosted marketing automation tool applicable to businesses and communities of all sizes. It allows you to enhance business growth or community engagement by offering features such as website monitoring, landing page creation, campaign management, contact management, and email marketing.
This guide provides a step-by-step process for installing the Mautic Marketing Automation Tool on Ubuntu 20.04 Server, utilizing a LEMP Stack (Linux, Nginx, MySQL, and PHP-FPM). We will enhance our installation’s security using SSL Let’s Encrypt.
Prerequisites
- Ubuntu 20.04 Server
- At least 2GB RAM
- Root privileges
Overview of Steps
- Install Nginx Web Server
- Install and Configure PHP-FPM 7.3
- Install and Configure MySQL Server
- Generate SSL with Let’s Encrypt
- Download Latest Mautic Source Code
- Set Up Nginx Server Blocks for Mautic
- Complete Mautic Post-Installation
Step 1: Install Nginx Web Server
The first step is to install Nginx, under which Mautic will run securely over HTTPS. Use the commands below to update your system’s repositories and install Nginx:
sudo apt update
sudo apt install nginx -y
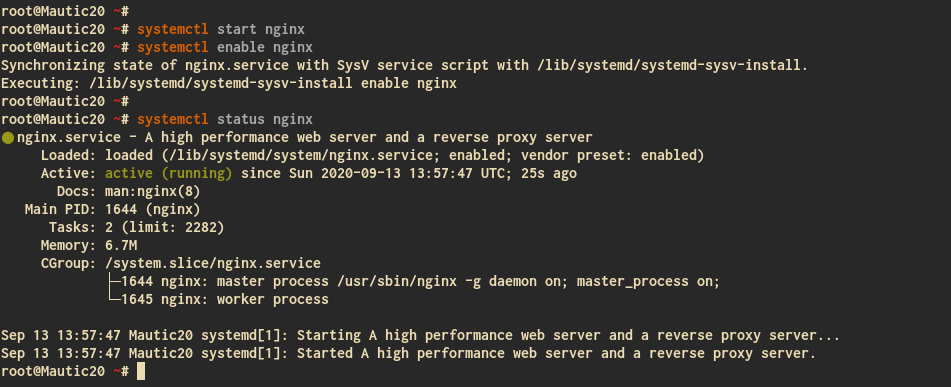
Start and enable the Nginx service:
systemctl start nginx
systemctl enable nginx
Verify Nginx status:
systemctl status nginx
Step 2: Install and Configure PHP-FPM 7.3
Mautic requires PHP 7.3, as it is incompatible with PHP 7.4. Follow these steps to set it up:
Install required packages and add the PHP PPA repository:
sudo apt install software-properties-common
sudo add-apt-repository ppa:ondrej/php -y
Install PHP-FPM 7.3 and necessary modules:
sudo apt install -y php7.3-fpm php7.3-mbstring php7.3-xml php7.3-mysql php7.3-common php7.3-gd php7.3-json php7.3-cli php7.3-curl php7.3-zip php7.3-xml php7.3-imap php7.3-intl
Edit configuration file:
cd /etc/php/7.3/fpm/
vim php.ini
Modify and save the following parameters:
date.timezone = "UTC"
cgi.fix_pathinfo = 0
Start and enable the PHP-FPM service:
systemctl start php7.3-fpm
systemctl enable php7.3-fpm

Step 3: Install and Configure MySQL Server
We’ll install MySQL, secure it, and create a database and user for Mautic.
Install MySQL packages:
sudo apt install mysql-server mysql-client
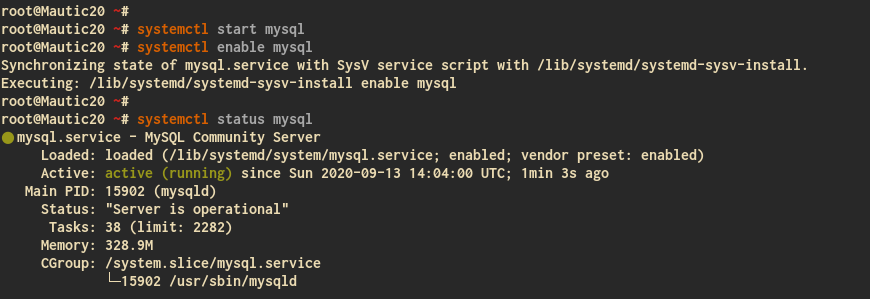
Start and enable MySQL service:
systemctl start mysql
systemctl enable mysql
Verify MySQL status:
systemctl status mysql
Secure MySQL:
mysql_secure_installation
Follow the prompts to set a root password, remove anonymous users, disallow root remote login, and remove the test database.
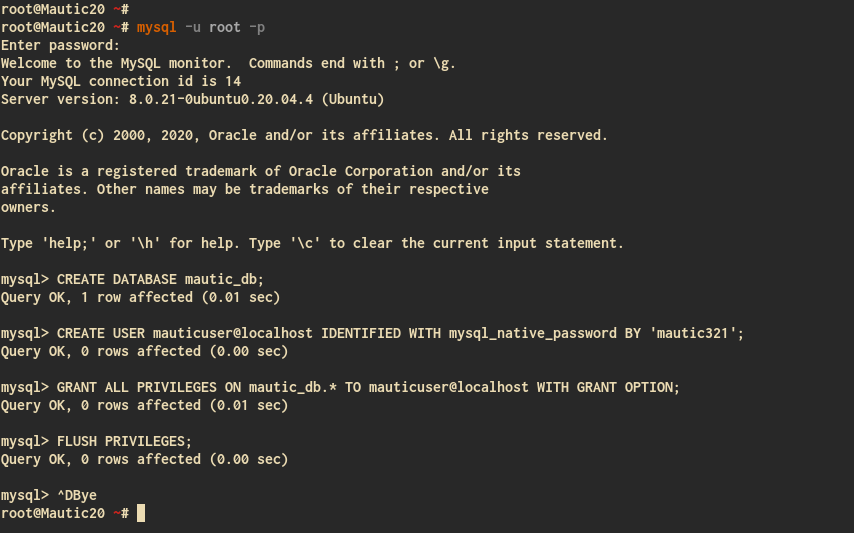
Create Mautic database and user:
mysql -u root -p
CREATE DATABASE mautic_db;
CREATE USER mauticuser@localhost IDENTIFIED WITH mysql_native_password BY 'mautic321';
GRANT ALL PRIVILEGES ON mautic_db.* TO mauticuser@localhost WITH GRANT OPTION;
FLUSH PRIVILEGES;
exit
Step 4: Generate SSL with Let’s Encrypt
For securing Mautic, generate an SSL certificate with Let’s Encrypt.
Install Certbot:
sudo apt install certbot
Stop Nginx and generate the SSL certificate:
systemctl stop nginx
certbot certonly --rsa-key-size 2048 --standalone --agree-tos --no-eff-email --email user@example.com -d example.com
Step 5: Download Mautic Source Code
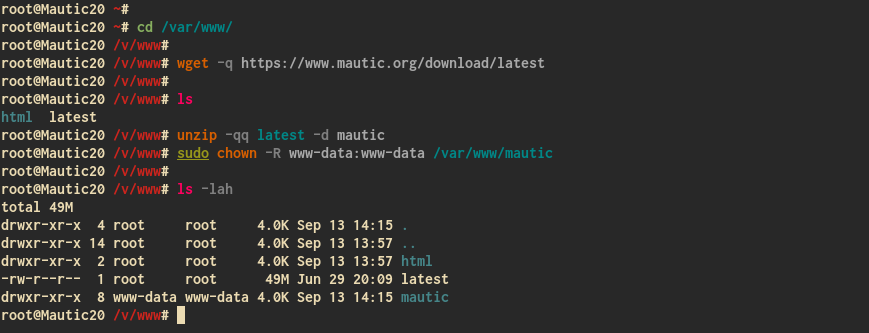
Download and unzip the latest version of Mautic in the ‘/var/www’ directory:
sudo apt install unzip
cd /var/www/
wget -q https://www.mautic.org/download/latest
unzip -qq latest -d mautic
sudo chown -R www-data:www-data /var/www/mautic
Step 6: Set up Nginx Server Blocks
Create a server block for Mautic:
cd /etc/nginx/sites-available/
vim mautic
Insert the configuration, replacing placeholders as needed:
server {
    listen 80;
    server_name example.com;
    return 301 https://$server_name$request_uri;
}

server {
    listen 443 ssl;
    server_name example.com;

    ssl_certificate /etc/letsencrypt/live/example.com/fullchain.pem;
    ssl_certificate_key /etc/letsencrypt/live/example.com/privkey.pem;

    ssl_session_timeout 5m;
    ssl_ciphers "HIGH:!aNULL:!MD5";

    client_max_body_size 4M;
    client_body_buffer_size 128k;

    root /var/www/mautic;
    index index.php index.html index.htm;

    location / {
        try_files $uri $uri/ =404;
    }

    location ~ .php$ {
        include snippets/fastcgi-php.conf;
        fastcgi_pass unix:/run/php/php7.3-fpm.sock;
    }
Enable the site and check for syntax errors:
ln -s /etc/nginx/sites-available/mautic /etc/nginx/sites-enabled/
nginx -t
systemctl restart nginx
Warm up Mautic’s cache:
cd /var/www/mautic/app
rm -rf cache/*
./console cache:warmup
Step 7: Complete Mautic Post-Installation
Open your browser and navigate to your Mautic domain:
https://example.com/
Complete the installation process by following the installer prompts.
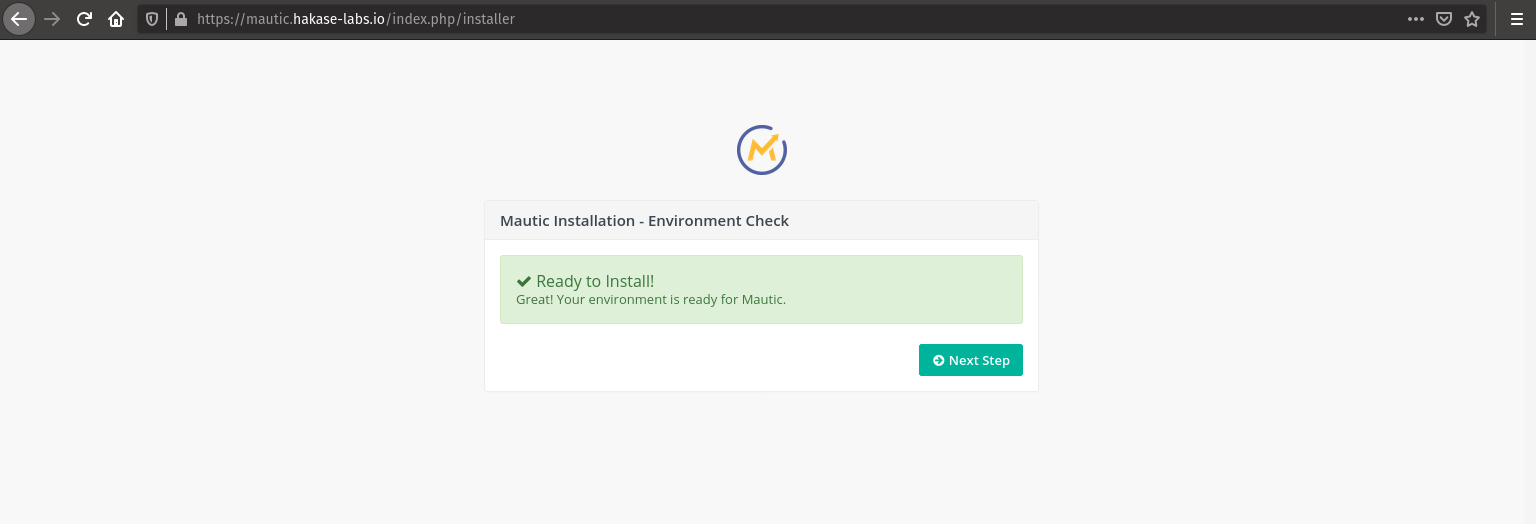
Congratulations! You’ve successfully installed Mautic on your Ubuntu 20.04 server.
FAQ
- Why use Nginx for Mautic?
Nginx provides a robust and efficient environment with high performance and low resource consumption, making it ideal for running applications like Mautic. - Do I need a domain name to install Mautic?
Yes, a domain name is required, especially if you’re planning to secure your installation using SSL. - Can I use PHP 7.4 instead?
Currently, Mautic is only compatible with PHP 7.3. Using other versions might cause compatibility issues. - Is SSL mandatory for Mautic?
While not mandatory, SSL is recommended for securing user data and ensuring a safe connection to your application. - How do I troubleshoot issues during installation?
Refer to the Mautic documentation for guidance or check Nginx and PHP logs for errors.
Reference
