MediaWiki is a powerful open-source wiki software that runs on PHP and MySQL. Known for its scalability and extensibility, it’s the engine behind sites like Wikipedia and Wikimedia. MediaWiki is ideal for collaboration and documentation platforms, as it helps in organizing and making documentation accessible to everyone. The platform supports multilingual features and provides customization options ranging from themes/skins to plugins and editors.
This detailed guide will walk you through installing MediaWiki on an Ubuntu 24.04 server. You will set up MediaWiki with a LAMP Stack (Linux, Apache, MySQL/MariaDB, and PHP) and secure it using HTTPS via Certbot and Let’s Encrypt.
Prerequisites
Before you begin, ensure you have:
- An Ubuntu 24.04 server.
- A non-root user with sudo privileges.
- A domain name directed to your server’s IP address.
Installing Dependencies
Ensure all necessary dependencies are on your system. MediaWiki 1.41 requires PHP 8.1-8.3. You will install Apache, MariaDB server, PHP 8.3, and ImageMagick as part of the LAMP Stack for MediaWiki.
Update your Ubuntu repository:
sudo apt update
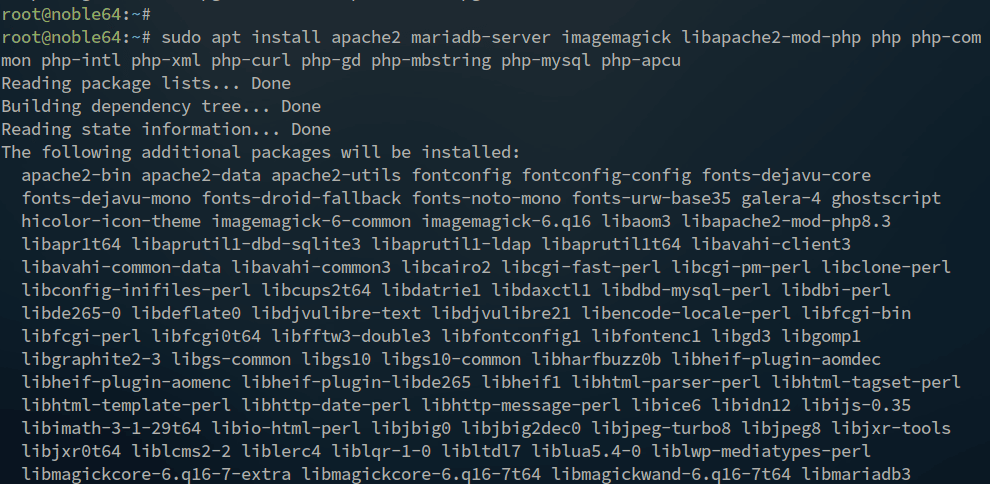
Install the media dependencies:
sudo apt install apache2 mariadb-server imagemagick libapache2-mod-php php php-common php-intl php-xml php-curl php-gd php-mbstring php-mysql php-apcu
Verify that Apache is running:
sudo systemctl is-enabled apache2
sudo systemctl status apache2

Check the MariaDB service status:
sudo systemctl is-enabled mariadb
sudo systemctl status mariadb

Verify your PHP version:
sudo php -v

Setting up UFW
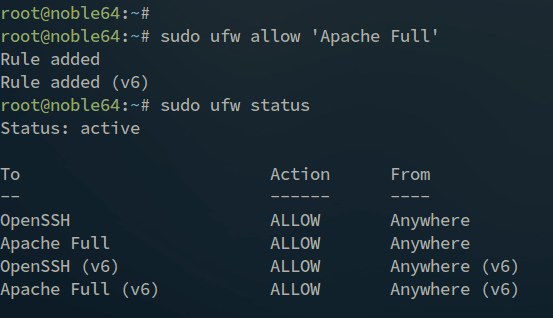
Enable the Apache Full profile in UFW:
sudo ufw allow "Apache Full"
Verify the enabled UFW rules:
sudo ufw status
Configuring PHP
Edit the PHP configuration file to optimize performance:
sudo nano /etc/php/8.3/apache2/php.ini
Adjust the following settings:
date.timezone = Europe/Amsterdam
upload_max_filesize = 80M
memory_limit = 512M
max_execution_time = 360
Restart the Apache server to apply the changes:
sudo systemctl restart apache2
Configuring MariaDB Server
Secure your MariaDB server and create a new database for MediaWiki:
Start by securing MariaDB:
sudo mariadb-secure-installation
Log into the MariaDB server:
sudo mariadb -u root -p
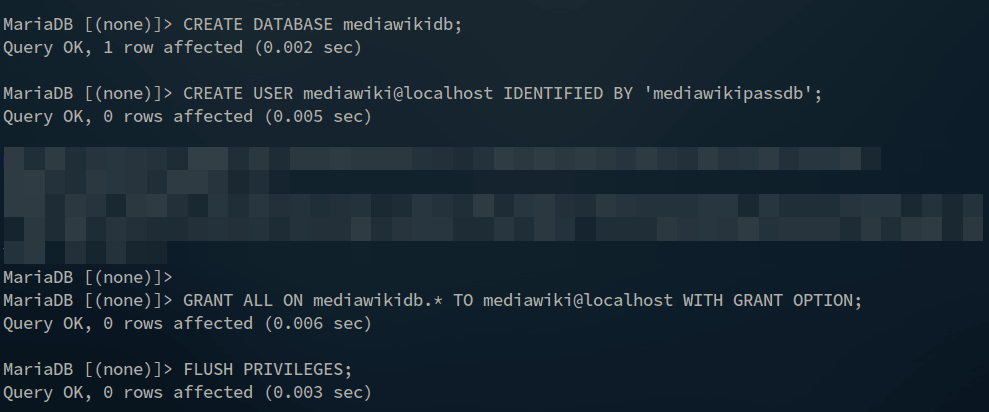
Create a new database and user for MediaWiki:
CREATE DATABASE mediawikidb;
CREATE USER mediawiki@localhost IDENTIFIED BY 'mediawikipassdb';
GRANT ALL ON mediawikidb.* TO mediawiki@localhost WITH GRANT OPTION;
FLUSH PRIVILEGES;
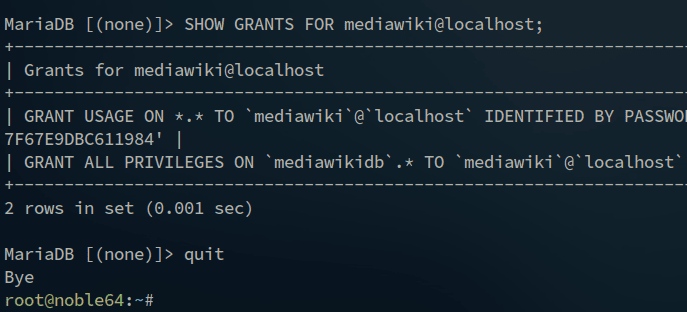
Verify user privileges:
SHOW GRANTS FOR mediawiki@localhost;
quit
Downloading MediaWiki
Download and set up MediaWiki 1.41:
Navigate to the directory and download MediaWiki:
cd /var/www/
curl -O https://releases.wikimedia.org/mediawiki/1.41/mediawiki-1.41.1.tar.gz
Extract and set permissions:
tar -xvzf mediawiki-1.41.1.tar.gz
mv mediawiki-1.41.1/ mediawiki/
sudo chown -R www-data:www-data /var/www/mediawiki
sudo chmod 755 /var/www/mediawiki
Setting up Apache Virtual Host
Create an Apache virtual host file:
Enable the rewrite module:
sudo a2enmod rewrite

Create a new virtual host file:
sudo nano /etc/apache2/sites-available/mediawiki.conf
Enter the server configuration:
<VirtualHost *:80>

  ServerName wiki.howtoforge.local

  ServerAdmin admin@wiki.howtoforge.local
  DocumentRoot /var/www/mediawiki

  ErrorLog /var/log/apache2/wiki.howtoforge.local_error.log
  CustomLog /var/log/apache2/wiki.howtoforge.local_access.log combined

  <Directory /var/www/mediawiki/>
    Options FollowSymlinks
    AllowOverride All
    Require all granted
  </Directory>

</VirtualHost>
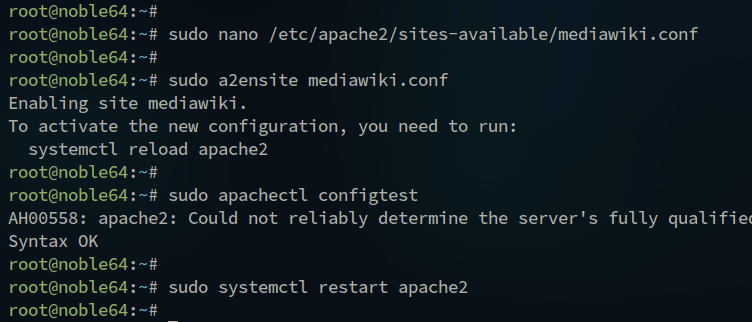
Activate the virtual host and check syntax:
sudo a2ensite mediawiki.conf
sudo apachectl configtest
Restart Apache to implement changes:
sudo systemctl restart apache2
Securing MediaWiki with HTTPS
Secure your MediaWiki installation with HTTPS:
Install Certbot and dependencies:
sudo apt install certbot python3-certbot-apache
Generate SSL certificates:
sudo certbot --apache --agree-tos --redirect --hsts --staple-ocsp --email alice@howtoforge.local -d wiki.howtoforge.local
Installing MediaWiki
Open your browser and begin the MediaWiki installation at your domain (e.g., http://wiki.howtoforge.local).
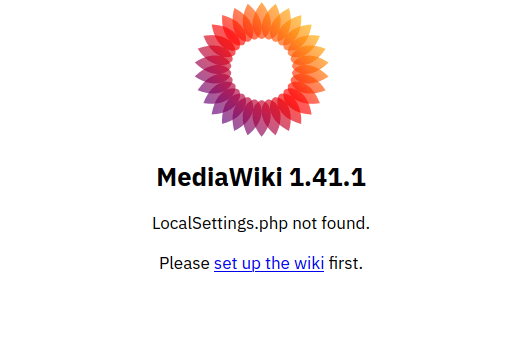
Follow the installation steps by selecting a language, accepting terms, and setting up the database and admin user.
Finally, configure settings and choose a default skin for your MediaWiki site.
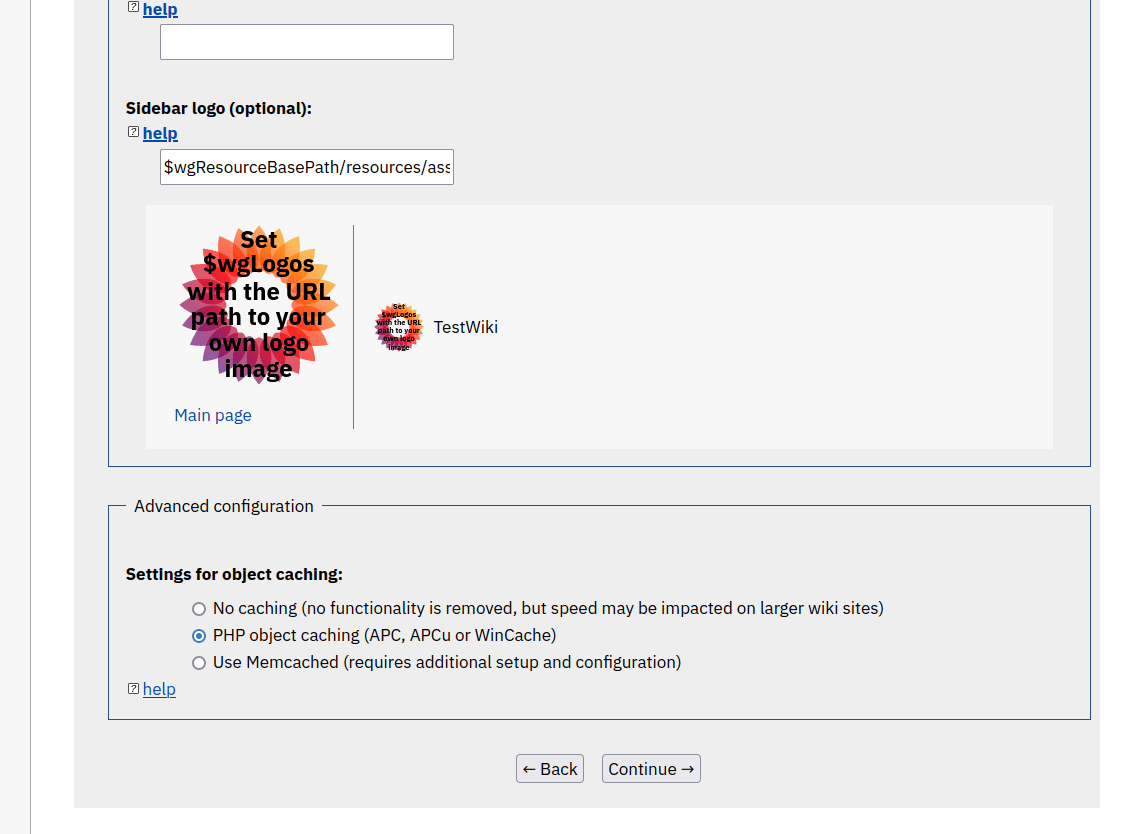
After installation, download and save the LocalSettings.php file. Upload it to your server directory or manually create it with the same contents.
$wgDefaultSkin = "minerva";
Visit your MediaWiki homepage and log in as the admin user.
Conclusion
Congratulations! You’ve successfully installed MediaWiki on Ubuntu 24.04. Your MediaWiki setup is powered by LAMP Stack and secured by HTTPS using Certbot and Let’s Encrypt.
FAQ
1. What is MediaWiki?
MediaWiki is an open-source wiki platform allowing users to create and manage collaborative and documentation-based sites.
2. Why use MediaWiki?
MediaWiki is scalable and extensible, offering multilingual support and a range of customization options for themes, plugins, and content management, making it suitable for large collaborative documentation efforts.
3. What are the necessary prerequisites?
You need an Ubuntu 24.04 server, a non-root user with sudo privileges, and a domain name properly pointed to your server’s IP address.
4. How do I secure MediaWiki with HTTPS?
After setting up your MediaWiki server, you can secure it with HTTPS using Certbot to obtain SSL certificates from Let’s Encrypt.
5. How can I customize my MediaWiki site?
You can customize your MediaWiki site by selecting different themes/skins, installing plugins, and configuring settings within the LocalSettings.php file.
