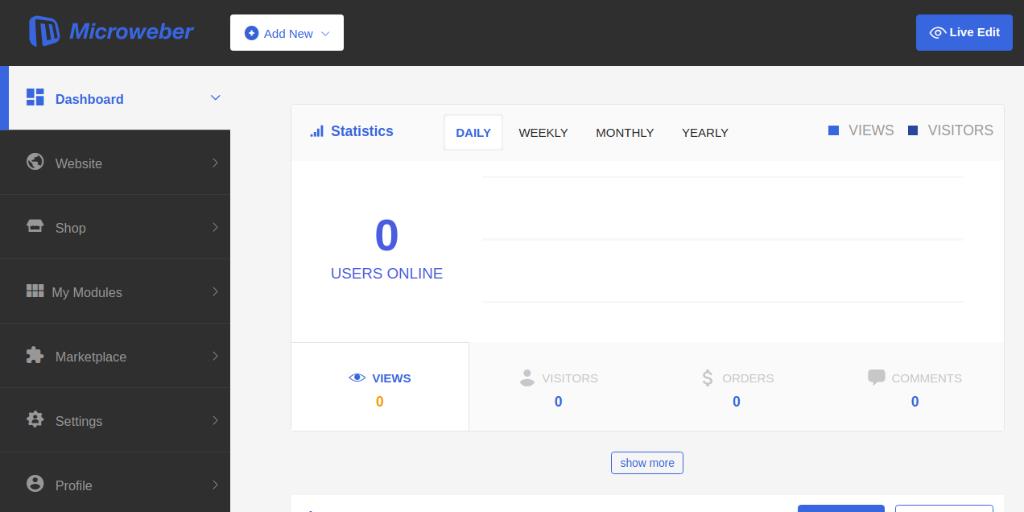
Microweber is a free, open-source drag-and-drop CMS and website builder that utilizes PHP and the Laravel 5 framework. It simplifies content creation and the management of multiple displays. Notably, Microweber offers an integrated online store feature, allowing you to sell products directly from your site. Key features include Live Edit, Online Shop, Statistics, Templates, Drag & Drop, and a WYSIWYG HTML Editor, among others.
This guide will walk you through the process of installing Microweber on an Ubuntu 18.04 LTS server.
Requirements
- A server running Ubuntu 18.04.
- A non-root user with
sudoprivileges.
Getting Started
Begin by updating your system to the latest version using the following commands:
sudo apt-get update -y
sudo apt-get upgrade -y
Restart the system to apply these updates.
Install LAMP Server
You’ll need to install Apache, MariaDB, PHP, and several PHP modules. Run this command:
sudo apt-get install apache2 mariadb-server php7.2 libapache2-mod-php7.2 php7.2-common php7.2-mbstring php7.2-xmlrpc php7.2-soap php7.2-mysql php7.2-gd php7.2-xml php7.2-cli php7.2-zip unzip wget -y
Edit the php.ini file to adjust memory limit, upload max filesize, max execution time, and timezone:
sudo nano /etc/php/7.2/apache2/php.ini
Make the following modifications:
memory_limit = 256M
upload_max_filesize = 150M
max_execution_time = 360
date.timezone = Europe/Berlin
Save and close the file. Then, start and enable Apache and MariaDB:
sudo systemctl start apache2
sudo systemctl start mariadb
Configure MariaDB
By default, MariaDB is not secured. Run this command to secure it:
sudo mysql_secure_installation
Respond to the prompts as follows:
    Enter current password for root (enter for none): ENTER
    Set root password? [Y/n]: N
    Remove anonymous users? [Y/n]: Y
    Disallow root login remotely? [Y/n]: Y
    Remove test database and access to it? [Y/n]: Y
    Reload privilege tables now? [Y/n]: Y
Log into MariaDB and create a database and user for Microweber:
mysql -u root -p
MariaDB [(none)]> CREATE DATABASE microweberdb;
MariaDB [(none)]> CREATE USER 'microweber'@'localhost' IDENTIFIED BY 'password';
Replace password with a secure password. Grant privileges:
MariaDB [(none)]> GRANT ALL ON microweberdb.* TO 'microweber'@'localhost' IDENTIFIED BY 'password' WITH GRANT OPTION;
Flush privileges and exit:
MariaDB [(none)]> FLUSH PRIVILEGES;
MariaDB [(none)]> EXIT;
Install Microweber
Download the latest version of Microweber:
cd /tmp
wget https://microweber.com/download.php -O microweber-latest.zip
Extract the file:
sudo mkdir /var/www/html/microweber
sudo unzip microweber-latest.zip -d /var/www/html/microweber
Set proper permissions:
sudo chown -R www-data:www-data /var/www/html/microweber/
sudo chmod -R 755 /var/www/html/microweber/
Configure Apache for Microweber
Create an Apache virtual host file:
sudo nano /etc/apache2/sites-available/microweber.conf
Add these lines:
<VirtualHost *:80>
     ServerAdmin admin@example.com
     DocumentRoot /var/www/html/microweber
     ServerName example.com
     ServerAlias www.example.com

    <Directory /var/www/html/microweber/>
        Options FollowSymlinks
        AllowOverride All
        Require all granted
     </Directory>

     ErrorLog ${APACHE_LOG_DIR}/error.log
     CustomLog ${APACHE_LOG_DIR}/access.log combined

</VirtualHost>
Replace example.com with your domain. Enable the site and rewrite module:
sudo a2ensite microweber.conf
sudo a2enmod rewrite
Restart Apache:
sudo systemctl restart apache2
Check Apache status to ensure it’s running correctly:
sudo systemctl status apache2
If successful, you should see “active (running)”.
Access Microweber
Microweber is now ready. Visit http://example.com in your browser. You should see:
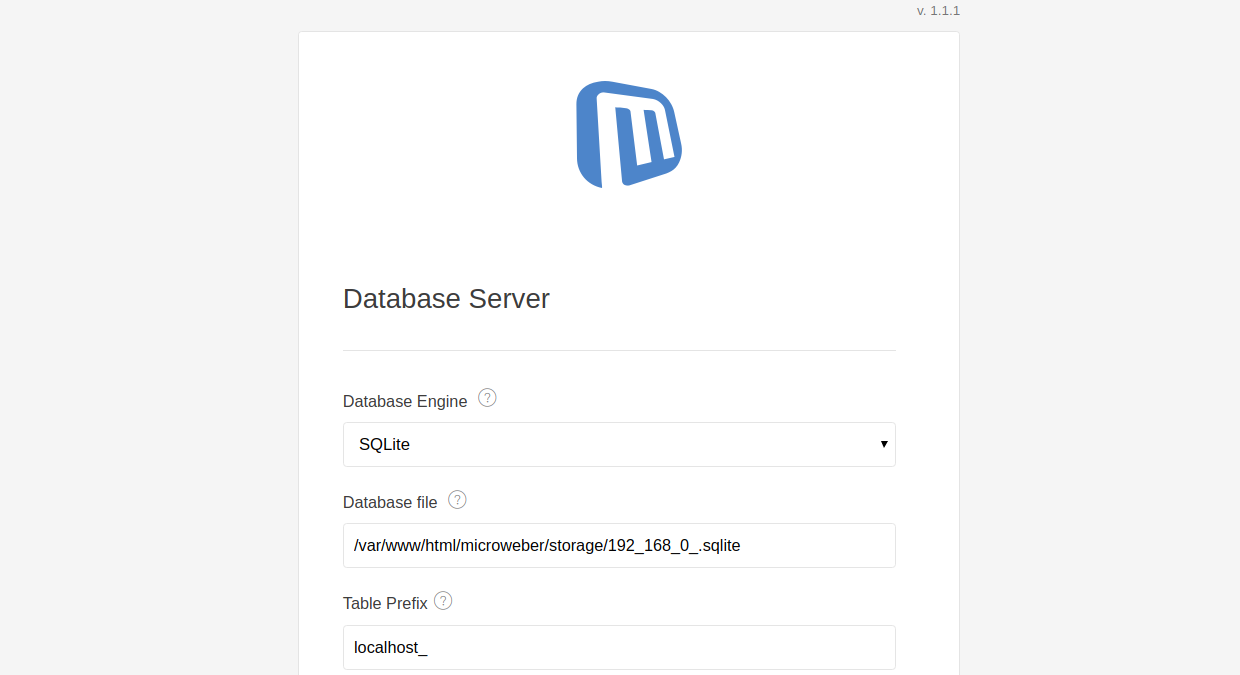
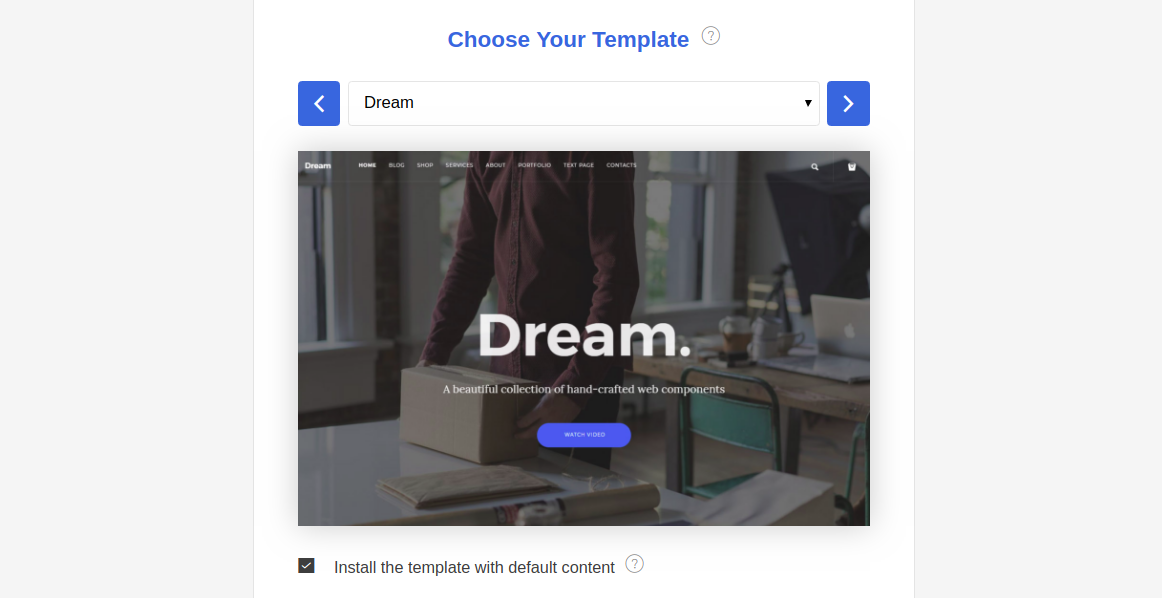
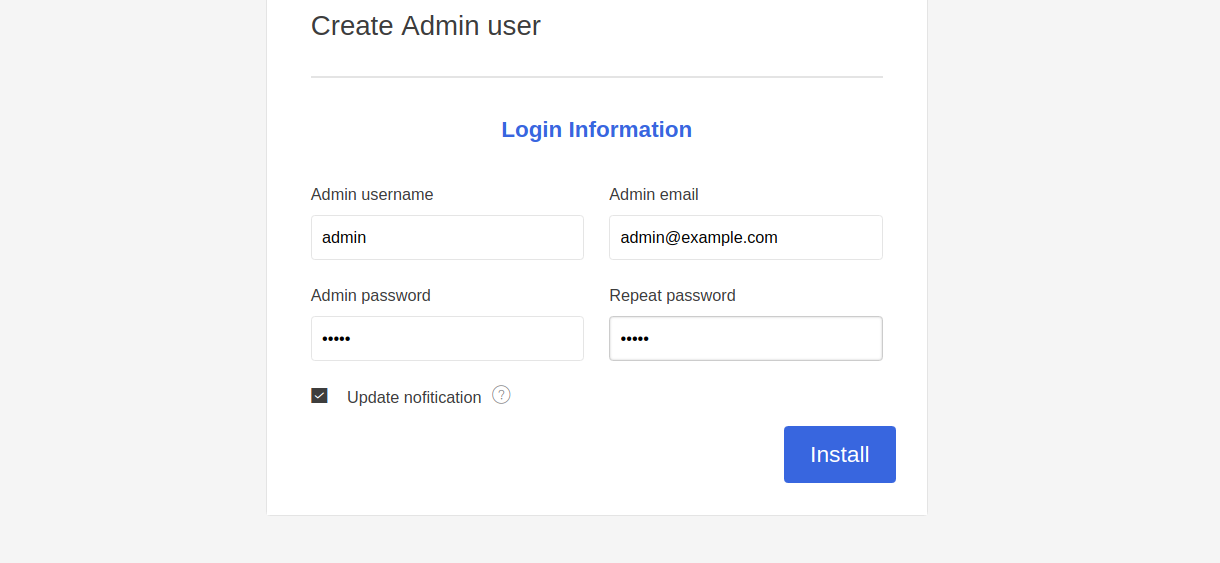
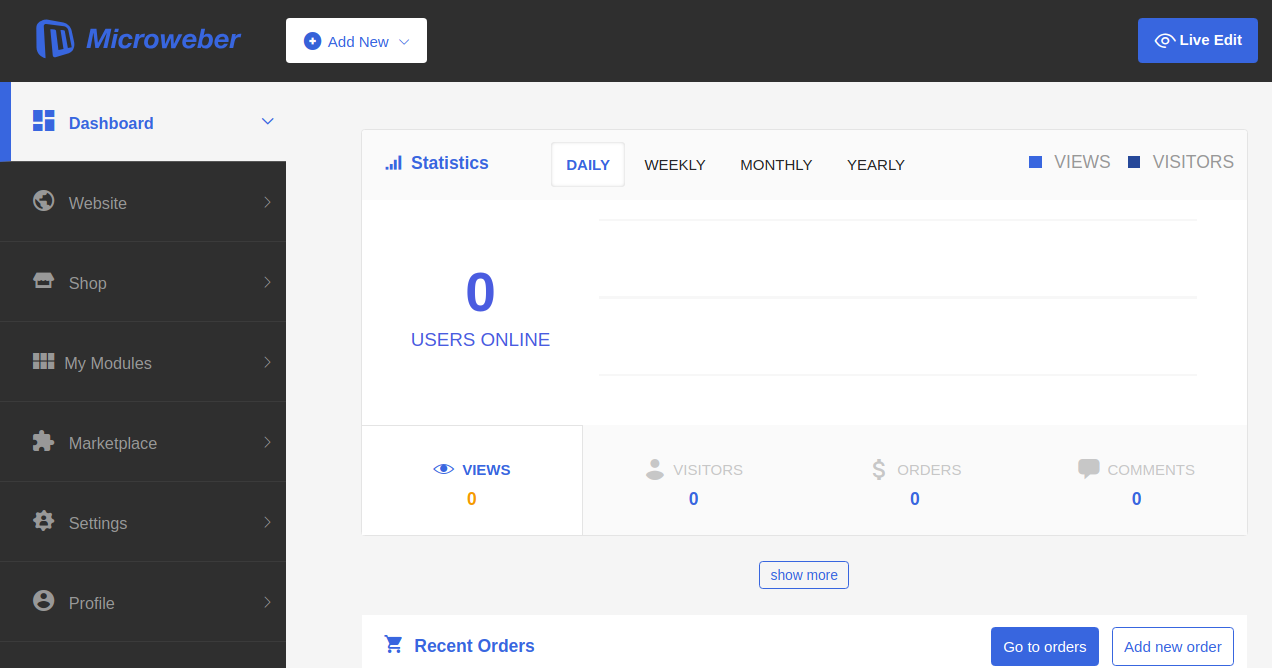
Enter your database and admin details, then click Install. After installation, you’ll reach the Microweber dashboard:
Conclusion
Congratulations! You have successfully installed Microweber on Ubuntu 18.04. You can now easily create and manage your own website with it. Feel free to reach out if you have any questions.
FAQ
1. What is Microweber?
Microweber is a open-source CMS and website builder that uses a drag-and-drop interface, making it simple to create and manage content on websites.
2. What are the system requirements?
You need a server running Ubuntu 18.04 with a non-root user that has sudo privileges.
3. Can I use a different version of PHP?
This guide specifically uses PHP 7.2. Other versions may require different steps or configurations.
4. How can I secure MariaDB?
Use the mysql_secure_installation script to improve security by setting a root password, removing anonymous users, and disabling remote root access, among other options.
5. What if I want to use a domain name?
In the Apache configuration, replace example.com with your actual domain name.
