Traditionally, Customer Relationship Management (CRM) software has been crafted for businesses to manage interactions with their customers. These tools assist enterprises in collecting customer data and providing support across different communication channels.
Monica Personal CRM, however, is designed with a focus on individuals and their personal relationships with family and friends. It aids in organizing and preserving information about the people in your life. Monica CRM is open-source and free, built on the Laravel PHP web framework.
This tutorial will guide you through the installation of Monica Personal CRM on a Debian 12 server.
Prerequisites
- A server running Debian 12 with a minimum of 1.5 GB of RAM. Insufficient RAM may cause Yarn installation tasks to fail. Upgrade your server if needed for a seamless installation.
- A non-root user with sudo privileges.
- Ensure Uncomplicated Firewall(UFW) is enabled and active.
- An FQDN like
monica.example.comthat points to your server. - An SMTP account from a service like Amazon SES or Mailgun.
- Update your server to the latest packages.
$ sudo apt update && sudo apt upgrade
- Install necessary packages for Monica CRM.
$ sudo apt install curl wget nano software-properties-common dirmngr apt-transport-https ca-certificates lsb-release debian-archive-keyring gnupg2 ufw unzip -y
Step 1 – Configure Firewall
Prior to installing any packages, configure the firewall to permit HTTP and HTTPS connections.
Verify the firewall status.
$ sudo ufw status
You should get a response similar to:
Status: active

To                         Action      From
--                         ------      ----
OpenSSH                    ALLOW       Anywhere
OpenSSH (v6)               ALLOW       Anywhere (v6)
Allow HTTP and HTTPS traffic.
$ sudo ufw allow http
$ sudo ufw allow https
Check the status again to verify.
$ sudo ufw status
Status: active

To                         Action      From
--                         ------      ----
OpenSSH                    ALLOW       Anywhere
80/tcp                     ALLOW       Anywhere
443/tcp                    ALLOW       Anywhere
OpenSSH (v6)               ALLOW       Anywhere (v6)
80/tcp (v6)                ALLOW       Anywhere (v6)
443/tcp (v6)               ALLOW       Anywhere (v6)
Step 2 – Install Git
Debian 12 usually includes Git by default. If not, install it using:
$ sudo apt install git -y
Verify Git’s installation by checking its version.
$ git --version
git version 2.39.2
Configure Git with your name and email.
$ git config --global user.name "Your Name"
$ git config --global user.email "youremail@domain.com"
Step 3 – Install Node.js
Monica CRM requires Node.js. Start by importing the Nodesource GPG key.
$ curl -fsSL https://deb.nodesource.com/gpgkey/nodesource-repo.gpg.key | sudo gpg --dearmor -o /usr/share/keyrings/nodesource.gpg
Create the Nodesource deb repository for Node.js 18.x.
$ NODE_MAJOR=18
$ echo "deb [signed-by=/usr/share/keyrings/nodesource.gpg] https://deb.nodesource.com/node_$NODE_MAJOR.x nodistro main" | sudo tee /etc/apt/sources.list.d/nodesource.list
Update the system repository list.
$ sudo apt update
Install Node.js.
$ sudo apt install nodejs -y
Verify installation.
$ node --version
v18.18.2
Update NPM and check its version.
$ sudo npm install -g npm@latest
$ npm --version
10.2.4
Step 4 – Install Yarn
Yarn, another JavaScript package manager, is necessary along with Node.js.
$ sudo npm install --global yarn
Confirm Yarn’s installation.
$ yarn --version
1.22.21
Step 5 – Install Nginx
To get the latest Nginx version, download its official repository.
Import the Nginx signing key.
$ curl https://nginx.org/keys/nginx_signing.key | gpg --dearmor | sudo tee /usr/share/keyrings/nginx-archive-keyring.gpg >/dev/null
Add the stable version repository.
$ echo "deb [signed-by=/usr/share/keyrings/nginx-archive-keyring.gpg] http://nginx.org/packages/debian `lsb_release -cs` nginx" | sudo tee /etc/apt/sources.list.d/nginx.list
Update repositories and install Nginx.
$ sudo apt update
$ sudo apt install nginx
Verify installation.
$ sudo nginx -v
nginx version: nginx/1.24.0
Start Nginx and confirm its status.
$ sudo systemctl start nginx
$ sudo systemctl status nginx
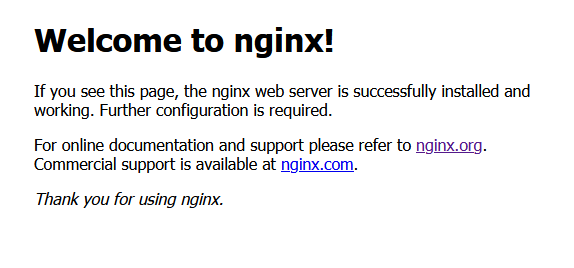
Visit your server’s IP address in a web browser to see the default Nginx page.

Step 6 – Install PHP and Extensions
Debian 12 includes PHP 8.2 by default. Install required extensions for Monica CRM.
$ sudo apt install php php-bcmath php-cli php-curl php-common php-fpm php-gd php-gmp php-intl php-json php-mbstring php-mysql php-opcache php-redis php-xml php-zip
To ensure you stay on the latest PHP version or install multiple versions, add Ondrej’s PHP repository.
Import Sury’s PHP GPG key and add the repository.
$ sudo curl -sSLo /usr/share/keyrings/deb.sury.org-php.gpg https://packages.sury.org/php/apt.gpg
$ sudo sh -c 'echo "deb [signed-by=/usr/share/keyrings/deb.sury.org-php.gpg] https://packages.sury.org/php/ $(lsb_release -sc) main" > /etc/apt/sources.list.d/php.list'
Update repository list and install PHP 8.2 with necessary extensions.
$ sudo apt update
$ sudo apt upgrade
$ sudo apt install php8.2 php8.2-bcmath php8.2-cli php8.2-curl php8.2-common php8.2-fpm php8.2-gd php8.2-gmp php8.2-intl php8.2-mbstring php8.2-mysql php8.2-opcache php8.2-redis php8.2-xml php8.2-zip
Check PHP version.
$ php --version
PHP 8.2.12 (cli) (built: Oct 27 2023 13:00:10) (NTS)
Copyright (c) The PHP Group
Zend Engine v4.2.12, Copyright (c) Zend Technologies
    with Zend OPcache v8.2.12, Copyright (c), by Zend Technologies
Step 7 – Configure PHP-FPM
Edit the php.ini configuration file.
$ sudo nano /etc/php/8.2/fpm/php.ini
Adjust the upload_max_filesize and post_max_size values to 10MB.
$ sudo sed -i 's/upload_max_filesize = 2M/upload_max_filesize = 10M/' /etc/php/8.2/fpm/php.ini
$ sudo sed -i 's/post_max_size = 8M/post_max_size = 10M/' /etc/php/8.2/fpm/php.ini
Modify PHP’s memory limit.
$ sudo sed -i 's/memory_limit = 128M/memory_limit = 256M/' /etc/php/8.2/fpm/php.ini
Edit the /etc/php/8.2/fpm/pool.d/www.conf file.
$ sudo nano /etc/php/8.2/fpm/pool.d/www.conf
Set the Unix user/group for PHP processes to nginx.
...
; Unix user/group of processes
; Note: The user is mandatory. If the group is not set, the default user's group
;       will be used.
user = nginx
group = nginx
...
Also change the listen.owner=nginx and listen.group=nginx values.
listen.owner = nginx
listen.group = nginx
Save and close the file.
Restart PHP-FPM.
$ sudo systemctl restart php8.2-fpm
Step 8 – Install Composer
Composer manages dependencies in PHP projects, crucial for Laravel and Monica CRM.
Download the Composer installer.
$ php -r "copy('https://getcomposer.org/installer', 'composer-setup.php');"
Verify the integrity of the installer.
$ php -r "if (hash_file('sha384', 'composer-setup.php') === 'e21205b207c3ff031906575712edab6f13eb0b361f2085f1f1237b7126d785e826a450292b6cfd1d64d92e6563bbde02') { echo 'Installer verified'; } else { echo 'Installer corrupt'; unlink('composer-setup.php'); } echo PHP_EOL;"
Successful verification displays:
Installer verified
Install Composer globally.
$ php composer-setup.php
Remove the setup script.
$ php -r "unlink('composer-setup.php');"
Move Composer to /usr/local/bin for global access.
$ sudo mv composer.phar /usr/local/bin/composer
Check Composer’s version to confirm installation.
$ composer --version
Composer version 2.6.5 2023-10-06 10:11:52
Step 9 – Install MariaDB
MariaDB serves as a drop-in replacement for MySQL. Commands for both are interchangeable.
Obtain the latest stable version of MariaDB by adding its official repository.
Import MariaDB’s GPG key and create a repository file.
$ sudo curl -o /usr/share/keyrings/mariadb-keyring.pgp 'https://mariadb.org/mariadb_release_signing_key.pgp'
$ echo "deb [signed-by=/usr/share/keyrings/mariadb-keyring.pgp] https://deb.mariadb.org/10.11/debian `lsb_release -cs` main" | sudo tee /etc/apt/sources.list.d/mariadb-server.list
Update repositories and install MariaDB.
$ sudo apt update
$ sudo apt install mariadb-server -y
Verify installation.
$ mysql --version
The output should resemble:
mysql Ver 15.1 Distrib 10.11.6-MariaDB, for debian-linux-gnu (x86_64) using EditLine wrapper
Check MariaDB service status.
$ sudo systemctl status mariadb
Run the security script to configure your MariaDB installation.
$ sudo mariadb-secure-installation
Set the root password, remove anonymous users, disable remote root login, and delete test tables.
Use the following for MariaDB login in the future:
$ sudo mysql
Close the MariaDB shell with exit.
Step 10 – Configure MariaDB
Access the MariaDB shell.
$ sudo mysql
Create a new database and user for Monica CRM.
MariaDB> CREATE DATABASE monica CHARACTER SET utf8mb4 COLLATE utf8mb4_unicode_ci;
MariaDB> CREATE USER 'monicauser'@'localhost' IDENTIFIED BY 'yourpassword';
MariaDB> GRANT ALL PRIVILEGES ON monica.* TO 'monicauser'@'localhost';
Substitute monica, monicauser and yourpassword with your chosen values. Ensure the password is robust.
Create an admin user with root-like privileges.
MariaDB> GRANT ALL ON *.* TO 'admin'@'localhost' IDENTIFIED BY 'password' WITH GRANT OPTION;
Flush and save the privileges.
MariaDB> FLUSH PRIVILEGES;
Exit the MariaDB shell.
MariaDB> exit
Step 11 – Downloading Monica
Create the web root directory and set ownership.
$ sudo mkdir /var/www/html -p
$ sudo chown -R $USER:$USER /var/www/html
Navigate to the directory and clone Monica’s GitHub repository.
$ cd /var/www/html
$ git clone https://github.com/monicahq/monica.git
Switch to the cloned directory and fetch the latest data.
$ cd monica
$ git fetch
Checkout the latest Monica version. Refer to the Monica releases page for the latest version.
$ git checkout tags/v4.0.0
The expected output:
Note: switching to 'tags/v4.0.0'.

You are in 'detached HEAD' state. You can look around, make experimental
changes and commit them, and you can discard any commits you make in this
state without impacting any branches by switching back to a branch.

If you want to create a new branch to retain commits you create, you may
do so (now or later) by using -c with the switch command. Example:

  git switch -c <new-branch-name>

Or undo this operation with:

  git switch -

Turn off this advice by setting config variable advice.detachedHead to false

HEAD is now at e1a3e1315 build: delete heroku workflow (#6540)
Step 12 – Installing Monica
Ensure you’re in Monica’s root directory.
$ cd /var/www/html/monica
Duplicate the sample environment file for your configuration.
$ cp .env.example .env
Update the .env file with your settings:
APP_ENV=production
...
APP_URL=https://monica.example.com
...
DB_DATABASE=monicadb
DB_USERNAME=monicauser
DB_PASSWORD=YourPassword23!
...
MAIL_MAILER=smtp
MAIL_HOST=email-smtp.us-west-2.amazonaws.com
MAIL_PORT=587
MAIL_USERNAME=SESID
MAIL_PASSWORD=SESKey
MAIL_ENCRYPTION=tls
# Outgoing emails will be sent with these identity
MAIL_FROM_ADDRESS=name@example.com
MAIL_FROM_NAME="Monica CRM"
# New registration notification sent to this email
APP_EMAIL_NEW_USERS_NOTIFICATION=name@example.com
...
Save changes and close the file.
Install Monica’s necessary packages using Composer.
$ composer install --no-interaction --no-dev
Utilize Yarn to install frontend packages and compile assets.
$ yarn install
$ yarn run production
Generate the APP_KEY automatically.
$ php artisan key:generate
Set up the database and generate symlinks for Monica by running:
$ php artisan setup:production --email=your@email.com --password=yourpassword -v
The expected output:
Monica v4.0.0 is set up, enjoy.
? Filling database
   INFO  Seeding database.


-----------------------------
|
| Welcome to Monica v4.0.0
|
-----------------------------
| You can now sign in to your account:
| username: your@email.com
| password: <hidden>
| URL:      https://monica.example.com
-----------------------------
Setup is done. Have fun.
Step 13 – Install SSL
Install Certbot via Snapd for SSL generation.
Install Snapd on Debian 12.
$ sudo apt install snapd
Update Snapd and install Certbot.
$ sudo snap install core && sudo snap refresh core
$ sudo snap install --classic certbot
Create a symbolic link for Certbot to run it globally.
$ sudo ln -s /snap/bin/certbot /usr/bin/certbot
Verify Certbot’s functionality.
$ certbot --version
certbot 2.7.4
Generate an SSL Certificate using Certbot.
$ sudo certbot certonly --nginx --agree-tos --no-eff-email --staple-ocsp --preferred-challenges http -m name@example.com -d monica.example.com
Create a Diffie-Hellman group certificate.
$ sudo openssl dhparam -dsaparam -out /etc/ssl/certs/dhparam.pem 4096
Check the Certbot renewal scheduler.
$ sudo systemctl list-timers
Verify the SSL renewal process with a dry run.
$ sudo certbot renew --dry-run
Successful output confirms automatic certificate renewal readiness.
Step 14 – Configure Nginx
Grant Nginx access to Monica’s root directory.
$ sudo chown -R nginx:nginx /var/www/html/monica
Set the correct permissions on the storage directory.
$ sudo chmod -R 775 /var/www/html/monica/storage
Edit Nginx configuration.
$ sudo nano /etc/nginx/nginx.conf
Add before include /etc/nginx/conf.d/*.conf;:
server_names_hash_bucket_size 64;
Save and exit. Now, create a configuration file for Monica:
$ sudo nano /etc/nginx/conf.d/monica.conf
Insert this configuration, replacing monica.example.com with your domain:
server {

    listen 443 ssl http2;
    listen [::]:443 ssl http2;

    server_name monica.example.com;
    root /var/www/html/monica/public;

    index index.php;
    client_max_body_size 10M;

    access_log  /var/log/nginx/monica.access.log;
    error_log   /var/log/nginx/monica.error.log;

    ssl_certificate      /etc/letsencrypt/live/monica.example.com/fullchain.pem;
    ssl_certificate_key  /etc/letsencrypt/live/monica.example.com/privkey.pem;
    ssl_trusted_certificate /etc/letsencrypt/live/monica.example.com/chain.pem;

    ssl_session_timeout  5m;
    ssl_session_cache shared:MozSSL:10m;
    ssl_session_tickets off;

    ssl_protocols TLSv1.2 TLSv1.3;
    ssl_prefer_server_ciphers on;
    ssl_ciphers ECDHE-ECDSA-AES128-GCM-SHA256:ECDHE-RSA-AES128-GCM-SHA256:ECDHE-ECDSA-AES256-GCM-SHA384:ECDHE-RSA-AES256-GCM-SHA384:ECDHE-ECDSA-CHACHA20-POLY1305:ECDHE-RSA-CHACHA20-POLY1305:DHE-RSA-AES128-GCM-SHA256:DHE-RSA-AES256-GCM-SHA384;
    ssl_ecdh_curve X25519:prime256v1:secp384r1:secp521r1;
    ssl_stapling on;
    ssl_stapling_verify on;
    ssl_dhparam /etc/ssl/certs/dhparam.pem;

    location / {
        try_files $uri $uri/ /index.php?$query_string;
    }

    location ~ \.php$ {
        fastcgi_index index.php;
        fastcgi_split_path_info ^(.+\.php)(.*)$;
        fastcgi_keep_conn on;
        include fastcgi_params;
        fastcgi_pass unix:/run/php/php8.2-fpm.sock;
        fastcgi_param SCRIPT_FILENAME $document_root$fastcgi_script_name;
    }
}
# enforce HTTPS
server {
    listen 80;
    listen [::]:80;
    server_name  monica.example.com;
    return 301   https://$host$request_uri;
}
Save and close the file. Verify the Nginx configuration.
$ sudo nginx -t
Restart Nginx to apply changes.
$ sudo systemctl restart nginx
Step 15 – Access Monica CRM
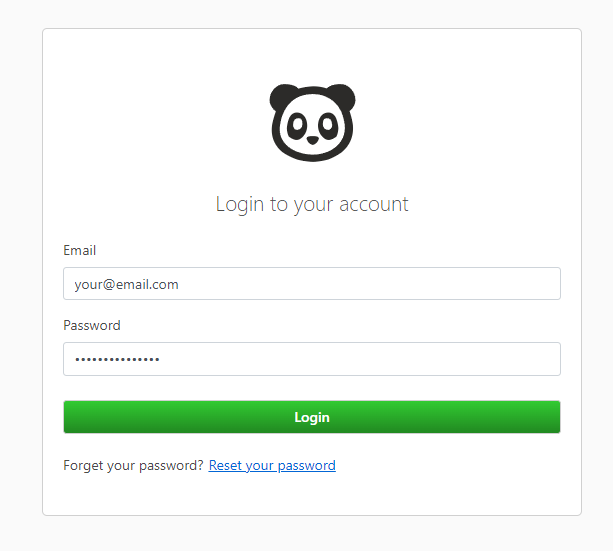
Visit https://monica.example.com to access the Monica CRM login page.

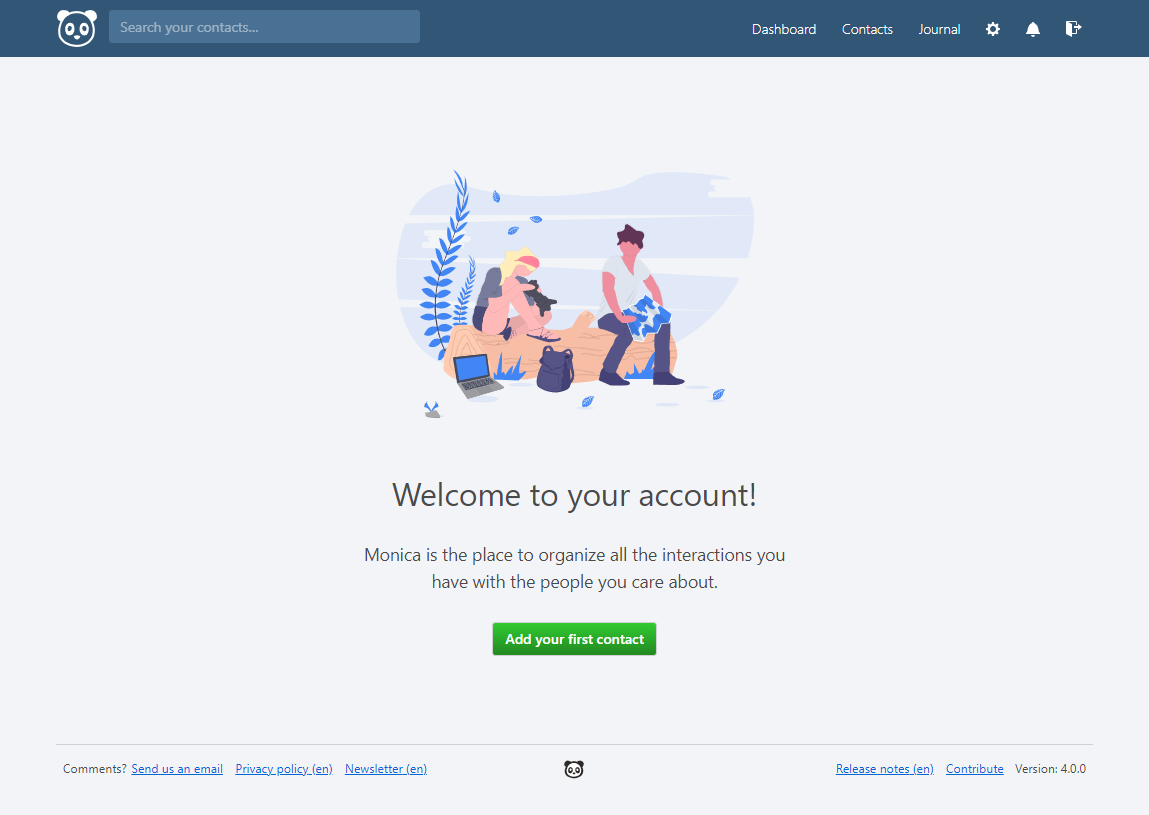
Log in and start using your Monica CRM instance.

Step 16 – Set up Cron
To ensure proper functioning, Monica runs several background processes through Cron. Configure a cron job to execute the php artisan schedule:run command every minute.
Edit the crontab for the nginx user.
$ sudo crontab -u nginx -e
Select your preferred editor and add the following line.
* * * * * php /var/www/html/monica/artisan schedule:run >> /dev/null 2>&1
Save and exit the editor. Monica’s scheduled tasks will now execute consistently.
Step 17 – Update Monica CRM
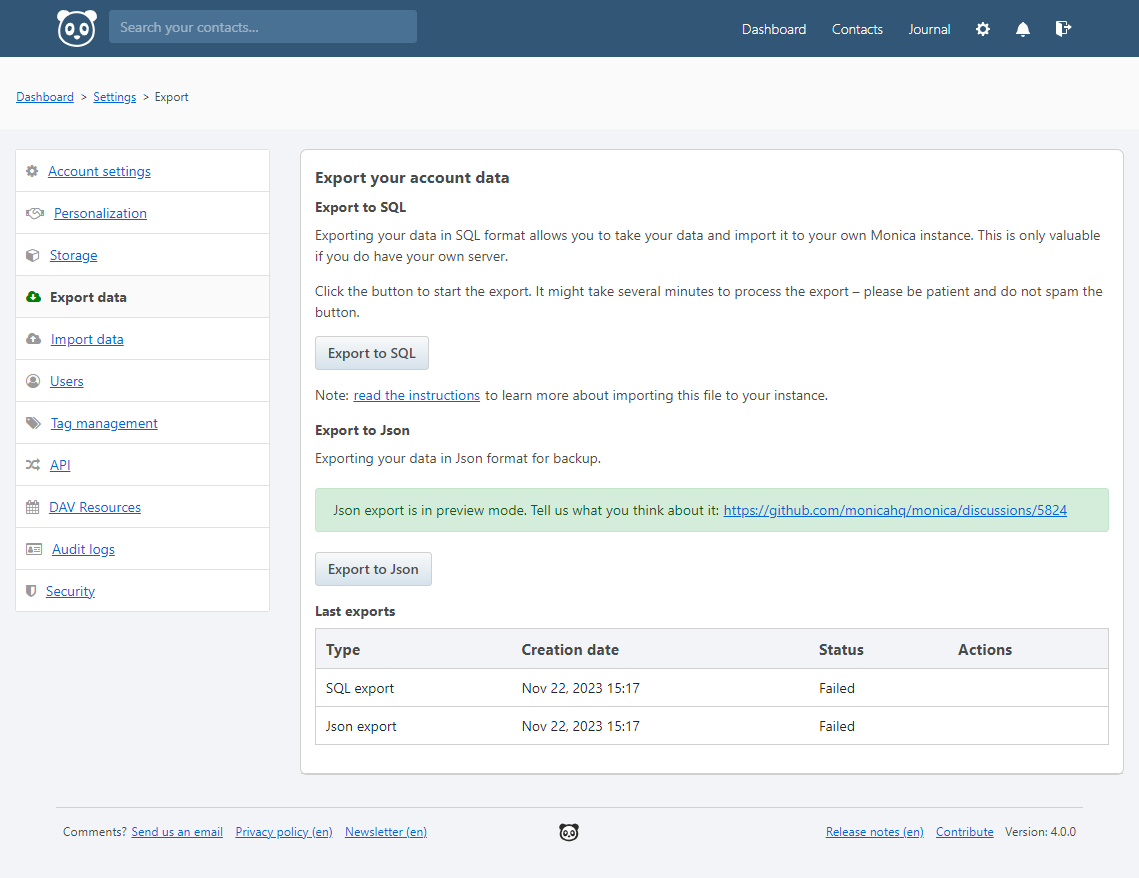
Ensure backup of Monica CRM data before proceeding with updates. Export SQL data from the settings page.

Check the export status in the directory /var/www/html/monica/storage/app/public/exports.
$ ls /var/www/html/monica/storage/app/public/exports -al
Prepare for the update by navigating to the Monica directory and adjusting permissions as necessary.
$ cd /var/www/html/monica
$ sudo chown -R $USER:$USER /var/www/html/monica
Fetch the latest changes from the repository.
$ git fetch
Check out the desired version.
$ git checkout tags/v5.0.0-beta.3
Update dependencies and frontend assets.
$ composer install --no-interaction --no-dev
$ yarn install
$ yarn run production
Run the update scripts for database migration and cache clearing.
$ php artisan monica:update --force
If restoring a SQL backup to another instance, ensure it’s empty, then migrate:
$ php artisan migrate
Import SQL data.
$ sudo mysqlimport -u monicauser -p monica /var/www/html/monica/storage/app/public/exports/dgZf5T0SnXeAuZ67HfaFLu2JosyUsByJcp2C8nlv.sql
Finally, restore directory permissions to nginx.
$ sudo chown -R nginx:nginx /var/www/html/monica
Conclusion
With this comprehensive guide, you have successfully installed Monica CRM on a Debian 12 server. For any questions or further assistance, feel free to ask in the comments.
FAQ
- What is Monica CRM?Monica CRM is an open-source personal relationship manager designed to help individuals organize and maintain information about their friends and family.
- Who can use Monica CRM?Monica CRM is suitable for anyone looking to manage personal relationships, including individuals, families, and small groups.
- Is Monica CRM free?Yes, Monica CRM is completely free to use as it is open-source software.
- What are the system requirements for installing Monica CRM?You need a Debian 12 server with at least 1.5 GB of RAM, a non-root user with sudo privileges, and a fully qualified domain name (FQDN).
- What if my server has less RAM than recommended?If your server has less than 1.5 GB of RAM, Yarn installation tasks may fail. Upgrading to a server with higher RAM is advisable for a seamless installation.