Nagios is an open-source tool used for system and network monitoring. It can monitor host activities and services, alerting you if any issues arise. Nagios operates on Linux-based systems, and in this guide, we’ll use Ubuntu 18.04.
This tutorial provides a comprehensive step-by-step guide for installing Nagios Core 4.4.x on Ubuntu 18.04. We’ll cover installing Nagios Core from source, setting up the NRPE and Nagios plugins, and adding hosts for monitoring with the Nagios server.
Prerequisites
- Two Ubuntu 18.04 servers
- Nagios server – Hostname: hakase-nagios, IP: 10.5.5.11
- Ubuntu client – Hostname: client01, IP: 10.5.5.12
- Root privileges
Steps
- Install Package Dependencies
- Install Nagios Core 4.4.5
- Install Nagios and NRPE Plugins
- Add Hosts to Monitor on Nagios Server
- Testing
Step 1 – Install Package Dependencies
Start by updating the Ubuntu repositories and installing the required packages for Nagios.
sudo apt update
Install package dependencies for Nagios:
sudo apt install -y autoconf bc gawk dc build-essential gcc libc6 make wget unzip apache2 php libapache2-mod-php7.2 libgd-dev libmcrypt-dev make libssl-dev snmp libnet-snmp-perl gettext
Step 2 – Install Nagios Core 4.4.5
We’ll install Nagios Core 4.4.5 from source.
Download and Extract Nagios Core 4.4.5
Navigate to your home directory, download the source code, and extract it.
cd ~/
wget https://github.com/NagiosEnterprises/nagioscore/archive/nagios-4.4.5.tar.gz
tar xzf nagios-4.4.5.tar.gz
cd nagioscore-nagios-4.4.5/
Compile and Install Nagios
Configure and compile Nagios, setting up the Apache virtual host configuration:
sudo ./configure --with-httpd-conf=/etc/apache2/sites-enabled
sudo make all

Create Nagios user and group:
sudo make install-groups-users
sudo usermod -a -G nagios www-data

Continue with the installation:
sudo make install
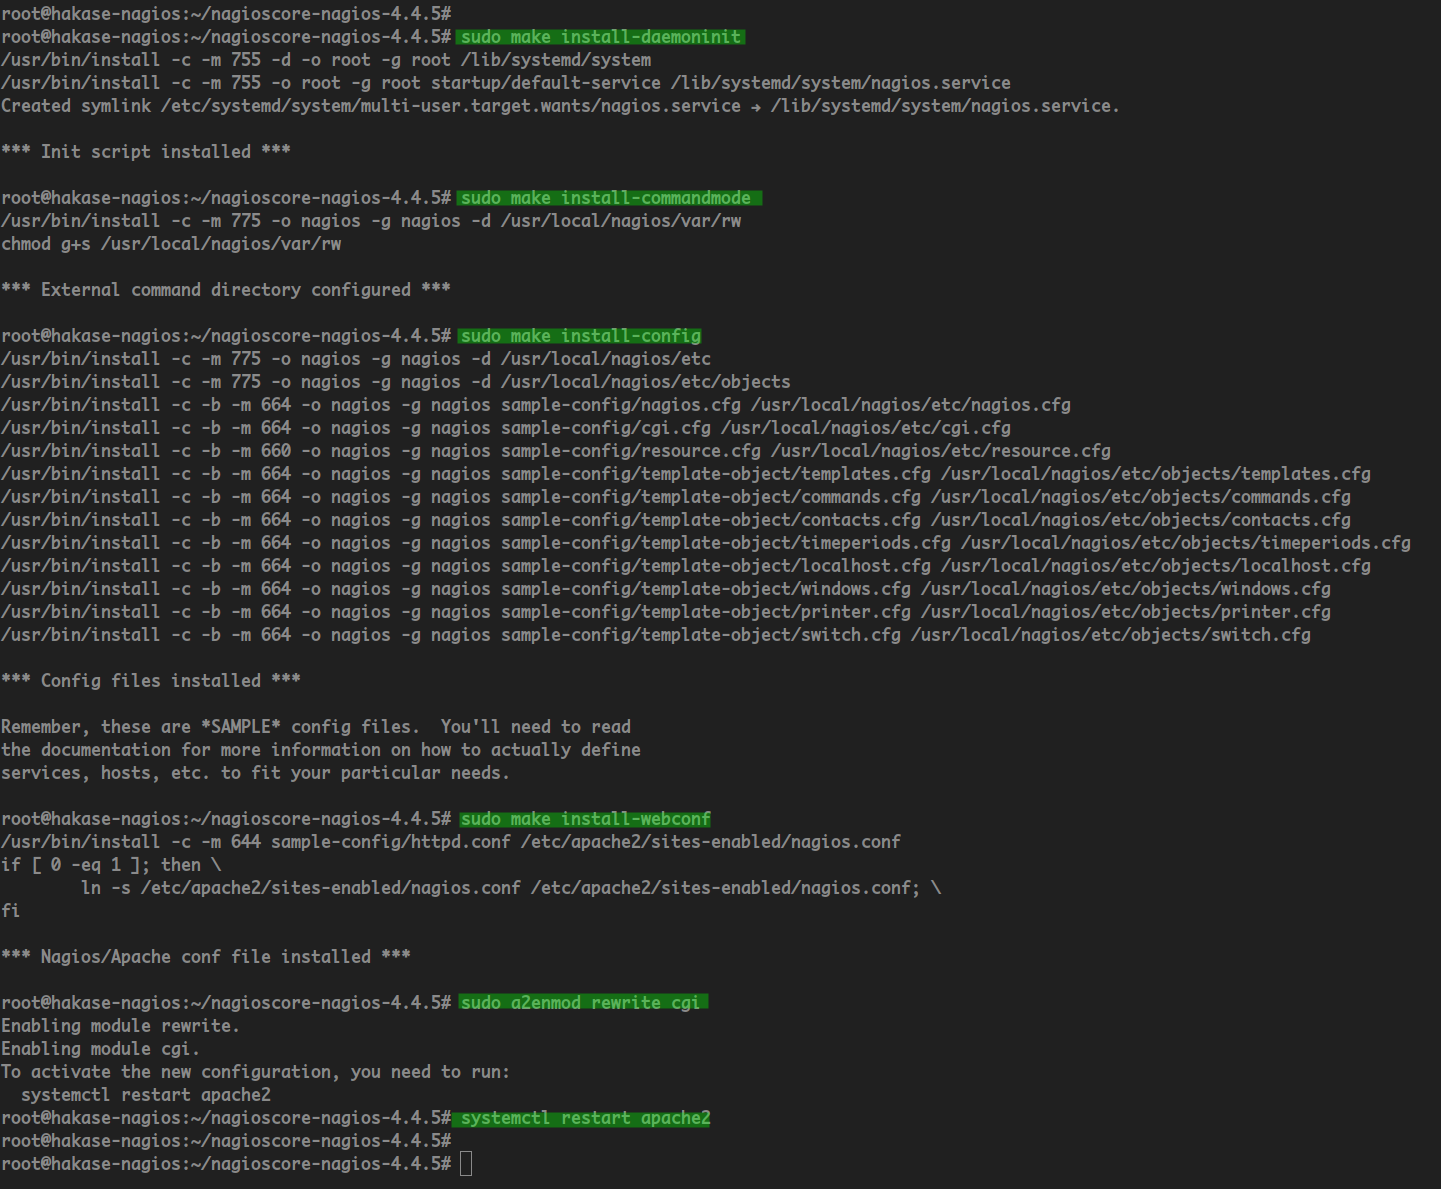
sudo make install-daemoninit
sudo make install-commandmode
sudo make install-config
Configure Apache for Nagios:
sudo make install-webconf
sudo a2enmod rewrite cgi
systemctl restart apache2

Create nagiosadmin User
Set up authentication for the Nagios dashboard:
sudo htpasswd -c /usr/local/nagios/etc/htpasswd.users nagiosadmin

Setup UFW Firewall
Configure UFW to allow Apache and Nagios:
sudo ufw allow Apache
sudo ufw reload

Step 3 – Install Nagios Plugins and NRPE Plugin
Install the necessary Nagios plugins:
sudo apt install nagios-plugins nagios-nrpe-plugin
Configure Nagios by editing the configuration files:
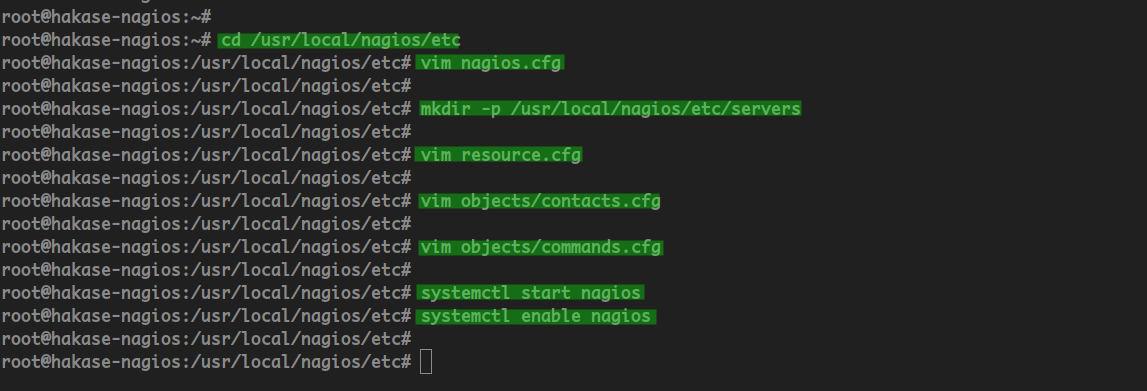
cd /usr/local/nagios/
 vim nagios.cfg
Edit the resource file for the Nagios plugins:
vim resources.cfg
$USER1$=/usr/lib/nagios/plugins
Activate Nagios services:
systemctl start nagios
systemctl enable nagios

Step 4 – Add Linux Host to Monitor
Add a new host to Nagios monitoring:
Install NRPE Server on Client01
Log in to the client and install NRPE:
ssh root@10.5.5.12
sudo apt update
sudo apt install nagios-nrpe-server nagios-plugins
cd /etc/nagios/
vim nrpe.cfg
server_address=10.5.5.12
allowed_hosts=127.0.0.1,::1,10.5.5.11
Configure the service:
systemctl restart nagios-nrpe-server
systemctl enable nagios-nrpe-server

Add Hosts Configuration to the Nagios Server
Edit the host configuration on the Nagios server:
cd /usr/local/nagios/etc
 vim servers/client01.cfg
# Configuration for Ubuntu Host client01
Restart Nagios to apply changes:
systemctl restart nagios

Step 5 – Testing
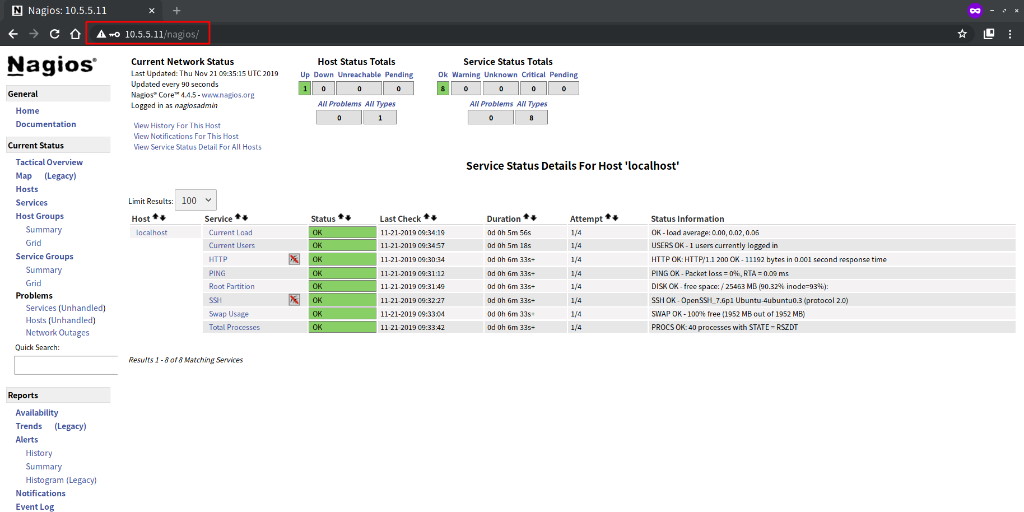
Verify that Nagios is monitoring the new host:

Conclusion
The installation of Nagios 4.4.5 on Ubuntu 18.04 is complete, and you are now able to add and monitor hosts on your Nagios server.
References
FAQ
- What is Nagios?
Nagios is an open-source tool for monitoring systems, networks, and infrastructure. It tracks hosts and services’ statuses and alerts admins in case of issues. - Which systems can Nagios be installed on?
Nagios can be installed on various Linux distributions. In this guide, we used Ubuntu 18.04. - What is NRPE?
NRPE (Nagios Remote Plugin Executor) allows Nagios to execute plugins on remote Linux/Unix machines to monitor their performance and status.
