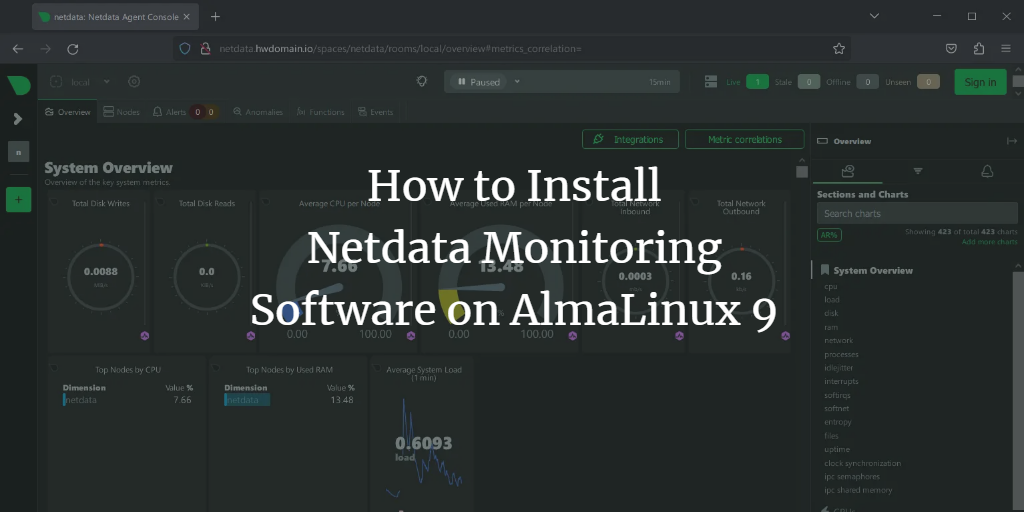
Efficiently track server performance and application health using Netdata, a real-time, open-source monitoring tool versatile enough to support servers, containers, and applications. Netdata operates across a range of operating systems including Linux, Unix, Windows, and macOS, and integrates with container technologies like Docker and Kubernetes.
Introduction
This guide walks you through the steps to install Netdata with Nginx as a reverse proxy on an AlmaLinux 9 server, providing you with robust monitoring capabilities.
Prerequisites
Before diving into the installation process, ensure you have the following:
- An AlmaLinux 9 server.
- A non-root user with administrative privileges.
- SELinux configured in permissive mode.
Setting Up Repositories
To start, you’ll add and enable necessary repositories, including the EPEL and Netdata repositories, and ensure the RHEL CRB (Code Ready Build) repository is enabled.
sudo dnf install dnf-plugins-core -y
Add EPEL and enable CRB:
sudo dnf install epel-release
sudo dnf config-manager --set-enabled crb

Add the Netdata repository:
sudo rpm -ivh https://repo.netdata.cloud/repos/stable/el/9/x86_64/netdata-repo-2-2.noarch.rpm

Verify available repositories:
sudo dnf repolist

Downloading and Installing Netdata
With the repositories in place, you can proceed to install Netdata and its plugins for enhanced system and application monitoring.
sudo dnf install netdata netdata-plugin-{apps,chartsd,cups,ebpf,go,pythond,perf,freeipmi,slabinfo,systemd-journal}
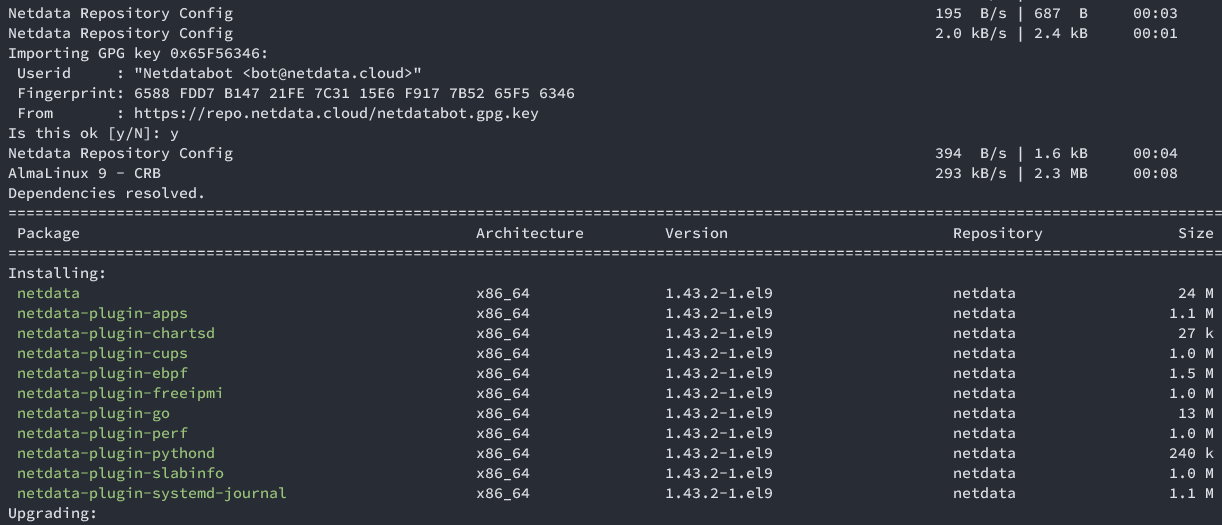
Start and enable Netdata:
sudo systemctl start netdata
sudo systemctl enable netdata
Verify Netdata status:
sudo systemctl status netdata
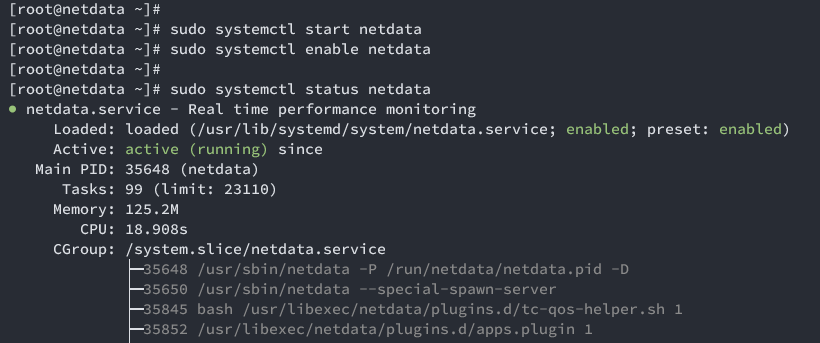
Open necessary ports for Netdata:
sudo firewall-cmd --add-port=19999/tcp
Access your Netdata dashboard at http://[your-server-ip]:19999.
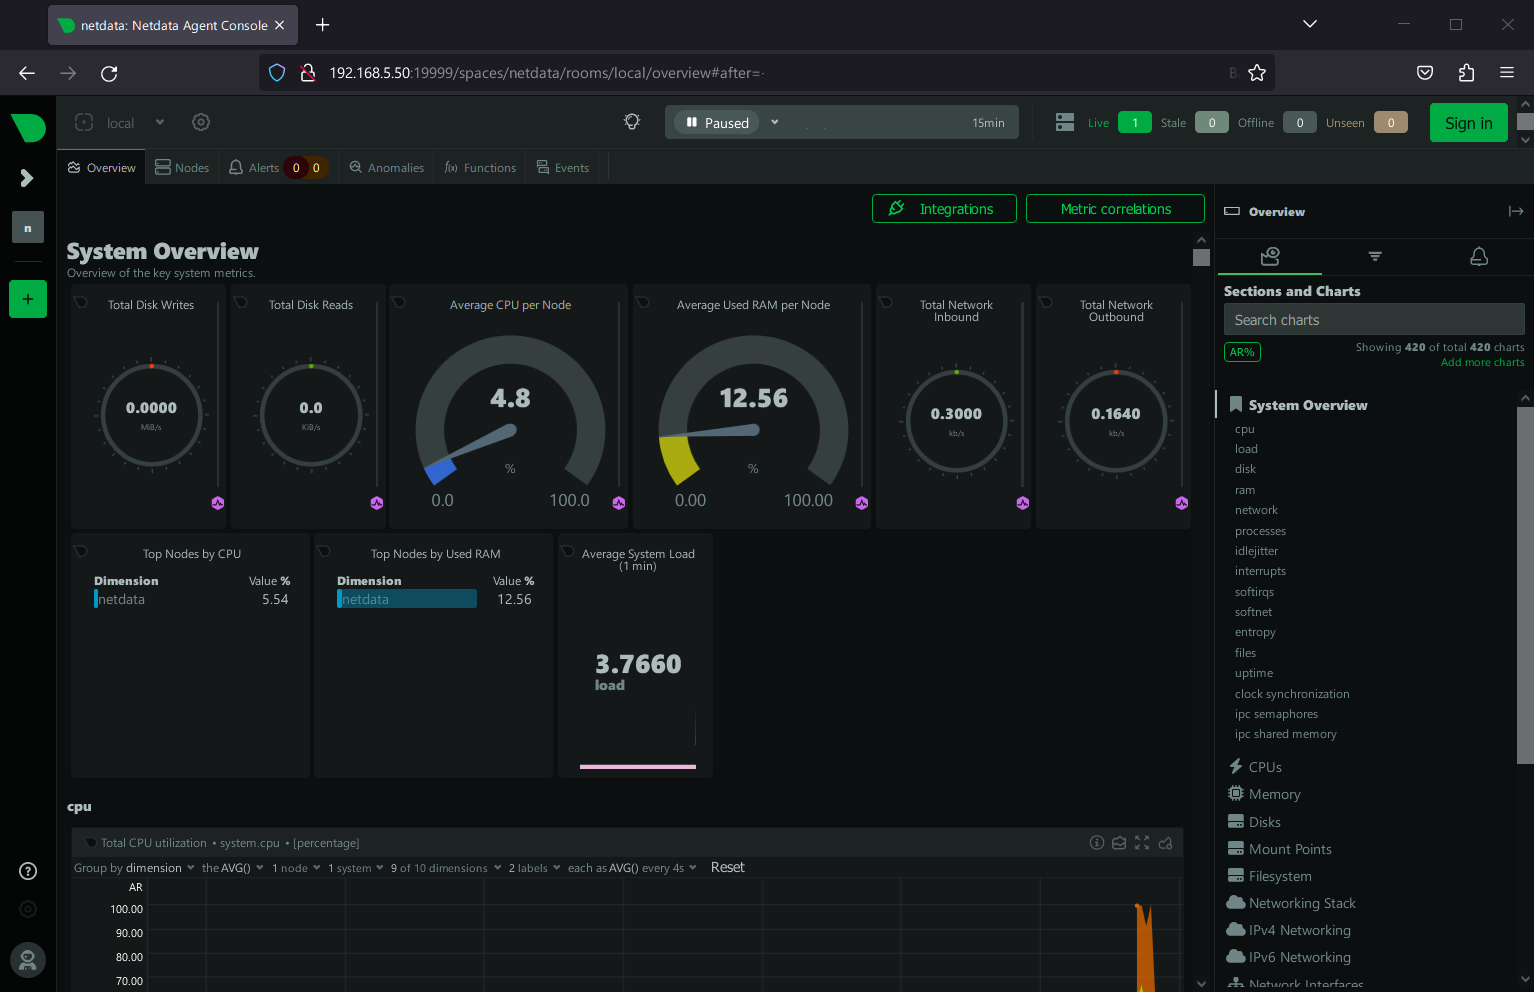
Configuring Netdata
Configure Netdata to work over a UNIX socket for enhanced security, facilitating its deployment with Nginx.
wget -O /etc/netdata/netdata.conf http://localhost:19999/netdata.conf
cd /etc/netdata
sudo ./edit-config netdata.conf
Edit the configuration:
[web]
    bind to = unix:/var/run/netdata/netdata.sock
Restart Netdata:
sudo systemctl restart netdata
Verify UNIX socket:
ss -pl | grep netdata.sock

Installing Nginx as a Reverse Proxy
Install and configure Nginx to act as a reverse proxy, enhancing access control and providing SSL/TLS support.
Installing Nginx
sudo dnf install nginx

Create a server block directory and configure Nginx:
mkdir -p /etc/nginx/server-blocks
sudo nano /etc/nginx/nginx.conf
http {
    ...
    include /etc/nginx/server-blocks/*.conf;
}
Adding Server Block Configuration
sudo nano /etc/nginx/server-blocks/netdata.conf
upstream backend {
    server unix:/var/run/netdata/netdata.sock;
    keepalive 1024;
}
server {
listen 80;
server_name netdata.howtoforge.local;
auth_basic "Protected";
auth_basic_user_file /etc/nginx/.passwords;

location / {
proxy_set_header X-Forwarded-Host $host;
proxy_set_header X-Forwarded-Server $host;
proxy_set_header X-Forwarded-For $proxy_add_x_forwarded_for;
proxy_pass http://backend;
proxy_http_version 1.1;
proxy_pass_request_headers on;
proxy_set_header Connection "keep-alive";
proxy_store off;
}
Create a password file for basic auth:
printf "alice:$(openssl passwd -apr1)" > /etc/nginx/.passwords

Nginx Configuration Verification
Check Nginx configuration:
sudo nginx -t
Start and enable Nginx:
sudo systemctl start nginx
sudo systemctl enable nginx

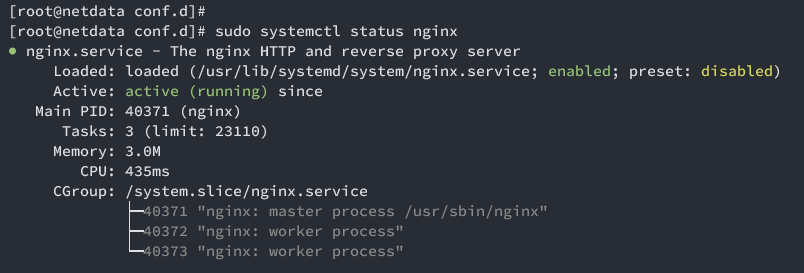
Verify Nginx status:
sudo systemctl status nginx
Opening HTTP and HTTPS Ports
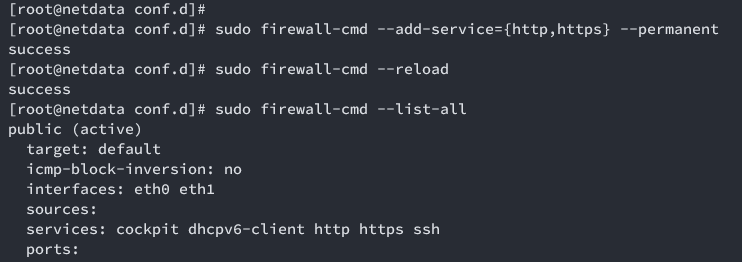
Enable access to your application via HTTP and HTTPS:
sudo firewall-cmd --add-service={http,https} --permanent
sudo firewall-cmd --reload
sudo firewall-cmd --list-all
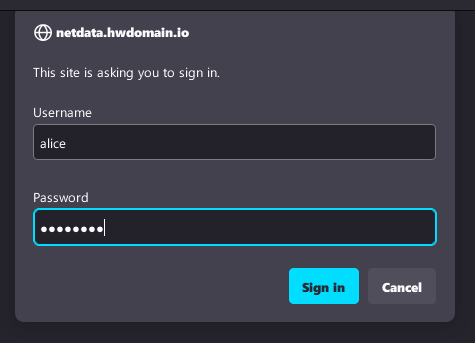
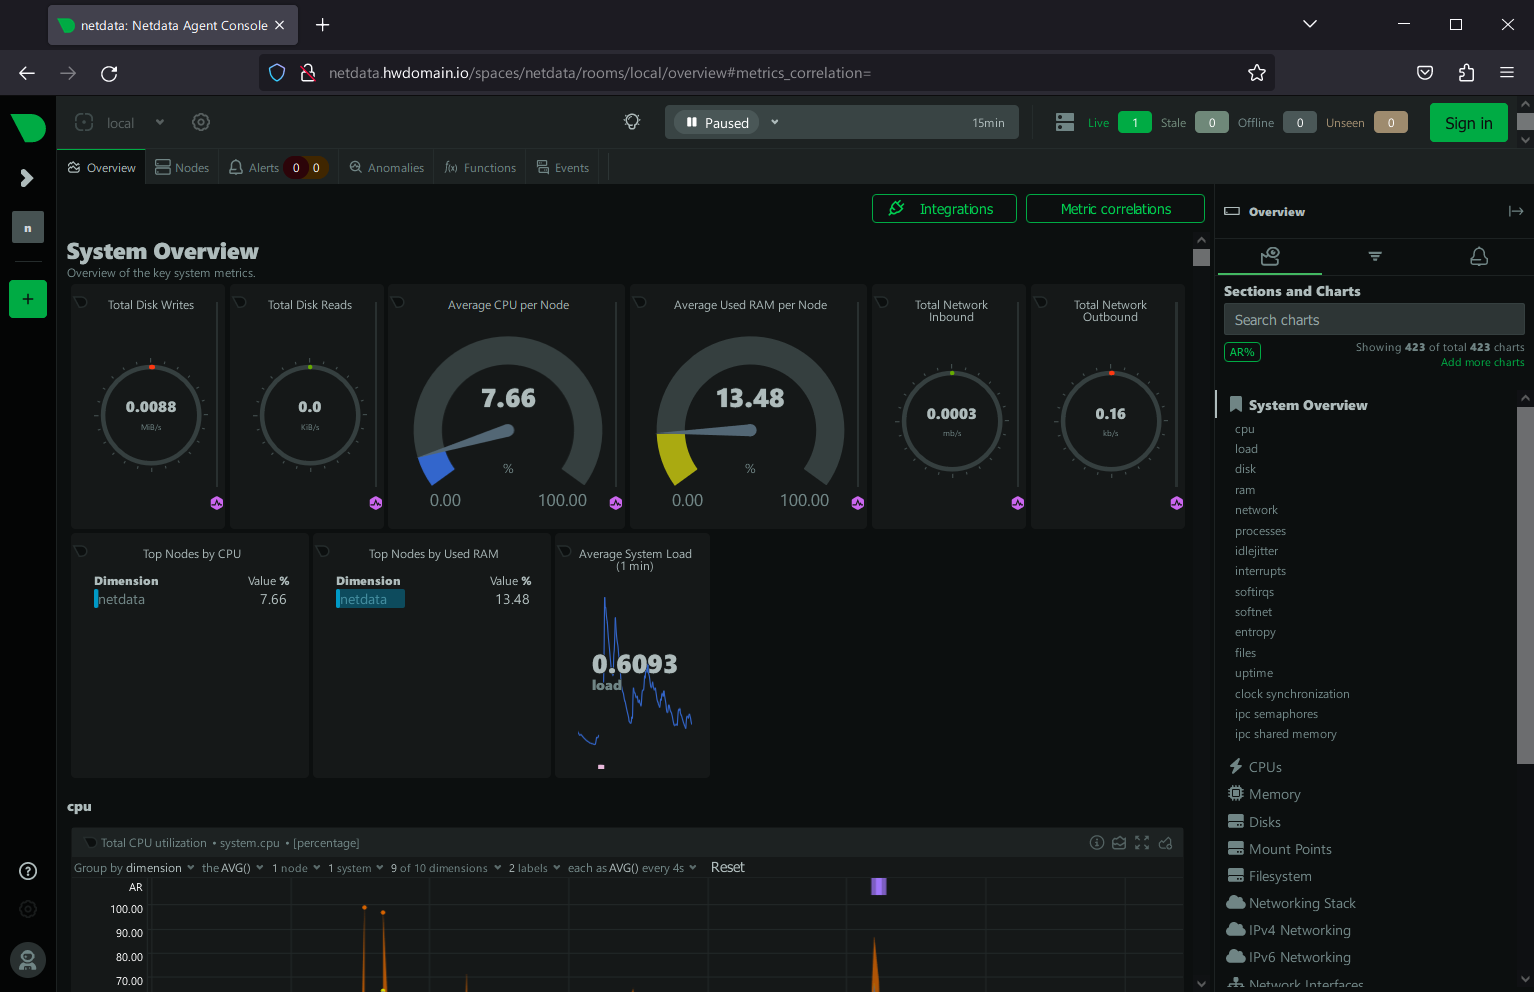
Visit http://netdata.howtoforge.local with your credentials for basic authentication.
Securing Netdata with SSL/TLS Certificates
To secure your configuration, generate SSL/TLS certificates and apply them to Nginx.
sudo dnf install certbot python3-certbot-nginx -y
Create an SSL certificate with Certbot for Nginx:
sudo certbot --nginx --agree-tos --redirect --hsts --staple-ocsp --email alice@howtoforge.local -d netdata.howtoforge.local
Example: Monitoring Nginx with Netdata
With your setup complete, learn how to utilize Netdata to monitor your Nginx service.
Enable Nginx stub_status
Edit Nginx to support status monitoring:
sudo nano /etc/nginx/default.d/stub.conf
location /basic_status {
    stub_status;
    server_tokens on;
}
Test and restart Nginx:
sudo nginx -t
sudo systemctl restart nginx

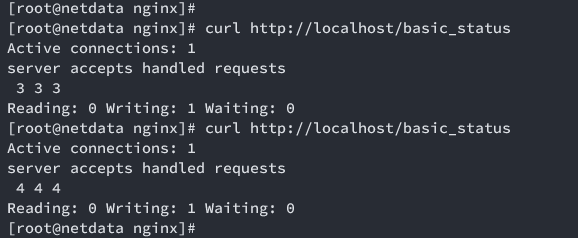
Verify status output:
curl http://localhost/basic_status
Enable Netdata Plugin for Monitoring Nginx
Configure Netdata for Nginx metrics:
cd /etc/netdata
sudo ./edit-config go.d/nginx.conf
jobs:
  - name: local
    url: http://127.0.0.1/stub_status
Restart Netdata to apply changes:
sudo systemctl restart netdata
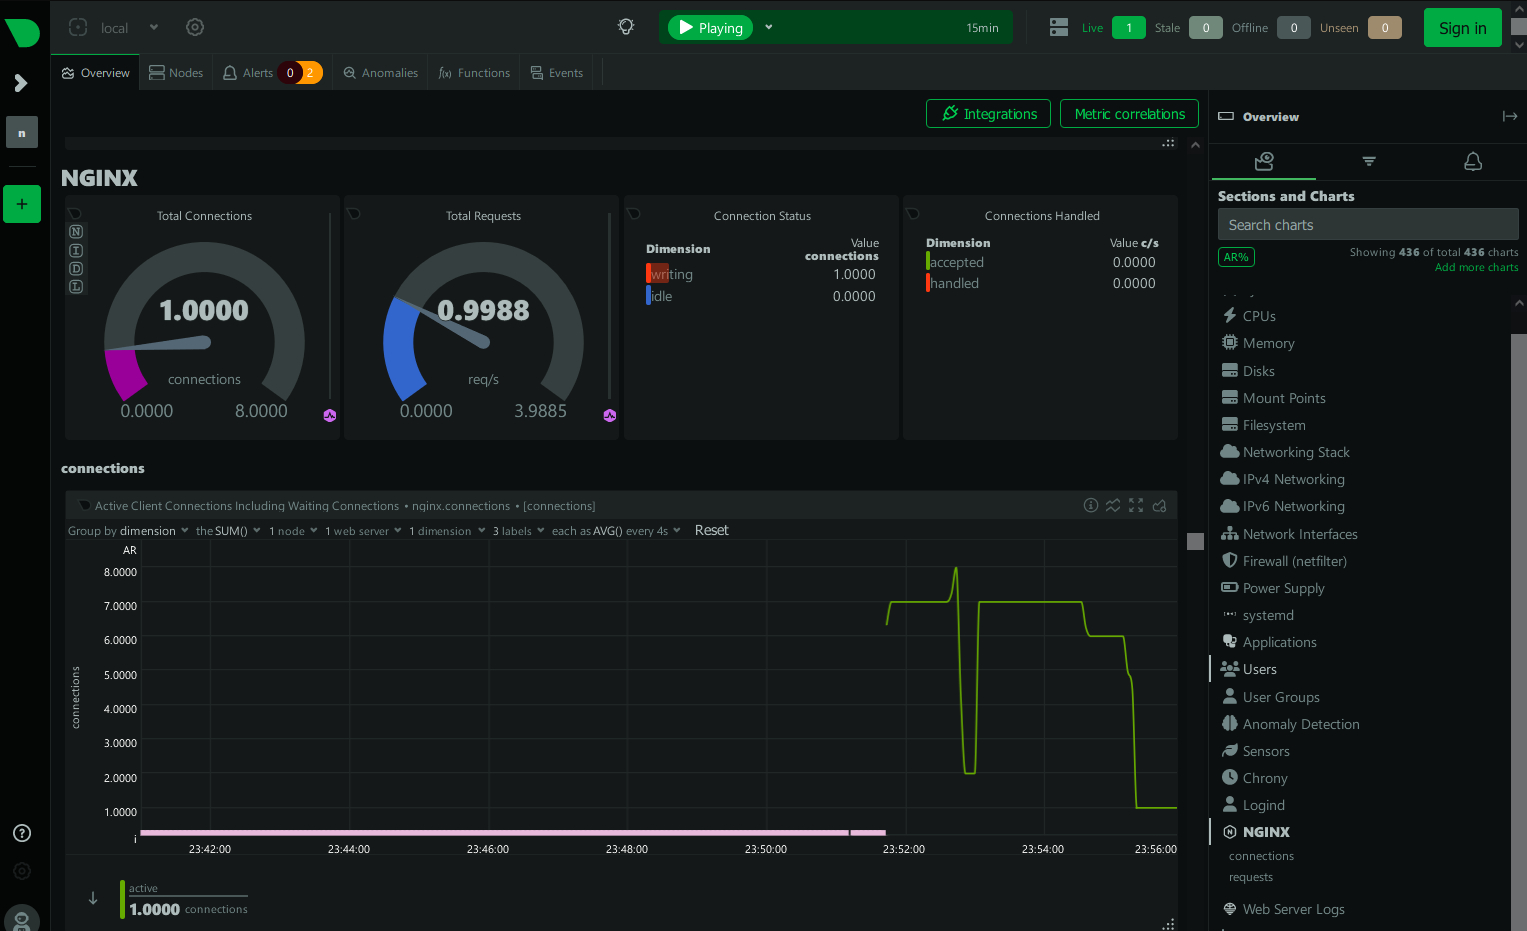
Test with Apache Benchmark:
ab -n 50000 -c 500 http://localhost/
Check Nginx metrics in Netdata:
Conclusion
You’ve successfully set up a comprehensive monitoring solution using Netdata with Nginx on AlmaLinux 9. By securing your installation and enabling plugins, you’ve unlocked the potential to effectively monitor your applications.
Frequently Asked Questions (FAQ)
What is Netdata?
Netdata is an open-source, real-time monitoring utility designed for systems, containers, and applications.
Can I use Netdata on other operating systems?
Yes, Netdata supports various operating systems including Linux, Unix, Windows, and macOS.
Does the installation require disabling SELinux?
No, it only requires SELinux to be in permissive mode for installation and testing purposes.
How can I secure Netdata with SSL/TLS?
Use Certbot to generate SSL/TLS certificates and configure them with Nginx to secure the communication.
What are some typical applications for Netdata monitoring?
Netdata can monitor various services and applications like Nginx, MySQL, PostgreSQL, and Docker containers, among others.
