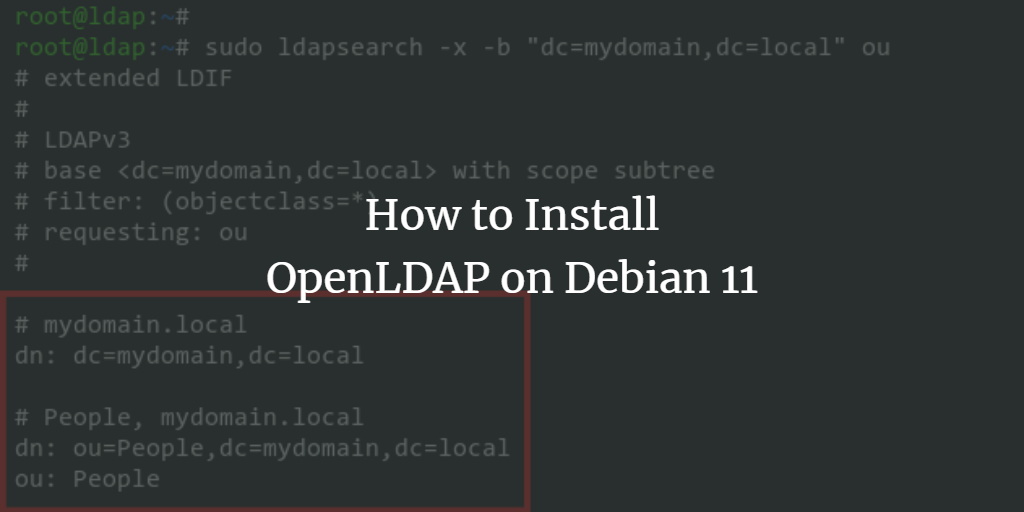
OpenLDAP is a free and open-source suite that implements the LDAP (Lightweight Directory Access Protocol). This protocol is platform-independent and utilized for centralized authentication and directory access services, including email and various applications. OpenLDAP offers a standalone LDAP daemon with accompanying libraries and utilities, providing support for TLS and SASL authentication.
In this guide, we’ll walk you through the steps of installing and configuring OpenLDAP on Debian 11 Bullseye.
Prerequisites
- a Debian 11 server
- a non-root user with sudo/root privileges
Installing OpenLDAP on Debian 11
Initially, you’ll install OpenLDAP packages on the Debian 11 server. The stable version OpenLDAP v2.4 is available from the default Debian repository.
Start by refreshing Debian’s repository using the command below:
sudo apt update
Next, install the OpenLDAP packages, including ‘slapd‘ and ‘ldap-utils‘. The ‘slapd‘ package contains the core LDAP server, while ‘ldap-utils‘ offers command-line tools for managing the OpenLDAP server.
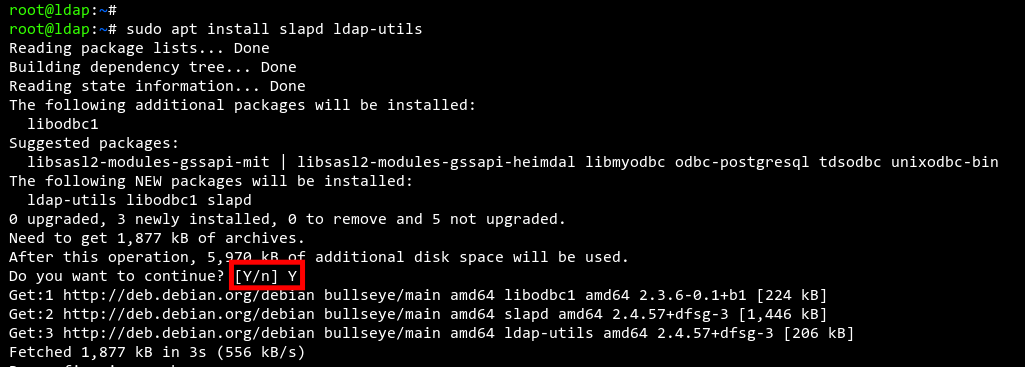
sudo apt install slapd ldap-utils
Confirm the installation by typing ‘Y‘ and pressing ‘ENTER‘.
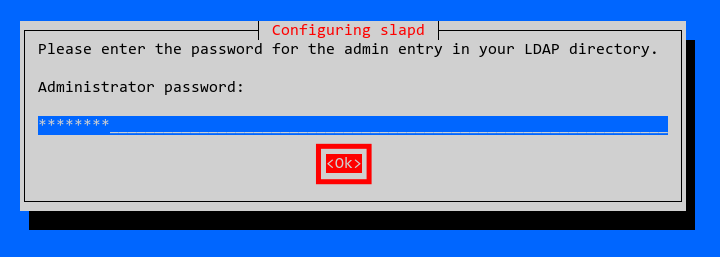
You’ll be prompted to set a password for the OpenLDAP admin user. Enter your desired password, confirm by selecting ‘OK‘, then press ‘ENTER‘.
Re-enter your password, select ‘OK‘, and press ‘ENTER‘ again to complete the installation.

Configuring OpenLDAP Server
Following installation, you’ll configure OpenLDAP on your Debian server. Start by setting up the FQDN (Fully Qualified Domain Name) with the following command:
sudo hostnamectl set-hostname ldap.mydomain.local
Edit the ‘/etc/hosts‘ file using a text editor like nano:
sudo nano /etc/hosts
Add the following entry, making sure to replace the IP address with your server’s IP and adjust the FQDN accordingly:
192.168.10.50 ldap.mydomain.local ldap
Save and exit the file, then log out and back into your server to reload the session.
Use the command below to reconfigure the OpenLDAP package ‘slapd‘:
sudo dpkg-reconfigure slapd
When prompted, select No to retain the existing OpenLDAP configuration.

Proceed by entering your DNS local domain name and selecting OK.

Specify your organization name or default to the domain name. Confirm with OK.

Enter the OpenLDAP administrator password again, then confirm by selecting OK.
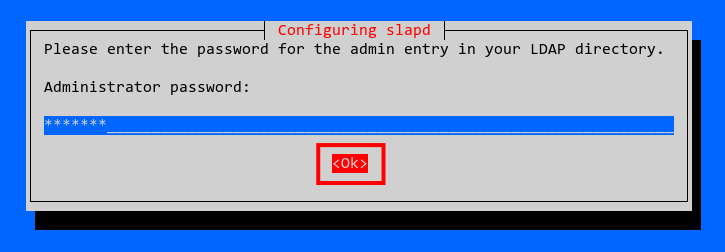
Confirm the password to complete the process.

Select No when asked to remove the old slapd database, then select Yes to move the current slapd database.


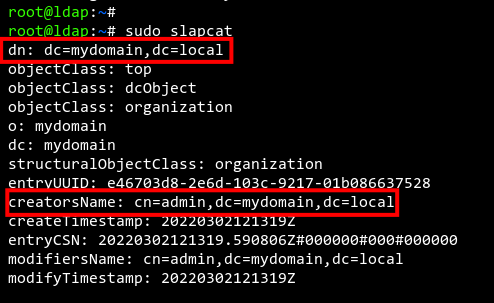
Verify your configuration with the command below:
sudo slapcat
You should see output confirming the use of ‘mydomain.local‘ as the domain and organization name.
Finally, restart the ‘slapd‘ service to apply changes and verify it is running properly:
sudo systemctl restart slapd
sudo systemctl status slapd
You should see ‘slapd‘ is ‘active (running)‘.

Setting Up UFW Firewall
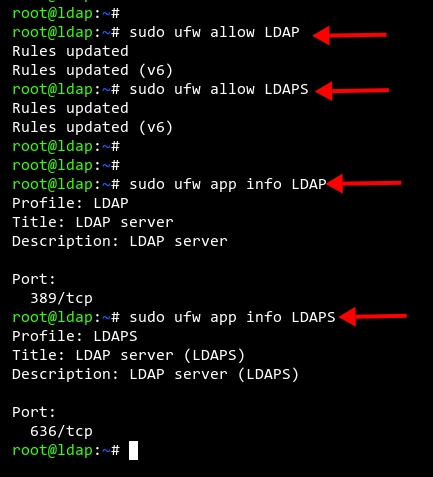
If UFW firewall is enabled on your server, add LDAP and LDAPS services for increased security:
sudo ufw allow LDAP
sudo ufw allow LDAPS
Reload the UFW rules:
sudo ufw reload
Verify the enabled services:
sudo ufw status
The LDAP and LDAPS services should now be listed.
Setting Up User Groups
OpenLDAP is useful for group authentication across computers or servers. Set up a group using an LDIF (LDAP Data Interchange Format) file:
Create a new file ‘/etc/ldap/users.ldif‘ with nano editor:
sudo nano /etc/ldap/users.ldif
Add the configuration below to create a group named ‘People‘ under the domain ‘mydomain.local‘:
dn: ou=People,dc=mydomain,dc=local
objectClass: organizationalUnit
ou: People
Save and close the file. Run the following command to add this group:
sudo ldapadd -D "cn=admin,dc=mydomain,dc=local" -W -H ldapi:/// -f /etc/ldap/users.ldif
Input the admin password when prompted. Success is indicated by ‘adding new entry “ou=People,dc=mydomain,dc=local”‘.

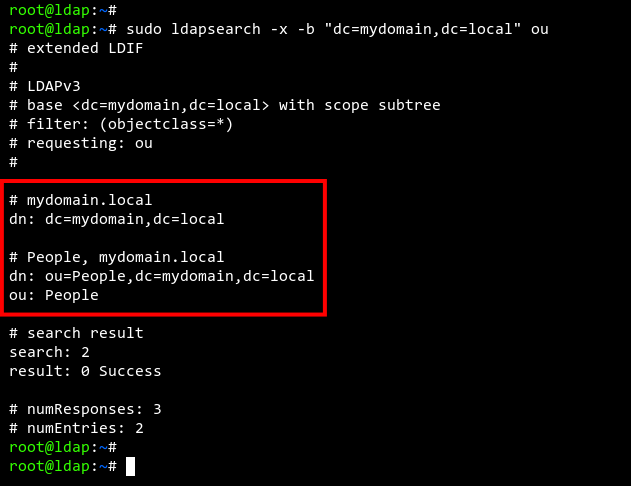
Verify the created group with:
sudo ldapsearch -x -b "dc=mydomain,dc=local" ou
The group ‘People‘ should appear in the output.
Setting Up New User
Add a new user to OpenLDAP using an LDIF file. Create ‘alice.ldif‘ with the nano editor:
sudo nano alice.ldif
Insert the following configuration, replacing ‘AlicePassword‘ with a secure password. This outlines a new user ‘alice‘ with a home directory at ‘/home/alice‘ and the default shell ‘/bin/bash‘, part of the ‘People‘ group.
  # Add user alice to LDAP Server
  dn: cn=alice,ou=People,dc=mydomain,dc=local
  objectClass: top
  objectClass: account
  objectClass: posixAccount
  objectClass: shadowAccount
  cn: alice
  uid: alice
  uidNumber: 10001
  gidNumber: 10001
  homeDirectory: /home/alice
  userPassword: AlicePassword
  loginShell: /bin/bash
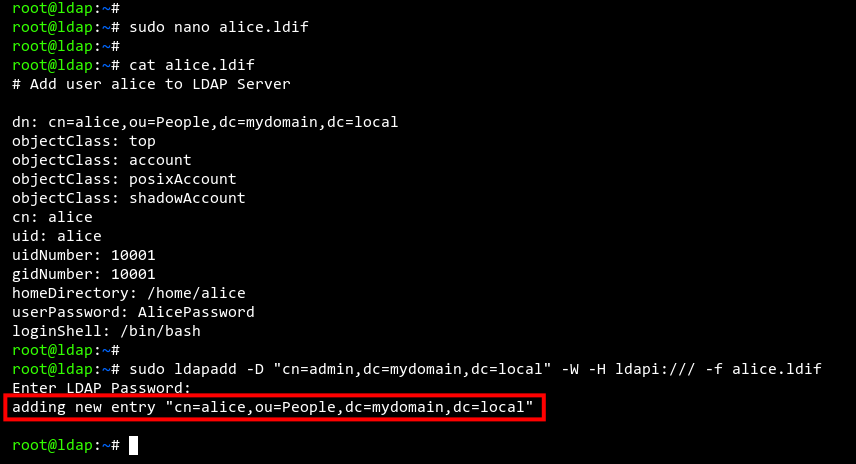
Save the file. Use this command to add the user:
sudo ldapadd -D "cn=admin,dc=mydomain,dc=local" -W -H ldapi:/// -f alice.ldif
After entering the admin password, you’ll see an output like ‘adding new entry “cn=alice,ou=People,dc=mydomain,dc=local”‘ confirming the user ‘alice‘ was added.
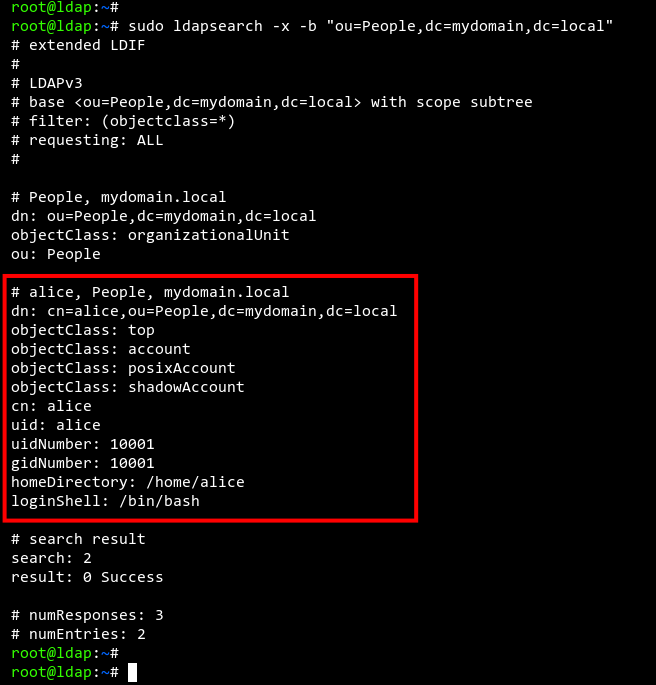
Run to list all users:
sudo ldapsearch -x -b "ou=People,dc=mydomain,dc=local"
The user ‘alice‘ should appear in the list.
Conclusion
Congratulations! You’ve successfully installed the OpenLDAP server on Debian 11. You also learned how to add groups and users using LDIF files and the ‘ldapadd’ command-line tool. Next, consider exploring the integration of Linux machines like Ubuntu and CentOS with OpenLDAP.
FAQ
Why would I use OpenLDAP?
OpenLDAP centralizes authentication across multiple systems, improving security and ease of user management.
What are the advantages of using LDIF files?
LDIF files provide a standardized format for defining and applying LDAP entries, ensuring consistent management of directory data across different systems.
How secure is OpenLDAP?
OpenLDAP supports TLS and SASL for encrypted and secure communications. Proper configuration and firewall rules enhance security.
Can I operate OpenLDAP without a firewall?
While possible, it is not recommended. Firewalls, like UFW, add a crucial layer of security for server operations.
