OpenMRS is a robust electronic medical record (EMR) storage and retrieval system available as open-source software. It plays a crucial role in providing healthcare in developing regions, especially aiding in the treatment of millions suffering from HIV/AIDS and tuberculosis (TB). OpenMRS is designed with openness in mind, ensuring seamless patient data exchange between various medical information systems. The platform allows users to manage electronic medical records through a convenient web-based interface.
This guide will walk you through the process of installing OpenMRS on Ubuntu 22.04.
Prerequisites
- An Ubuntu 22.04 server.
- Root password configured on your server.
Install OpenJDK 8
OpenMRS is built on Java and requires Java 8 specifically. To install Java 8 on your server, execute the following command:
apt install openjdk-8-jdk
Verify the installation by checking the Java version:
java -version
The expected output should be similar to:
openjdk version "1.8.0_352"
OpenJDK Runtime Environment (build 1.8.0_352-8u352-ga-1~22.04-b08)
OpenJDK 64-Bit Server VM (build 25.352-b08, mixed mode)
Java 8 is now installed and ready on your server. Let’s move on to setting up the MySQL server.
Install MySQL Server 5.6
OpenMRS requires MySQL version 5.6. Since it isn’t available in Ubuntu 22.04’s default repositories, you’ll need to install it from the source.
First, create a MySQL user and group:
groupadd mysql
useradd -g mysql mysql
Next, download the MySQL 5.6 source files:
wget https://dev.mysql.com/get/Downloads/MySQL-5.6/mysql-5.6.46-linux-glibc2.12-x86_64.tar.gz
Extract and move the files:
tar -xvf mysql-5.6.46-linux-glibc2.12-x86_64.tar.gz
mv mysql-5.6.46-linux-glibc2.12-x86_64 /usr/local/mysql
Navigate to the extracted directory and assign proper ownership:
cd /usr/local/mysql
chown -R mysql:mysql *
Install necessary dependencies:
apt-get install libaio1 libncurses5 libnuma-dev -y
Run the MySQL installation script:
scripts/mysql_install_db --user=mysql
Success messages in the output signal installation completion. Now, set ownership for MySQL directories:
chown -R root .
chown -R mysql data
Copy the MySQL configuration and service files:
cp support-files/my-default.cnf /etc/my.cnf
cp support-files/mysql.server /etc/init.d/mysql.server
Start MySQL in safe mode:
bin/mysqld_safe --user=mysql &
Set the MySQL root password:
bin/mysqladmin -u root password secure-password
Create a symbolic link for MySQL binary:
ln -s /usr/local/mysql/bin/mysql /usr/local/bin/mysql
Reboot your system:
reboot
Post-reboot, start and enable MySQL service:
/etc/init.d/mysql.server start
update-rc.d -f mysql.server defaults
Verify the MySQL service status:
/etc/init.d/mysql.server status
The output should indicate that MySQL is active and running.
Install Tomcat 8
Install Tomcat 8 to deploy OpenMRS:
Create a Tomcat user and group:
groupadd tomcat
useradd -s /bin/false -g tomcat -d /opt/tomcat tomcat
Download and extract Tomcat:
wget https://dlcdn.apache.org/tomcat/tomcat-8/v8.5.84/bin/apache-tomcat-8.5.84.tar.gz
mkdir /opt/tomcat
tar -xvzf apache-tomcat-8.5.84.tar.gz -C /opt/tomcat/ --strip-components=1
Set the correct ownership:
chown -R tomcat:tomcat /opt/tomcat
Create a Systemd Service File for Tomcat
To manage Tomcat with systemd, create a service file:
nano /etc/systemd/system/tomcat.service
Add the following configuration:
[Unit]
Description=Apache Tomcat Web Application Container
After=network.target
[Service]
Type=forking
Environment=JAVA_HOME=/usr/lib/jvm/java-1.8.0-openjdk-amd64
Environment=CATALINA_PID=/opt/tomcat/temp/tomcat.pid
Environment=CATALINA_HOME=/opt/tomcat
Environment=CATALINA_BASE=/opt/tomcat
Environment='CATALINA_OPTS=-Xms512M -Xmx1024M -server -XX:+UseParallelGC'
ExecStart=/opt/tomcat/bin/startup.sh
ExecStop=/opt/tomcat/bin/shutdown.sh
User=tomcat
Group=tomcat
UMask=0007
RestartSec=10
Restart=always
[Install]
WantedBy=multi-user.target
Save the file and reload the systemd daemon:
systemctl daemon-reload
Start and check the status of Tomcat:
systemctl start tomcat
systemctl status tomcat
Expect an output confirming that Tomcat is running.
Install OpenMRS on Ubuntu 22.04
Prepare the OpenMRS directory and set ownership:
mkdir /var/lib/OpenMRS
chown -R tomcat:tomcat /var/lib/OpenMRS
Download the latest OpenMRS version:
wget https://sourceforge.net/projects/openmrs/files/releases/OpenMRS_Platform_2.5.7/openmrs.war
Move the OpenMRS WAR file to the Tomcat webapps directory and set ownership:
cp openmrs.war /opt/tomcat/webapps/
chown -R tomcat:tomcat /opt/tomcat/webapps/openmrs.war
Perform OpenMRS Installation via Web Browser
Open a web browser and navigate to http://your-server-ip:8080/openmrs to start the OpenMRS web installation wizard. Follow the on-screen instructions:
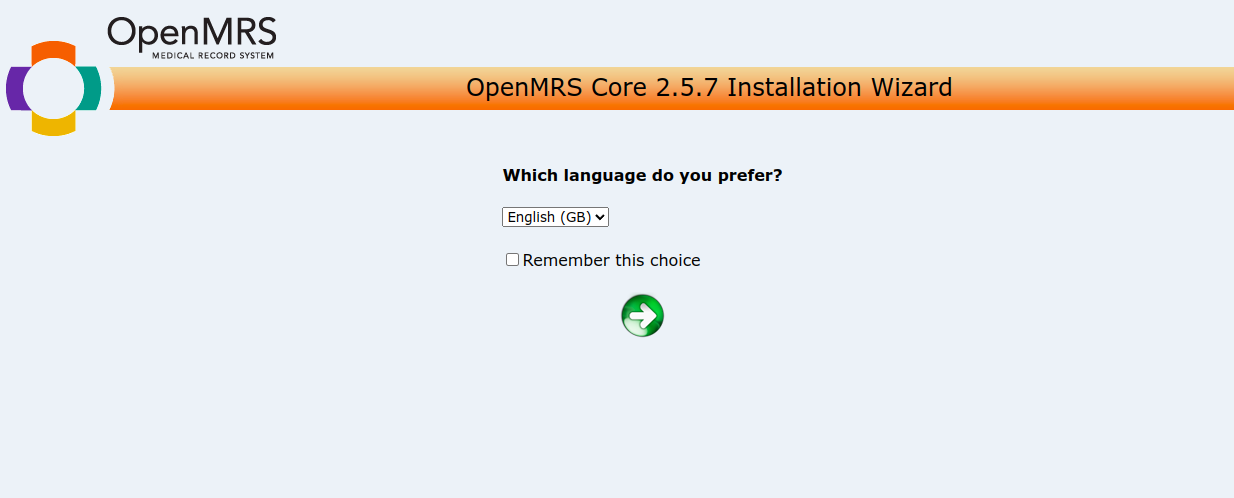
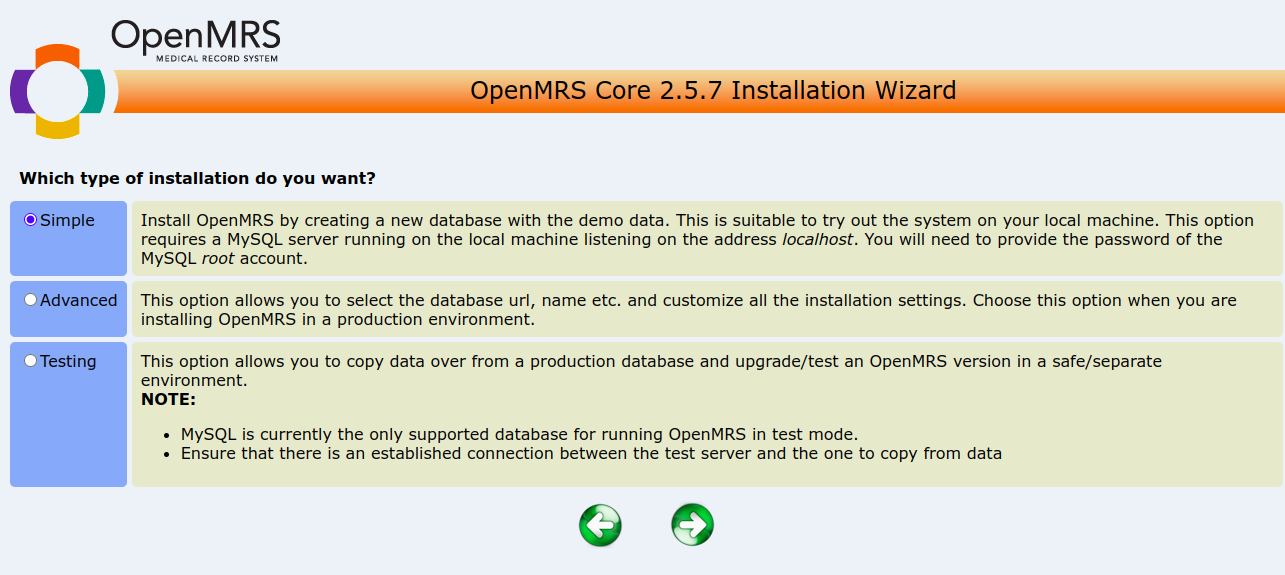
Choose your language and proceed. Select your installation type:
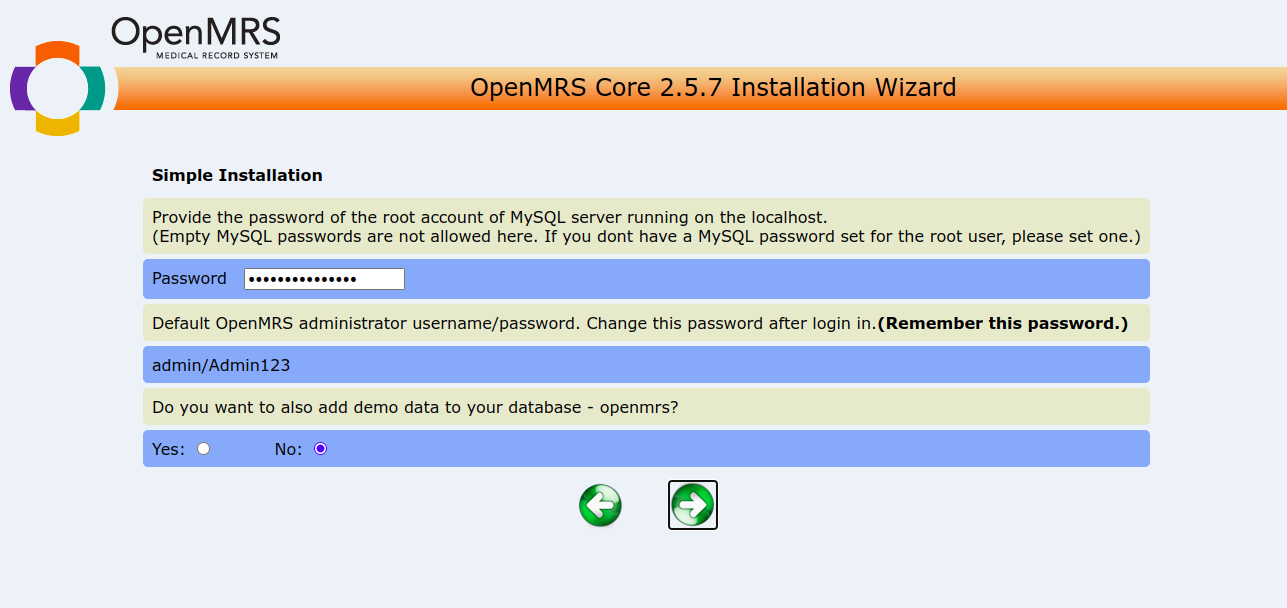
Enter your MySQL root and desired admin passwords:
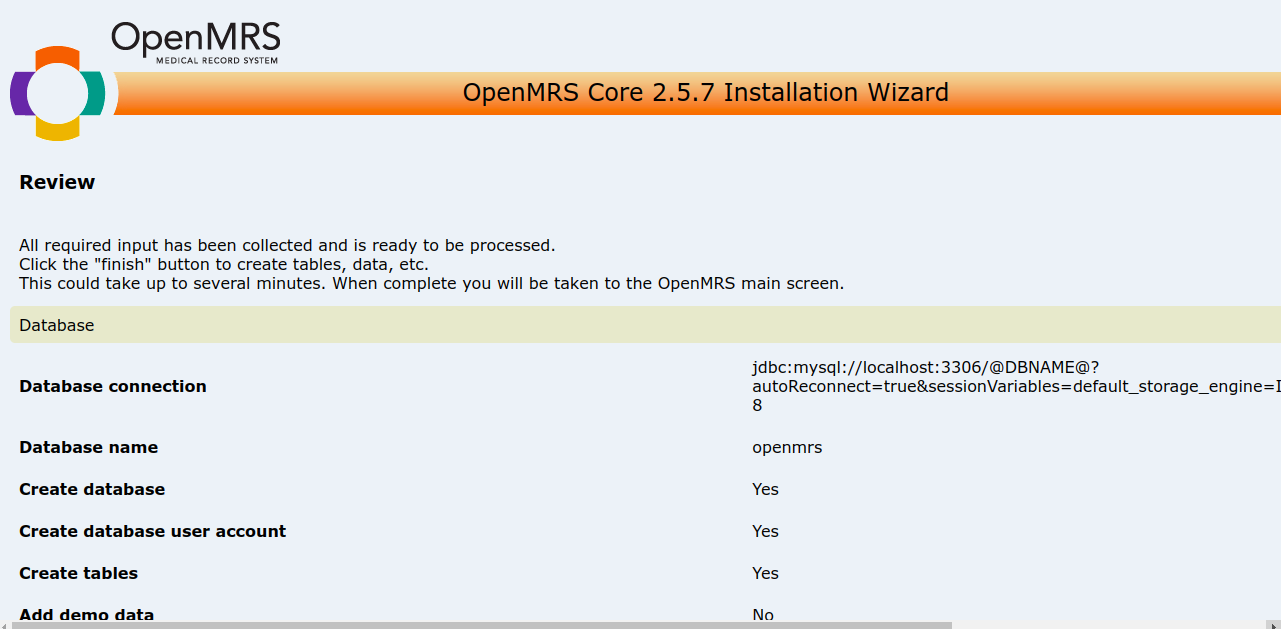
Click through the installation steps to create the database and complete setup:
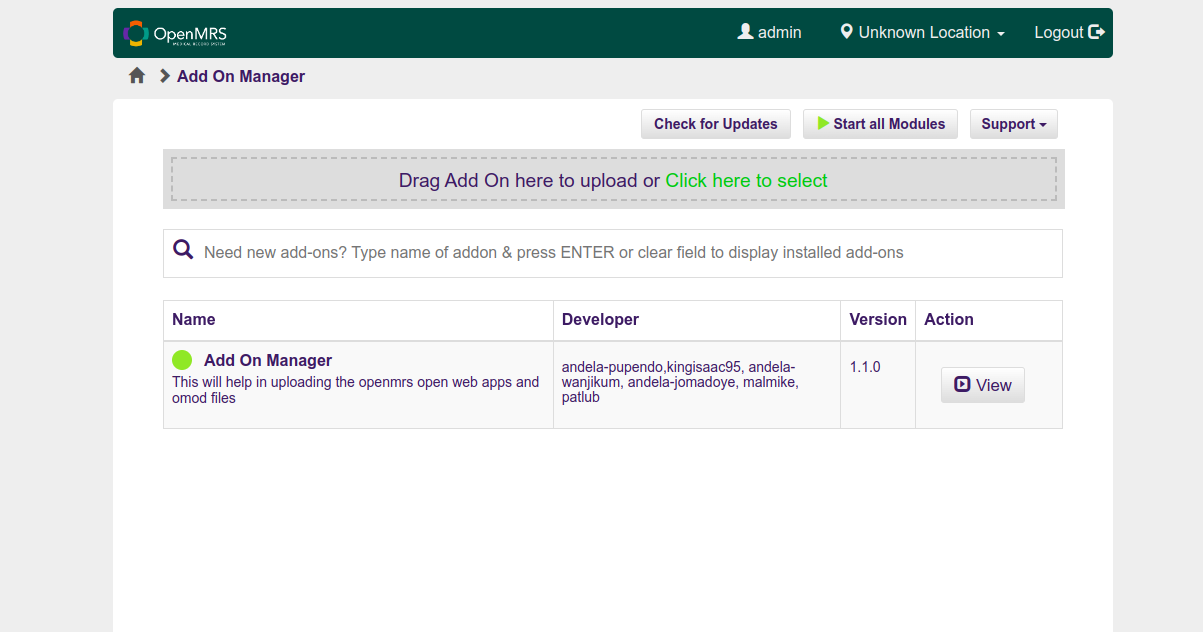
Once completed, log into OpenMRS using the default credentials:
Username: admin
Password: Admin123
Conclusion
Congratulations! You’ve successfully installed OpenMRS on your Ubuntu 22.04 server. This powerful tool will assist you in storing and managing electronic medical records efficiently. For more detailed information, please consult the OpenMRS documentation page. Feel free to reach out if you have any questions.
FAQ
1. Can I install a different version of MySQL?
No, OpenMRS has specific compatibility requirements, and it supports only MySQL 5.6 at the moment.
2. Why do I need OpenJDK 8?
OpenMRS is built on Java and is only compatible with Java version 8.
3. How can I access the OpenMRS dashboard?
After installation, you can access it through your web browser at http://your-server-ip:8080/openmrs.
4. Is there a user guide available?
Yes, you can refer to the official OpenMRS documentation for detailed guidance.
