Kbin is an open-source content aggregator and microblogging platform similar to Reddit, which operates within the fediverse. It enables users to create and moderate communities and interact with other ActivityPub services like Mastodon, Pleroma, and Peertube.
While popular instances of Kbin are available for public use, you can also host your own Kbin instance, tailored for your friends and family. This guide will walk you through the process of installing Kbin on an Ubuntu 22.04 server.
Prerequisites
-
- A server running Ubuntu 22.04.
- A non-root sudo user.
- A fully qualified domain name (FQDN), e.g.,
example.com. - Ensure your system is up-to-date.
$ sudo apt update
$ sudo apt upgrade
-
- Install necessary packages.
$ sudo apt install wget curl nano ufw software-properties-common dirmngr apt-transport-https gnupg2 ca-certificates lsb-release ubuntu-keyring unzip -y
Note: Some of these packages might already be installed on your system.
-
- Install Access Control List (ACL) for additional permissions.
$ sudo apt install acl
Step 1 – Configure Firewall
First, configure the firewall using UFW (Uncomplicated Firewall).
Check the firewall status:
$ sudo ufw status
Sample output:
Status: inactive
Allow SSH, HTTP, and HTTPS ports:
$ sudo ufw allow OpenSSH
$ sudo ufw allow http
$ sudo ufw allow https
Enable the firewall:
$ sudo ufw enable
Command may disrupt existing ssh connections. Proceed with operation (y|n)? y
Firewall is active and enabled on system startup
Check firewall status again:
$ sudo ufw status
Expected output:
Status: active

To                         Action      From
--                         ------      ----
OpenSSH                    ALLOW       Anywhere
80/tcp                     ALLOW       Anywhere
443                        ALLOW       Anywhere
OpenSSH (v6)               ALLOW       Anywhere (v6)
80/tcp (v6)                ALLOW       Anywhere (v6)
443 (v6)                   ALLOW       Anywhere (v6)
Step 2 – Install Git
Although Git is typically installed on Ubuntu, verify its existence or install it:
$ sudo apt install git
Check the Git version:
$ git --version
git version 2.34.1
Set basic Git configurations:
$ git config --global user.name "Your Name"
$ git config --global user.email "youremail@example.com"
Step 3 – Install Nginx
Install the latest version of Nginx by adding the official repository:
Import the Nginx signing key:
$ curl https://nginx.org/keys/nginx_signing.key | gpg --dearmor \
	| sudo tee /usr/share/keyrings/nginx-archive-keyring.gpg >/dev/null
Add the Nginx repository:
$ echo "deb [signed-by=/usr/share/keyrings/nginx-archive-keyring.gpg arch=amd64] \
http://nginx.org/packages/ubuntu `lsb_release -cs` nginx" \
    | sudo tee /etc/apt/sources.list.d/nginx.list
Update the package lists:
$ sudo apt update
Install Nginx:
$ sudo apt install nginx
Confirm installation:
$ nginx -v
nginx version: nginx/1.24.0
Start Nginx:
$ sudo systemctl start nginx
Step 4 – Install PHP and Configure PHP
Install PHP 8.2 using Ondrej’s repository:
$ sudo add-apt-repository ppa:ondrej/php
Install PHP and necessary extensions:
$ sudo apt install php8.2-common php8.2-fpm php8.2-cli php8.2-amqp php8.2-pgsql php8.2-gd php8.2-curl php8.2-simplexml php8.2-dom php8.2-xml php8.2-redis php8.2-mbstring php8.2-intl unzip
Verify the PHP version:
$ php --version
PHP 8.2.7 (cli) (built: Jun  8 2023 15:27:40) (NTS)
...
Edit the PHP-FPM configuration to set the Unix user/group to Nginx:
$ sudo nano /etc/php/8.2/fpm/pool.d/www.conf
Change the lines user=www-data, group=www-data, listen.owner=www-data, and listen.group=www-data to nginx.
Increase PHP memory and upload limits:
$ sudo sed -i 's/memory_limit = 128M/memory_limit = 512M/' /etc/php/8.2/fpm/php.ini
$ sudo sed -i 's/upload_max_filesize = 2M/upload_max_filesize = 8M/' /etc/php/8.2/fpm/php.ini
Restart PHP-FPM:
$ sudo systemctl restart php8.2-fpm
Adjust the group for PHP sessions:
$ sudo chgrp -R nginx /var/lib/php/sessions
Step 5 – Install Composer
Install Composer, a dependency manager for PHP:
$ php -r "copy('https://getcomposer.org/installer', 'composer-setup.php');"
$ php composer-setup.php
$ php -r "unlink('composer-setup.php');"
Move Composer to a global location and verify it:
$ sudo mv composer.phar /usr/local/bin/composer
$ composer --version
Composer version 2.5.8 2023-06-09 17:13:21
Step 6 – Install and Configure PostgreSQL
Install PostgreSQL 15:
$ curl https://www.postgresql.org/media/keys/ACCC4CF8.asc | gpg --dearmor | sudo tee /usr/share/keyrings/postgresql-key.gpg >/dev/null
$ sudo sh -c 'echo "deb [signed-by=/usr/share/keyrings/postgresql-key.gpg arch=amd64] http://apt.postgresql.org/pub/repos/apt $(lsb_release -cs)-pgdg main" > /etc/apt/sources.list.d/pgdg.list'
$ sudo apt update
$ sudo apt install postgresql postgresql-contrib
Check the service status:
$ sudo systemctl status postgresql
Access the PostgreSQL shell, create the database and user, and assign ownership:
$ sudo -i -u postgres psql
postgres=# CREATE DATABASE kbin;
postgres=# CREATE USER kbinuser WITH PASSWORD 'Your_Password';
postgres-# ALTER DATABASE kbin OWNER TO kbinuser;
postgres-# \q
Test the connection:
$ psql --username kbinuser --password --host localhost kbin
Password:
...
kbin=>
Exit by typing \q.
Step 7 – Install Node.js and Yarn
Install Node.js version 18:
$ curl -sL https://deb.nodesource.com/setup_lts.x -o nodesource_setup.sh
$ sudo bash nodesource_setup.sh
$ sudo apt install nodejs
$ node -v
v18.16.1
$ rm nodesource_setup.sh
Install Yarn:
$ curl -sL https://dl.yarnpkg.com/debian/pubkey.gpg | gpg --dearmor | sudo tee /usr/share/keyrings/yarnkey.gpg >/dev/null
$ echo "deb [signed-by=/usr/share/keyrings/yarnkey.gpg] https://dl.yarnpkg.com/debian stable main" | sudo tee /etc/apt/sources.list.d/yarn.list
$ sudo apt update
$ sudo apt install yarn
$ yarn --version
1.22.19
Step 8 – Install Redis
Install Redis version 7.0:
$ curl -fsSL https://packages.redis.io/gpg | sudo gpg --dearmor -o /usr/share/keyrings/redis-archive-keyring.gpg
$ echo "deb [signed-by=/usr/share/keyrings/redis-archive-keyring.gpg] https://packages.redis.io/deb $(lsb_release -cs) main" | sudo tee /etc/apt/sources.list.d/redis.list
$ sudo apt update
$ sudo apt install redis
$ redis-server -v
Redis server v=7.0.11 sha=00000000:0 malloc=jemalloc-5.2.1 bits=64 build=3af367a78d5e21e9
Secure Redis with a password and test the connection:
$ redis-cli
127.0.0.1:6379> acl setuser default >Your_Redis_Password
127.0.0.1:6379> AUTH Your_Redis_Password
OK
127.0.0.1:6379> ping
PONG
exit
Step 9 – Install and Configure RabbitMQ
Install RabbitMQ for message queuing:
$ sudo apt install rabbitmq-server
$ sudo rabbitmqctl add_user kbin StrongPassword
$ sudo rabbitmqctl set_user_tags kbin administrator
Step 10 – Download Kbin
Create a dedicated user and directory for Kbin, and clone its repository:
$ adduser kbin
$ sudo usermod -aG sudo kbin
$ su - kbin
$ sudo mkdir /var/www/html/kbin -p
$ cd /var/www/html/kbin
$ sudo chown $USER:$USER kbin
$ git clone https://codeberg.org/Kbin/kbin-core.git .
$ mkdir public/media
$ chmod 777 public/media
Step 11 – Configure Environment File
Generate secret keys and set up the environment file:
$ node -e "console.log(require('crypto').randomBytes(32).toString('hex'))"
$ nano .env
Paste and modify the following code in the .env file using the generated keys:
# kbin variables
SERVER_NAME="example.com"
...
# Redis
REDIS_PASSWORD=YourRedisPassword
...
MERCURE_JWT_SECRET="!ChangeThisMercureHubJWTSecretKey!"
Step 12 – Install Kbin
Execute the following commands to install Kbin’s dependencies and set proper permissions:
$ composer install --prefer-dist --no-dev
$ composer dump-env prod
$ APP_ENV=prod APP_DEBUG=0 php bin/console cache:clear
$ composer clear-cache
$ sudo chown kbin:nginx public/media
$ HTTPDUSER=$(ps axo user,comm | grep -E '[a]pache|[h]ttpd|[_]www|[w]ww-data|[n]ginx' | grep -v root | head -1 | cut -d\  -f1)
$ sudo setfacl -dR -m u:"$HTTPDUSER":rwX -m u:$(whoami):rwX var
$ sudo setfacl -R -m u:"$HTTPDUSER":rwX -m u:$(whoami):rwX var
$ php bin/console doctrine:database:create
$ php bin/console doctrine:migrations:migrate
$ yarn install
$ yarn build
$ php bin/console kbin:user:create username email@example.com password
$ php bin/console kbin:user:admin username
$ php bin/console kbin:ap:keys:update
Step 13 – Install SSL
Secure your server with SSL using Certbot:
$ sudo snap install core && sudo snap refresh core
$ sudo snap install --classic certbot
$ sudo ln -s /snap/bin/certbot /usr/bin/certbot
$ sudo certbot certonly --nginx --agree-tos --no-eff-email --staple-ocsp --preferred-challenges http -m name@example.com -d example.com
$ sudo openssl dhparam -dsaparam -out /etc/ssl/certs/dhparam.pem 4096
$ sudo certbot renew --dry-run
Step 14 – Configure Nginx
Configure Nginx for Kbin:
$ sudo nano /etc/nginx/conf.d/kbin.conf
Add this configuration:
server {
    listen       443 ssl http2;
    listen       [::]:443 ssl http2;
    server_name  example.com;
    ...
    ssl_dhparam /etc/ssl/certs/dhparam.pem;
    ...
}
...
Edit the main configuration file to set server names’ hash bucket size:
$ sudo nano /etc/nginx/nginx.conf
...
server_names_hash_bucket_size  64;
Verify and restart Nginx:
$ sudo nginx -t
nginx: the configuration file /etc/nginx/nginx.conf syntax is ok
...
$ sudo systemctl restart nginx
Step 15 – Install and Configure Supervisor
Use Supervisor to manage RabbitMQ processes:
$ sudo apt install supervisor
$ sudo nano /etc/supervisor/conf.d/messenger-worker.conf
Add this configuration:
[program:messenger-kbin]
command=php /var/www/html/kbin/bin/console messenger:consume async --time-limit=3600
...
command=php /var/www/html/kbin/bin/console messenger:consume async_ap --time-limit=3600
...
Apply the changes:
$ sudo supervisorctl reread
$ sudo supervisorctl update
$ sudo supervisorctl start all
Step 16 – Access Kbin
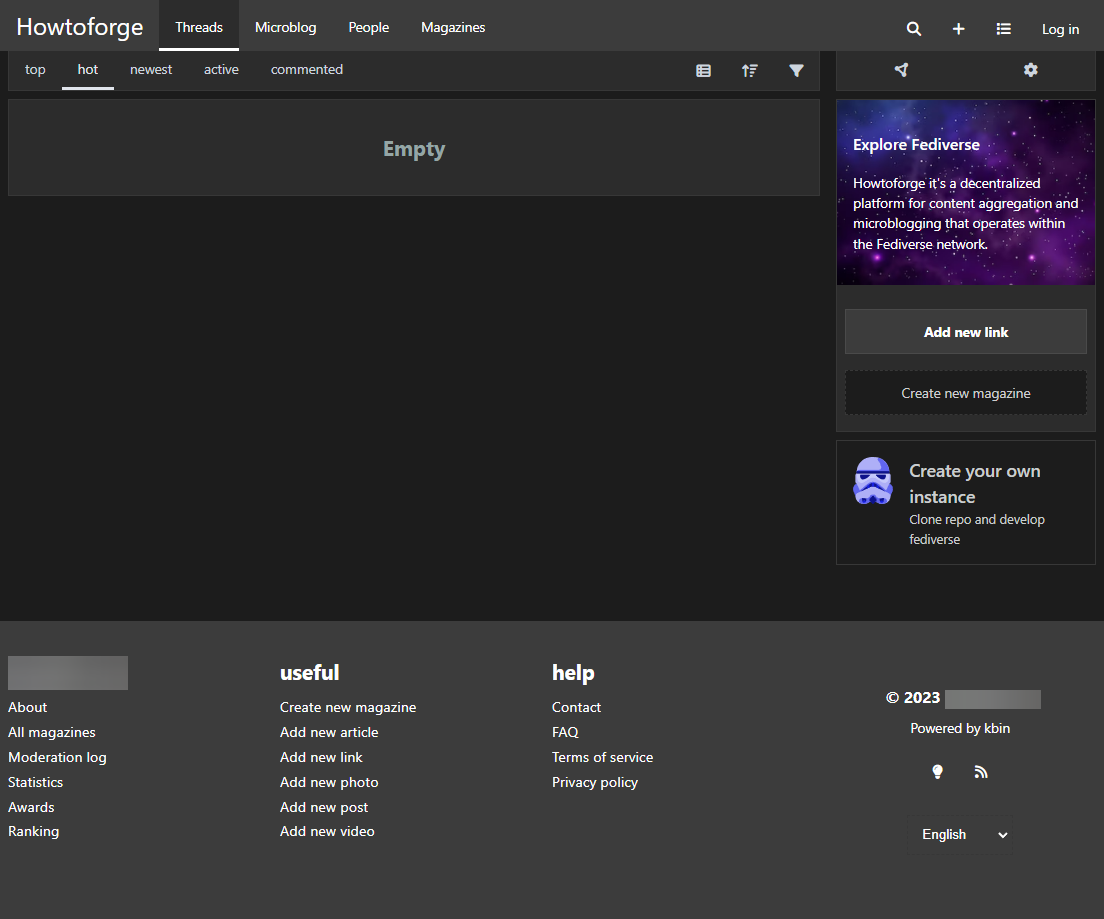
Open https://example.com in your browser to access the Kbin homepage.

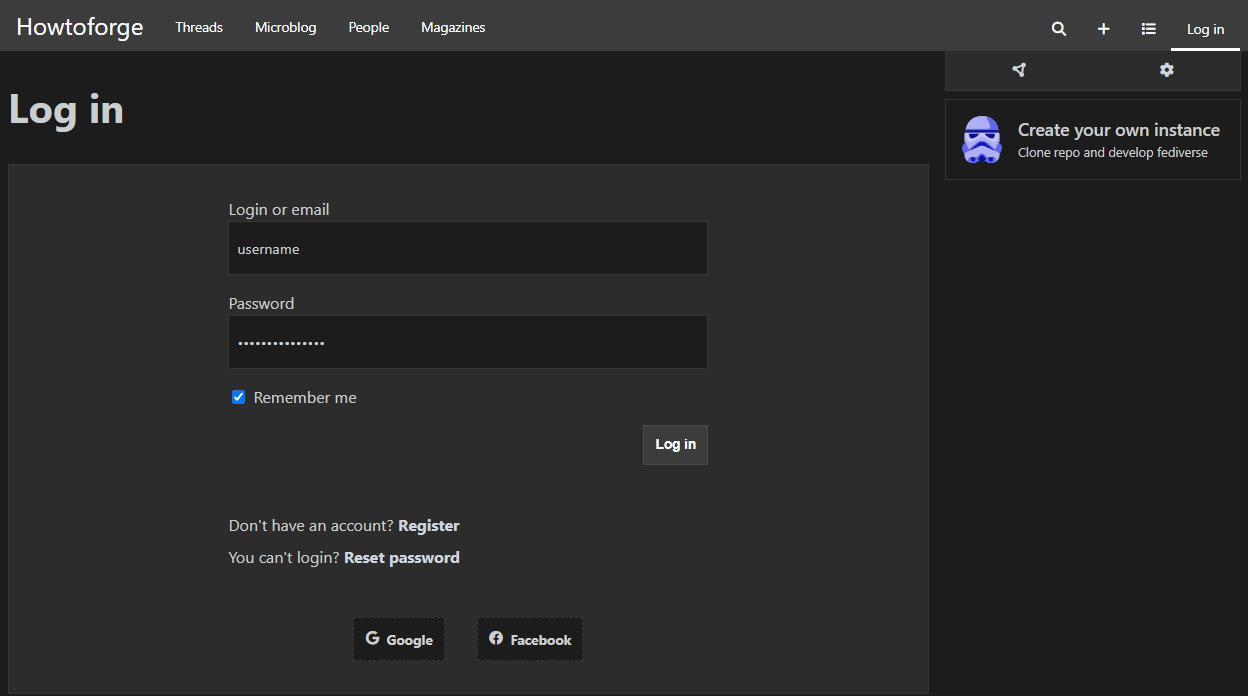
Click “Log in” at the top to access the login page.

Log in using the credentials created in step 12. You’re ready to begin using Kbin.
Conclusion
Congratulations on successfully installing Kbin on an Ubuntu 22.04 server! If you have further questions or face any issues, feel free to reach out in the comments section below.
Frequently Asked Questions (FAQ)
What is Kbin?
Kbin is an open-source platform similar to Reddit, used for content aggregation and microblogging within the fediverse.
Why should I host my own Kbin instance?
Hosting your own instance gives you full control over the platform, including customization and moderation, and privacy for your community.
Do I need advanced knowledge of Linux to follow this guide?
Basic familiarity with Linux command line and server management is sufficient to follow this guide.
Why do I need SSL?
SSL encrypts data between your server and users to ensure security and data integrity.
Can I modify Kbin’s source code?
Yes, Kbin is open-source, allowing you to modify and customize its code to fit your needs.
