Redmine is a robust, open-source project management and issue-tracking tool. Developed primarily using Ruby on Rails, Redmine is a web-based application available for multiple platforms and supports several databases and languages. It accommodates a wide range of organizational sizes from small to large, offering the ability to manage multiple projects, each with its own Wiki, forums, and issue tracking system. Released under GNU GPL v2, Redmine can be installed on operating systems like Linux, Windows, and macOS, supporting databases such as PostgreSQL, MySQL, and the default SQLite.
This guide provides a step-by-step process for installing Redmine with the Apache2 web server and MySQL server on an Ubuntu 22.04 server, and will also advise on securing your Redmine installation with SSL certificates.
Prerequisites
Before starting, ensure you have the following:
- An Ubuntu 22.04 server – here we’ll use a server with the hostname redmine-server.
- A non-root user with sudo privileges; alternatively, the root account can be used.
- A domain name configured to point to your server’s IP address, crucial for production environments.
Once prepared, proceed to the first step of installing Redmine.
Installing Dependencies
Redmine, predominantly written in Ruby and Ruby on Rails (RoR), requires Ruby’s installation before installing other dependencies like the Apache2 web server and MySQL database.
Initially, update and refresh your Ubuntu package index:
sudo apt update
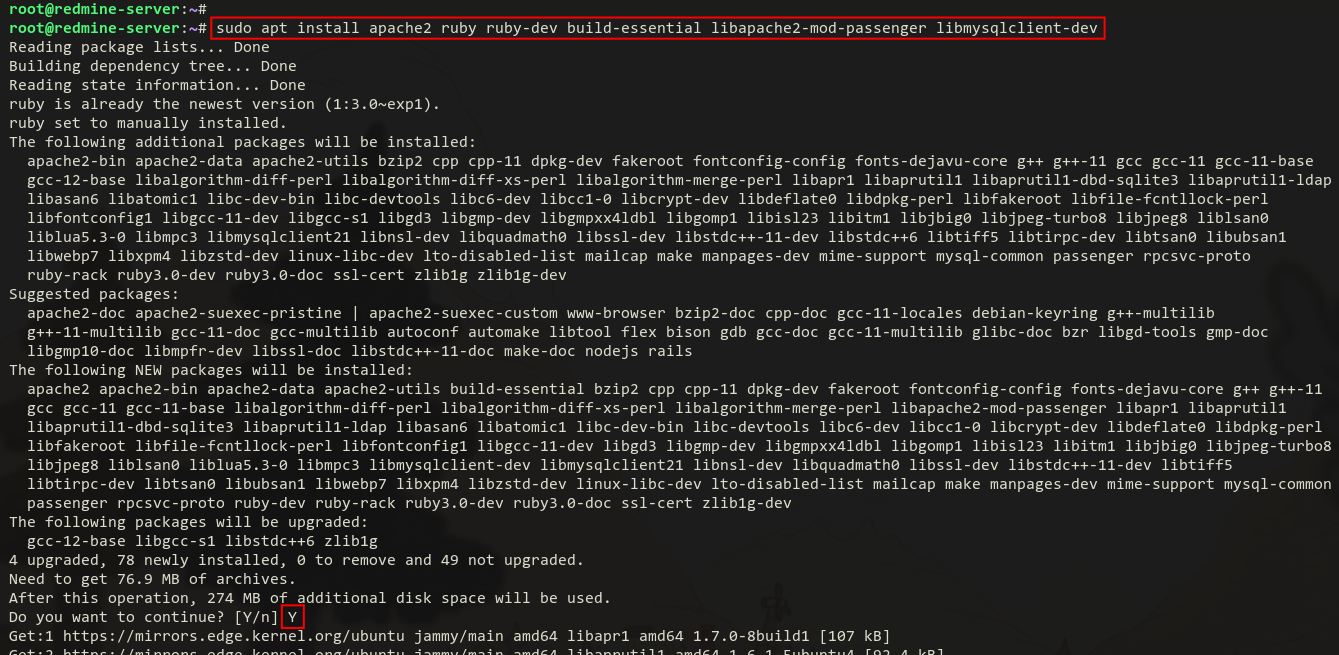
Install the necessary package dependencies, including Apache2 and Ruby:
sudo apt install apache2 ruby ruby-dev build-essential libapache2-mod-passenger libmysqlclient-dev
Confirm the installation by typing y then pressing ENTER.
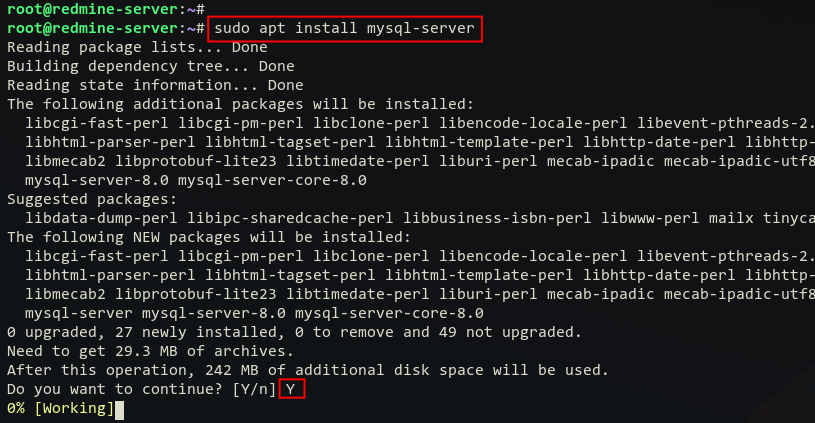
Install the MySQL server, which Redmine will use to manage databases:
sudo apt install mysql-server
Confirm the installation if prompted.
Install the bundler to manage Ruby Gems packages:
sudo gem install bundler

Verify that Apache2 and MySQL services are running and enabled:
sudo systemctl is-enabled apache2
sudo systemctl status apache2

sudo systemctl is-enabled mysql
sudo systemctl status mysql

Configuring MySQL Server
After installing Apache2 and MySQL, it’s necessary to configure the MySQL root password, secure its deployment, and create a Redmine-specific database and user.
Log in to the MySQL shell:
sudo mysql
Change the MySQL root password:
ALTER USER root@localhost IDENTIFIED WITH mysql_native_password BY 'password';
quit

Secure the MySQL deployment by running the following command:
sudo mysql_secure_installation
Input your MySQL root password and confirm each configuration by typing Y.
Next, set up a new database and user for Redmine:
sudo mysql -u root -p
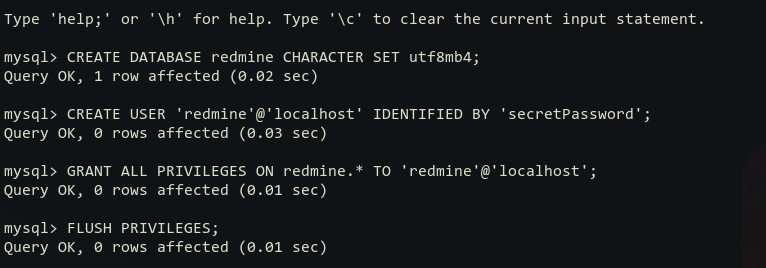
Create a new database and user:
CREATE DATABASE redmine CHARACTER SET utf8mb4;
CREATE USER 'redmine'@'localhost' IDENTIFIED BY 'secretPassword';
GRANT ALL PRIVILEGES ON redmine.* TO 'redmine'@'localhost';
FLUSH PRIVILEGES;
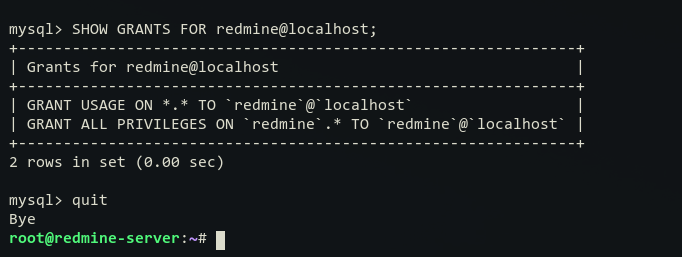
Verify the user’s privileges:
SHOW GRANTS FOR redmine@localhost;
quit
Installing Redmine
With dependencies and a database in place, it’s time to install Redmine. We’ll see to installation within the /opt directory, download source files, configure the database, install Ruby dependencies, and migrate databases.
cd /opt/
Download Redmine:
wget https://www.redmine.org/releases/redmine-5.0.2.tar.gz
Extract and link the installation directory:
tar -xvzf redmine-5.0.2.tar.gz
sudo ln -s redmine-5.0.2 redmine
Navigate to the directory:
cd /opt/redmine/
Copy and edit the Redmine database configuration:
cp config/database.yml.example config/database.yml
nano config/database.yml

Configure database settings within the ‘production’ section:
production:
  adapter: mysql2
  database: redmine
  host: localhost
  username: redmine
  password: "secretPassword"
  encoding: utf8mb4
Install Ruby dependencies:
bundle config set --local without 'development test'
bundle install

Generate the secret token and migrate the database:
bundle exec rake generate_secret_token
RAILS_ENV=production bundle exec rake db:migrate

Load the default data configuration:
RAILS_ENV=production bundle exec rake redmine:load_default_data

Setting up a Virtual Host for Redmine
Prepare Apache2 for hosting your Redmine by creating a virtual host configuration. Ensure your chosen domain is pointed to your server and SSL certificates are active.
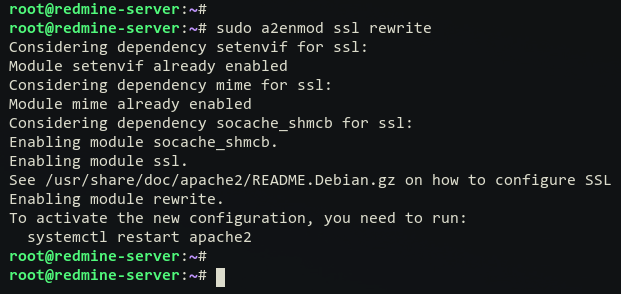
Activate required Apache modules:
sudo a2enmod ssl rewrite
Create and configure the virtual host file:
sudo nano /etc/apache2/sites-available/redmine.conf
<VirtualHost *:80>
ServerName redmine.howtoforge.local
ServerAdmin admin@redmine.howtoforge.local

# Redirect Requests to SSL
Redirect permanent "/" "https://redmine.howtoforge.local/"

</VirtualHost>

<IfModule mod_ssl.c>

<VirtualHost *:443>

ServerName redmine.howtoforge.local
RailsEnv production
DocumentRoot /opt/redmine/public

ErrorLog ${APACHE_LOG_DIR}/redmine.howtoforge.local.error.log
CustomLog ${APACHE_LOG_DIR}/redmine.howtoforge.local.access.log combined

SSLEngine on
SSLCertificateFile /etc/letsencrypt/live/redmine.howtoforge.local/fullchain.pem
SSLCertificateKeyFile /etc/letsencrypt/live/redmine.howtoforge.local/privkey.pem

<Directory "/opt/redmine/public">
Allow from all
Require all granted
</Directory>

</VirtualHost>

</IfModule>
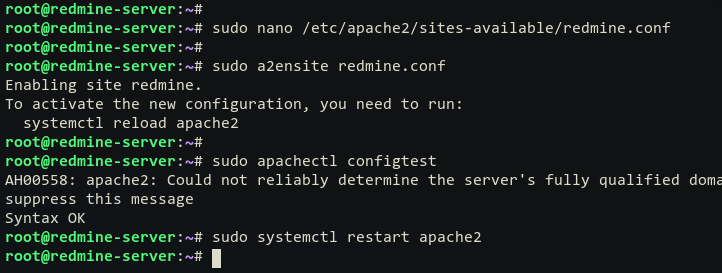
Activate and test the virtual host configuration:
sudo a2ensite redmine.conf
sudo apachectl configtest
Lastly, restart Apache2:
sudo systemctl restart apache2
Setting up UFW Firewall
It’s essential for production servers to be protected with a firewall. Configure UFW to allow default HTTP(S) traffic and SSH access:
sudo ufw allow "OpenSSH"
sudo ufw enable
Confirm by typing y if prompted.

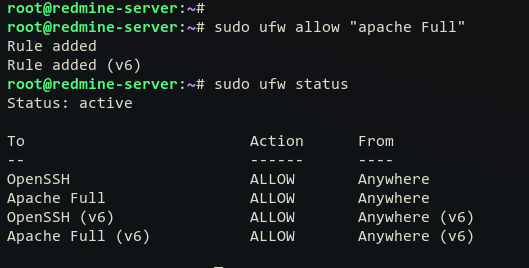
Add necessary firewall rules:
sudo ufw allow "Apache Full"
sudo ufw status
Accessing Redmine
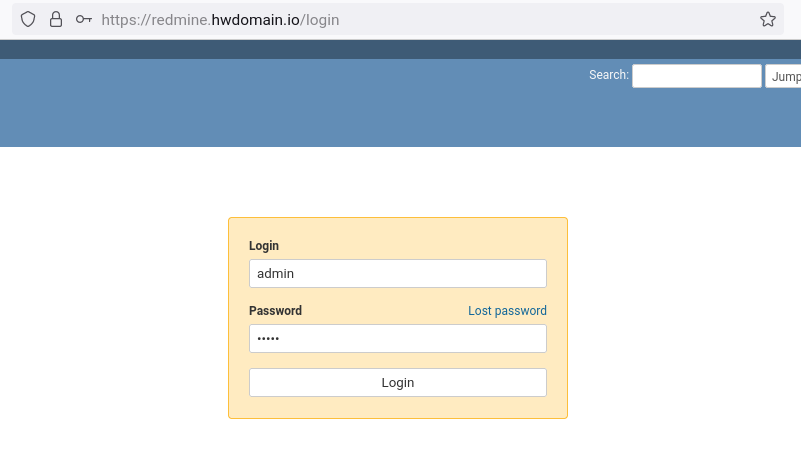
Open your browser and navigate to your Redmine URL (https://redmine.howtoforge.local/).

Initial Setup
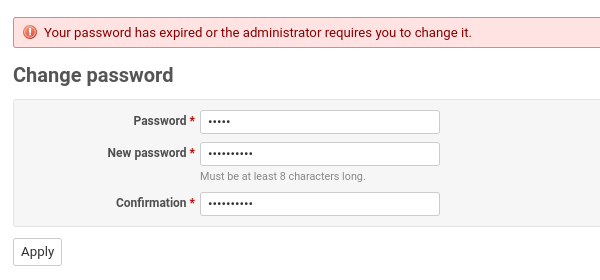
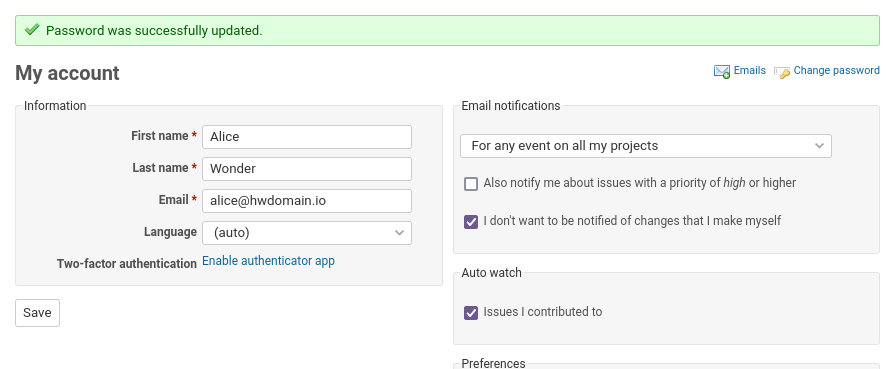
Login with default admin credentials (admin/admin), change the password and configure user details.
Conclusion
You’ve successfully installed Redmine on an Ubuntu 22.04 server, configuring both the MariaDB database and an Nginx web server, and securing it with SSL. Redmine offers extensive customization like LDAP integration and SCM support (e.g., SVN, Git). Adjust roles to fit your organization.
FAQ
- What is Redmine?
- Redmine is a free, open-source project management and issue-tracking tool primarily written in Ruby on Rails.
- Which operating systems are supported for Redmine installation?
- Redmine can be installed on Linux, Windows, and macOS.
- What databases can Redmine support?
- Redmine supports several databases including PostgreSQL, MySQL, and its default SQLite.
- What are the prerequisites for installing Redmine?
- An Ubuntu 22.04 server, a non-root user with sudo privileges, and a domain name pointing to your server’s IP address.
- How do I secure Redmine with SSL?
- The guide explains setting up Apache2 with SSL configuration using Let’s Encrypt SSL certificates.
- What should I do after installing Redmine?
- Log in using the default admin account, change the password, configure user details, and set up any additional roles or integrations as needed.
