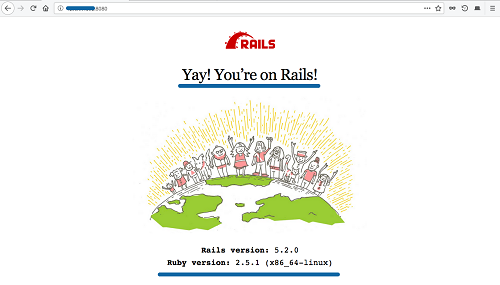
Ruby on Rails (RoR) is an open-source, MIT-licensed web application framework. It operates on the server side and follows the MVC (Model-View-Controller) architecture. RoR provides default structures for databases, web services, and web pages, making it a popular choice for developers. Notably, Rails has seen contributions from over 3000 developers and is the foundation for high-profile applications such as GitHub, Airbnb, and Soundcloud.
In this tutorial, we will guide you through the installation of Ruby on Rails on Ubuntu 20.04 Focal Fossa. Specifically, we will cover the installation of the RVM (Ruby Version Manager), PostgreSQL Database Server, and how to start a new project with Ruby on Rails.
Prerequisites
For this guide, we will use Ubuntu 20.04 Focal Fossa with at least 2GB of RAM, 25GB of free disk space, and 2 CPUs. Root privileges are required to follow this tutorial.
What We’ll Accomplish:
- Install RVM Ruby Version Manager
- Install and Configure Ruby
- Install Node.js and Yarn
- Update RubyGems Package Manager
- Install the Latest Version of Ruby on Rails
- Install and Configure PostgreSQL Database
- Initialize a Ruby on Rails Project with PostgreSQL
- Create a Simple CRUD Application with Rails
Step 1 – Install RVM Ruby Version Manager
RVM is a command-line tool that allows you to install and manage different versions of Ruby. Here’s how to install it:
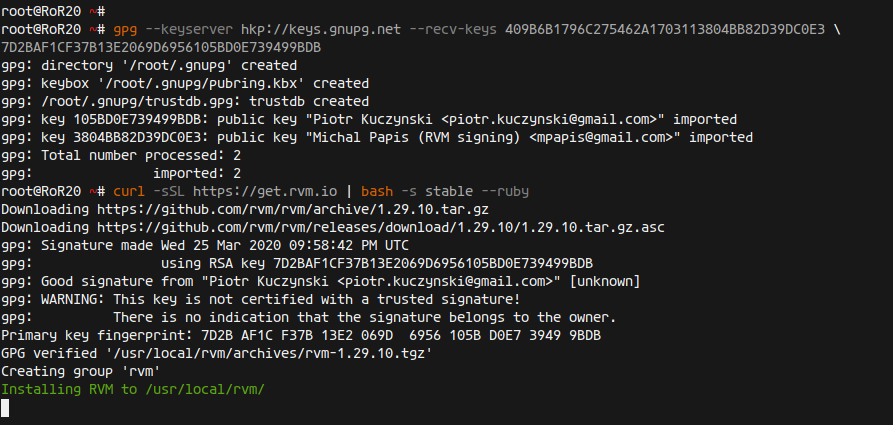
First, import the required GPG keys:
gpg --keyserver hkp://keys.gnupg.net --recv-keys 409B6B1796C275462A1703113804BB82D39DC0E3 \ 7D2BAF1CF37B13E2069D6956105BD0E739499BDB
Download and execute the RVM installation script:
curl -sSL https://get.rvm.io | bash -s stable --ruby
This will install the necessary packages and Ruby version 2.7.
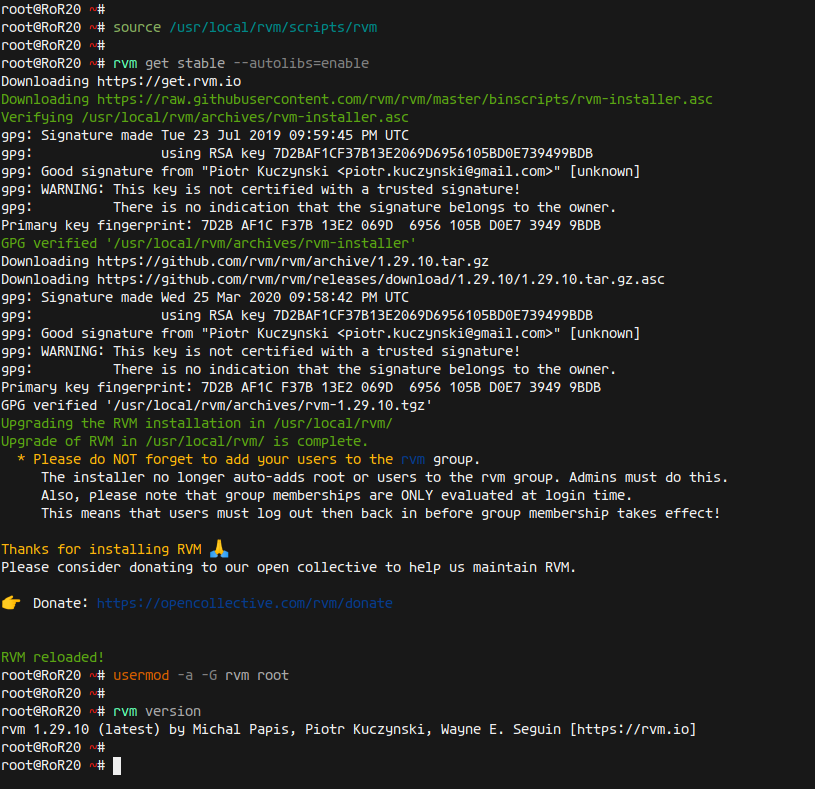
Load the RVM into your system’s environment:
source /usr/local/rvm/scripts/rvm
Update RVM and add the root user to the RVM group:
rvm get stable --autolibs=enable
usermod -a -G rvm root
Finally, verify your installation by checking the RVM version:
rvm version
Step 2 – Install and Configure Ruby
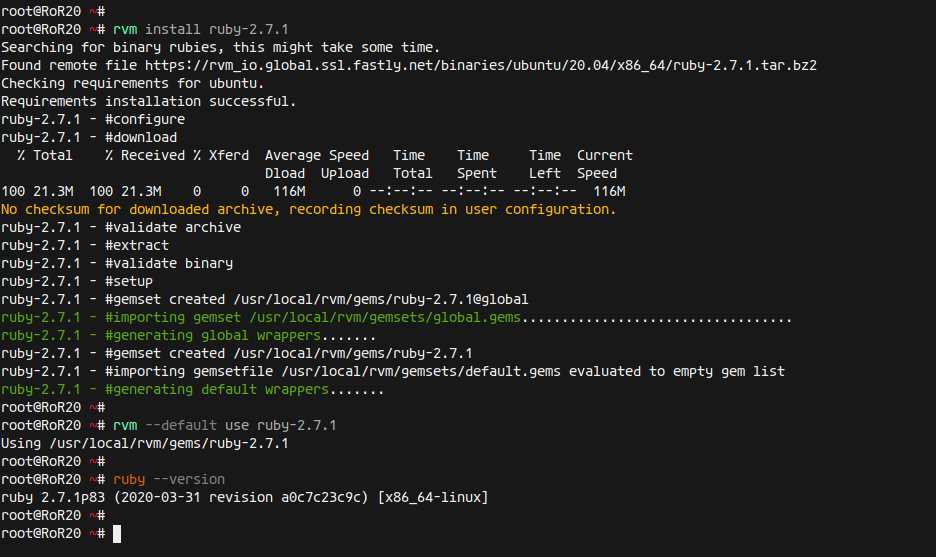
Now, we will install the latest Ruby version using RVM:
rvm install ruby-2.7.1
Set Ruby 2.7.1 as the default version:
rvm --default use ruby-2.7.1
Confirm your Ruby version:
ruby --version
Step 3 – Install Node.js and Yarn
To compile Ruby on Rails assets, Node.js and Yarn are required:
Install necessary dependencies:
sudo apt install gcc g++ make
Add Node.js repository and install:
curl -sL https://deb.nodesource.com/setup_14.x | sudo -E bash -
Add Yarn repository:
curl -sL https://dl.yarnpkg.com/debian/pubkey.gpg | sudo apt-key add -
echo "deb https://dl.yarnpkg.com/debian/ stable main" | sudo tee /etc/apt/sources.list.d/yarn.list
Update and install Node.js and Yarn:
sudo apt update
sudo apt install yarn nodejs
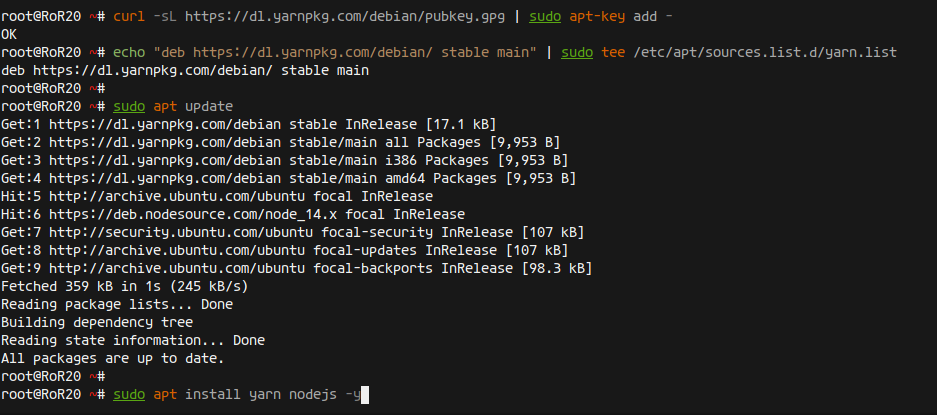
Verify Node.js and Yarn installations:
node --version
yarn --version
Step 4 – Update RubyGem Package Manager
Update RubyGems, the Ruby package manager:
gem update --system
Create a configuration file to skip documentation:
echo "gem: --no-document" >> ~/.gemrc
Check RubyGem version:
gem -v
Step 5 – Install Ruby on Rails
Use RubyGems to install the latest version of RoR:
gem install rails
Verify the Rails installation:
rails --version

Step 6 – Install and Configure PostgreSQL
Install PostgreSQL, which is used as the database server for our Rails project:
sudo apt install postgresql postgresql-contrib libpq-dev -y
Start and enable the PostgreSQL service:
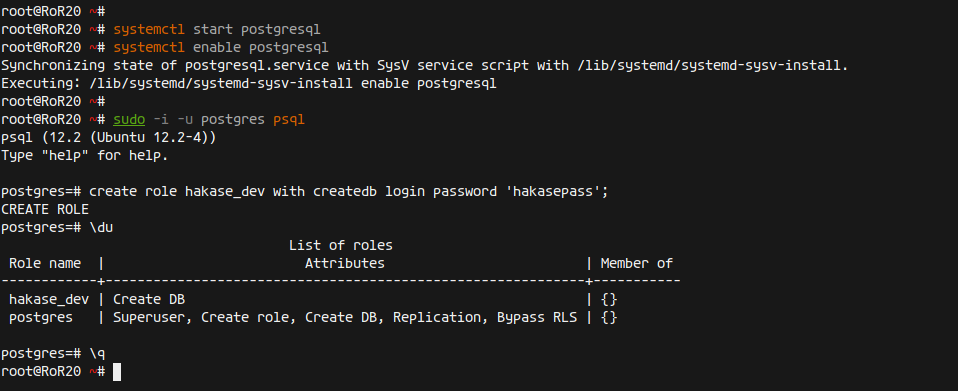
systemctl start postgresql
systemctl enable postgresql
Create a new PostgreSQL role for database access:
sudo -i -u postgres psql
create role hakase_dev with createdb login password 'hakasepass';
Step 7 – Start New Ruby on Rails Project with PostgreSQL Database
Create a new Rails project using PostgreSQL:
rails new hakaseapp -d postgresql
Configure the database connection:
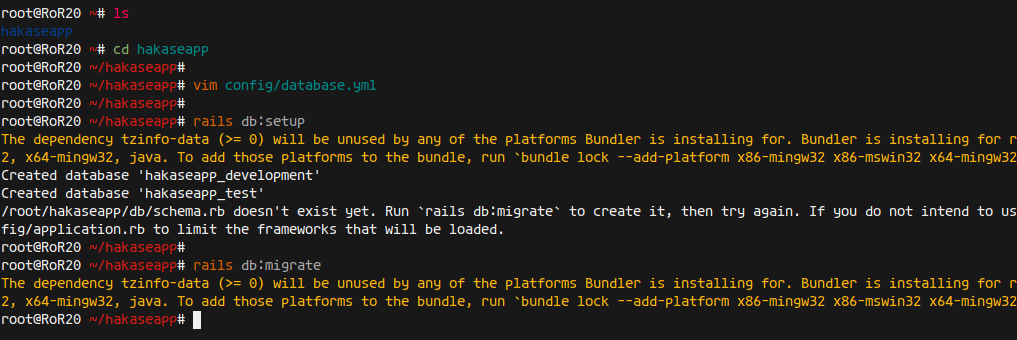
cd hakaseapp/
vim config/database.yml
Add the following database configurations:
  host: localhost
  port: 5432
  username: hakase_dev
  password: hakasepass
Setup and migrate the database:
rails db:setup
rails db:migrate
Start the Rails server:
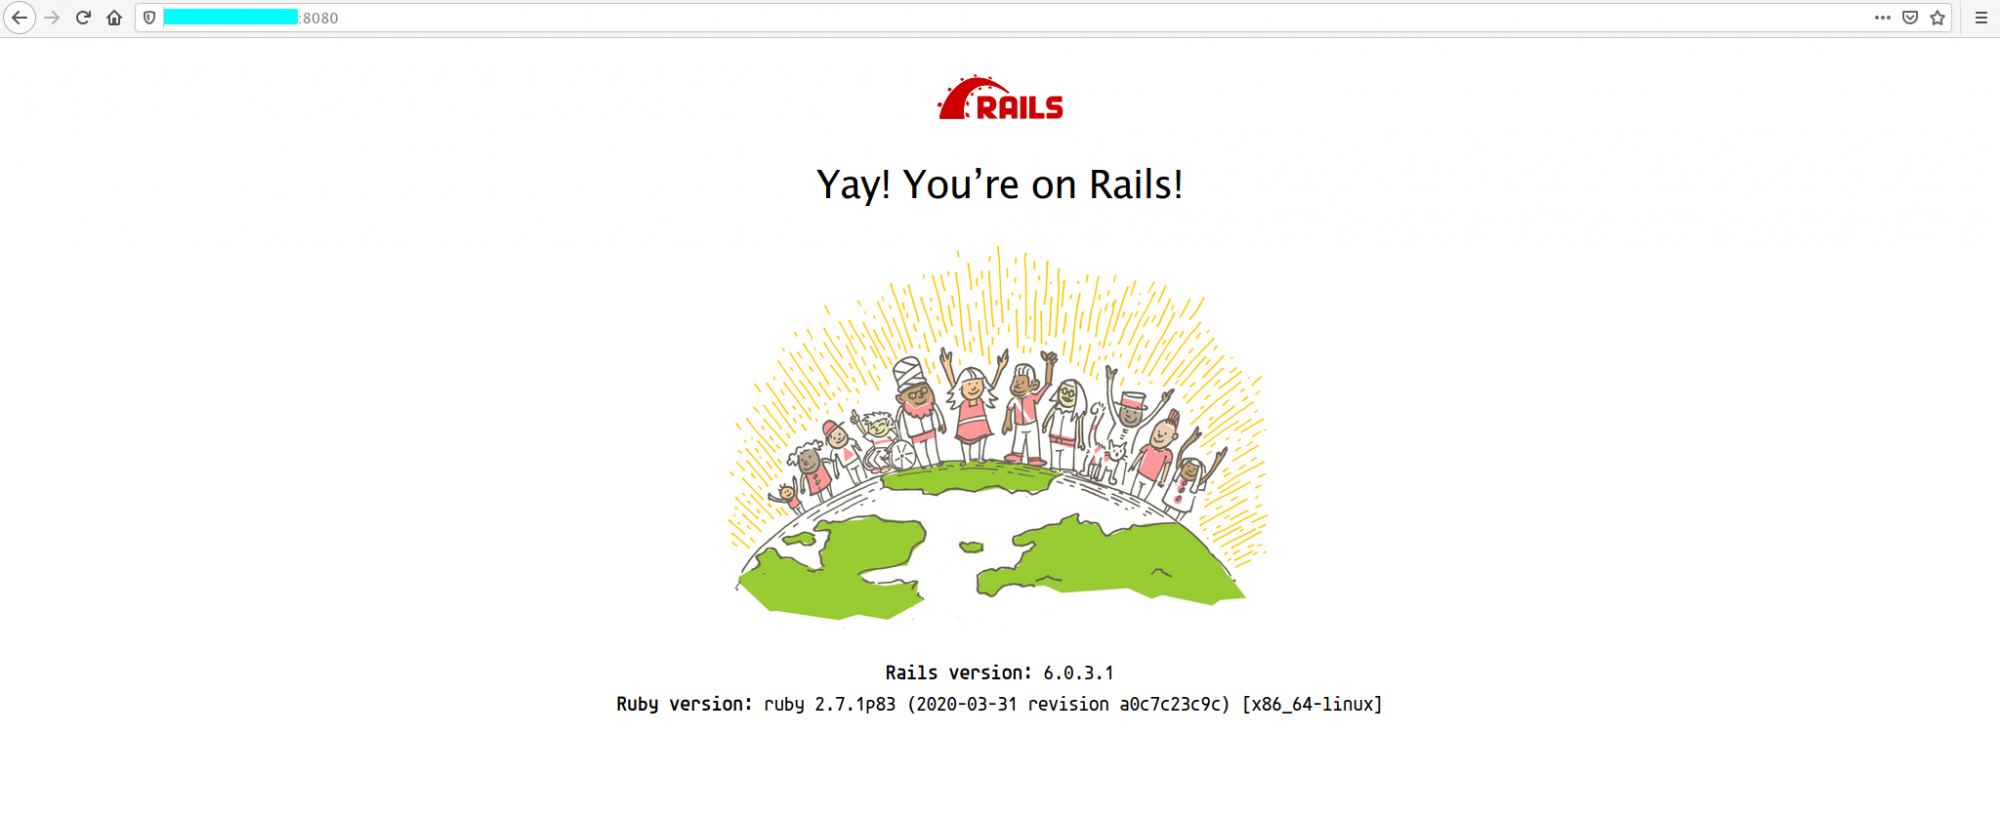
rails s -b 0.0.0.0 -p 8080
Access the default Rails welcome page:
http://:8080/
Step 8 – Create Simple CRUD with Rails Scaffold
Generate a simple CRUD application using Rails:
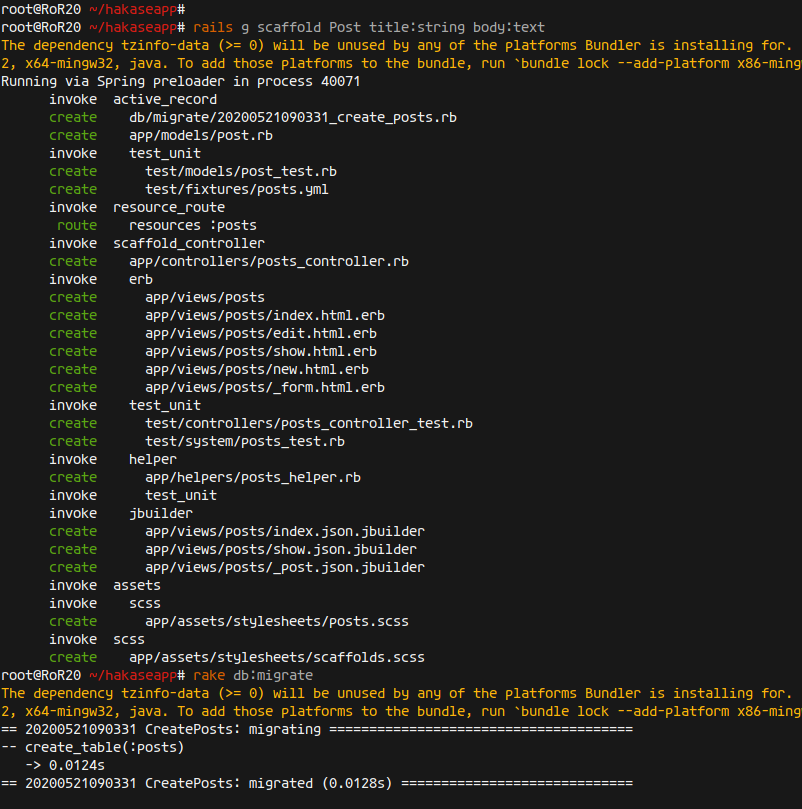
rails g scaffold Post title:string body:text
Migrate the database changes:
rake db:migrate
Restart the Rails server:
rails s -b 0.0.0.0 -p 8080
Visit the CRUD application:
http://:8080/posts
Create and manage posts:

Conclusion
By following this guide, you have successfully installed and configured Ruby on Rails with a PostgreSQL database on Ubuntu 20.04. You also created a simple CRUD application to understand how Ruby on Rails interacts with databases like PostgreSQL.
FAQs
1. What is the benefit of using RVM?
RVM allows you to install, manage, and work with multiple Ruby environments, helping you ensure project compatibility with different Ruby versions.
2. Why use PostgreSQL with Rails?
PostgreSQL is a powerful, open-source relational database system that is highly robust, supports advanced data types, and is commonly used in the industry.
3. How do I start the Rails server on a different port?
You can change the server port by running the command rails s -p [PORT], replacing [PORT] with the desired port number.
4. How can I upgrade Rails to the latest version?
To upgrade Rails, you can run gem update rails to fetch and install the latest version of Rails.
5. How do I ensure my Rails app is production-ready?
For a production-ready Rails application, consider aspects such as code optimization, secure configurations, database scalability, proper testing (using RSpec or Minitest), and deploying using a server like Puma or Passenger with a web server like Nginx or Apache.
