Shopware is a free and open-source platform designed to help you launch your own e-commerce website, powering your online business efficiently. It offers a range of tools to assist in building and customizing a fully responsive online store. Similar to Magento, Shopware is a powerful, user-friendly, and flexible application that enables easy creation and management of content and products from any device, thanks to its modern user interface.
This tutorial will guide you through the installation of Shopware with Nginx and Let’s Encrypt SSL on CentOS 8.
Prerequisites
- A server running CentOS 8.
- A valid domain name pointed to your server IP.
- A configured root password on your server.
Install LEMP Server
Shopware operates on a web server, built on PHP with Symfony and Zend components, using MySQL or MariaDB as a database backend. Install Nginx, MariaDB, PHP, and other extensions with this command:
dnf install nginx mariadb-server php php-cli php-intl php-fpm php-common php-mysqli php-curl php-json php-zip php-gd php-xml php-mbstring php-opcache unzip -y
Start and enable Nginx, MariaDB, and PHP-FPM services to launch at system reboot with:
        systemctl start mariadb
        systemctl enable mariadb
        systemctl start nginx
        systemctl start php-fpm
        systemctl enable nginx
        systemctl enable php-fpm
Configure PHP-FPM
PHP-FPM is initially configured to run as the Apache user and group. Alter it to run as the Nginx user and group by editing /etc/php-fpm.d/www.conf:
nano /etc/php-fpm.d/www.conf
Modify the following lines:
        user = nginx
        group = nginx
Save the file and establish a session directory with appropriate ownership:
        mkdir -p /var/lib/php/session
        chown -R nginx:nginx /var/lib/php/session
Then, update php.ini with these settings:
nano /etc/php.ini
Change the following:
        memory_limit = 512M
        upload_max_filesize = 20M
        date.timezone = Asia/Kolkata
Restart PHP-FPM to apply changes:
systemctl restart php-fpm
Create a Database for Shopware
To create a database and user for Shopware, connect to MariaDB:
mysql
Inside MariaDB, run the following commands:
        MariaDB [(none)]> CREATE DATABASE shopware;
        MariaDB [(none)]> GRANT ALL ON shopware.* TO 'shopware' IDENTIFIED BY 'password';
Flush privileges and exit:
        MariaDB [(none)]> FLUSH PRIVILEGES;
        MariaDB [(none)]> EXIT;
Download Shopware
Create a directory for Shopware within the Nginx root directory:
mkdir /var/www/html/shopware
Download the latest Shopware version:
wget https://www.shopware.com/en/Download/redirect/version/sw6/file/install_v6.3.5.0_ba08dbfc07784b5cefe7837f2abbda69dbf5b8b7.zip -O shopware.zip
Extract the downloaded file and set appropriate permissions:
        unzip shopware.zip -d /var/www/html/shopware
        chown -R nginx:nginx /var/www/html/shopware
        chmod -R 775 /var/www/html/shopware
Configure Nginx for Shopware
Create an Nginx virtual host configuration for Shopware:
nano /etc/nginx/conf.d/shopware.conf
Add this configuration:
        server {
            listen 80;
            index index.php;
            server_name shopware.example.com;
            root /var/www/html/shopware/public;

            location /recovery/install {
                index index.php;
                try_files $uri /recovery/install/index.php$is_args$args;
            }

            location /recovery/update/ {
                if (!-e $request_filename){
                    rewrite . /recovery/update/index.php last;
                }
            }

            location / {
                try_files $uri /index.php$is_args$args;
            }

            location ~ \.php$ {
                fastcgi_split_path_info ^(.+\.php)(/.+)$;
                include fastcgi.conf;
                fastcgi_param HTTP_PROXY "";
                fastcgi_buffers 8 16k;
                fastcgi_buffer_size 32k;
                fastcgi_read_timeout 300s;
                client_body_buffer_size 128k;
                fastcgi_pass unix:/run/php-fpm/www.sock;
                http2_push_preload on;
            }
        }
Save the file, check the Nginx configuration for syntax errors:
nginx -t
To apply changes, restart Nginx:
systemctl restart nginx
Configure SELinux and Firewall
Adjust SELinux context for Shopware:
        setsebool httpd_can_network_connect on -P
        chcon -R -u system_u -t httpd_sys_rw_content_t -r object_r /var/www/html/shopware
Allow traffic on ports 80 and 443 through the firewall:
        firewall-cmd --permanent --add-service=http
        firewall-cmd --permanent --add-service=https
        firewall-cmd --reload
Access Shopware Web Interface
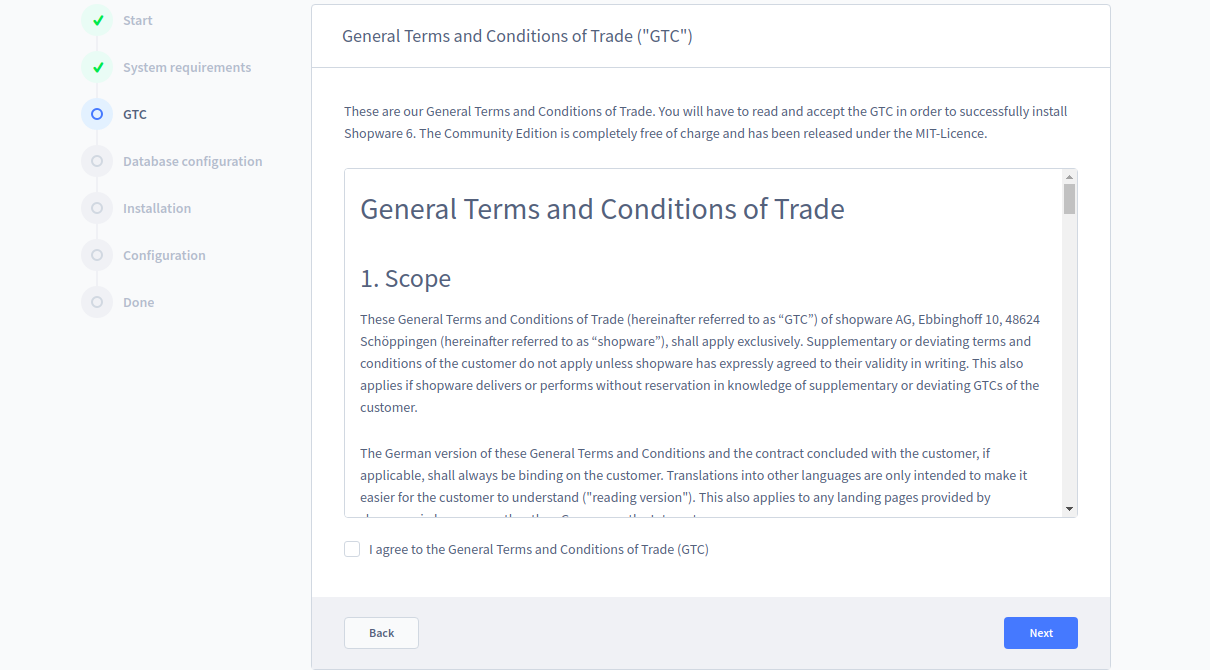
In your web browser, navigate to http://shopware.example.com and follow the installation wizard. You’ll be guided through configuring the product settings, database, and user account.

Secure Shopware With Let’s Encrypt SSL
For enhanced security, install the Certbot utility to obtain and install a Let’s Encrypt SSL certificate:
        wget https://dl.eff.org/certbot-auto
        mv certbot-auto /usr/local/bin/certbot-auto
        chown root /usr/local/bin/certbot-auto
        chmod 0755 /usr/local/bin/certbot-auto
Acquire an SSL certificate for your Shopware domain:
certbot-auto --nginx -d shopware.example.com
Conclusion
Congratulations! You have successfully installed and configured Shopware with Nginx and Let’s Encrypt SSL on CentOS 8. You can now host your online store with Shopware confidently. Should you have any questions, feel free to ask.
Frequently Asked Questions (FAQ)
What are the system requirements for installing Shopware?
Shopware requires a server running CentOS 8, a valid domain name, and configured root access. It also relies on a LEMP stack for operation.
How do I change the domain name for my Shopware installation?
To alter the domain name, update the server_name directive in your Nginx configuration file and adjust any necessary DNS records to point to your server’s IP address.
Is it possible to install Shopware on a cloud server?
Yes, Shopware can be installed on cloud-based servers like AWS, Google Cloud, or Azure, as long as they meet the system requirements.
How often should I renew my Let’s Encrypt SSL certificate?
Let’s Encrypt certificates are valid for 90 days. It’s recommended to renew them regularly; Certbot can automate this renewal process.
Can I customize the Shopware interface?
Yes, Shopware offers extensive customization options through plugins and theme settings, which you can manage in the Shopware backend.
