SonarQube is a powerful open-source platform designed to continuously inspect and improve the code quality of applications. Developed in Java, it supports multiple databases and can analyze code in over 20 programming languages, including Java, C, C++, C#, PHP, and web languages such as JavaScript, HTML, and CSS. With SonarQube, you can quickly find security vulnerabilities, detect bugs, and visualize the results via a web-based dashboard. Moreover, SonarQube easily integrates with tools like Maven, Ant, Gradle, MSBuild, LDAP, Active Directory, and GitHub.
In this comprehensive guide, we will walk you through the process of installing SonarQube on an Ubuntu 18.04 LTS (Bionic Beaver) server.
Requirements
- A server running Ubuntu 18.04.
- A non-root user with sudo privileges.
Getting Started
First, ensure your system is updated to its latest version by executing the following commands:
sudo apt-get update -y
sudo apt-get upgrade -y
After the update, restart your system to apply the changes.
Install Java
As SonarQube is based on Java, you’ll need to install Java first. Begin by adding the Java repository:
sudo add-apt-repository ppa:webupd8team/java
Now, update the repository and install Java:
sudo apt-get update -y
sudo apt-get install oracle-java8-installer -y
Verify the Java installation using:
java -version
Expected Output:
openjdk version "10.0.2" 2018-07-17
OpenJDK Runtime Environment (build 10.0.2+13-Ubuntu-1ubuntu0.18.04.3)
OpenJDK 64-Bit Server VM (build 10.0.2+13-Ubuntu-1ubuntu0.18.04.3, mixed mode)
Install and Configure PostgreSQL
To get the latest version of PostgreSQL, you must add its repository:
sudo sh -c 'echo "deb http://apt.postgresql.org/pub/repos/apt/ `lsb_release -cs`-pgdg main" >> /etc/apt/sources.list.d/pgdg.list'
wget -q https://www.postgresql.org/media/keys/ACCC4CF8.asc -O - | sudo apt-key add -
With the repository added, install PostgreSQL:
sudo apt-get update -y
sudo apt-get install postgresql postgresql-contrib
Check the status of your PostgreSQL installation:
sudo systemctl status postgresql
Expected Output:
? postgresql.service - PostgreSQL RDBMS
   Loaded: loaded (/lib/systemd/system/postgresql.service; enabled; vendor preset: enabled)
   Active: active (exited) since Sun 2018-12-02 08:49:29 UTC; 4h 30min ago
  Process: 1295 ExecStart=/bin/true (code=exited, status=0/SUCCESS)
 Main PID: 1295 (code=exited, status=0/SUCCESS)

Dec 02 08:49:29 ubuntu1804 systemd[1]: Starting PostgreSQL RDBMS...
Dec 02 08:49:29 ubuntu1804 systemd[1]: Started PostgreSQL RDBMS.
Create a sonar user within PostgreSQL:
su - postgres
createuser sonar
Access PostgreSQL shell:
psql
Set a password for the sonar user and create a corresponding database:
ALTER USER sonar WITH ENCRYPTED password 'password';
CREATE DATABASE sonar OWNER sonar;
Exit the PostgreSQL shell:
\q
Install and Configure SonarQube
Create a new user for SonarQube:
sudo adduser sonar
Download the latest SonarQube package:
wget https://binaries.sonarsource.com/Distribution/sonarqube/sonarqube-6.7.6.zip
Extract the package:
unzip sonarqube-6.7.6.zip
Move the extracted SonarQube directory to /opt:
sudo cp -r sonarqube-6.7.6 /opt/sonarqube
Set appropriate permissions for the sonar user:
sudo chown -R sonar:sonar /opt/sonarqube
Configure SonarQube to run under the sonar user by editing:
sudo nano /opt/sonarqube/bin/linux-x86-64/sonar.sh
Change:
RUN_AS_USER=sonar
Next, modify SonarQube’s database credentials in its configuration file:
sudo nano /opt/sonarqube/conf/sonar.properties
Set the following parameters:
sonar.jdbc.username=sonar
sonar.jdbc.password=password
sonar.jdbc.url=jdbc:postgresql://localhost/sonar
sonar.web.host=127.0.0.1
sonar.search.javaOpts=-Xms512m  -Xmx512m
Create Systemd Service File for SonarQube
Create a systemd service file for easier service management:
sudo nano /etc/systemd/system/sonar.service
Insert the following configuration:
[Unit]
Description=SonarQube service
After=syslog.target network.target

[Service]
Type=forking

ExecStart=/opt/sonarqube/bin/linux-x86-64/sonar.sh start
ExecStop=/opt/sonarqube/bin/linux-x86-64/sonar.sh stop

User=sonar
Group=sonar
Restart=always

[Install]
WantedBy=multi-user.target
Start the SonarQube service and enable it to launch at startup:
sudo systemctl start sonar
sudo systemctl enable sonar
Verify that SonarQube is active:
sudo systemctl status sonar
Expected Output:
? sonar.service - SonarQube service
   Loaded: loaded (/etc/systemd/system/sonar.service; disabled; vendor preset: enabled)
   Active: active (running) since Sun 2018-12-02 13:55:34 UTC; 2min 52s ago
  Process: 2339 ExecStart=/opt/sonarqube/bin/linux-x86-64/sonar.sh start (code=exited, status=0/SUCCESS)
 Main PID: 2396 (wrapper)
    Tasks: 133 (limit: 2323)
   CGroup: /system.slice/sonar.service
           ??2396 /opt/sonarqube/bin/linux-x86-64/./wrapper /opt/sonarqube/bin/linux-x86-64/../../conf/wrapper.conf wrapper.syslog.ident=SonarQ
           ??2399 java -Dsonar.wrapped=true -Djava.awt.headless=true -Xms8m -Xmx32m -Djava.library.path=./lib -classpath ../../lib/jsw/wrapper-
           ??2445 /usr/lib/jvm/java-8-oracle/jre/bin/java -XX:+UseConcMarkSweepGC -XX:CMSInitiatingOccupancyFraction=75 -XX:+UseCMSInitiatingOc
           ??2545 /usr/lib/jvm/java-8-oracle/jre/bin/java -Djava.awt.headless=true -Dfile.encoding=UTF-8 -Djava.io.tmpdir=/opt/sonarqube/temp -
           ??2622 /usr/lib/jvm/java-8-oracle/jre/bin/java -Djava.awt.headless=true -Dfile.encoding=UTF-8 -Djava.io.tmpdir=/opt/sonarqube/temp -

Dec 02 13:55:33 ubuntu1804 systemd[1]: Starting SonarQube service...
Dec 02 13:55:33 ubuntu1804 sonar.sh[2339]: Starting SonarQube...
Dec 02 13:55:34 ubuntu1804 sonar.sh[2339]: Started SonarQube.
Dec 02 13:55:34 ubuntu1804 systemd[1]: Started SonarQube service.
Configure Apache as a Reverse Proxy
SonarQube listens on port 9000 by default. Set up Apache as a reverse proxy to facilitate access over port 80:
First, install Apache:
sudo apt-get install apache2 -y
Enable the necessary proxy modules:
sudo a2enmod proxy
sudo a2enmod proxy_http
Create a virtual host file for SonarQube:
sudo nano /etc/apache2/sites-available/sonar.conf
Insert these lines:
<VirtualHost *:80>
    ServerName example.com
    ServerAdmin admin@example.com
    ProxyPreserveHost On
    ProxyPass / http://127.0.0.1:9000/
    ProxyPassReverse / http://127.0.0.1:9000/
    TransferLog /var/log/apache2/sonarm_access.log
    ErrorLog /var/log/apache2/sonar_error.log
</VirtualHost>
Don’t forget to replace example.com with your actual domain. Save and enable the new virtual host:
sudo a2ensite sonar
Restart Apache and SonarQube to load the changes:
sudo systemctl restart apache2
sudo systemctl restart sonar
Monitor SonarQube Logs
SonarQube logs are located in the /opt/sonarqube/logs directory. Use the following command to view real-time logs:
sudo tail -f /opt/sonarqube/logs/sonar.log
Additionally, you can check the web log using:
sudo tail -f /opt/sonarqube/logs/web.log
Access SonarQube
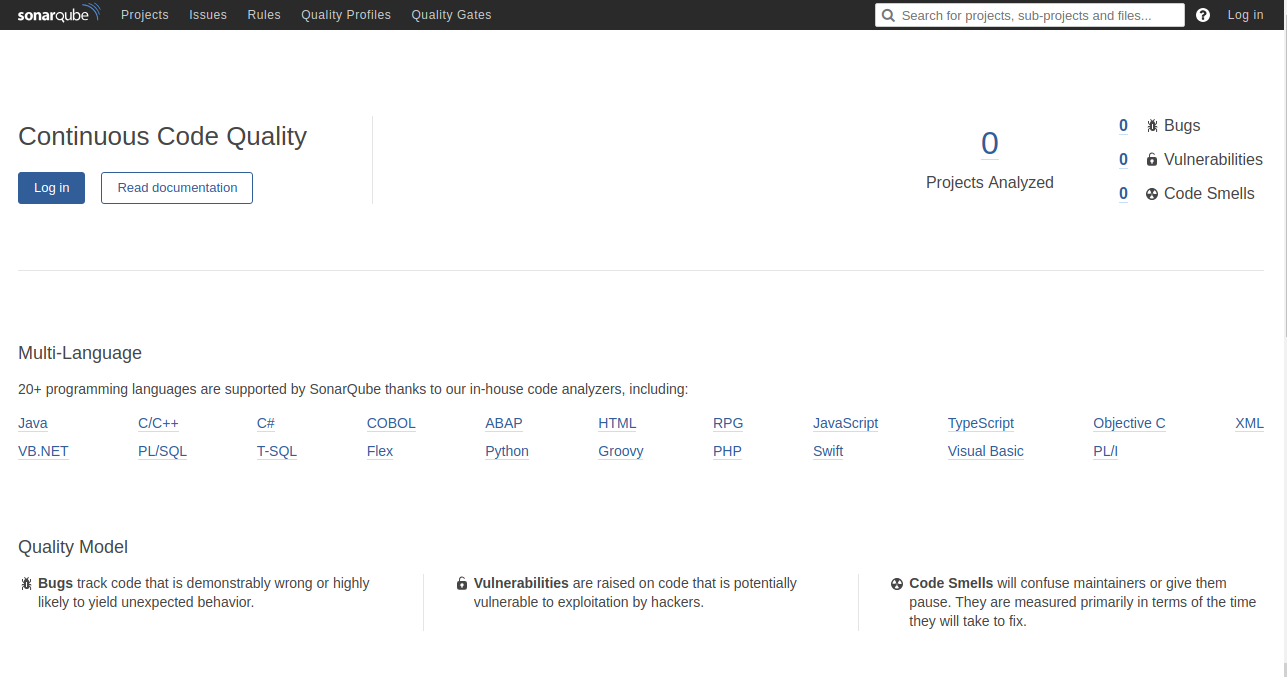
With SonarQube successfully installed and configured, access it via your web browser. Navigate to http://example.com, and you’ll see:

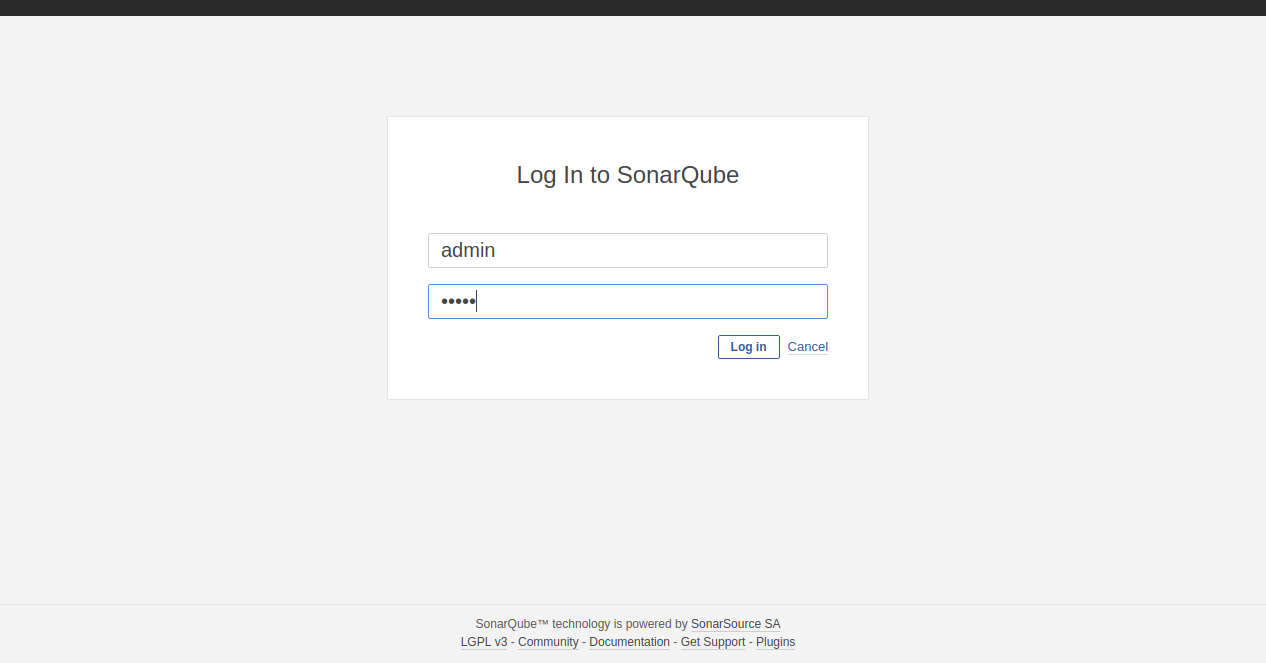
Click the Log In button to access the login page:

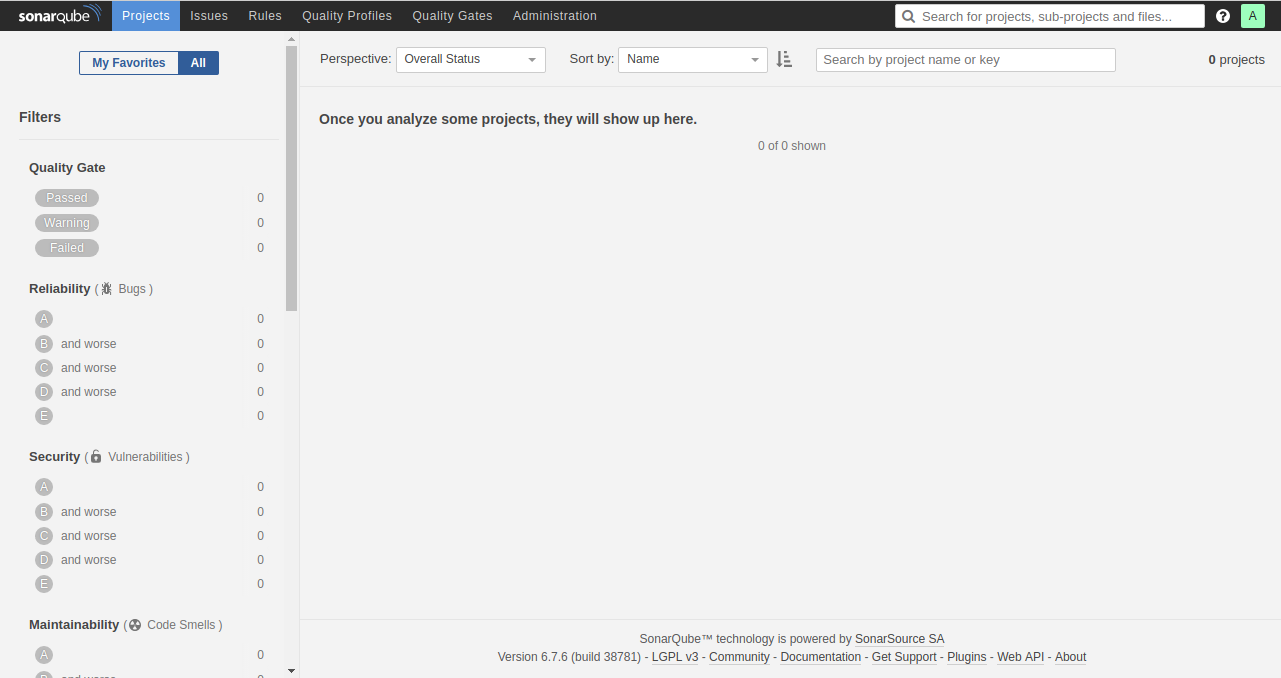
Enter the default admin credentials, admin/admin, to access the dashboard:

Congratulations on successfully installing SonarQube on your Ubuntu 18.04 server! Begin performing automatic reviews and monitor the health of your applications with ease.
FAQs
1. Why do I need to install Java?
SonarQube is written in Java, which means it requires a Java Runtime Environment to function on your server.
2. What is the default login for SonarQube?
The default username and password are admin/admin. For security reasons, it is recommended to change the password after the first login.
3. Can SonarQube integrate with GitHub?
Yes, SonarQube can integrate with popular version control systems, including GitHub, allowing for seamless continuous integration and code quality checks.
4. How can I change the default SonarQube port?
You can change the default port by editing the sonar.properties file and modifying the sonar.web.port property.
5. What if I face issues with SonarQube starting up?
If SonarQube fails to start, check the log files located in /opt/sonarqube/logs to determine the cause of the issue.
