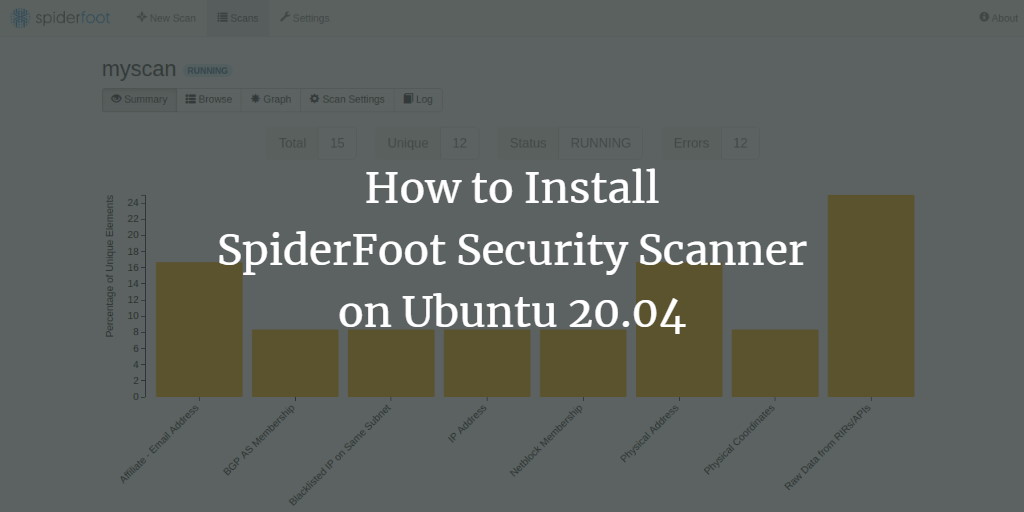
SpiderFoot is a versatile and open-source tool designed for vulnerability assessment, helping to mitigate potential hacker attacks. It’s compatible with both Linux and Windows platforms, and can be integrated with GitHub. Written in Python with SQLite as its database engine, SpiderFoot offers a web interface to facilitate penetration tests on multiple targets concurrently from a web browser.
In this guide, we’ll walk you through installing SpiderFoot on an Ubuntu 20.04 server.
Prerequisites
- A server running Ubuntu 20.04.
- The root password configured on the server.
Getting Started
Before proceeding, it’s advisable to update your package cache to ensure you have the latest versions. Use the following command:
apt-get update -y
Once the packages are updated, install necessary dependencies with this command:
apt-get install python3 python3-pip -y
Upon completion, proceed to the installation steps.
Install SpiderFoot
Begin by downloading the latest release of SpiderFoot from its Git repository using:
wget https://github.com/smicallef/spiderfoot/archive/v3.3.tar.gz
After downloading, extract the package with:
tar -xvzf v3.3.tar.gz
Change into the directory and install Python dependencies:
cd spiderfoot-3.3
pip3 install -r requirements.txt
After installation, you can review all SpiderFoot options with:
python3 sf.py --help
This command will display a list of options and argument descriptions.
Run SpiderFoot in Web UI Mode
With SpiderFoot installed, you can now start it in Web UI mode to access it via a browser. Execute:
python3 sf.py -l your-server-ip:5001
Upon successful startup, you’ll see log details including a warning regarding authentication:
        2021-03-01 11:16:53,927 [INFO] Starting web server at 45.58.43.9:5001 ...
        2021-03-01 11:16:53,937 [WARNING]
        ********************************************************************
        Warning: passwd file contains no passwords. Authentication disabled.
        Please consider adding authentication to protect this instance!
        Refer to https://www.spiderfoot.net/documentation/#security.
        ********************************************************************
        ...
Access the application via http://your-server-ip:5001. Use CTRL+C in your terminal to stop SpiderFoot.
Configure SpiderFoot Authentication
By default, SpiderFoot doesn’t require authentication. It’s recommended to enable basic authentication for security.
Navigate to the SpiderFoot directory:
cd spiderfoot-3.3
Set a username and password in the passwd file:
echo "admin:yourpassword" > passwd
Relaunch SpiderFoot with:
python3 sf.py -l your-server-ip:5001
Authentication will now be enabled as shown in the output:
        2021-03-01 11:17:56,108 [INFO] Starting web server at 45.58.43.9:5001 ...
        2021-03-01 11:17:56,118 [INFO] Enabling authentication based on supplied passwd file.
        ...
Access SpiderFoot
Open your browser to visit the SpiderFoot UI at http://your-server-ip:5001. You will be prompted to log in:
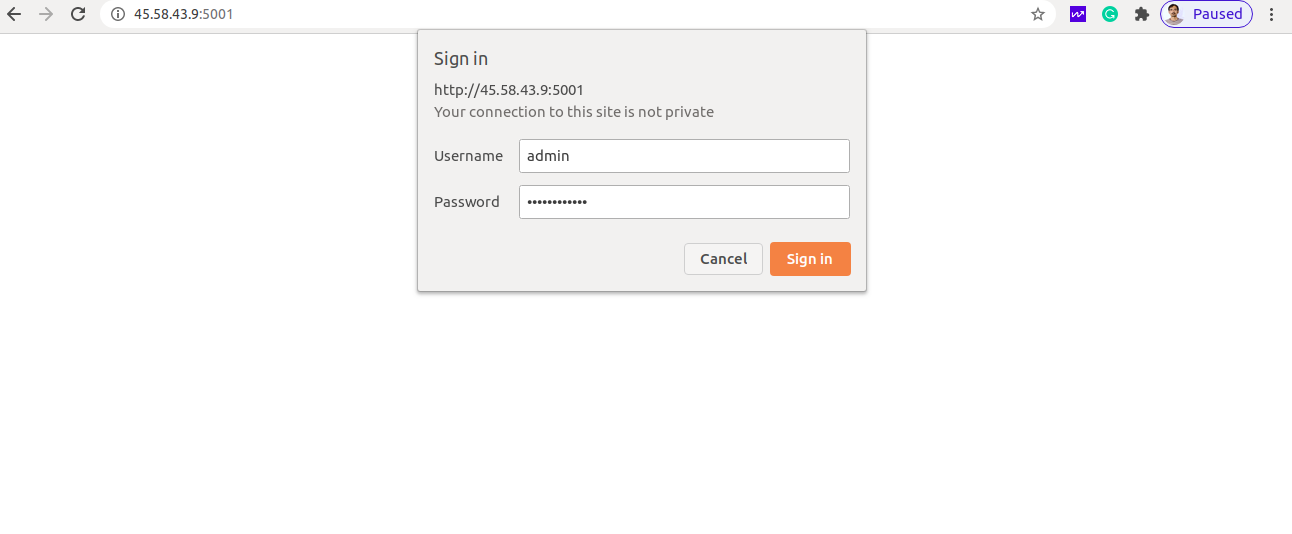
Enter your credentials and click Sign In. The dashboard will appear as shown below:
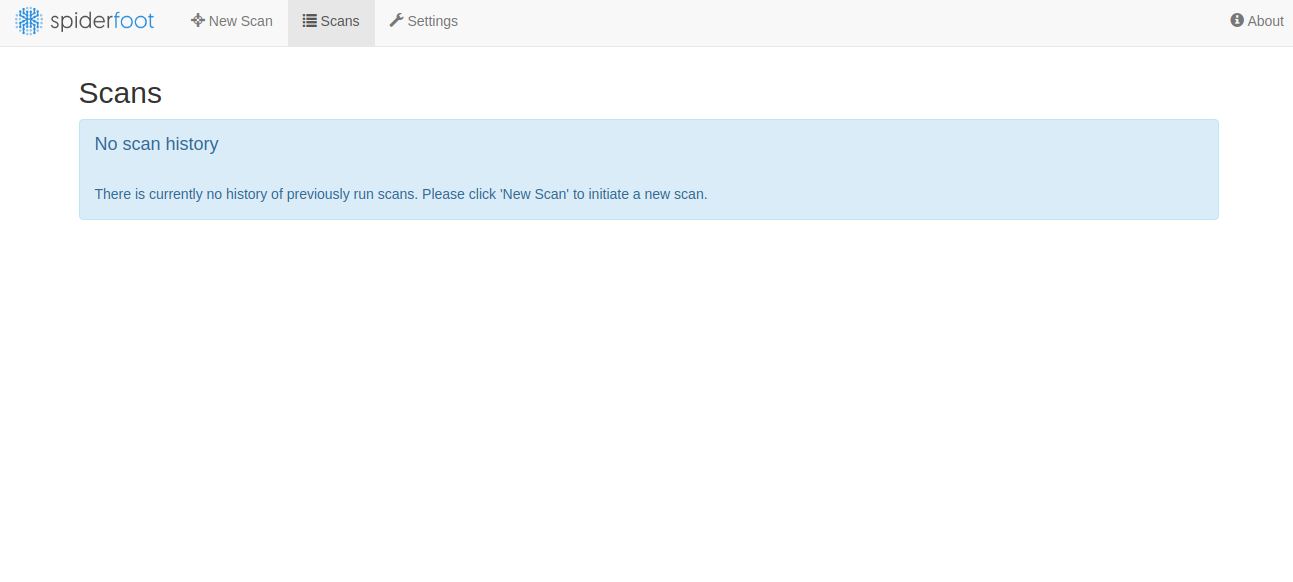
To initiate a new scan, click New Scan:
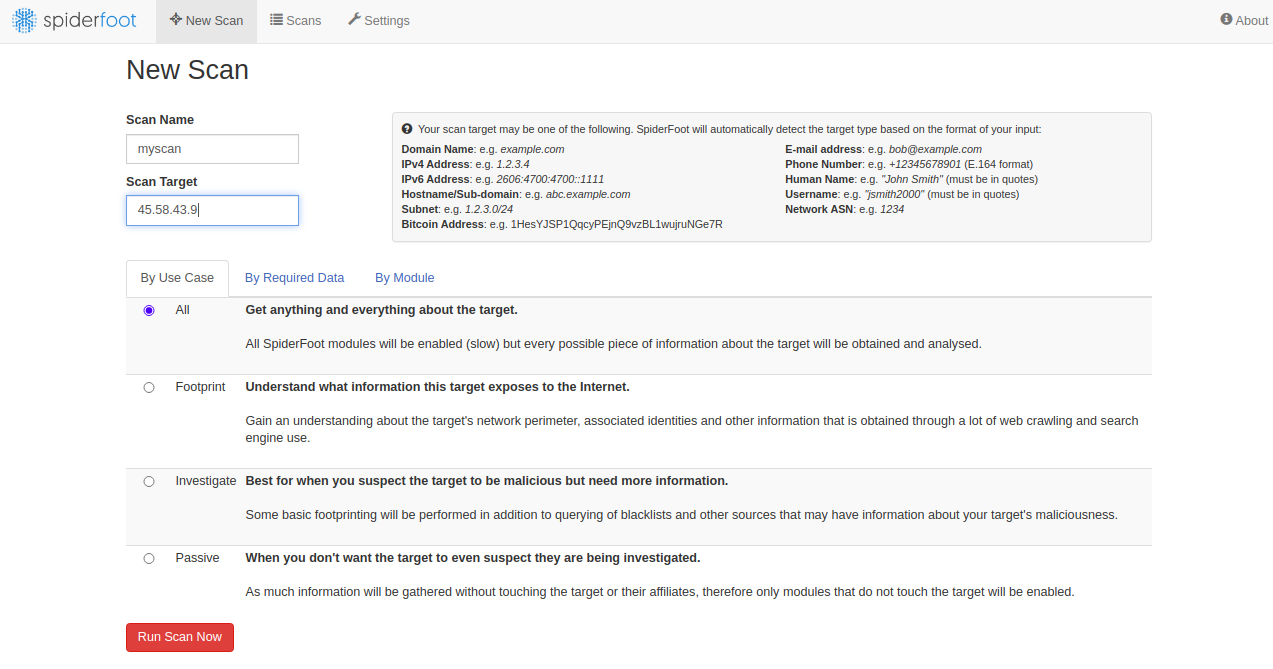
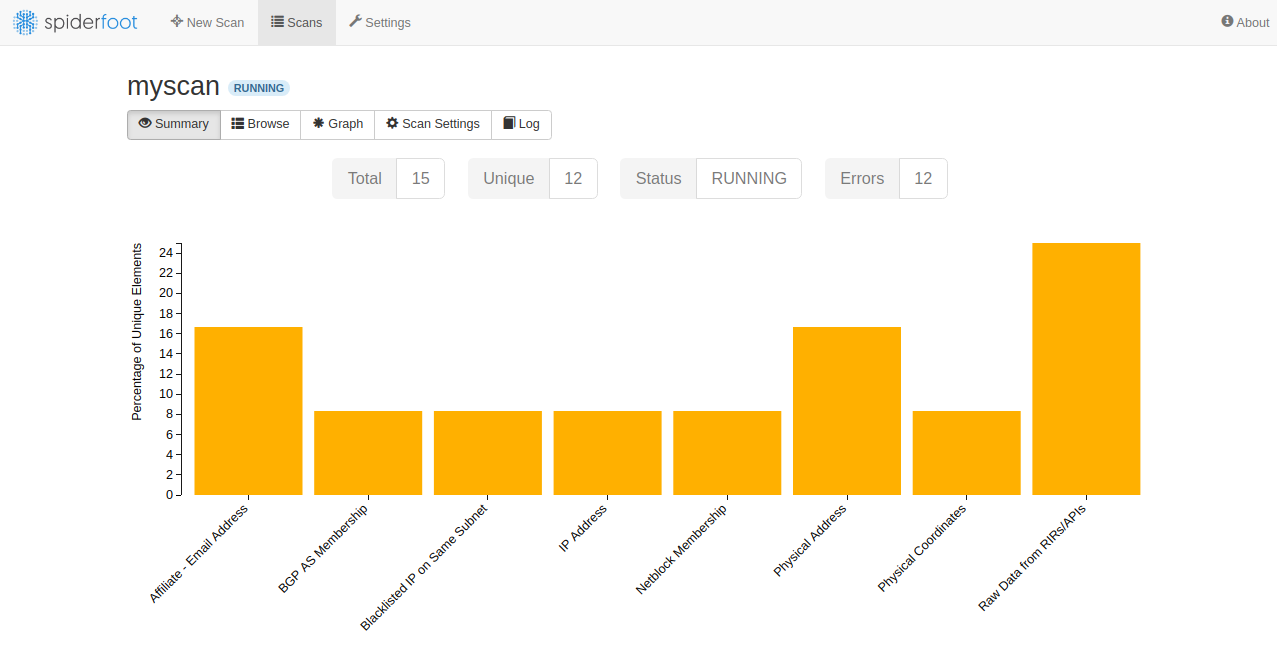
Enter the target server IP and click Run Scan Now:
Conclusion
You’ve successfully installed SpiderFoot on Ubuntu 20.04. You can now perform vulnerability scans using the SpiderFoot dashboard. Feel free to reach out if you have questions.
Frequently Asked Questions
- What is SpiderFoot used for? SpiderFoot is used for open-source intelligence (OSINT) gathering and vulnerability assessment.
- Is SpiderFoot free? Yes, SpiderFoot is open-source and free to use.
- Can SpiderFoot run on systems other than Ubuntu? Yes, SpiderFoot is cross-platform and can run on various Linux distributions and Windows.
- How can I secure my SpiderFoot instance? Enable authentication using a passwd file as described in this guide, and consider further securing your instance as per SpiderFoot’s documentation.
