Splunk is a robust data analytics platform designed to search, monitor, and analyze machine-generated data via a web interface. It assists in indexing, examining, and visualizing large data streams in real-time from various sources like applications, web servers, databases, server platforms, and cloud networks.
Main Components of Splunk
- Splunk Forwarder: Used for collecting logs.
- Splunk Indexer: Handles parsing and indexing of data.
- Splunk Search Head: Offers a web interface for searching, analyzing, and generating reports.
This guide will walk you through the process of installing Splunk on an Ubuntu 18.04 LTS (Bionic Beaver) server.
Requirements
- An Ubuntu 18.04 server setup.
- A non-root user with
sudoprivileges.
Installing Splunk
Splunk supports various operating systems including Windows, Linux, FreeBSD, macOS, Solaris, and AIX. You can download the latest version from the official Splunk website, or use the command below:
wget https://download.splunk.com/products/splunk/releases/7.1.1/linux/splunk-7.1.1-8f0ead9ec3db-linux-2.6-amd64.deb
After downloading, install Splunk using:
sudo dpkg -i splunk-7.1.1-8f0ead9ec3db-linux-2.6-amd64.deb
Upon successful installation, you will see an output like this:
(Reading database ... 218552 files and directories currently installed.)
Preparing to unpack splunk-7.1.1-8f0ead9ec3db-linux-2.6-amd64.deb ...
Unpacking splunk (7.1.1) over (7.1.1) ...
Setting up splunk (7.1.1) ...
complete
To ensure Splunk starts on boot, enable the Splunk service:
sudo /opt/splunk/bin/splunk enable boot-start
You will need to agree to the License Agreement and set an admin password:
Splunk Software License Agreement 04.24.2018

Do you agree with this license? [y/n]: y

This appears to be your first time running this version of Splunk.

An Admin password must be set before installation proceeds.
Password must contain at least:
   * 8 total printable ASCII character(s).
Please enter a new password:
Please confirm new password:
Copying '/opt/splunk/etc/openldap/ldap.conf.default' to '/opt/splunk/etc/openldap/ldap.conf'.
Generating RSA private key, 2048 bit long modulus
..................+++
..............................................................................+++
e is 65537 (0x10001)
writing RSA key

Generating RSA private key, 2048 bit long modulus
.............+++
...................................+++
e is 65537 (0x10001)
writing RSA key

Moving '/opt/splunk/share/splunk/search_mrsparkle/modules.new' to '/opt/splunk/share/splunk/search_mrsparkle/modules'.
Adding system startup for /etc/init.d/splunk ...
/etc/rc0.d/K20splunk -> ../init.d/splunk
/etc/rc1.d/K20splunk -> ../init.d/splunk
/etc/rc6.d/K20splunk -> ../init.d/splunk
/etc/rc2.d/S20splunk -> ../init.d/splunk
/etc/rc3.d/S20splunk -> ../init.d/splunk
/etc/rc4.d/S20splunk -> ../init.d/splunk
/etc/rc5.d/S20splunk -> ../init.d/splunk
Init script installed at /etc/init.d/splunk.
Init script is configured to run at boot.
Start the Splunk service:
sudo service splunk start
The following output will confirm the service initiation:
Starting splunk server daemon (splunkd)...
Generating a 2048 bit RSA private key
............+++
............................................................................................................................................+++
writing new private key to 'privKeySecure.pem'
-----
Signature ok
subject=/CN=Node3/O=SplunkUser
Getting CA Private Key
unable to write 'random state'
writing RSA key
Done

Waiting for web server at http://127.0.0.1:8000 to be available........ Done

If you get stuck, we're here to help.
Look for answers here: http://docs.splunk.com

The Splunk web interface is at http://Node3:8000
Accessing the Splunk Web Interface
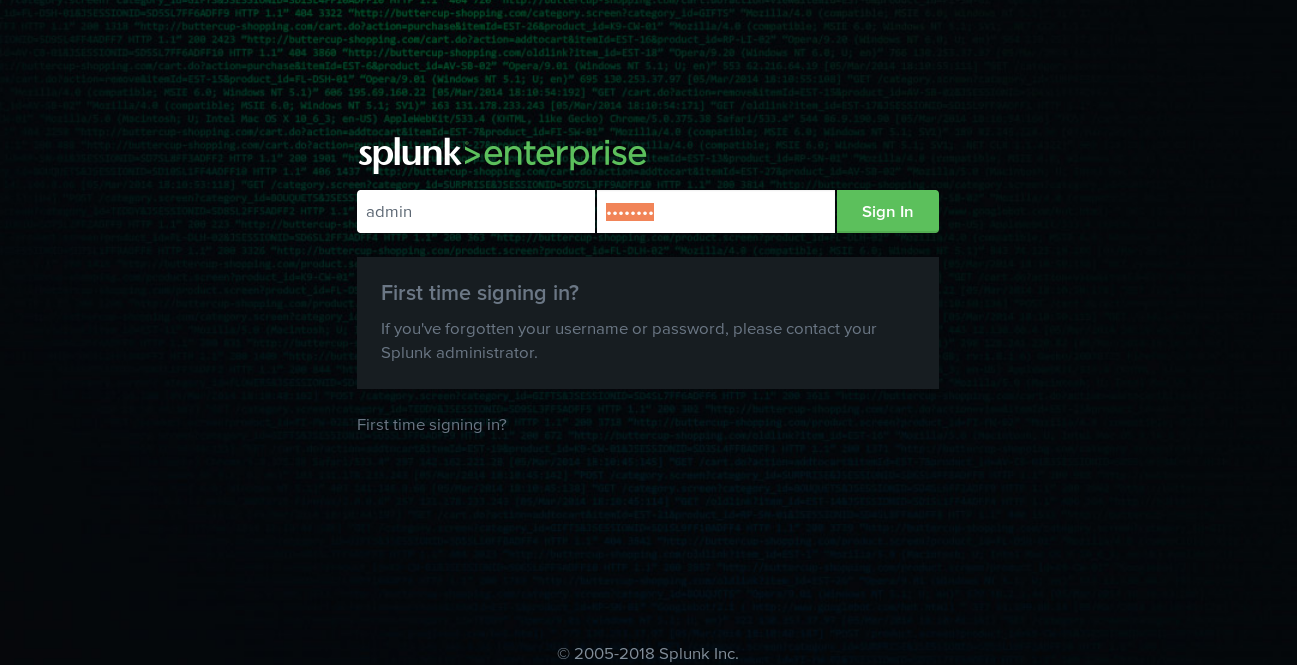
With the Splunk server running on port 8000, open your web browser and navigate to http://your-server-ip:8000. You will be directed to the login page:

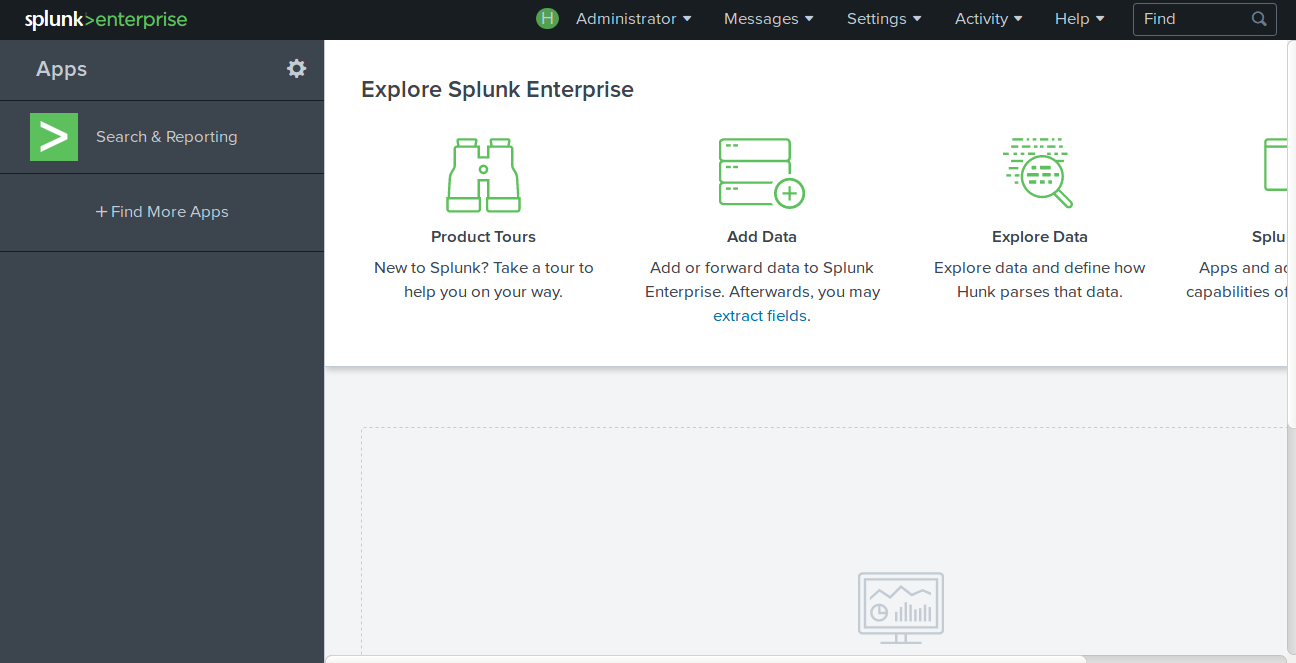
Enter your admin credentials and click on Sign In to access the Splunk dashboard:

Helpful Links
FAQ
What is Splunk used for?
Splunk is used for searching, monitoring, and analyzing machine-generated data. It offers real-time data indexing, exploration, and visualization from a variety of sources.
Can Splunk be installed on other operating systems?
Yes, Splunk supports multiple operating systems including Windows, Linux, FreeBSD, macOS, Solaris, and AIX.
How can I access the Splunk web interface?
Once Splunk is running, you can access the web interface by visiting http://your-server-ip:8000 in your browser and logging in with your admin credentials.