Syncthing is a secure and open-source file synchronization program available on multiple platforms, including Windows, macOS, Linux, Android, Solaris, Darwin, and BSD. As a decentralized and peer-to-peer (P2P) file synchronization tool, Syncthing allows you to sync files between devices whether on a local network or over the internet.
In this tutorial, you’ll learn how to install Syncthing on Ubuntu 22.04 servers, establish connections between instances, set up directory synchronization, and verify the synchronization process.
Prerequisites
Before you begin, ensure you have:
- Two Ubuntu 22.04 machines; here, we’ll refer to them as server1 and server2.
- A non-root user with administrative privileges on both servers.
Adding the Syncthing Repository
Syncthing can be installed via multiple methods. In this tutorial, you will use APT by adding the official repository to both Ubuntu systems.
Start by installing essential packages on your Ubuntu systems:
sudo apt install gnupg2 curl apt-transport-https -y
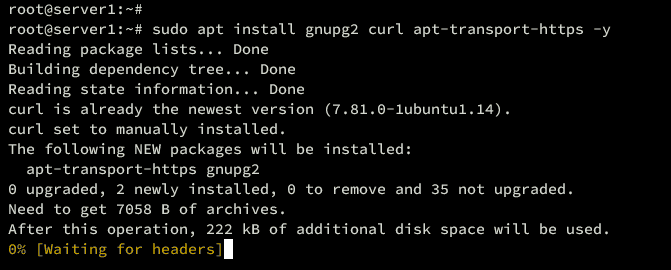
Next, add the Syncthing GPG key and repository to each Ubuntu system. This ensures you install the latest release of Syncthing:
curl -fsSL https://syncthing.net/release-key.txt | \
sudo gpg --dearmor -o /etc/apt/trusted.gpg.d/syncthing.gpg
echo “deb https://apt.syncthing.net/ syncthing release” | \
sudo tee /etc/apt/sources.list.d/syncthing.list

Refresh your Ubuntu repository with this command:
sudo apt update
Upon updating, the Syncthing repository should be visible.

Installing Syncthing
With the Syncthing repository added, proceed to install it on both systems. You’ll also configure Syncthing to run as a systemd service.
Install Syncthing by executing the following command. Confirm by typing ‘y’:
sudo apt install syncthing

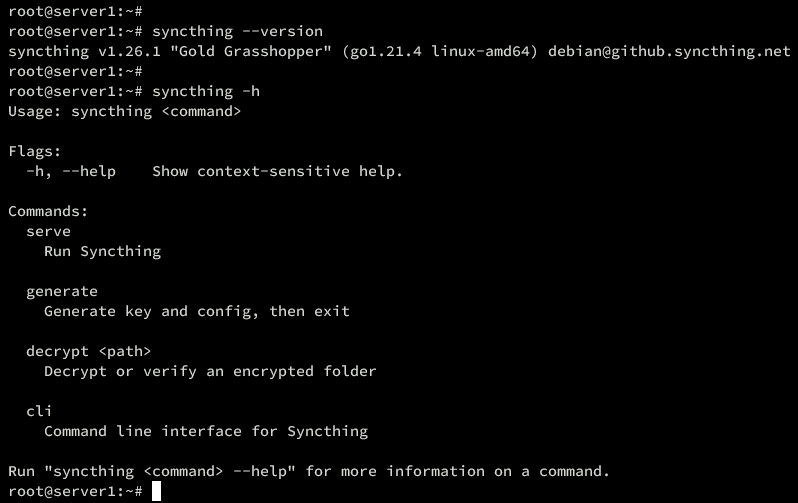
Verify the installation by checking the Syncthing version:
syncthing --version
syncthing -h
Your output should confirm Syncthing version 1.26 or later is installed.
Start Syncthing for individual users. In this example, user alice on server1 and user bob on server2 will be utilized.
Switch to user alice:
su - alice
Start and enable the Syncthing service for alice:
sudo systemctl start syncthing@alice.service
sudo systemctl enable syncthing@alice.service

Ensure the Syncthing service is operational:
sudo systemctl status syncthing@alice.service
If running properly, the Syncthing service for alice should be active on both servers.

Setting Up the Firewall
Enable UFW (Uncomplicated Firewall) to secure your setup. Syncthing provides UFW profiles for straightforward configuration.
Add syncthing and syncthing-gui profiles to UFW:
sudo ufw allow syncthing
sudo ufw allow syncthing-gui
Include the OpenSSH profile, then enable UFW:
sudo ufw allow OpenSSH
sudo ufw enable
An output confirming your changes will appear:

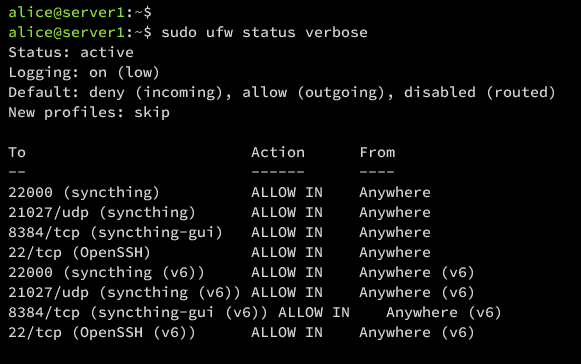
Verify enabled UFW rules:
sudo ufw status verbose
Ensure both Syncthing profiles are listed.
Initializing Syncthing Instances
Now, configure Syncthing to run on a local IP address with HTTPS enabled and set up user authentication.
Switch Syncthing to your local IP by editing ~/.config/syncthing/conf.xml:
nano ~/.config/syncthing/conf.xml
Update the <gui> section to use your local IP:
    <gui enabled="true" tls="true" debugging="false" sendBasicAuthPrompt="false">
        <address>192.168.5.30:8384</address>
        <apikey>GENERATED-API-KEY</apikey>
        <theme>default</theme>
    </gui>
Save, close, and restart Syncthing:
sudo systemctl restart syncthing@alice.service
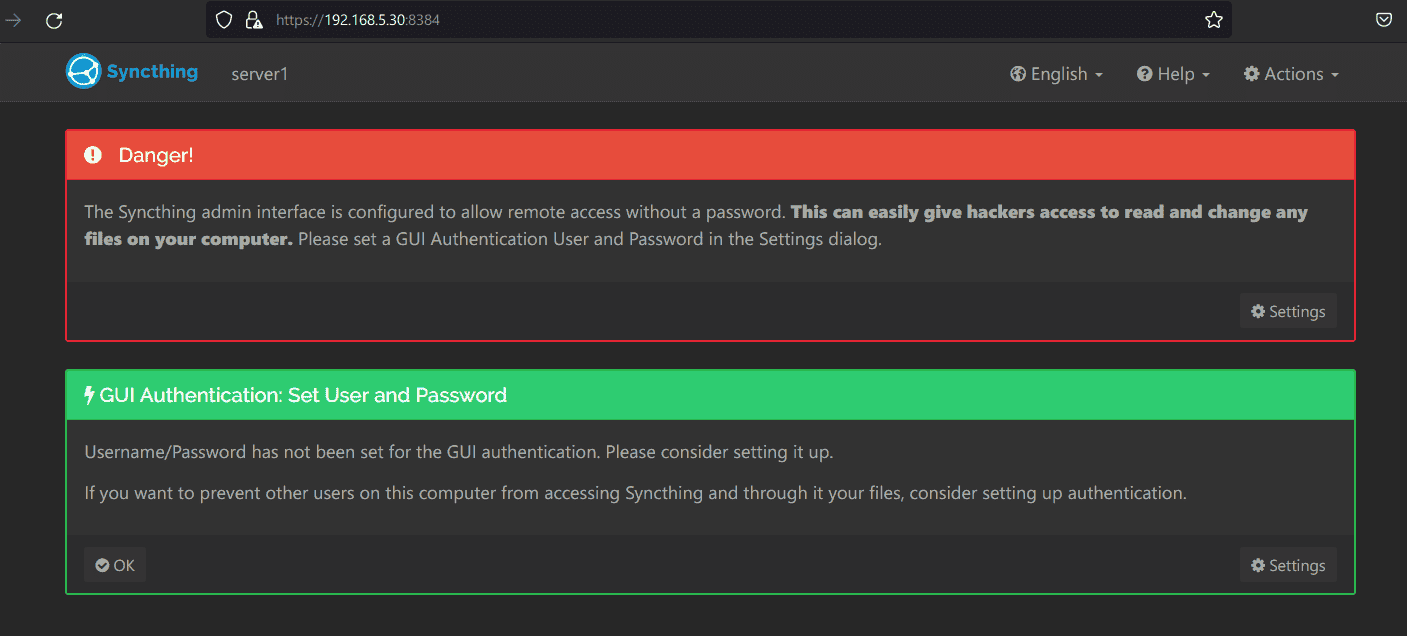
To configure Syncthing, navigate to https://192.168.5.30:8384/ in your browser.
On loading, click Settings:
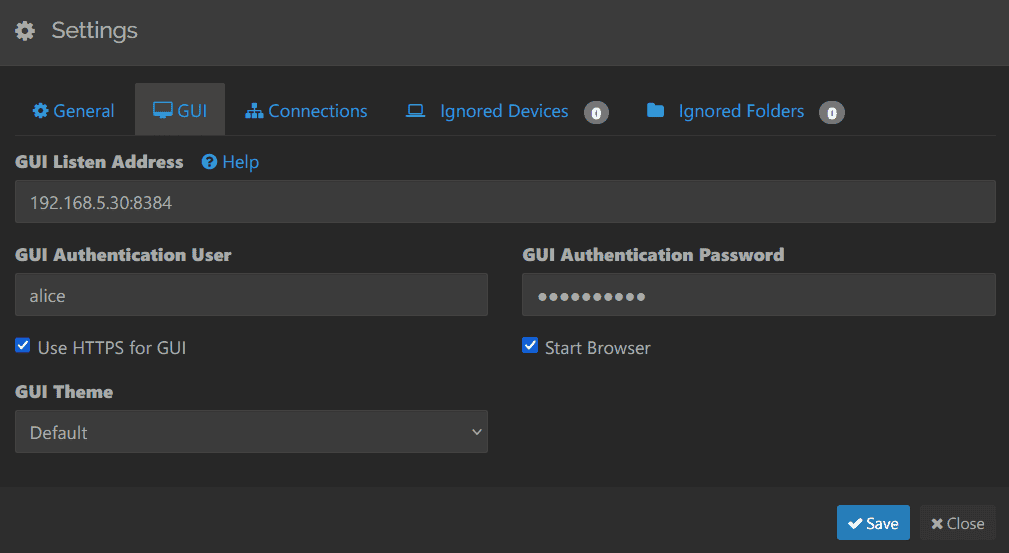
Under GUI, set your username and password, then save changes:
Authenticate using your new credentials:

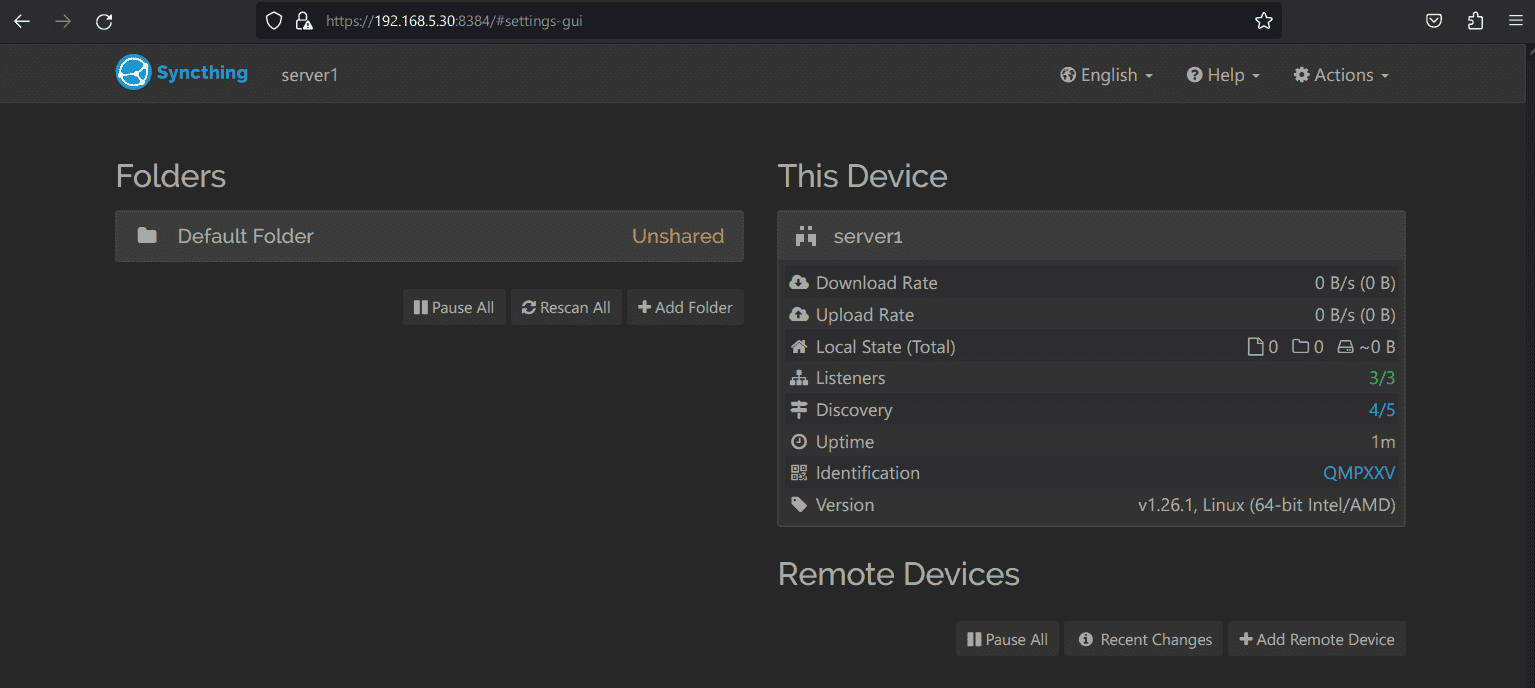
With valid credentials, access the syncthing dashboard:
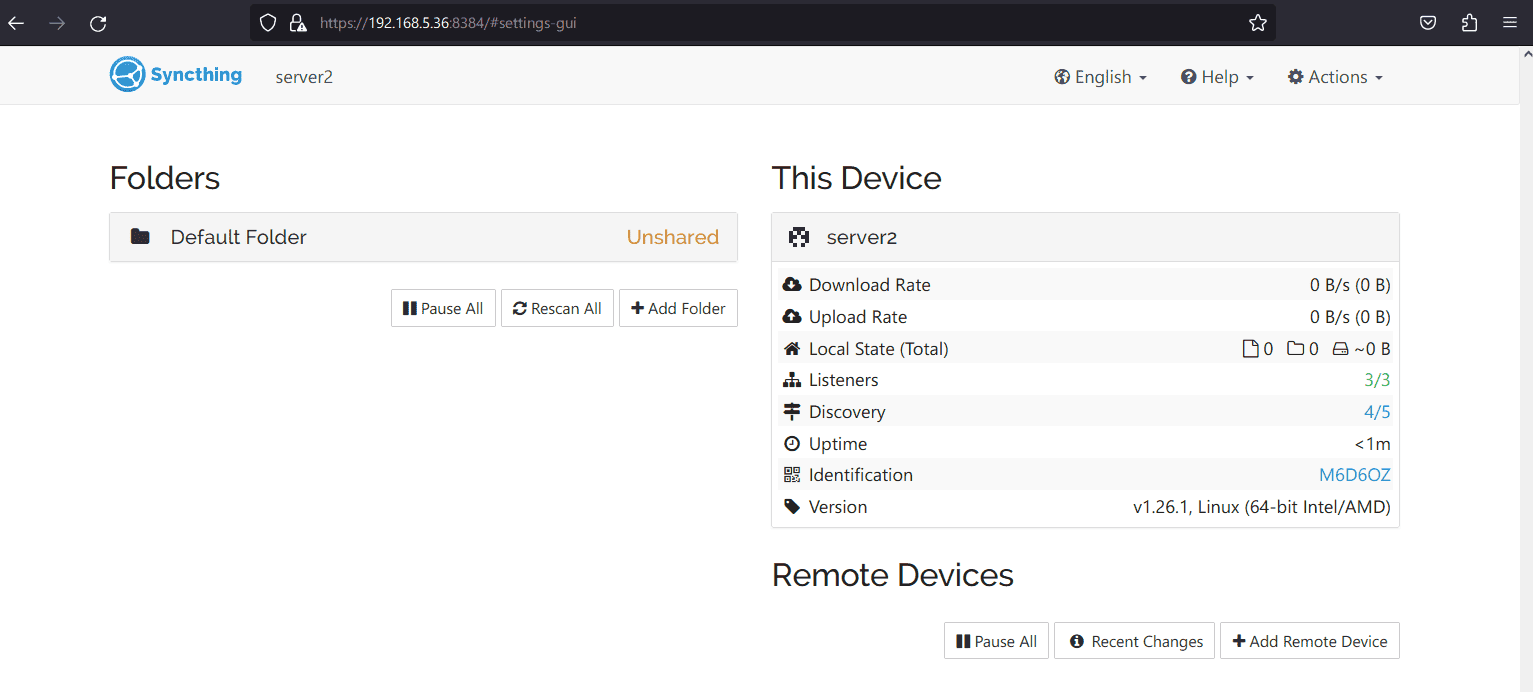
The dashboard for server2 after setup:
Connecting Two Syncthing Instances
To sync files between the two machines, connect the instances through GUI verification.
On server1, click Action at the top right, then select Show ID:
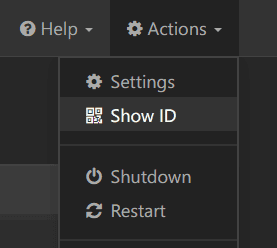
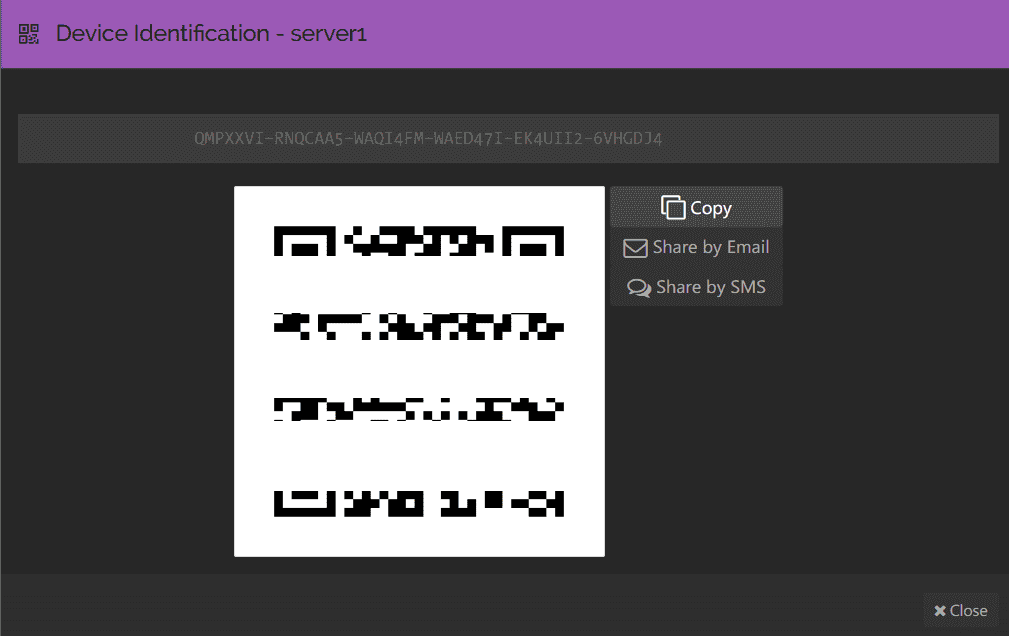
Copy the device ID of server1. This ID is auto-generated by Syncthing. Additionally, QR codes can connect different Syncthing devices, such as computers and phones.
On server2, click Add Remote Device to establish a new connection:

Input server1’s device ID, name it as server1, and save the details.
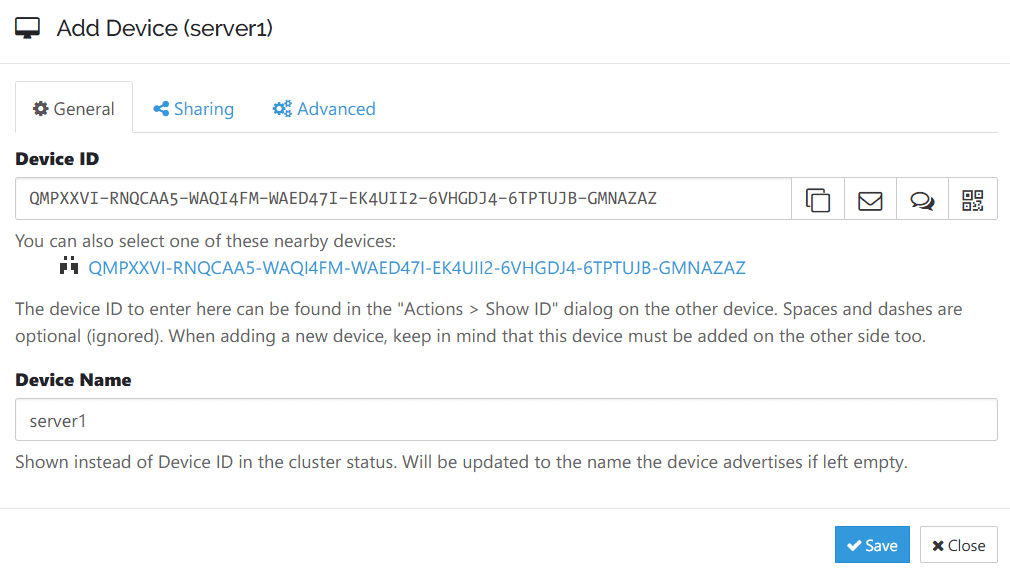
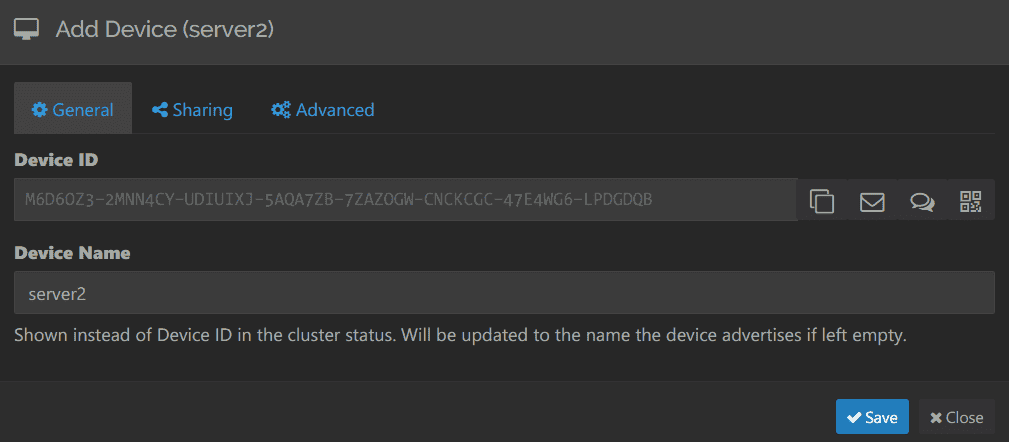
Back on the server1 dashboard, Syncthing will prompt you with server2’s connection attempt. Confirm by adding server2.

Verify server2’s device ID and save.
On the dashboard, under Remote Devices, server2 should now be Connected.
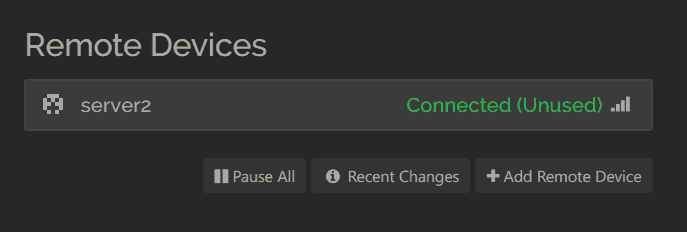
Similarly, server2’s dashboard should display server1 as Connected.

Synchronizing Directories with Syncthing
Both server1 and server2 are now connected. Let’s share a directory/folder and sync files.
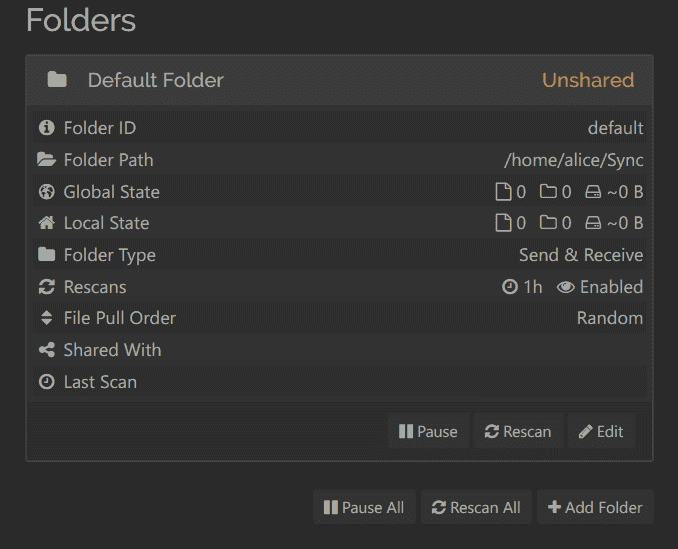
On server1’s dashboard, examine the Folders section. You’ll find the Default Folder path as /home/alice/Sync with an Unshared status:
Click Edit to share this folder:
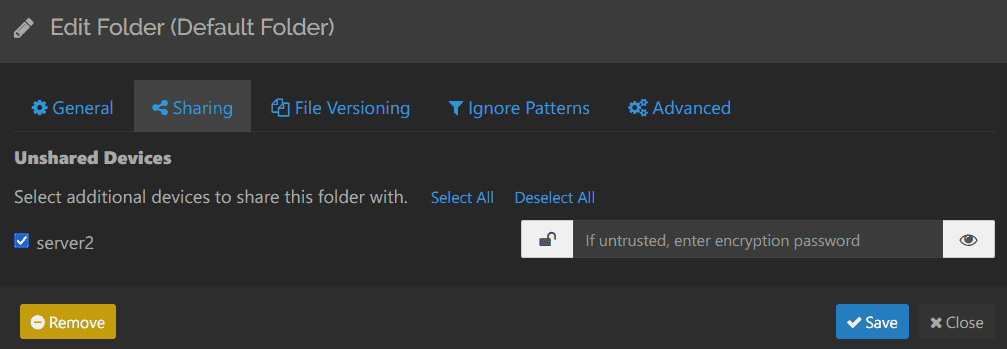
- In the Sharing tab, select server2 to share with the connected instance.
- Under File Versioning, choose your versioning method and set the desired version count.
Click Save to apply the changes.
On the server2 dashboard, you’ll see a notification from server1 about the shared Default Folder. Confirm with Share.

Once shared, the Default Folder should reflect the changes:
On server1’s Default Folder section, confirm the Shared With value is server2:
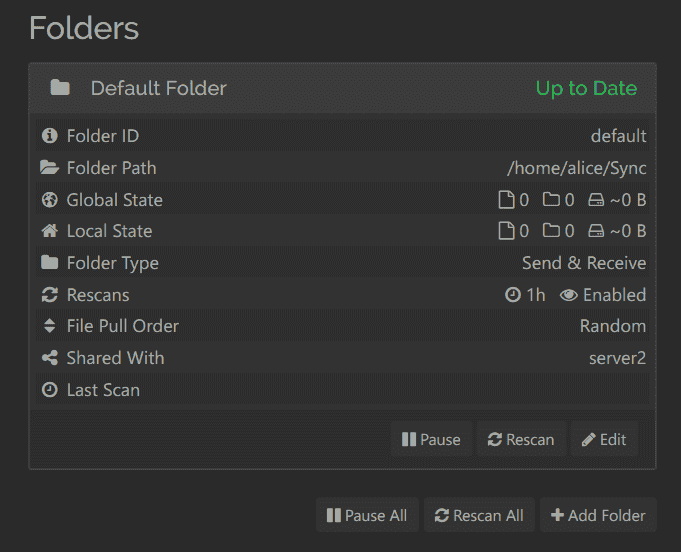
The server2 interface should similarly show the Default Folder and Shared With server1.
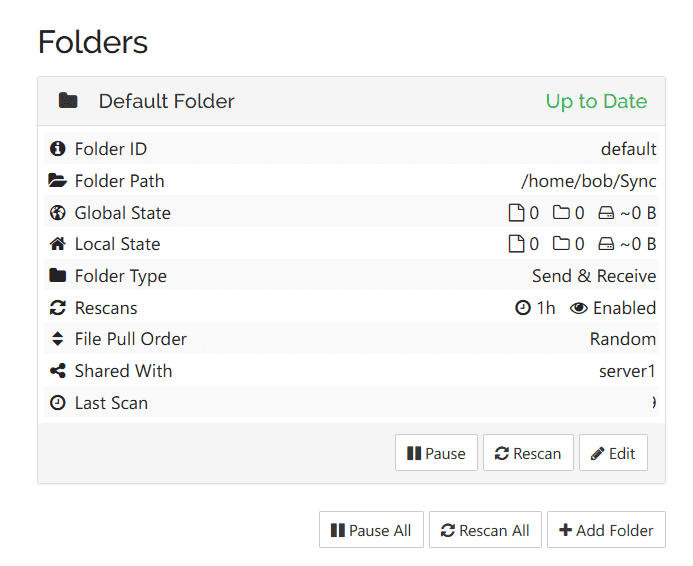
File Synchronization Between Syncthing Instances
Now that the shared directory is configured, test it by creating new files on server1 and ensuring they appear on server2:
On server1, navigate to the Sync directory and create files:
cd ~/Sync/
touch {1..20}.txt

Switch to server2, access the Sync directory, and check the files:
cd ~/Sync/
ls -ah
If the .txt files appear, synchronization is successful.

You can now create and share additional directories between Syncthing instances and even add more devices.
Conclusion
Congratulations! You’ve successfully installed Syncthing on Ubuntu 22.04 servers. This guide also covered securing Syncthing with UFW, connecting instances, configuring shared folders, and verifying synchronization.
For future enhancements, feel free to add new devices to your Syncthing setup and organize shared folders to access files across multiple devices.
FAQ
1. What is Syncthing?
Syncthing is an open-source file synchronization tool that allows you to sync files between devices over a local network or the internet, without relying on a centralized server.
2. Is Syncthing secure?
Yes, Syncthing uses secure communication protocols with end-to-end encryption, ensuring data privacy and integrity during transmission.
3. Can I use Syncthing with devices running different operating systems?
Absolutely! Syncthing supports multiple platforms, including Windows, macOS, Linux, Android, Solaris, Darwin, and BSD, enabling cross-platform file synchronization.
4. How can I ensure my Syncthing setup is secure?
Enable UFW or another firewall to manage network access and keep Syncthing up to date to benefit from security patches. Additionally, enable the GUI’s TLS and password protection features.
5. What should I do if synchronization isn’t working properly?
Check network connectivity, firewall rules, and make sure both instances are configured correctly with matching folder paths and permissions. Logs and GUI status checks can provide further insight into any issues.
