TYPO3 is a robust, free, and open-source enterprise-grade content management system offering features such as scalability, multisite support, multilingual installations, and enhanced security. Its adaptable and decoupled architecture, backed by a strong professional community, makes it an ideal choice for creating flexible and reliable websites.
This comprehensive guide will walk you through installing TYPO3 CMS on a Rocky Linux 9 server using the httpd web server, MariaDB database, and PHP 8.0. You’ll also learn how to secure your TYPO3 deployment with HTTPS using Certbot and Let’s Encrypt.
Prerequisites
Before starting the installation, ensure you have the following:
- A Rocky Linux 9 server with the hostname ‘TYPO3-Rock’.
- A non-root user with sudo/root privileges.
- An SELinux set to permissive mode.
- A domain name pointed to your server’s IP address – using ‘howtoforge.local‘ in this guide.
Step 1: Installing the httpd Web Server
TYPO3 is primarily a PHP-based CMS that can run on various web servers. Here, we will use the httpd web server. Firstly, add the EPEL repository required for additional packages:
sudo dnf install epel-release
Next, install the httpd web server:
sudo dnf install httpd
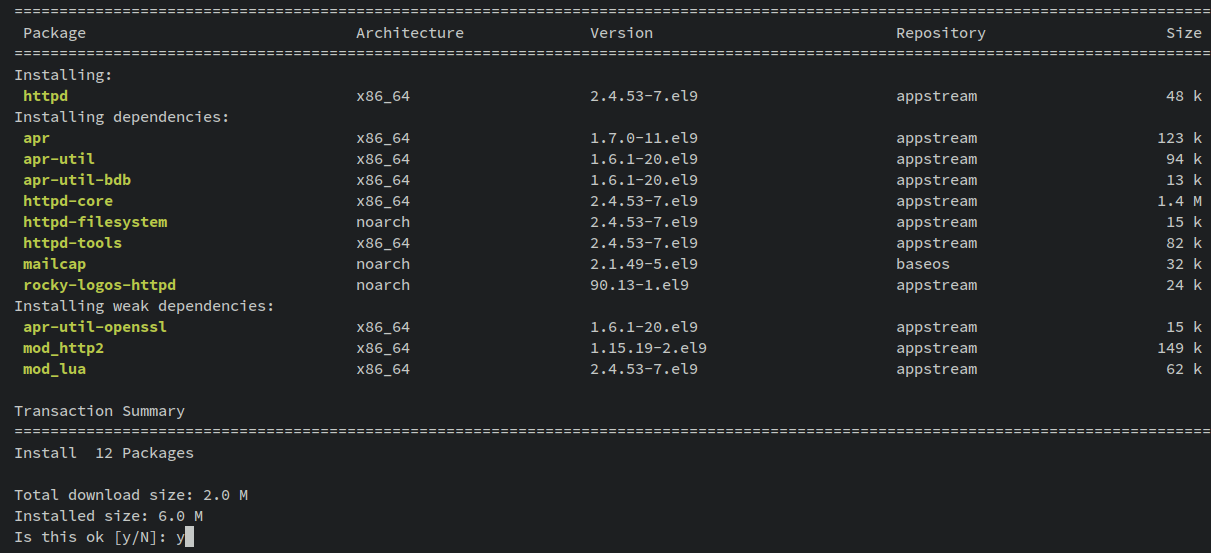
Activate and enable the httpd web server to start on boot:
        sudo systemctl start httpd
        sudo systemctl enable httpd
Verify the httpd’s status:
        sudo systemctl is-enabled httpd
        sudo systemctl status httpd

Configuring Firewall
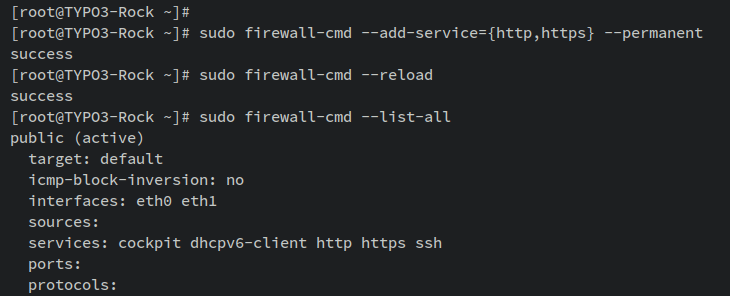
For accessing the httpd installation, open HTTP and HTTPS protocols using firewalld:
        sudo firewall-cmd --add-service={http,https} --permanent
        sudo firewall-cmd --reload
Verify the firewall rules:
sudo firewall-cmd --list-all
Step 2: Installing MariaDB Server
To store TYPO3 data, install and secure MariaDB:
sudo dnf install mariadb-server
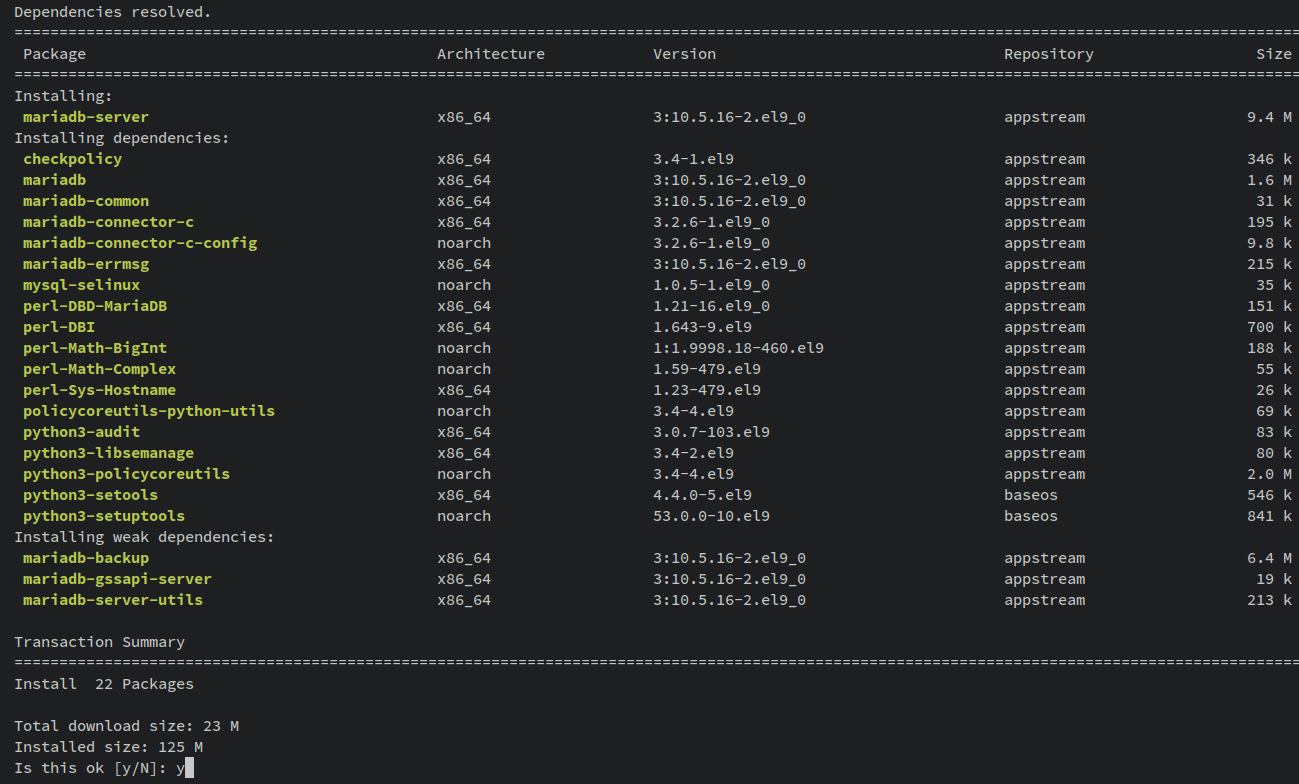
Start and enable MariaDB to ensure it runs at boot:
        sudo systemctl start mariadb
        sudo systemctl enable mariadb
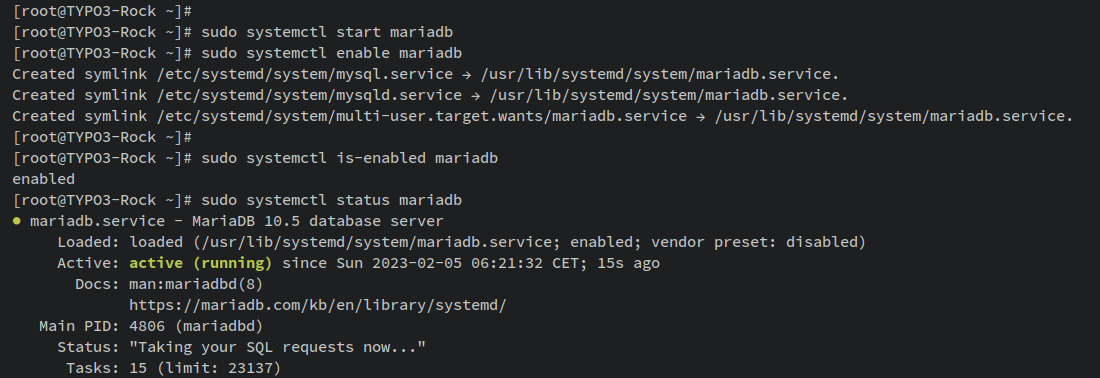
Verify MariaDB’s status:
        sudo systemctl is-enabled mariadb
        sudo systemctl status mariadb
Securing MariaDB
Run the MariaDB secure installation:
sudo mariadb-secure-installation
Configure as follows:
- Change auth to unix_socket? No.
- Change root password? Yes + new password twice.
- Disable remote root login? Yes.
- Remove anonymous users? Yes.
- Remove test database? Yes.
- Reload privileges? Yes.
Step 3: Creating MariaDB Database and User
Create a new database and user for TYPO3:
sudo mariadb -u root -p
        CREATE DATABASE typo3db CHARACTER SET utf8mb4 COLLATE utf8mb4_unicode_ci;
        GRANT ALL PRIVILEGES ON typo3db.* TO typo3@localhost IDENTIFIED BY 'typo3password';
        FLUSH PRIVILEGES;

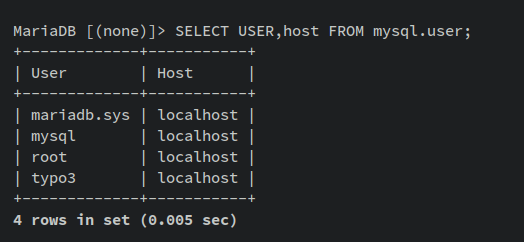
Verify database user:
SELECT USER,host FROM mysql.user;
Ensure user privileges:
SHOW GRANTS FOR typo3@localhost;

Step 4: Installing PHP 8.0
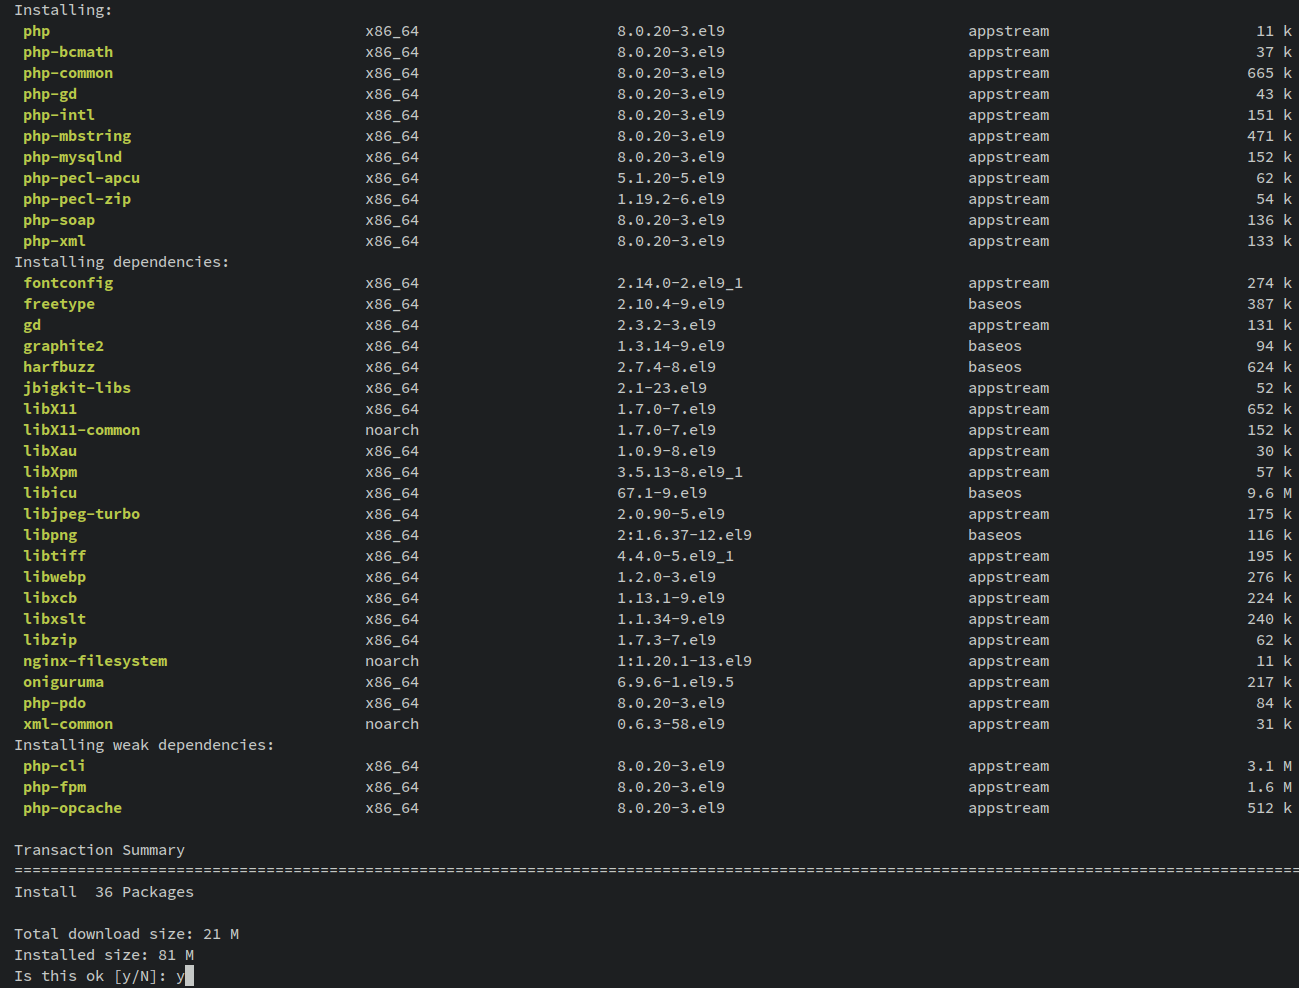
Install PHP 8.0, required by TYPO3:
sudo dnf install php php-common php-mysqlnd php-gd php-curl php-json php-intl php-bcmath php-zip php-apcu php-mbstring php-fileinfo php-xml php-soap
Edit PHP configurations for TYPO3:
sudo nano /etc/php.ini
        memory_limit = 512M
        max_execution_time = 300
        max_input_vars = 2000

        date.timezone = Europe/Stockholm

        post_max_size = 30M
        upload_max_filesize = 30M
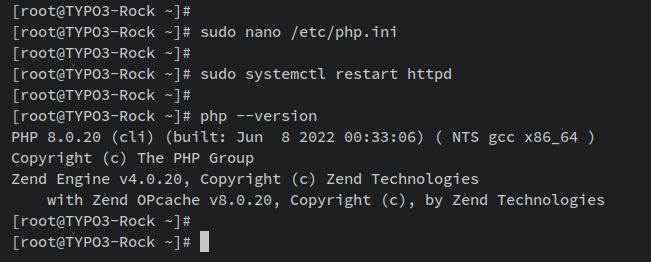
Restart httpd to apply changes:
sudo systemctl restart httpd
Verify PHP version:
php --version
Step 5: Installing Composer
Install Composer to manage PHP dependencies:
sudo dnf install composer

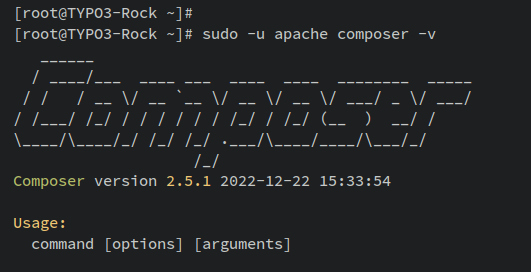
Verify Composer installation:
sudo -u apache composer -V
Step 6: Installing Certbot
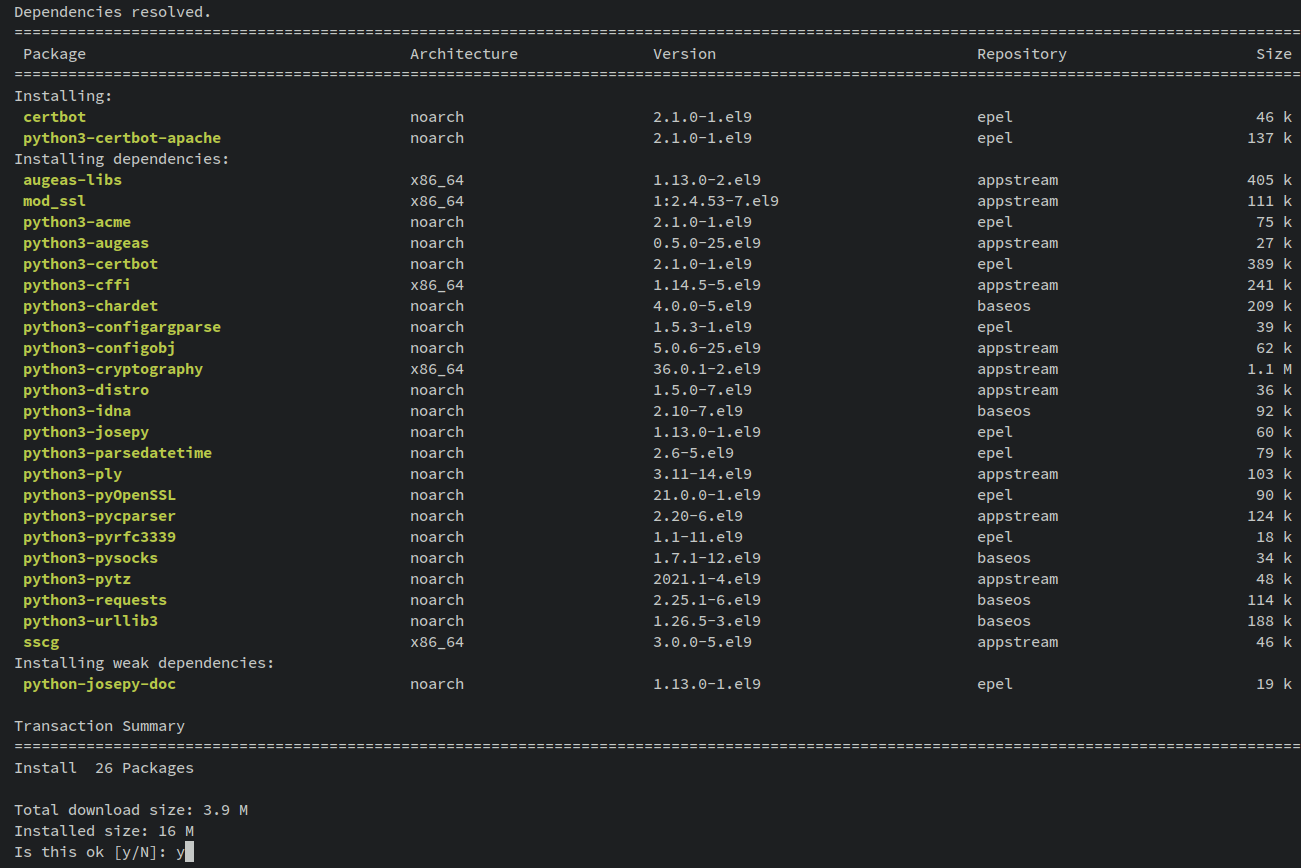
To generate SSL certificates, install Certbot:
sudo dnf install certbot python3-certbot-apache
Verify Certbot installation:
        which certbot
        certbot --version

Step 7: Downloading TYPO3 CMS Source Code
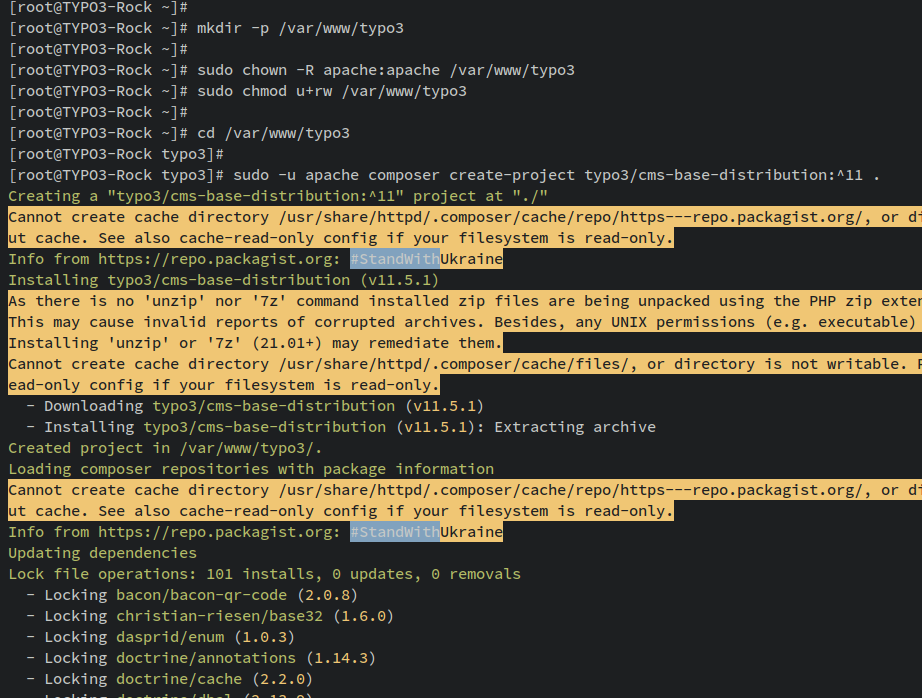
Create the installation directory and download TYPO3:
        mkdir -p /var/www/typo3
        sudo chown -R apache:apache /var/www/typo3
        sudo chmod u+rw /var/www/typo3
        cd /var/www/typo3
        sudo -u apache composer create-project typo3/cms-base-distribution:^11 .
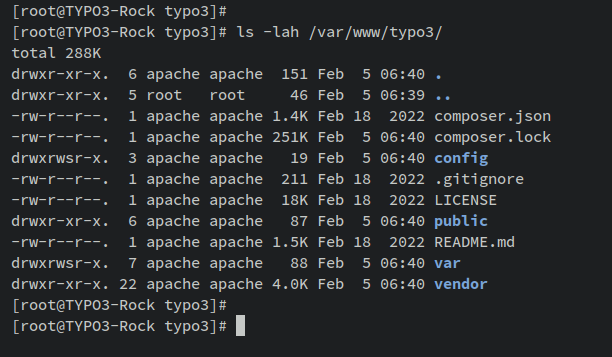
Verify source code download:
ls -lah /var/www/typo3
Step 8: Setting up httpd Virtual Host
Create and configure a new virtual host for TYPO3:
sudo nano /etc/httpd/conf.d/typo3.conf
        <VirtualHost *:80>
            ServerAdmin admin@howtoforge.local
            DocumentRoot /var/www/typo3/public
            ServerName howtoforge.local

            Protocols h2 http/1.1

            <Directory /var/www/typo3/public/>
                Options FollowSymlinks
                AllowOverride All
                Require all granted
            </Directory>

            ErrorLog /var/log/httpd/typo3-error.log
            CustomLog /var/log/httpd/typo3-access.log combined

            <Directory /var/www/typo3/public/>
                RewriteEngine on
                RewriteBase /
                RewriteCond %{REQUEST_FILENAME} !-f
                RewriteRule ^(.*) index.php [PT,L]
            </Directory>
        </VirtualHost>
Verify httpd configuration syntax:
sudo apachectl configtest
Restart httpd to apply changes:
sudo systemctl restart httpd
Generating SSL/TLS Certificates
Generate SSL certificates with Certbot:
sudo certbot --apache --agree-tos --no-eff-email --redirect --hsts --staple-ocsp --email alice@howtoforge.local -d howtoforge.local
Your SSL/TLS certificates can now be found in ‘/etc/letsencrypt/live/yourdomain.com/‘, and your configuration will auto-redirect HTTP to HTTPS.
Step 9: Starting TYPO3 Installation
Create a FIRST_INSTALL file to begin the TYPO3 setup:
sudo -u apache touch /var/www/typo3/public/FIRST_INSTALL
In your web browser, go to: https://howtoforge.local to begin the installer checks:
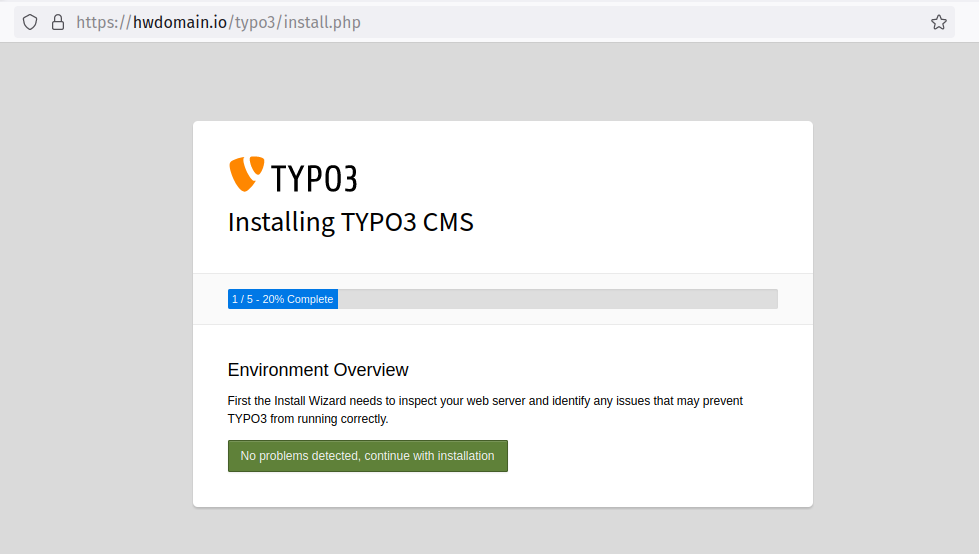
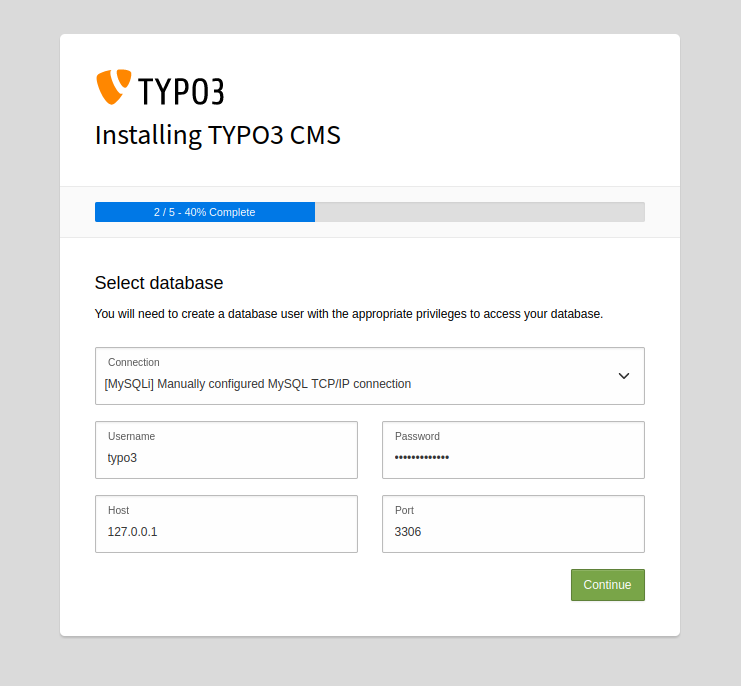
Enter your MariaDB user details:
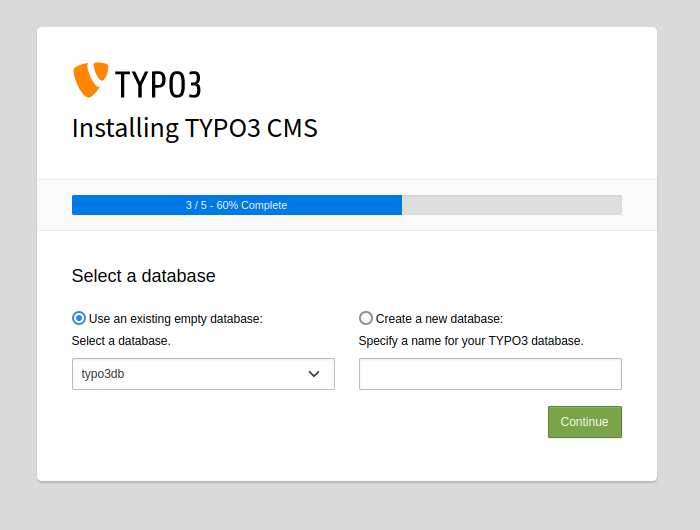
Select ‘Use an existing empty database‘ and choose ‘typo3db‘ from the dropdown menu:
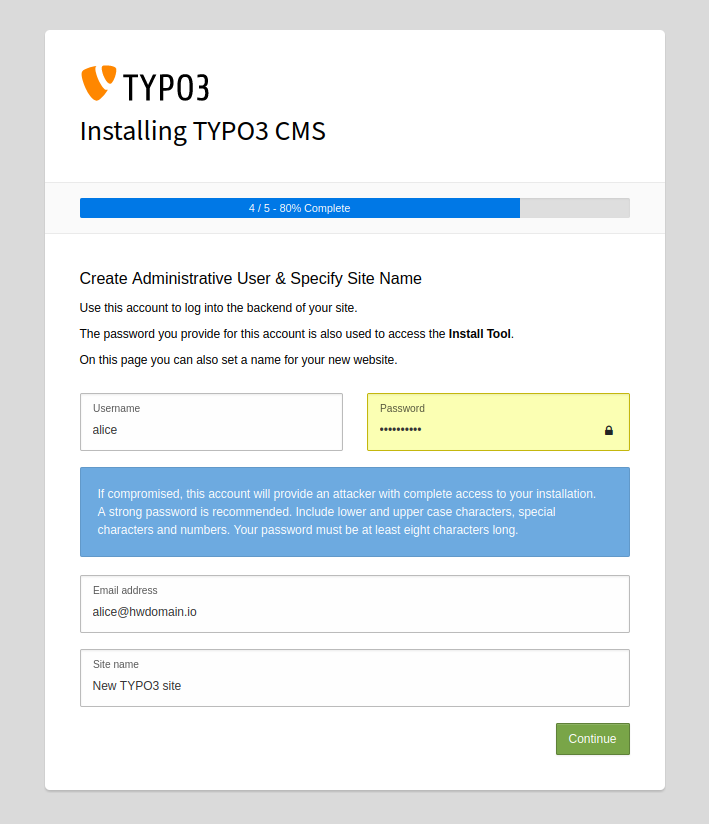
Enter admin user details:
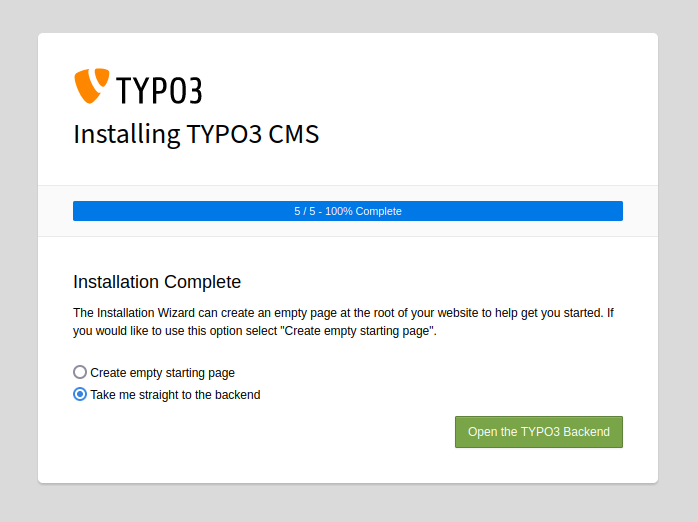
Upon completion, navigate to the back-end via the installation complete page:
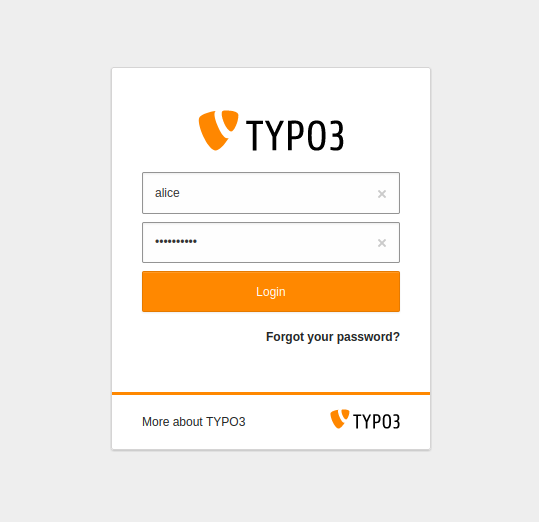
Log in with your admin credentials:
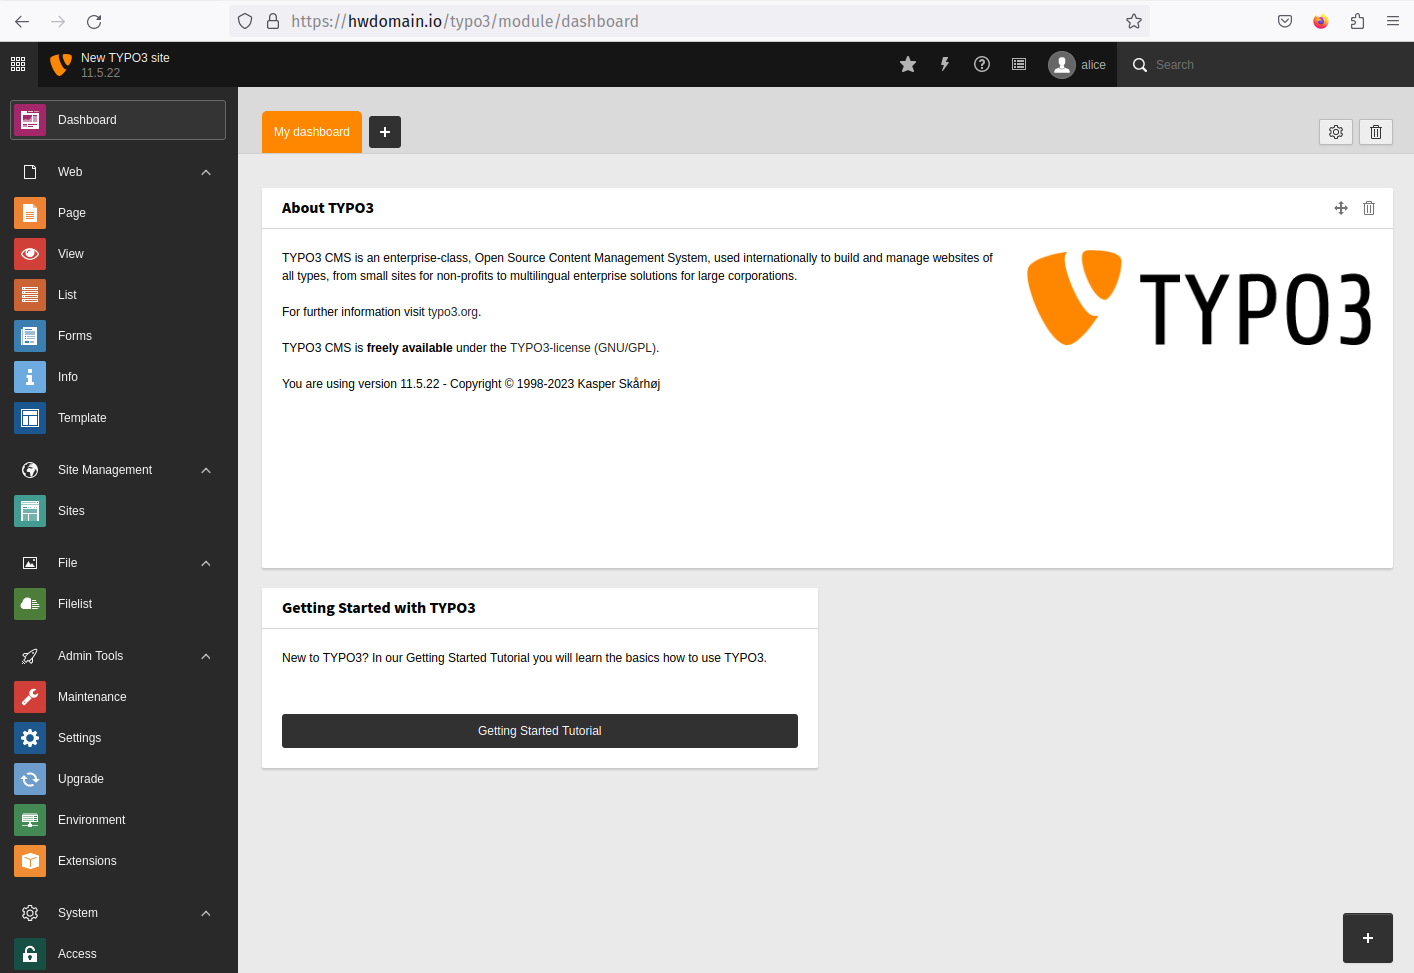
You should now be in the TYPO3 CMS administration dashboard:
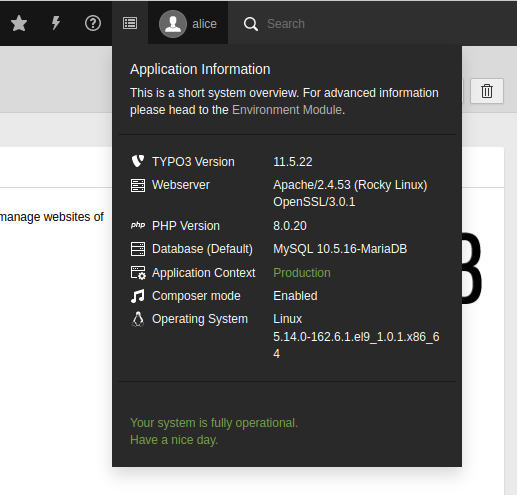
Confirm your installation summary from the application information menu:
Conclusion
In this guide, you installed TYPO3 CMS on Rocky Linux 9. You’ve set up an httpd web server, MariaDB for data management, and ensured security through SSL via Let’s Encrypt. You’re now equipped to start setting up your TYPO3 content by creating a site, adding users, and enabling multilingual functionality. For more, explore TYPO3’s official documentation.
FAQ
1. What is TYPO3 CMS?
TYPO3 is an open-source enterprise CMS offering extensive features suitable for scalable, multilingual, and secure websites.
2. Can I use a different web server for TYPO3?
Yes, TYPO3 can run on various web servers. This guide uses httpd, but you may opt for others like Nginx.
3. Why should I use Certbot for SSL certificates?
Certbot simplifies obtaining SSL certificates from Let’s Encrypt, enhancing your web application’s security with automated certificate issuance and renewal.
4. Do I need to use Composer to install TYPO3?
Yes, Composer is required for managing TYPO3 dependencies effectively and ensuring all necessary components are correctly installed.
5. Is it necessary to change PHP settings in the php.ini file?
Adjusting your PHP settings is crucial to optimize your server’s performance and ensure compatibility with TYPO3 requirements.
