Regularly backing up your live server is one of the most crucial tasks for any system administrator. It ensures data recovery in case of data loss or system failure. Numerous free and commercial backup solutions are available, but in this guide, we will focus on UrBackup.
UrBackup is an open-source client/server backup system for Linux operating systems. It supports both file and image backups on a live system without interrupting ongoing processes. Using a web-based interface to manage all backups, UrBackup is cross-platform and can be installed on Windows, FreeBSD, Linux, and many Linux-based NAS systems.
Features
UrBackup offers a wide range of features, including:
- Free and open-source
- Multi-platform compatibility
- Space-efficient storage
- Easy setup process
- Consistent backups even during usage
- Internet-based backups
Prerequisites
- Two servers running Ubuntu 20.04
- A root password configured on both servers
In this tutorial, we will guide you through installing the UrBackup server and client on Ubuntu 20.04.
Update the System
Before beginning any installation, it’s recommended to update all system packages on both the server and client machines. Run the following command to update:
apt-get update -y
Install other required dependencies with the following command:
apt-get install curl gnupg2 software-properties-common -y
Install UrBackup Server
UrBackup isn’t included in the default Ubuntu repositories, so you need to add the UrBackup repository:
add-apt-repository ppa:uroni/urbackup
After the repository is added, install the UrBackup server:
apt-get install urbackup-server -y
During installation, specify the backup location as prompted:

Specify your backup location and click “Ok” to complete the installation.
Start the UrBackup service and enable it to start automatically on boot:
systemctl start urbackupsrv
systemctl enable urbackupsrv
Verify the service status:
systemctl status urbackupsrv
The output should confirm the service is active:
? urbackupsrv.service - LSB: Server for doing backups
         Loaded: loaded (/etc/init.d/urbackupsrv; generated)
         Active: active (running) since DATE
By default, UrBackup listens on ports 55413 and 55414. Verify them with:
ss -antpl | grep urbackupsrv
Expected output:
LISTEN 0 4096 0.0.0.0:55413 0.0.0.0:*
Set proper ownership for the /mnt directory:
chown -R urbackupsrv:urbackupsrv /mnt
Access UrBackup Web Interface
Access the web interface using the URL http://your-server-ip:55414. You should see the following screen:
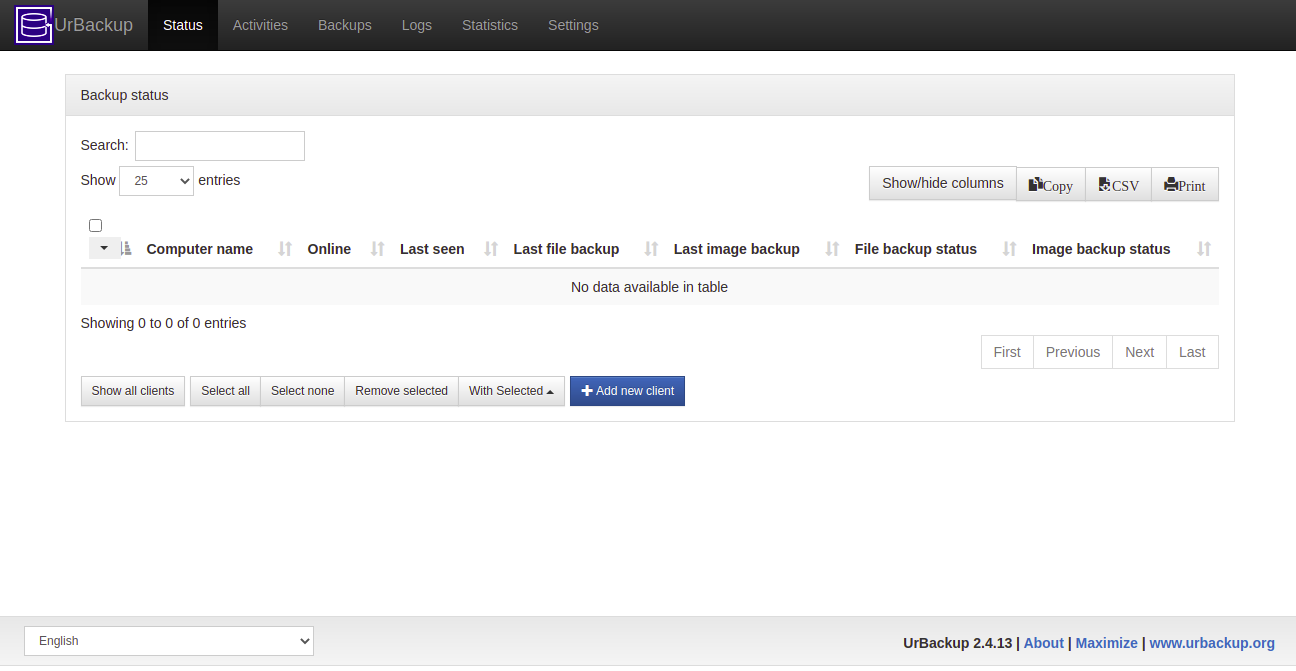
Navigate to the Settings tab:
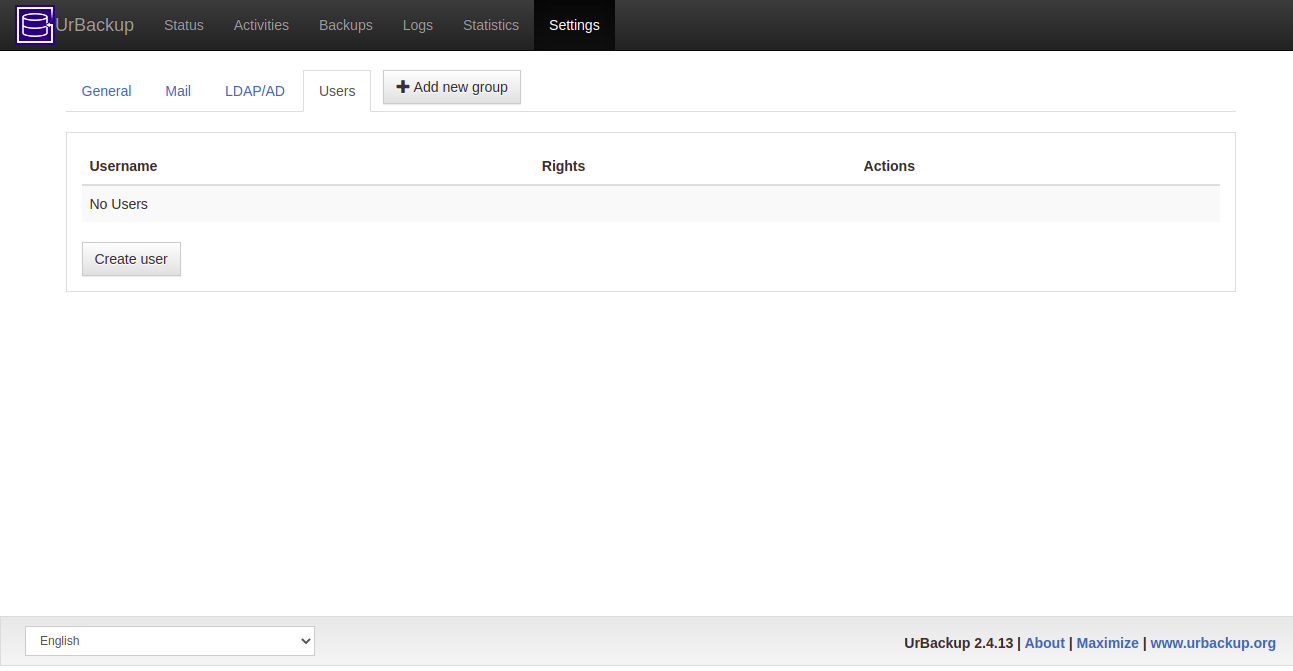
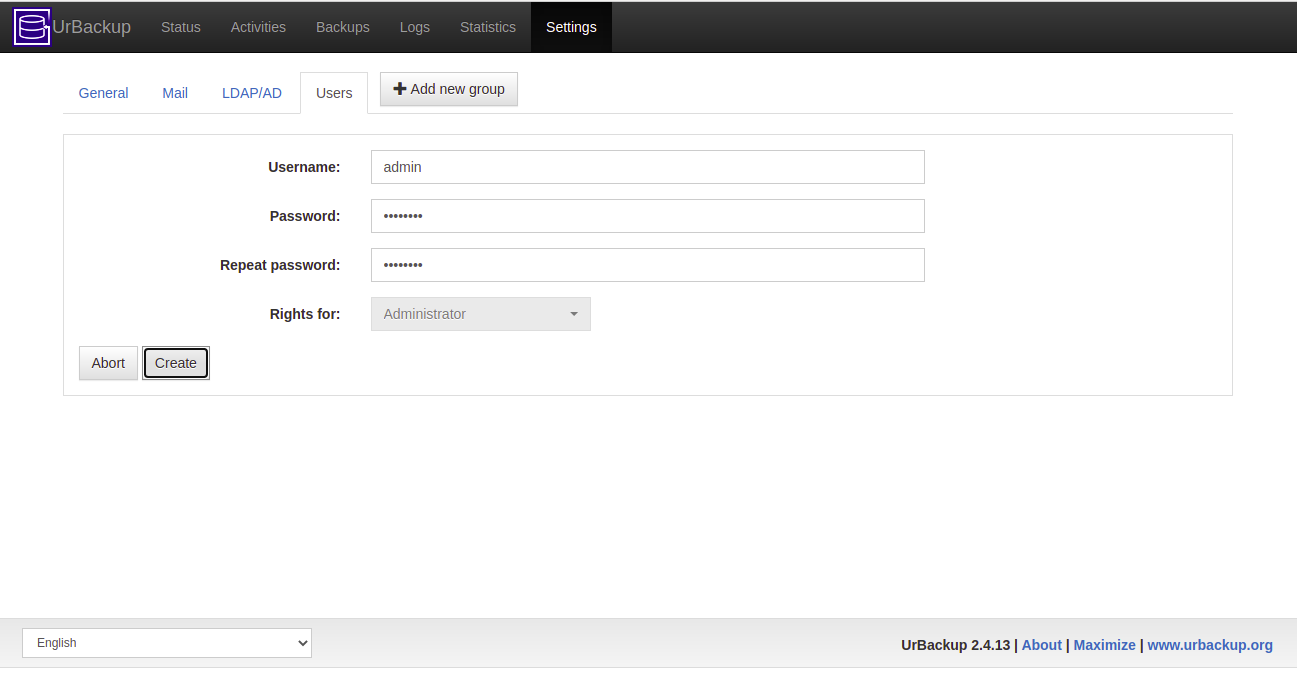
In the Users tab, create an admin user:
Add UrBackup Client
On the UrBackup web interface, go to the Status tab:

Click the Add new client button:
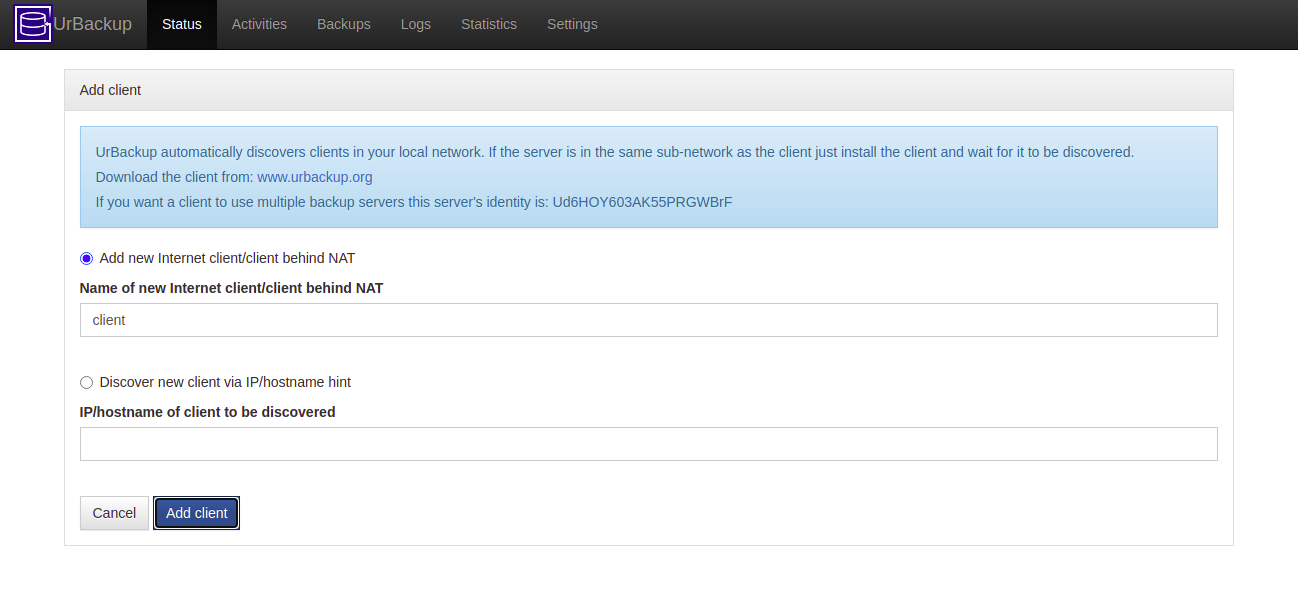
Enter your client name and click Add client. The client installation info will display:
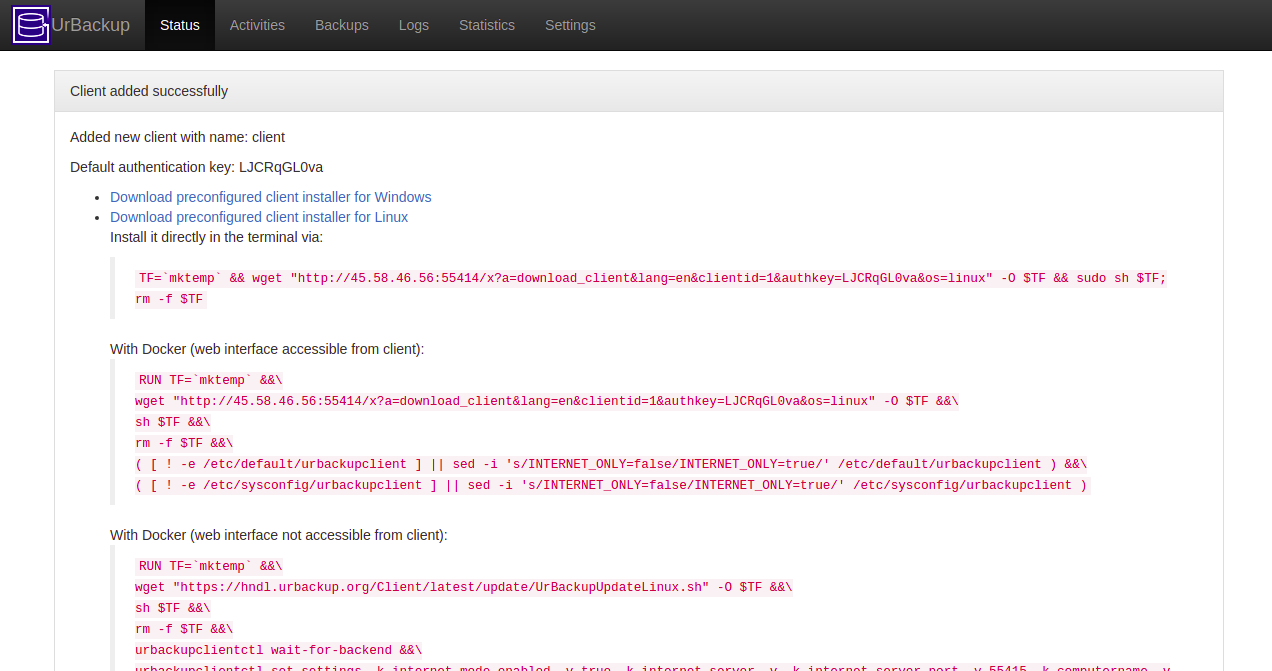
Install UrBackup Client
On the client system, use the installation URL from the previous step and execute it with:
TF=`mktemp` && wget "http://YOUR_URBACKUP_SERVER_IP:55414/x?a=download_client&lang=en&clientid=1&authkey=YOUR_AUTH_KEY&os=linux" -O $TF && sudo sh $TF; rm -f $TF
The output should be similar to:
--DATE--  http://YOUR_URBACKUP_SERVER_IP:55414/x?a=download_client&lang=en&clientid=1&authkey=YOUR_AUTH_KEY&os=linux
    Connecting to...
Verify the client service status using:
systemctl status urbackupclientbackend
Expected output:
? urbackupclientbackend.service - UrBackup Client backend
         Loaded: loaded (/lib/systemd/system/urbackupclientbackend.service; enabled)
         Active: active (running) since DATE
Add a Backup Directory
To back up a directory, such as /etc, run:
/usr/local/bin/urbackupclientctl add-backupdir -x -f -d /etc
Verify Backup Status on UrBackup Server
In the UrBackup web interface, navigate to the Status tab to view your backup client:
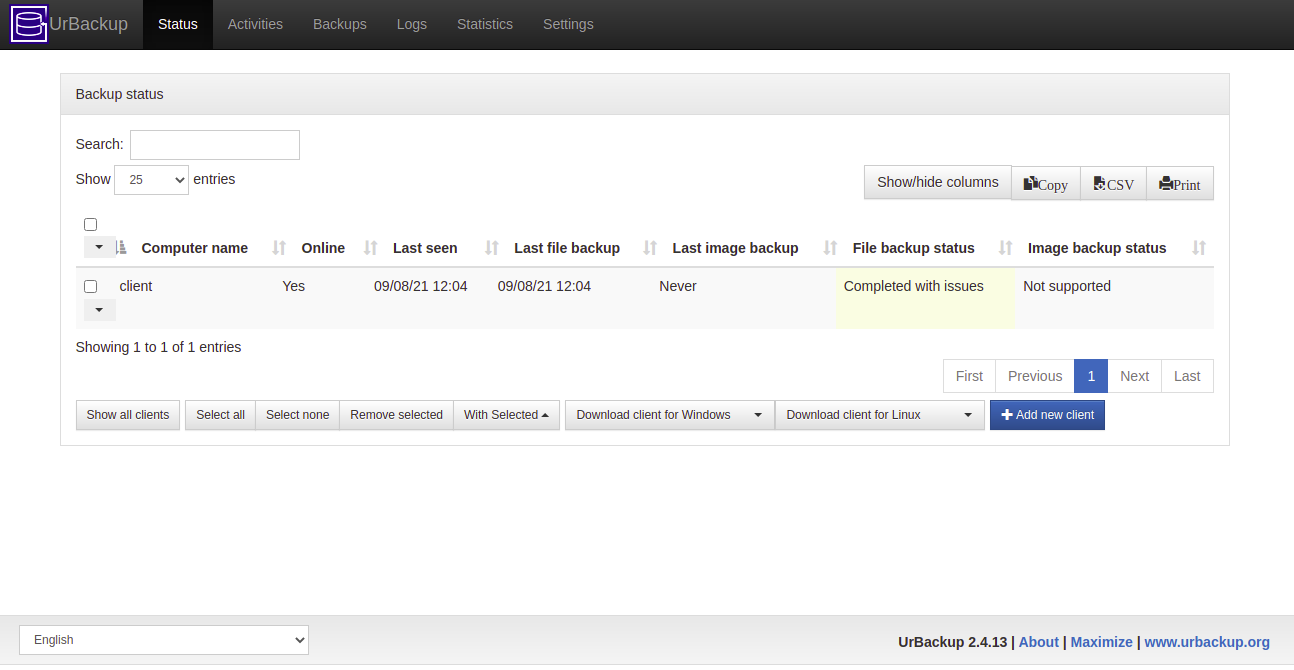
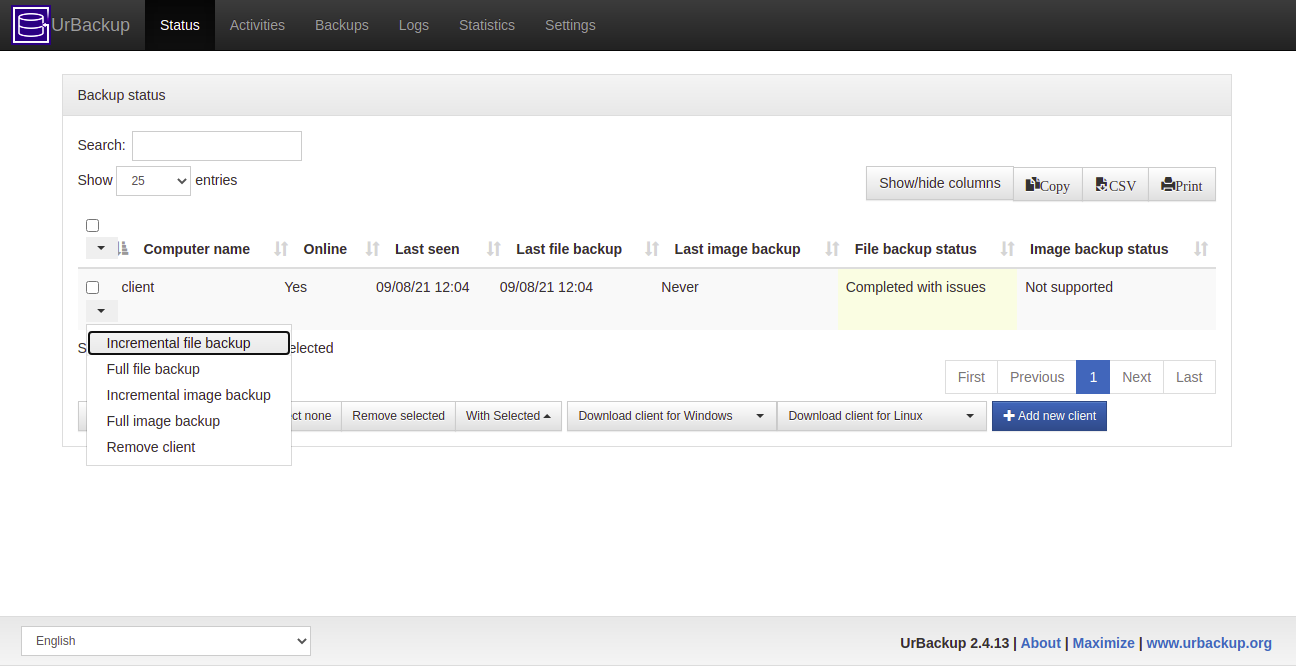
Select Incremental file backup for your first backup:
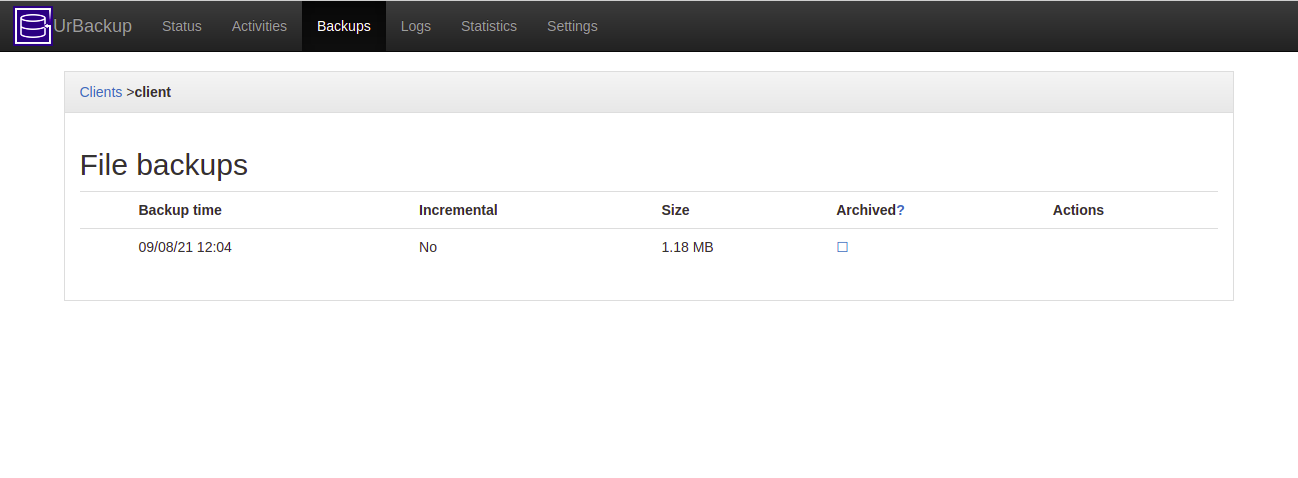
Verify your backup under the Backups tab:
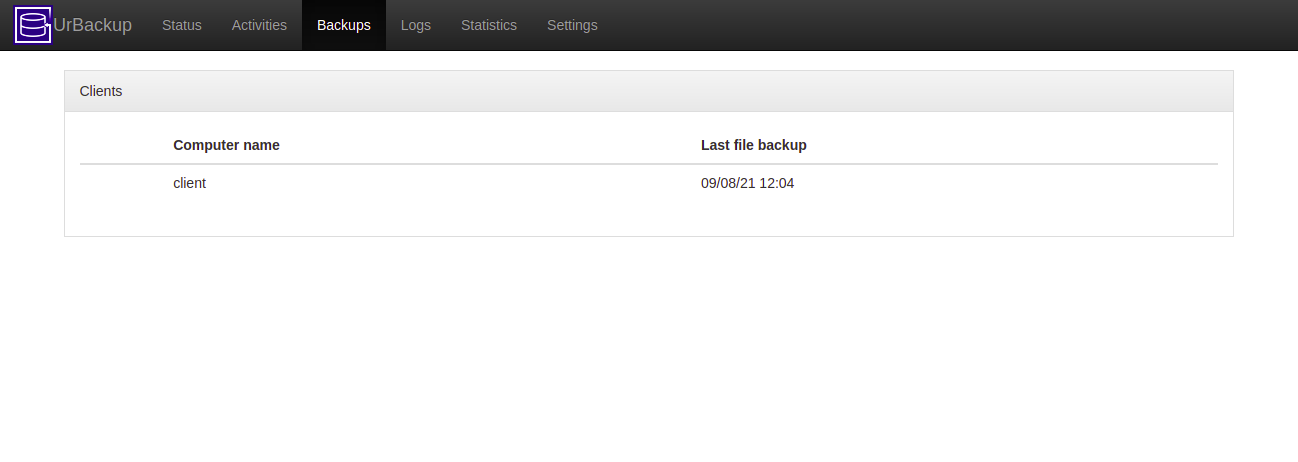
Detailed file backups:
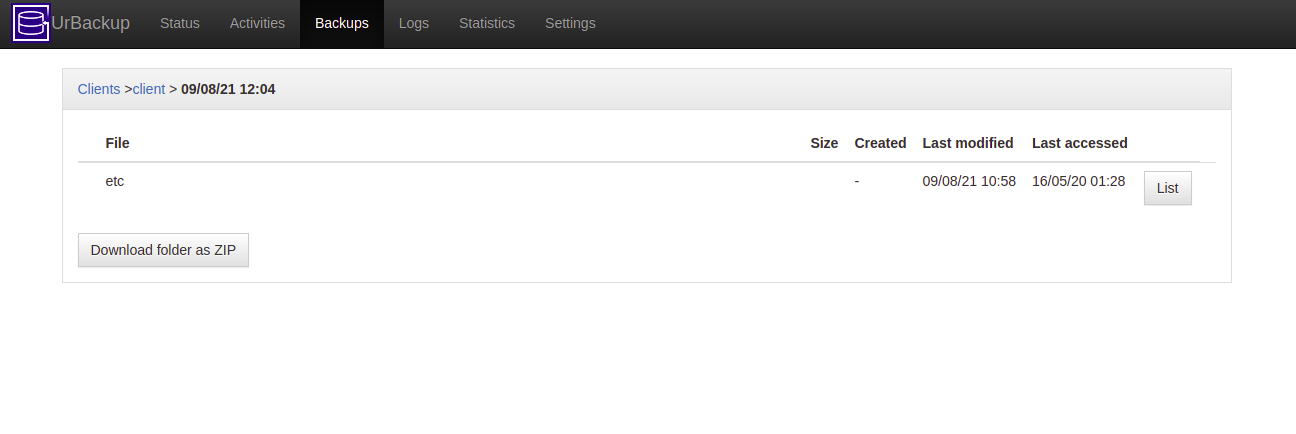
Click on your backup for detailed information:
Conclusion
This guide demonstrated how to install the UrBackup server and client on Ubuntu 20.04. You can now add multiple clients to the UrBackup server and manage all backups from a central location.
FAQ
What is UrBackup?
UrBackup is an open-source backup system that enables efficient file and image backups on live systems across multiple platforms, without disrupting ongoing processes.
Can I use UrBackup on operating systems other than Linux?
Yes, UrBackup is cross-platform and can be used on Windows, FreeBSD, Linux, and various Linux-based NAS systems.
How does UrBackup handle backups during ongoing operations?
UrBackup supports consistent backups, ensuring that data can be backed up even while in use, without interrupting current processes.
Do I need to configure a backup snapshot mechanism on the client side?
While a snapshot mechanism can enhance backup efficiency, it is optional. You can choose to use no snapshot mechanism during client installation.
How can I verify if my UrBackup server is running correctly?
You can verify the status by running the command systemctl status urbackupsrv. It should indicate that the service is active and running.
