FTP is a prevalent protocol for file transfers between servers and clients. There are numerous open-source FTP servers available today, including FTPD, VSFTPD, PROFTPD, and Pure-FTPd. Among them, VSFTPD stands out as a secure, fast, and widely used server globally. It is also termed as “Very Secure File Transfer Protocol Daemon” and supports SSL, IPv6, explicit and implicit FTPS.
In this tutorial, we will demonstrate how to install and configure VSFTPD on a CentOS 8 server and enhance its security using SSL/TLS.
Prerequisites
- A server running CentOS 8.
- Root access on your server.
Install VSFTPD
VSFTPD is available in the CentOS 8 default repository. Install it using the following command:
dnf install vsftpd -y
After installation, start the VSFTPD service and enable it to auto-start on reboot with:
systemctl start vsftpd
 systemctl enable vsftpd
Now, your VSFTPD server is installed and running. Let’s proceed to the next steps.
Create a User for VSFTPD
Create a new user for accessing the FTP server. For instance, use the following command to create a user named “vyom”:
adduser vyom
Set a password for the newly created user “vyom” with:
passwd vyom
With the user set up, we’re ready to proceed.
Configure VSFTPD
Edit the VSFTPD configuration file located in the /etc/vsftpd directory:
nano /etc/vsftpd/vsftpd.conf
Adjust the configuration by changing the following lines:
anonymous_enable=NO
local_enable=YES
write_enable=YES
local_umask=022
dirmessage_enable=YES
xferlog_enable=YES
connect_from_port_20=YES
xferlog_std_format=YES
listen=NO
listen_ipv6=YES
pam_service_name=vsftpd
userlist_enable=NO
Save the changes and close the file. Restart the VSFTPD service and check its status using:
systemctl restart vsftpd
 systemctl status vsftpd
You should see an output indicating the service is active and running.
Configure Firewall and SELinux
Since SELinux is enabled on CentOS 8, configure it to allow FTP access:
setsebool -P allow_ftpd_full_access=1
Next, allow FTP service through the firewalld:
firewall-cmd --zone=public --permanent --add-service=ftp
Reload the firewalld to apply changes:
firewall-cmd --reload
Your system is now configured to allow FTP connections. Let’s test the connection next.
Connect to VSFTPD Server
With everything set up, connect to your FTP server from a client system using:
ftp 172.20.10.3
Provide FTP user credentials:
Connected to 172.20.10.3.
220 (vsFTPd 3.0.3)
Name (172.20.10.3:root): vyom
331 Please specify the password.
Password:
230 Login successful.
After a successful connection, exit the FTP session with the exit command.
Configure VSFTPD with TLS Support
For added security, it’s advisable to encrypt FTP transmissions using SSL/TLS. Begin by installing the OpenSSL package:
dnf install openssl -y
Create a directory for storing the SSL certificate:
mkdir /etc/ssl/private
Generate a self-signed certificate:
openssl req -newkey rsa:2048 -nodes -keyout /etc/ssl/private/vsftpd.key -x509 -days 365 -out /etc/ssl/private/vsftpd.crt
Provide the necessary information when prompted.
Now, configure VSFTPD to utilize this SSL certificate. Edit the configuration file again:
nano /etc/vsftpd/vsftpd.conf
Append the following lines at the end of the file:
#Path of the SSL certificate
rsa_cert_file=/etc/ssl/private/vsftpd.crt
rsa_private_key_file=/etc/ssl/private/vsftpd.key
#Enable the SSL
ssl_enable=YES
allow_anon_ssl=NO
force_local_data_ssl=YES
force_local_logins_ssl=YES
#TLS is more secure than SSL, enable ssl_tlsv1_2.
ssl_tlsv1=YES
ssl_sslv2=NO
ssl_sslv3=NO
require_ssl_reuse=NO
ssl_ciphers=HIGH
#Enable SSL debugging to store all VSFTPD logs.
debug_ssl=YES
Save and close the file. Restart VSFTPD to apply changes:
systemctl restart vsftpd
Verify VSFTPD TLS Connection
Your VSFTPD server now supports SSL/TLS. Attempt to connect from a command-line client:
ftp 172.20.10.3
An error will be visible:
Connected to 172.20.10.3.
220 (vsFTPd 3.0.2)
Name (172.20.10.3:root): vyom
530 Non-anonymous sessions must use encryption.
Login failed.
421 Service not available, remote server has closed connection.
ftp>
The command-line client doesn’t support SSL/TLS, so use an FTP client like FileZilla which supports TLS. Install FileZilla on a client system and proceed with the connection setup:
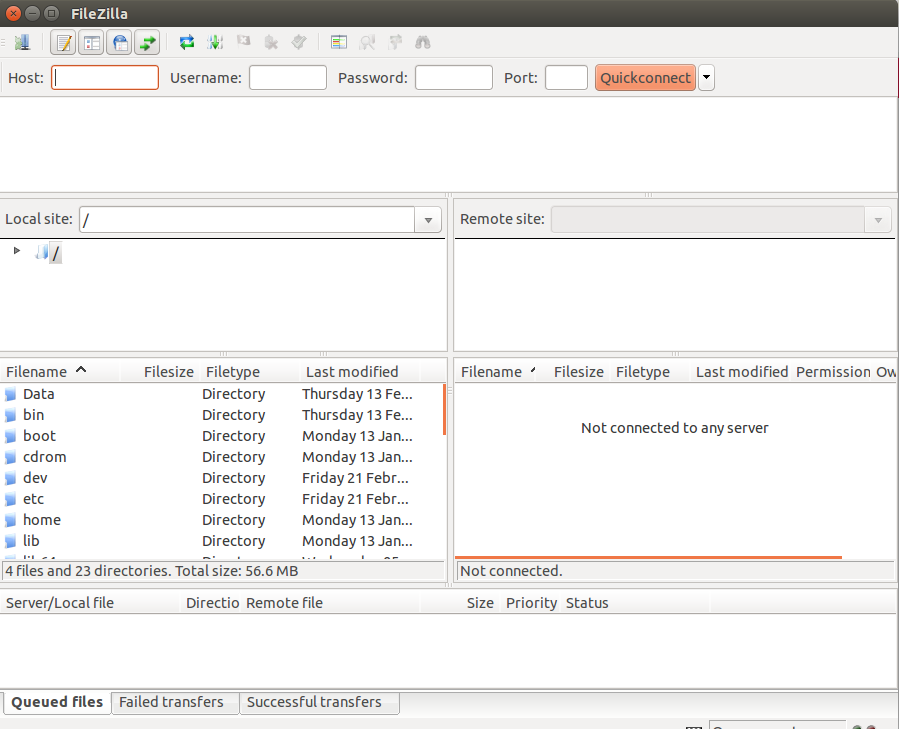
Open Site Manager:
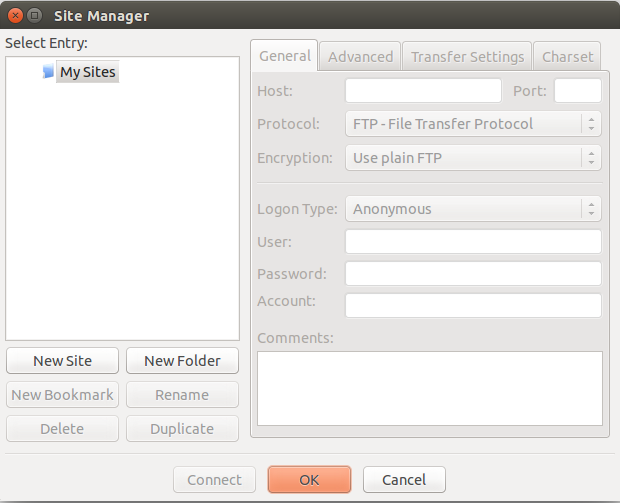
Click New Site and add the FTP server details:
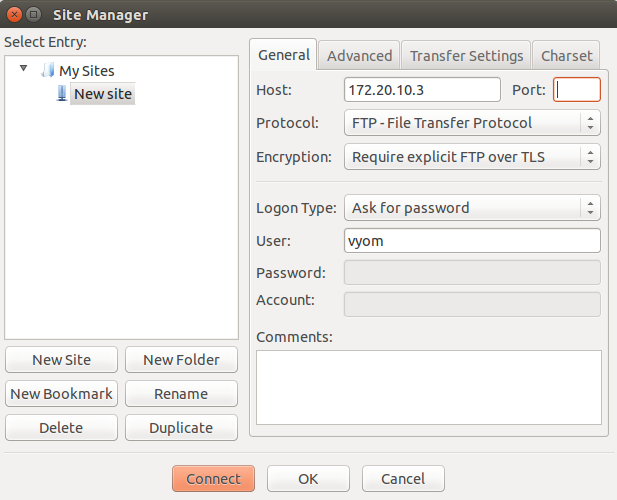
Input the server IP, select FTP protocol, choose “Use explicit FTP over TLS,” select ask for password, input the username, and click Connect. Provide the FTP user’s password:
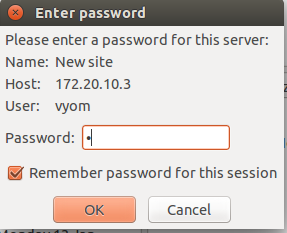
After password entry, verify the SSL/TLS certificate:
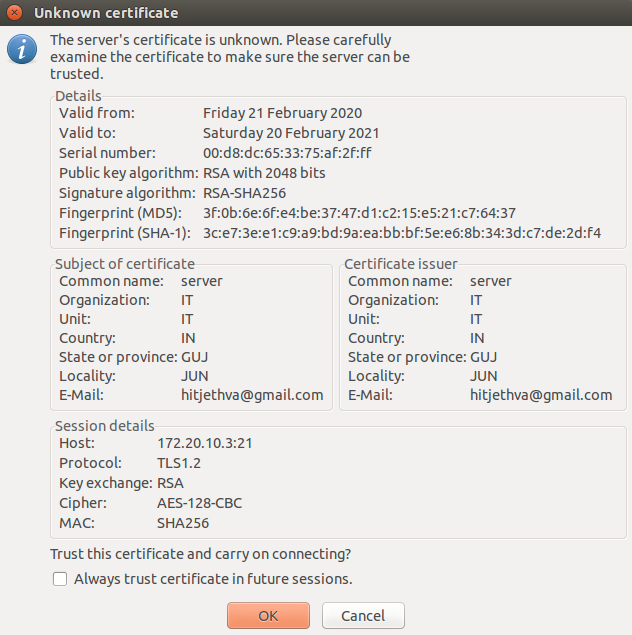
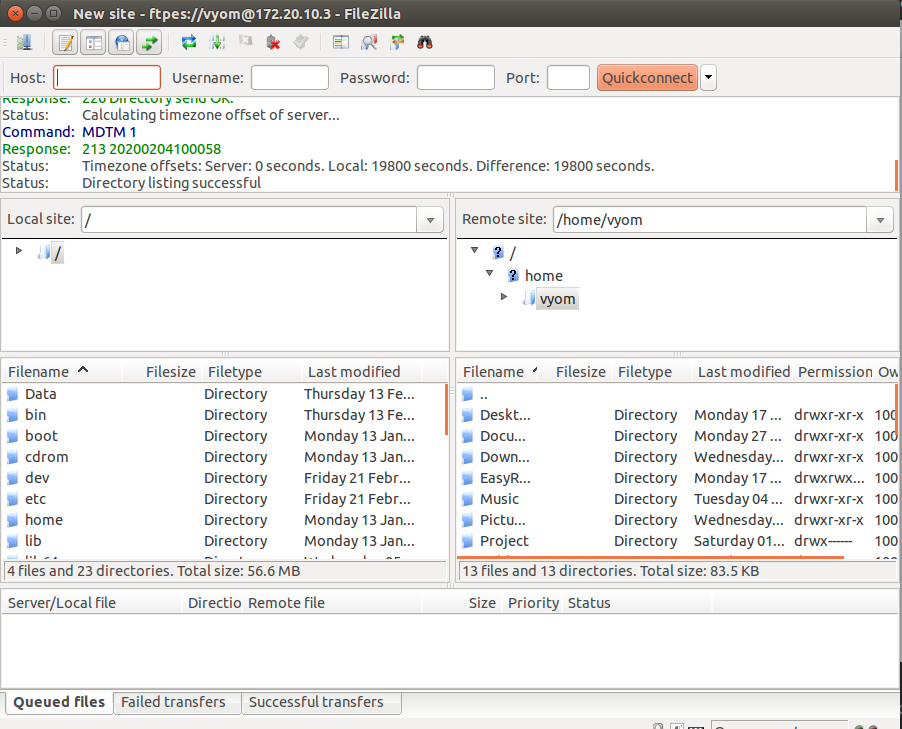
Click OK to verify. Once connected, you’ll see this screen:
Conclusion
Congratulations! You’ve successfully installed and secured a VSFTPD server on CentOS 8 with SSL/TLS. Feel free to reach out if you have any questions.
FAQ
- Q: What is VSFTPD?A: VSFTPD stands for Very Secure File Transfer Protocol Daemon. It is a fast, secure FTP server.
- Q: Why use SSL/TLS with VSFTPD?A: Using SSL/TLS encrypts data transfers, enhancing security by protecting data from being intercepted.
- Q: How do I allow FTP through firewalls?A: Use the command
firewall-cmd --zone=public --permanent --add-service=ftpthen reload the firewall withfirewall-cmd --reload. - Q: Can I use VSFTPD without TLS?A: Yes, but it’s not recommended for secure environments. TLS encrypts data transfers for added security.
- Q: Is VSFTPD available on other distributions?A: Yes, VSFTPD is available on various Linux distributions through their respective package managers.
