WebVirtCloud is a versatile web-based tool designed for the management of KVM virtualization. It provides administrators and users with a seamless interface to create, manage, and delete Virtual Machines running on a KVM hypervisor. Built on Django, it supports user-based authorization and authentication, and allows centralized management of multiple QEMU/KVM hypervisors, hypervisor networks, and datastore pools from a single installation.
This tutorial will guide you through installing the WebVirtCloud KVM Management tool on Ubuntu 20.04.
Prerequisites
- A server running Ubuntu 20.04.
- A configured root password on the server.
Getting Started
Begin by updating the system packages with the following command:
apt-get update -y
With your packages updated, you can move to the next step.
Verify Virtualization Support
Ensure your operating system supports hardware virtualization. Use the command below:
grep -E -c "vmx|svm" /proc/cpuinfo
If the output is greater than 0, your system supports hardware virtualization.
2
Further, check if your system can run KVM virtual machines by installing the cpu-checker:
apt-get install cpu-checker -y
Verify the installation by running:
kvm-ok
You should see:
INFO: /dev/kvm exists
KVM acceleration can be used
Proceed to the next step once verified.
Install KVM Hypervisor
Next, install KVM and its essential tools:
apt-get install qemu qemu-kvm libvirt-daemon bridge-utils virt-manager virtinst -y
After installation, confirm that the KVM module is loaded:
lsmod | grep -i kvm
Expected output:
kvm_intel             286720  0
kvm                   663552  1 kvm_intel
Verify the status of the libvirtd service:
systemctl status libvirtd
The following output should be observed:
? libvirtd.service - Virtualization daemon
     Loaded: loaded (/lib/systemd/system/libvirtd.service; enabled; vendor preset: enabled)
     Active: active (running) since [your current timestamp]
     [Additional system details]
Once confirmed, proceed to the next step.
Install Nginx and Other Packages
Install Nginx, Python, and other required packages:
apt-get install git virtualenv python3-virtualenv python3-dev python3-lxml libvirt-dev zlib1g-dev libxslt1-dev nginx supervisor libsasl2-modules gcc pkg-config python3-guestfs libsasl2-dev libldap2-dev libssl-dev -y
After installations, move to the next step.
Install and Configure WebVirtCloud
Clone the WebVirtCloud repository:
git clone https://github.com/retspen/webvirtcloud
Switch to the webvirtcloud directory and copy the sample settings file:
cd webvirtcloud
cp webvirtcloud/settings.py.template webvirtcloud/settings.py
Generate a secret key:
openssl rand -base64 32
Output example:
mTHhsUm5adG8DABJaIvmRLpQjNbL1vdeIpBDi/jQCV0=
Edit settings.py to insert your secret key:
nano webvirtcloud/settings.py
Modify the following line:
SECRET_KEY = "mTHhsUm5adG8DABJaIvmRLpQjNbL1vdeIpBDi/jQCV0="
Save and close the file. Copy the WebVirtCloud configuration files to Nginx and Supervisor:
cp conf/supervisor/webvirtcloud.conf /etc/supervisor/conf.d
cp conf/nginx/webvirtcloud.conf /etc/nginx/conf.d
Navigate to your home directory and move the webvirtcloud directory:
cd ..
mv webvirtcloud /srv/
Set appropriate ownership to the webvirtcloud directory:
chown -R www-data:www-data /srv/webvirtcloud/
Switch to the webvirtcloud directory and create a virtual environment:
cd /srv/webvirtcloud/
virtualenv -p python3 venv
Activate the virtual environment:
source venv/bin/activate
Install the necessary Python dependencies:
pip install -r conf/requirements.txt
Expected output:
Successfully built libvirt-python qrcode rwlock websockify
  Installing collected packages: [package details]
  Successfully installed [package details]
Run the migrate command to create required tables:
python3 manage.py migrate
Output:
  Applying otp_totp.0001_initial... OK
  [additional migration details]
Deactivate from the Python virtual environment:
deactivate
Ensure appropriate ownership of the webvirtcloud directory:
chown -R www-data:www-data /srv/webvirtcloud/
Remove the default Nginx configuration file:
rm /etc/nginx/sites-enabled/default
Restart Nginx and Supervisor to apply settings:
systemctl restart nginx
systemctl restart supervisor
Verify the Nginx status:
systemctl status nginx
Outcome should be:
? nginx.service - A high performance web server and a reverse proxy server
     Loaded: loaded [...]
     Active: active (running) since [your current timestamp]
Setup KVM and Libvirt
Execute the following script to set up KVM and Libvirt:
wget -O - https://bit.ly/36baWUu | sh
Output:
Length: 151 [text/plain]
Saving to: ‘/etc/supervisor/conf.d/gstfsd.conf’
[download details] and [function details]
Add the KVM user to the www-data group:
adduser www-data kvm
Access WebVirtCloud
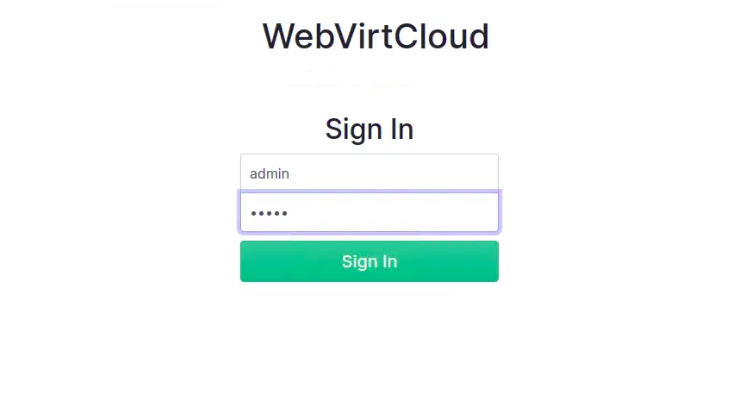
WebVirtCloud is now installed and configured. Access it by typing http://your-server-ip in your web browser. You will reach the WebVirtCloud login page:

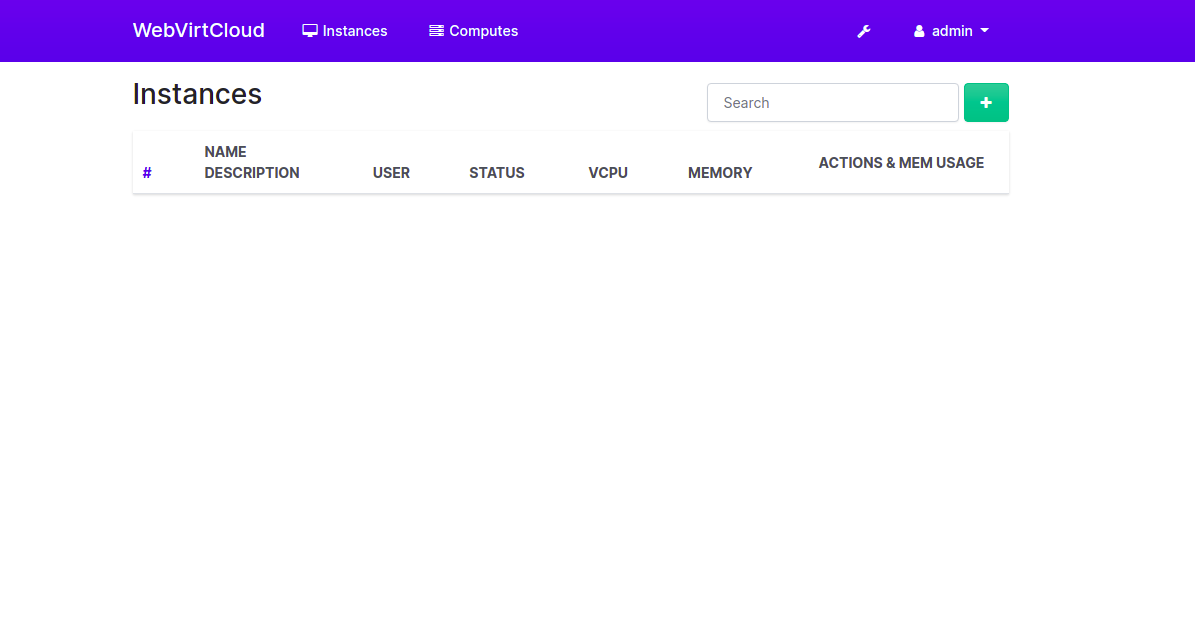
Enter the default username and password admin/admin and click Sign In. The WebVirtCloud dashboard should appear:

Conclusion
Congratulations! You have successfully installed WebVirtCloud on your Ubuntu 20.04 server. You can now manage virtual machines through the convenient web interface. If you have any questions, feel free to ask.
FAQ
Q: What is the default login for WebVirtCloud?
A: The default username and password are admin/admin.
Q: How do I verify if my system supports virtualization?
A: Use the command grep -E -c "vmx|svm" /proc/cpuinfo; an output greater than 0 indicates support.
Q: How can I reset the WebVirtCloud password?
A: If you’ve lost your admin password, it can typically be reset directly through the Django admin interface provided by WebVirtCloud.
Q: Can I manage multiple hypervisors with WebVirtCloud?
A: Yes, WebVirtCloud allows management of multiple QEMU/KVM hypervisors from a single interface.
Q: Is WebVirtCloud compatible with other operating systems?
A: While this guide focuses on Ubuntu 20.04, WebVirtCloud can also be configured on other Linux distributions with the necessary adjustments.
