Wiki.js is a modern, open-source wiki application built on Node.js, Git, and Markdown. It runs on the high-performance Node.js engine, designed for efficient CPU resource usage. Key features of Wiki.js include:
- Markdown editing, integrated with Git
- Lightweight yet robust performance
- Modern web design aesthetics
- Built-in Access Control
- Intuitive asset management
- Embedded search engine
This tutorial guides you through installing Wiki.js version 1 on a CentOS 7 operating system, using NGINX as a reverse proxy server, MongoDB as a database server, and PM2 as a process manager. Optionally, you can secure your connection using acme.sh and Let’s Encrypt for SSL support.
Requirements
The following are required to run Wiki.js:
- Node.js version 6.11.1 to 10.x.
- MongoDB version 3.2 or later.
- Git version 2.7.4 or later.
- Web server software such as NGINX, Apache, Caddy, H2O, etc.
- An optional empty Git repository.
- A minimum of 512MB RAM; 1GB of RAM is recommended.
- Approximately 300MB of disk space.
- A domain name with appropriate DNS A/AAAA records.
Prerequisites
- A CentOS 7 operating system.
- A non-root user with
sudoprivileges.
Initial Steps
Check your CentOS version:
cat /etc/centos-releaseSet up the timezone:
timedatectl list-timezones
sudo timedatectl set-timezone 'Region/City'
Update your operating system packages to ensure you have the latest updates and security fixes:
sudo yum update -yInstall essential packages needed for basic administration of the CentOS operating system:
sudo yum install -y curl wget vim unzip socat epel-releaseInstall the required version of Git for Wiki.js by building it from source, as the default CentOS version is outdated:
# Remove existing git package if installed:
sudo yum remove -y git
sudo yum groupinstall -y "Development Tools"
sudo yum install -y gettext-devel openssl-devel perl-CPAN perl-devel zlib-devel curl-devel
wget https://mirrors.edge.kernel.org/pub/software/scm/git/git-2.21.0.tar.gz && tar zxvf git-2.21.0.tar.gz
rm git-2.21.0.tar.gz
cd git-2.21.0
make configure
./configure make prefix=/usr/local all
sudo make prefix=/usr/local install
cd ~
which git
git --version
Step 1 – Install Node.js and npm
Wiki.js is built on Node.js. We’ll install the latest recommended version (version 10) for Wiki.js:
Download and install Node.js from the NodeSource repository:
curl --silent --location https://rpm.nodesource.com/setup_10.x | sudo bash -
sudo yum install -y nodejs
Note: npm is included with Node.js, so it will be installed automatically.
Check Node.js and npm versions:
node -v && npm -v
# v10.15.1
# 6.4.1
Update npm to the latest stable version:
sudo npm install -g npm@latestRe-check npm version:
npm -v
# 6.8.0
Step 2 – Install MongoDB database
Install MongoDB, which is needed by Wiki.js:
Create a repository file /etc/yum.repos.d/mongodb-org-4.0.repo for MongoDB:
sudo vim /etc/yum.repos.d/mongodb-org-4.0.repoAdd the following configuration:
[mongodb-org-4.0]
name=MongoDB Repository
baseurl=https://repo.mongodb.org/yum/redhat/$releasever/mongodb-org/4.0/x86_64/
gpgcheck=1
enabled=1
gpgkey=https://www.mongodb.org/static/pgp/server-4.0.asc
Install MongoDB:
sudo yum install -y mongodb-orgVerify the MongoDB version:
mongo --version | head -n 1 && mongod --version | head -n 1
# MongoDB shell version v4.0.6
# db version v4.0.6
Start and enable the MongoDB service:
sudo systemctl start mongod.service
sudo systemctl enable mongod.service
Step 3 – Install acme.sh client and obtain Let’s Encrypt certificate (optional)
Secure your site using HTTPS and obtain SSL certificates from Let’s Encrypt using acme.sh. This is optional but recommended:
Download and install acme.sh:
sudo su - root
git clone https://github.com/Neilpang/acme.sh.git
cd acme.sh
./acme.sh --install --accountemail your_email@example.com
source ~/.bashrc
cd ~
Check acme.sh version:
acme.sh --version
# v2.8.1
Obtain RSA and ECC/ECDSA certificates for your domain:
# RSA 2048
acme.sh --issue --standalone -d example.com --keylength 2048
# ECDSA
acme.sh --issue --standalone -d example.com --keylength ec-256
List your issued certs:
acme.sh --listCreate directories to store your certs in /etc/letsencrypt:
mkdir -p /etc/letsencrypt/example.com
mkdir -p /etc/letsencrypt/example.com_ecc
Install certificates to /etc/letsencrypt directory:
# RSA
acme.sh --install-cert -d example.com \
    --cert-file /etc/letsencrypt/example.com/cert.pem \
    --key-file /etc/letsencrypt/example.com/private.key \
    --fullchain-file /etc/letsencrypt/example.com/fullchain.pem \
    --reloadcmd "sudo systemctl reload nginx.service"

# ECC/ECDSA
acme.sh --install-cert -d example.com --ecc \
    --cert-file /etc/letsencrypt/example.com_ecc/cert.pem \
    --key-file /etc/letsencrypt/example.com_ecc/private.key \
    --fullchain-file /etc/letsencrypt/example.com_ecc/fullchain.pem \
    --reloadcmd "sudo systemctl reload nginx.service"
After obtaining the certs, exit to return to a normal user:
exitStep 4 – Install and configure NGINX
Though Wiki.js can run without a web server, using one like NGINX is beneficial for SSL, multi-sites, and cache. Install and configure NGINX:
Install NGINX:
sudo yum install -y nginxCheck the NGINX version:
nginx -v
# nginx version: nginx/1.12.2
Enable and start the NGINX service:
sudo systemctl enable nginx.service
sudo systemctl start nginx.service
Create NGINX configuration for Wiki.js as an HTTPS reverse proxy:
sudo vim /etc/nginx/conf.d/wiki.js.confserver {
listen [::]:443 ssl http2;
listen 443 ssl http2;
listen [::]:80;
listen 80;
server_name example.com;
charset utf-8;
client_max_body_size 50M;
ssl_certificate /etc/letsencrypt/example.com/fullchain.pem;
ssl_certificate_key /etc/letsencrypt/example.com/private.key;
ssl_certificate /etc/letsencrypt/example.com_ecc/fullchain.pem;
ssl_certificate_key /etc/letsencrypt/example.com_ecc/private.key;
location / {
proxy_set_header Host $http_host;
proxy_set_header X-Real-IP $remote_addr;
proxy_pass http://127.0.0.1:3000;
proxy_http_version 1.1;
proxy_set_header Upgrade $http_upgrade;
proxy_set_header Connection "upgrade";
proxy_next_upstream error timeout http_502 http_503 http_504;
}
}Update server_name in the configuration to match your actual domain name. Verify and reload NGINX:
sudo nginx -t
sudo systemctl reload nginx.service
Step 5 – Install and setup Wiki.js
Create a document root directory for Wiki.js:
sudo mkdir -p /var/www/wiki.jsNavigate to the directory and change its ownership:
cd /var/www/wiki.js
sudo chown -R [your_user]:[your_user] /var/www/wiki.js
Replace your_user with your non-root username. Install Wiki.js:
curl -sSo- https://wiki.js.org/install.sh | bashVerify the installed version:
node wiki --version
# 1.0.117
Start the configuration wizard:
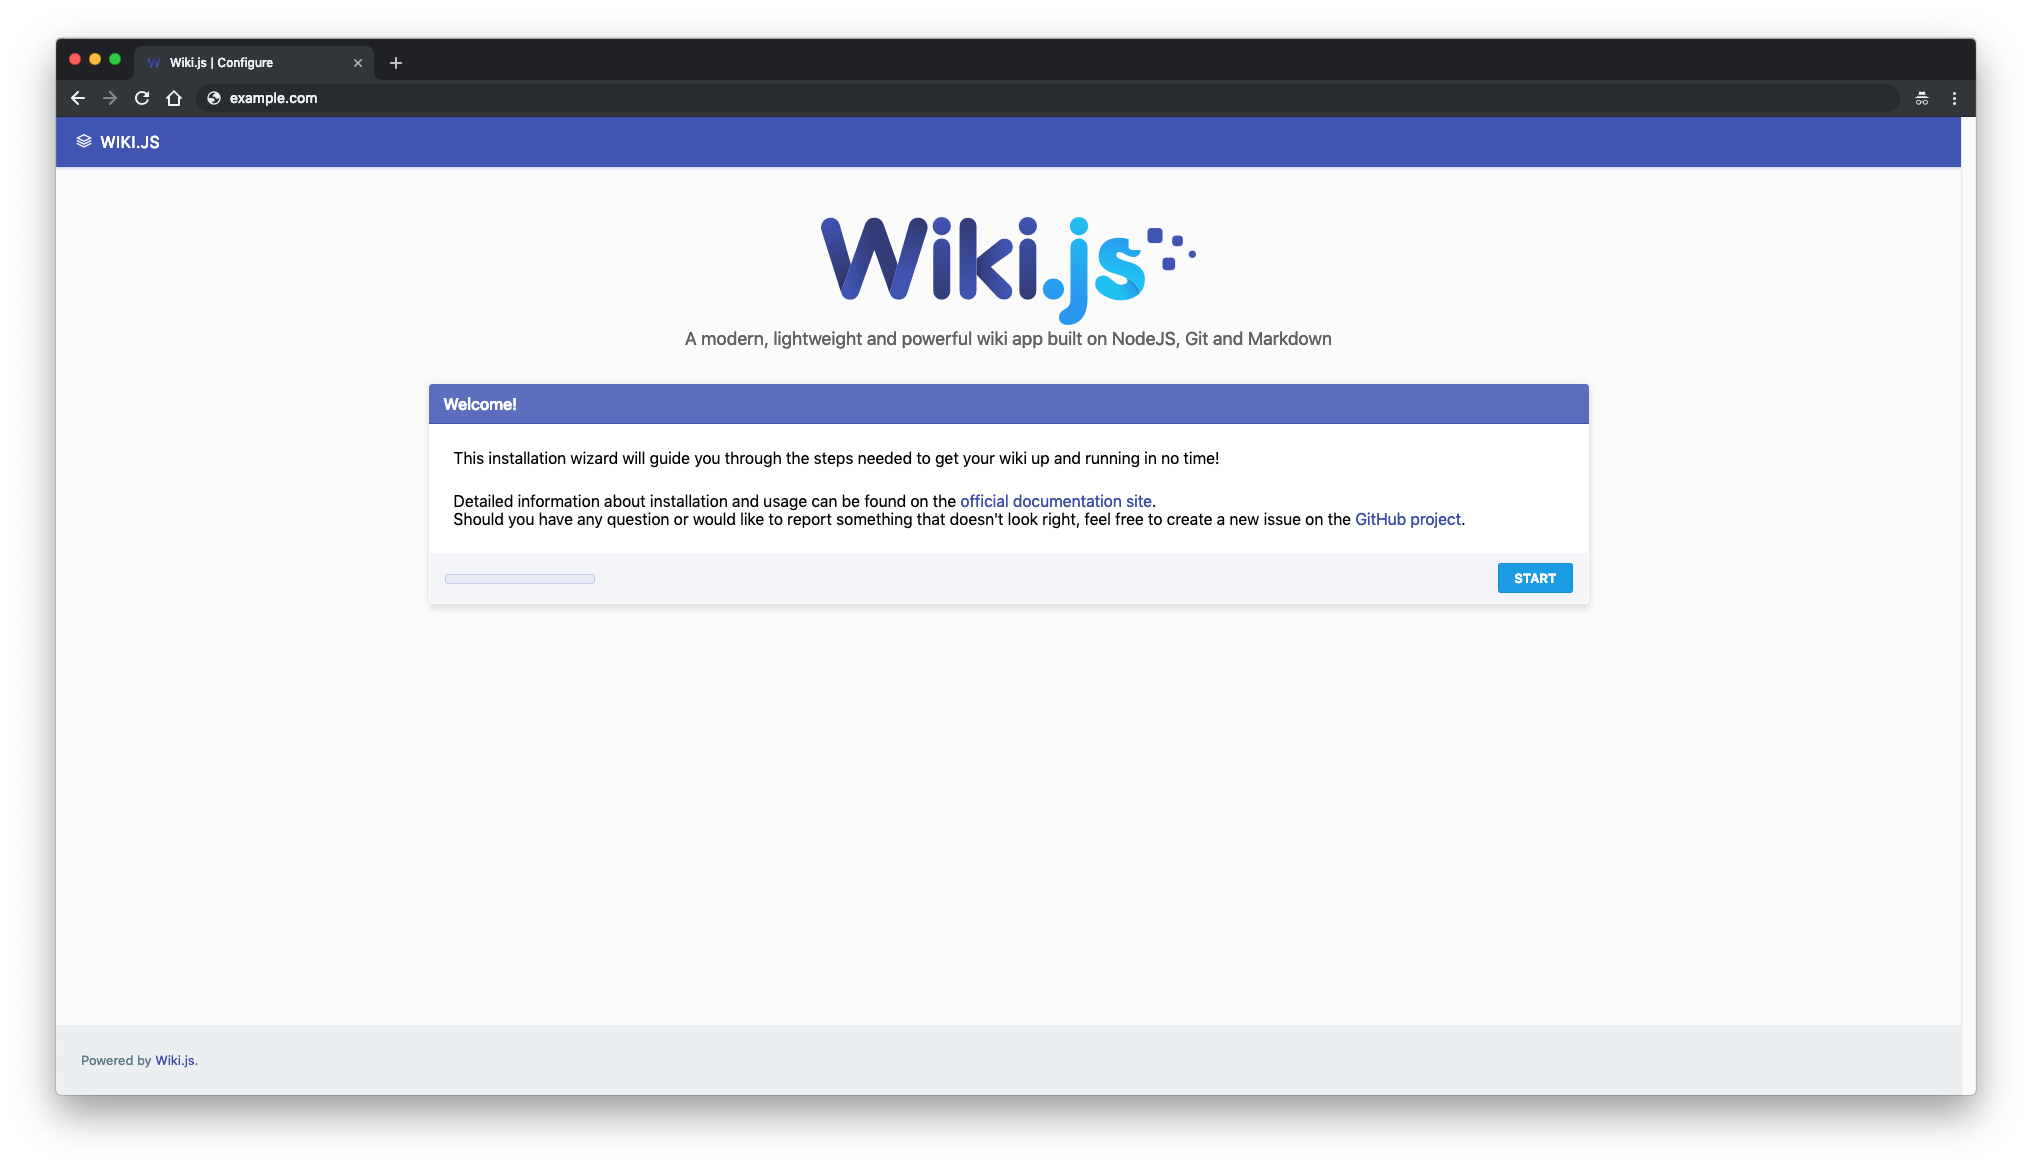
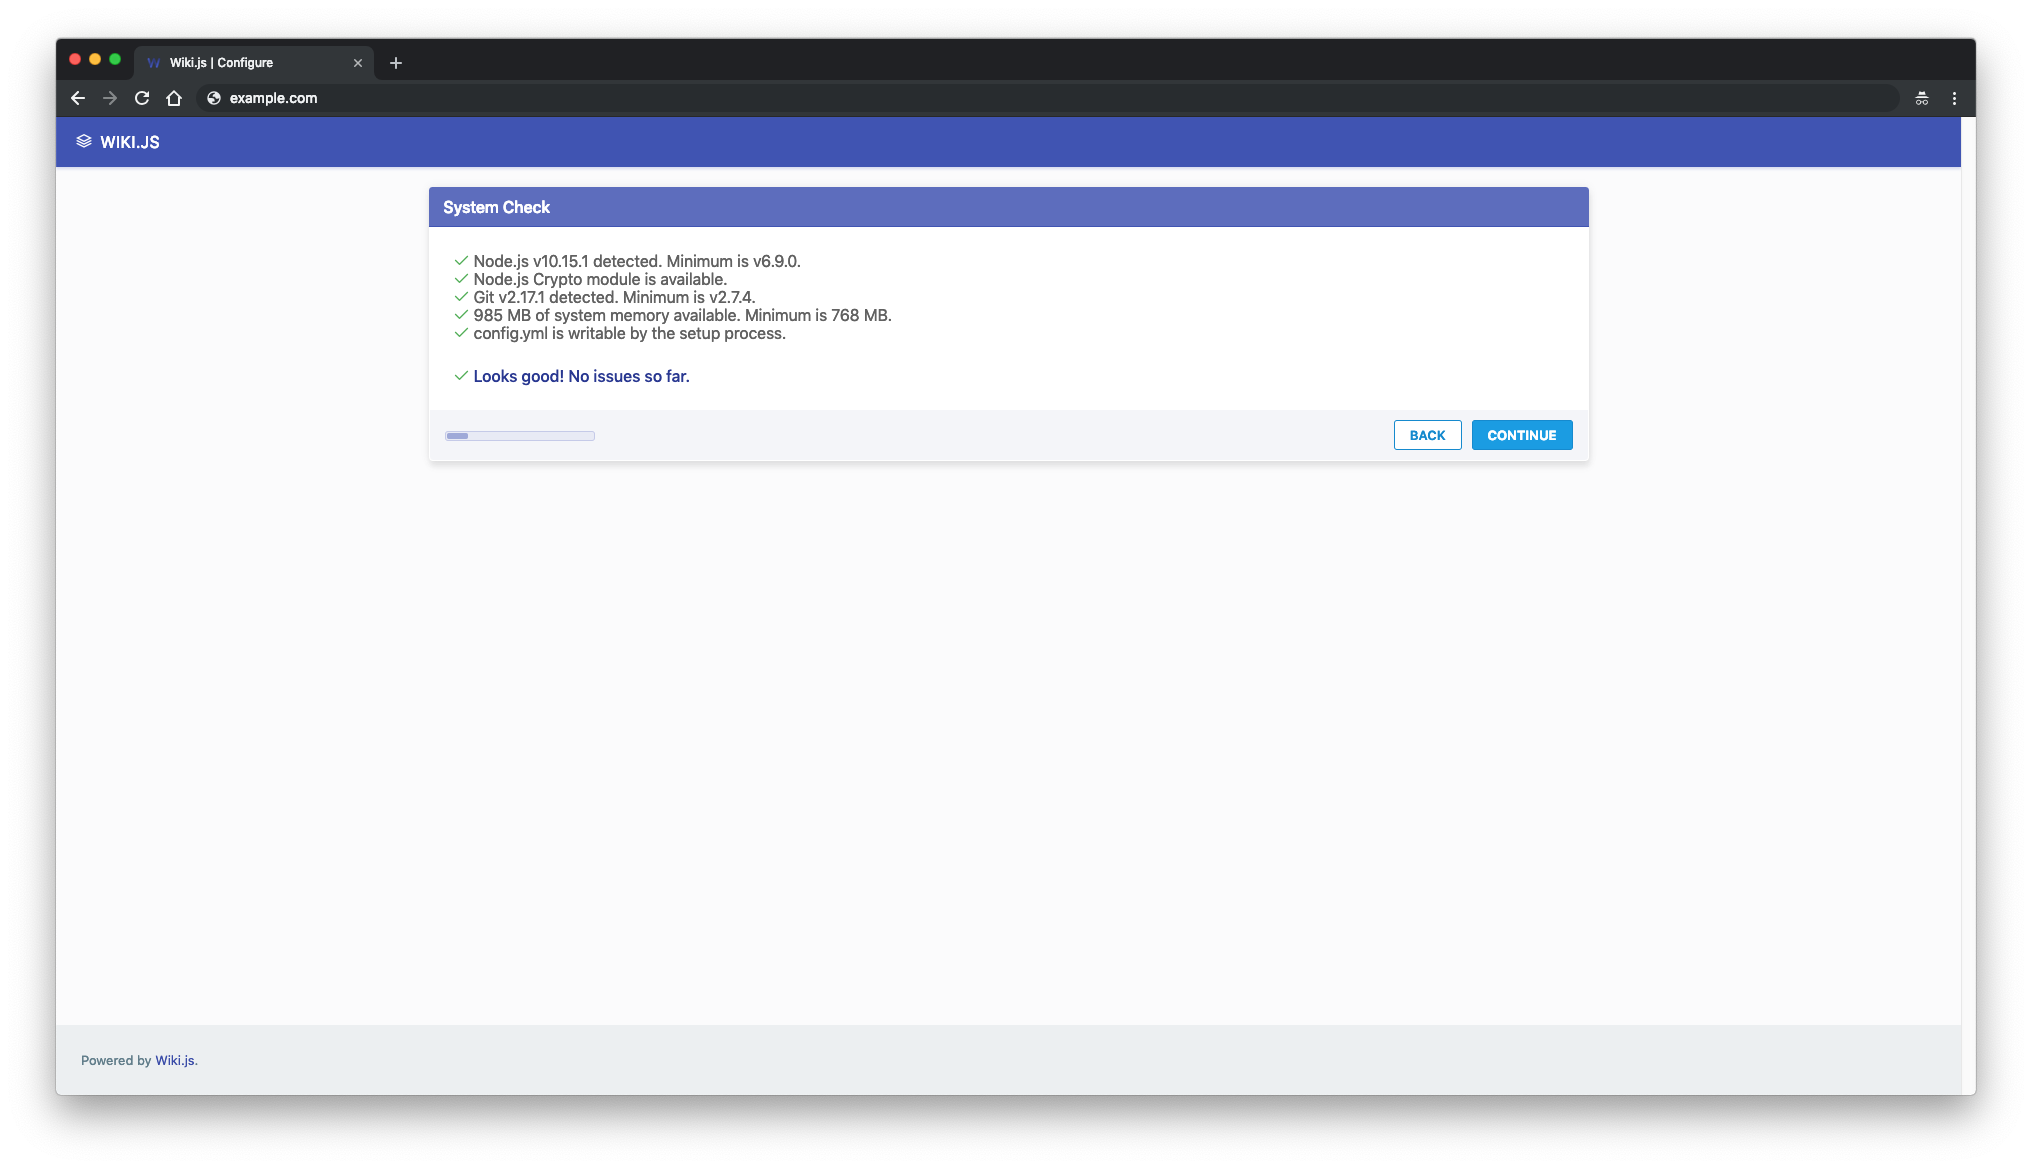
node wiki configureOpen your browser to http://example.com and follow the on-screen instructions. The wizard guides you through setting up general wiki information, database connection, and admin account creation.
After following the prompts, Wiki.js starts automatically.


(… other images …)
Step 6 – Setup PM2 Process Manager
To ensure Wiki.js starts after a system reboot, set up PM2 as the process manager:
Configure PM2 as a startup service:
/var/www/wiki.js/node_modules/pm2/bin/pm2 startupSave the PM2 configuration:
/var/www/wiki.js/node_modules/pm2/bin/pm2 saveNow, Wiki.js runs as a background process managed by PM2.
Links
FAQ
- What are the minimum system requirements to run Wiki.js?
- The minimum requirements are 512MB of RAM, Node.js version 6.11.1 to 10.x, MongoDB version 3.2 or later, and Git version 2.7.4 or later.
- Can I install Wiki.js on a different OS other than CentOS 7?
- Yes, Wiki.js is platform-independent and can be installed on various Linux distributions, Windows, and macOS.
- How do I update npm after installing Node.js?
- You can update npm to the latest version by running:
sudo npm install -g npm@latest. - Is using acme.sh mandatory for installing Wiki.js?
- No, using acme.sh is optional. It’s used for setting up SSL certificates to secure your wiki using HTTPS.
- What is the use of PM2 in this setup?
- PM2 is a process manager used to keep Wiki.js running in the background and to ensure it starts automatically after system reboots.
