ProxySQL is a high-performance MySQL proxy with a small footprint that supports installation in a variety of environments such as virtual machines (VM), Kubernetes (K8s), bare-metal, and Docker containers. As an open-source solution, ProxySQL offers high availability for your MySQL Cluster by supporting connection multiplexing, query rules for routing writes to primary nodes, and distributing reads across replicas.
ProxySQL is compatible with both AMD64 (x86_64) and ARM64 architectures. It provides an application-layer proxy for your applications and supports advanced query capabilities with failover detection.
This guide will walk you through installing and setting up load balancing for MySQL Cluster using ProxySQL on a Debian 11 server. You will install ProxySQL v2 with the Percona XtraDB Client, add the Percona XtraDB Cluster to ProxySQL, set up a ProxySQL monitoring user, and then add the database and user that your applications will use.
Prerequisites
Before you begin, ensure you have the following:
- A Debian 11 server – This example uses a Debian server with the hostname ‘proxysql-deb‘.
- A non-root user with sudo privileges.
- A fully configured MySQL Cluster or Percona XtraDB Cluster.
Once you have these prerequisites, you can proceed with the ProxySQL installation.
Setup Repositories
The first step is to add both ProxySQL and Percona XtraDB repositories to your server. The Percona XtraDB repository is needed to install the ‘percona-xtradb-cluster-client‘ package, which ProxySQL requires.
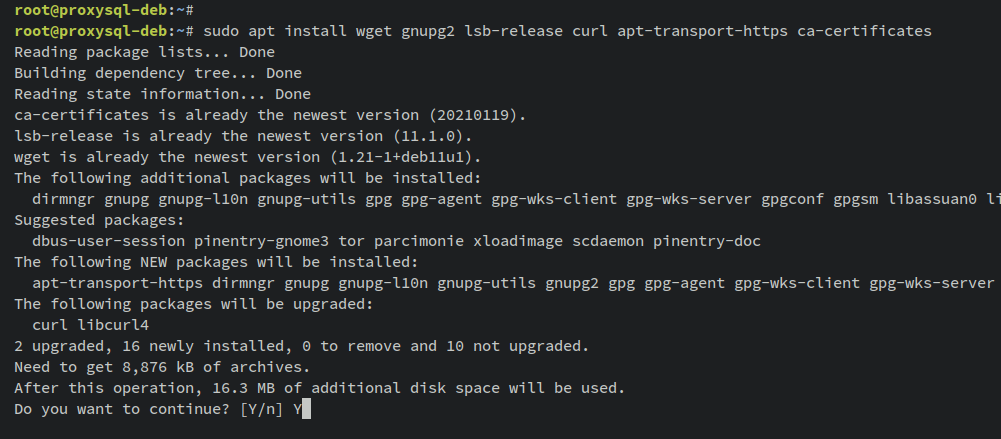
Begin by installing some basic dependencies:
sudo apt install wget gnupg2 lsb-release curl apt-transport-https ca-certificates
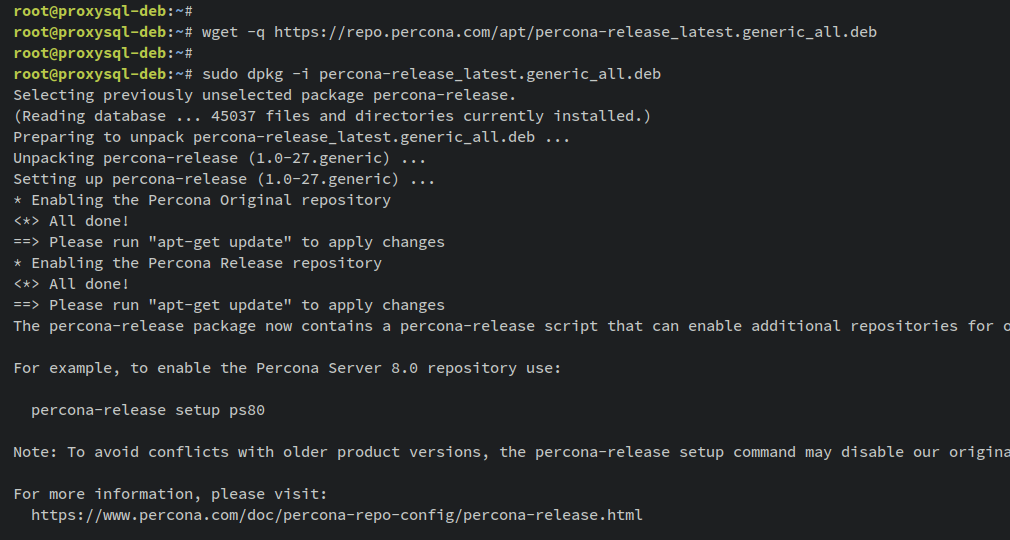
Next, download the repository file for Percona XtraDB and install it via the ‘dpkg‘ command:
wget -q https://repo.percona.com/apt/percona-release_latest.generic_all.deb
sudo dpkg -i percona-release_latest.generic_all.deb
Now, update your Debian package index:
sudo apt update
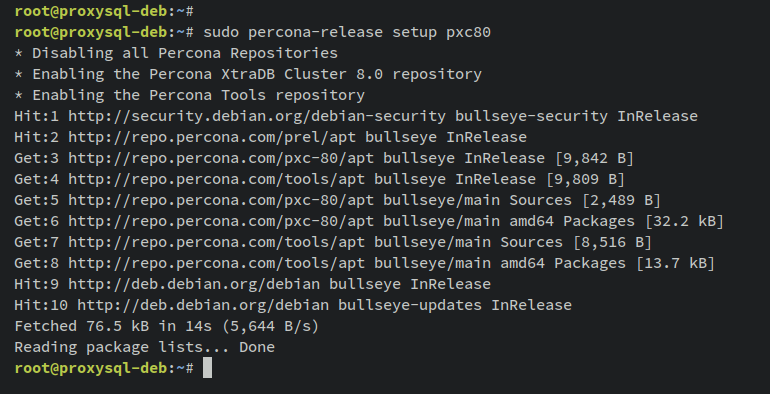
Enable the Percona XtraDB Cluster 8.0 repository:
sudo percona-release setup pxc80
Next, add the GPG key and repository for ProxySQL:
wget -q -nv -O /etc/apt/trusted.gpg.d/proxysql-2.4.x-keyring.gpg 'https://repo.proxysql.com/ProxySQL/proxysql-2.4.x/repo_pub_key.gpg'
echo deb https://repo.proxysql.com/ProxySQL/proxysql-2.4.x/$(lsb_release -sc)/ ./ | tee /etc/apt/sources.list.d/proxysql.list
Update your package index again:
sudo apt update

Installing ProxySQL and Percona XtraDB Cluster Client
Install ProxySQL v2 and the Percona XtraDB client package:
sudo apt install proxysql2 percona-xtradb-cluster-client
When prompted, input ‘y’ to confirm the installation.

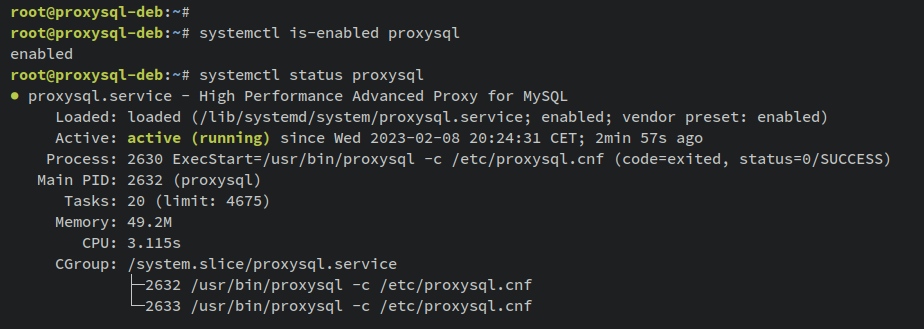
Check that ProxySQL is running and is set to start on system boot:
sudo systemctl is-enabled proxysql
sudo systemctl start proxysql
Confirm that the service is active:
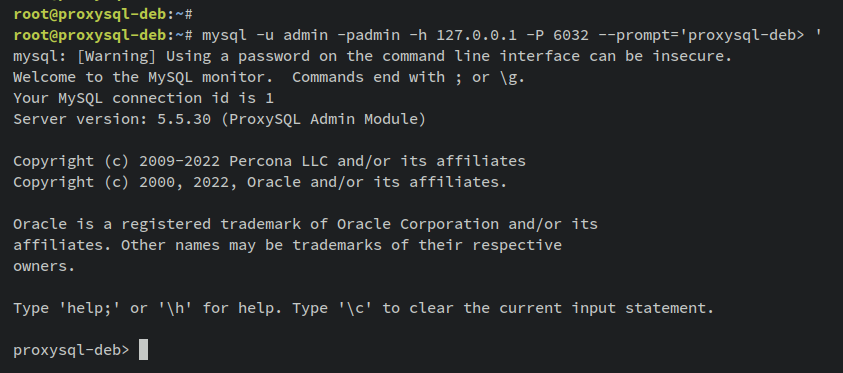
Login to the ProxySQL server:
mysql -u admin -padmin -h 127.0.0.1 -P 6032 --prompt='proxysql-deb> '
Once successful, you have connected to the ProxySQL admin module.
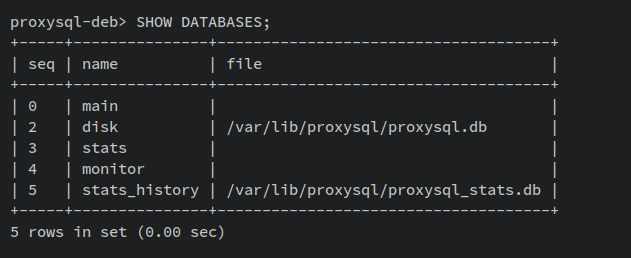
List the available databases:
SHOW DATABASES;
Adding MySQL Cluster/Percona XtraDB Cluster to ProxySQL
After installing ProxySQL, add your MySQL or Percona XtraDB Cluster to the ProxySQL server through the ProxySQL shell. This example uses the following Cluster:
Hostname         IP Address       Port
---------------------------------
pxc01           192.168.5.15     3306
pxc02           192.168.5.16     3306
pxc03           192.168.5.17     3306
Execute these queries in the ProxySQL shell, replacing IP addresses and ports with your cluster’s details:
INSERT INTO mysql_servers(hostgroup_id, hostname, port) VALUES (0,'192.168.5.15',3306);
INSERT INTO mysql_servers(hostgroup_id, hostname, port) VALUES (0,'192.168.5.16',3306);
INSERT INTO mysql_servers(hostgroup_id, hostname, port) VALUES (0,'192.168.5.17',3306);
This indicates your servers are added:

Verify the MySQL servers:
SELECT * FROM mysql_servers;

Setting ProxySQL Monitoring User
ProxySQL monitors all MySQL servers continuously. To facilitate this, create a ‘monitor’ user with limited privileges on your Percona XtraDB Cluster:
CREATE USER 'monitor'@'%' IDENTIFIED WITH mysql_native_password by 'monitor';
GRANT USAGE ON *.* TO 'monitor'@'%';
FLUSH PRIVILEGES;
Verify the user creation:
SELECT USER,host FROM mysql.user;
SHOW GRANTS FOR 'monitor'@'%';

On the ProxySQL server, define the monitoring user:
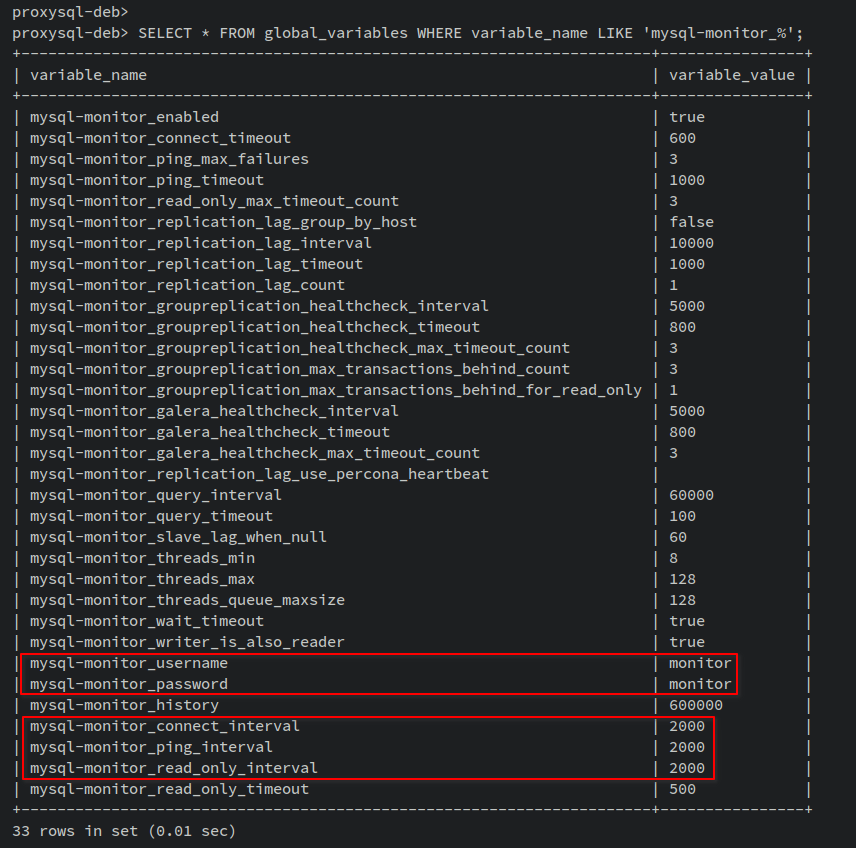
UPDATE global_variables SET variable_value='monitor' WHERE variable_name='mysql-monitor_username';
UPDATE global_variables SET variable_value='monitor' WHERE variable_name='mysql-monitor_password';
And configure monitoring parameters:
UPDATE global_variables SET variable_value='2000' WHERE variable_name IN ('mysql-monitor_connect_interval','mysql-monitor_ping_interval','mysql-monitor_read_only_interval');
Save your configurations:
LOAD MYSQL VARIABLES TO RUNTIME;
SAVE MYSQL VARIABLES TO DISK;

Verify all ‘mysql-monitor_‘ variables:
SELECT * FROM global_variables WHERE variable_name LIKE 'mysql-monitor_%';
Lastly, check the monitoring status:
SELECT * FROM monitor.mysql_server_connect_log ORDER BY time_start_us DESC LIMIT 6;
SELECT * FROM monitor.mysql_server_ping_log ORDER BY time_start_us DESC LIMIT 6;
View connection logs:

And ping logs:

Setting up Database User for Applications
Configuring your application to use ProxySQL involves creating a corresponding user on both the MySQL and ProxySQL servers:
- Create a new user on the MySQL or Percona XtraDB Cluster with the appropriate permissions.
- Add this user to the ProxySQL server in the ‘mysql_users‘ table.
On the Percona XtraDB Cluster server, create the MySQL user:
CREATE USER 'sbuser'@'192.168.5.85' IDENTIFIED WITH mysql_native_password by 'sbpass';
GRANT ALL PRIVILEGES ON *.* TO 'sbuser'@'192.168.5.85';
FLUSH PRIVILEGES;

On ProxySQL, execute:
INSERT INTO mysql_users (username,password) VALUES ('sbuser','sbpass');
Load the new user to the session and save changes:
LOAD MYSQL USERS TO RUNTIME;
SAVE MYSQL USERS TO DISK;

Verify Database and User
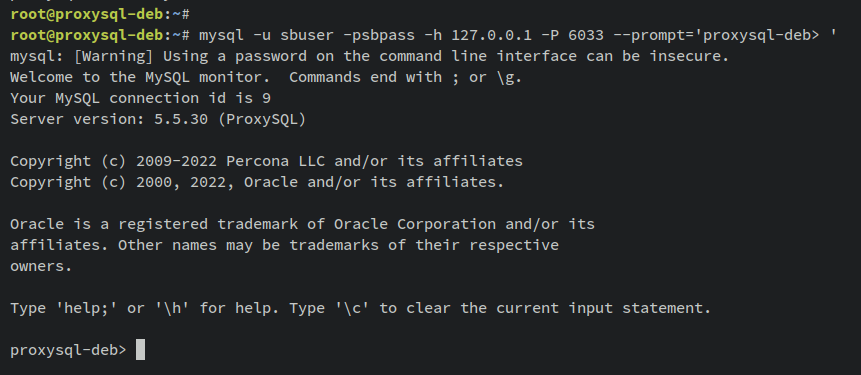
Confirm the setup by signing in with the new user:
mysql -u sbuser -psbpass -h 127.0.0.1 -P 6033 --prompt='proxysql-deb> '
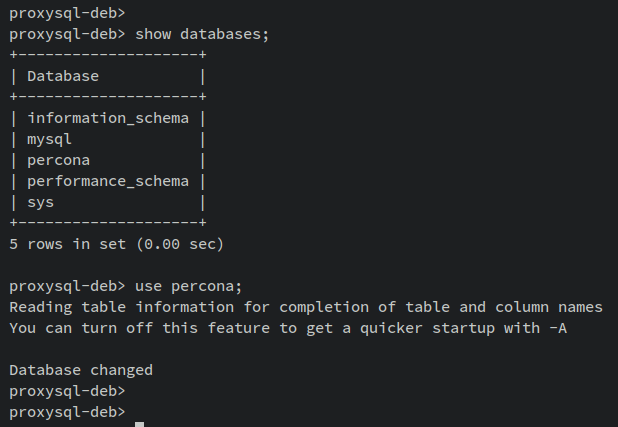
To review available databases:
show databases;
Switch to and view contents of a database:
use percona
Access table data:
show tables;
select * from example;
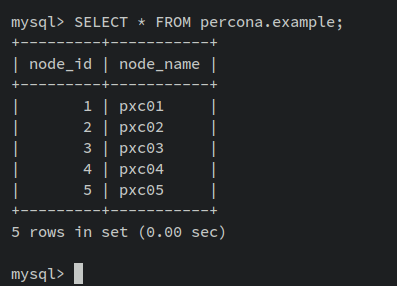
Verify data manipulation capability:
INSERT INTO percona.example VALUES (4, 'pxc04');
INSERT INTO percona.example VALUES (5, 'pxc05');
select * from example;
Check from the Percona side:
Conclusion
In this guide, you configured load balancing for MySQL Cluster or Percona XtraDB Cluster using ProxySQL on Debian 11. You have installed ProxySQL v2, added the Percona XtraDB Cluster for monitoring within ProxySQL, and created a user profile for applications. You also verified that your MySQL installations benefit from improved high availability and tolerance. You can now expand your deployment by adding additional nodes, sharding, or securing connections using SSL as needed.
Frequently Asked Questions (FAQ)
1. What are the benefits of using ProxySQL?
ProxySQL provides features such as high availability, connection multiplexing, query rules, advanced failover detection, and load balancing which are beneficial for high-performance and fault-tolerance needs.
2. Can ProxySQL be installed on other systems besides Debian?
Yes, ProxySQL can be installed on various systems, including VMs, Kubernetes, and Docker containers, besides being run on Linux distributions like Debian.
3. Does ProxySQL support SSL connections?
Yes, ProxySQL supports SSL connections. Configurations can be set for SSL to ensure encrypted connections between ProxySQL and the database cluster.
4. How does ProxySQL handle read/write operations?
ProxySQL can be configured for read/write splitting, where read operations are distributed among replicas, and writes are routed to primary node(s).
5. Is setting up a ProxySQL monitoring user necessary?
Yes, the monitoring user allows ProxySQL to verify the health of backend servers, ensuring optimal routing of database requests.
