Dnsmasq offers efficient network services like DNS, DHCP, and TFTP in a lightweight package, suitable for low-resource devices. Serving as a DNS forwarder, recursive DNS server, and DNS cache, it can easily manage local domain names through the /etc/hosts file. Designed for minimal resource usage, it runs on various operating systems including Linux, BSDs, Android, and macOS.
This guide details the installation and configuration of a local DNS server with Dnsmasq on Debian 12, enabling domain name management, DNS caching, and DHCP services for local networks. Once completed, accessing applications via local domains will be swift due to enabled DNS caching.
Prerequisites
Ensure you have the following before proceeding with this tutorial:
- A Debian 12 server named ‘dnsmasq-server‘ with IP
192.168.5.20. - A non-root user with sudo/root privileges.
The client can be any Linux distribution as DNS configuration is similar across distributions.
Preparing the System
Prepare your Debian server to function as a local DNS server. Update the package index, stop and disable the systemd-resolved service, and set the static DNS resolver configuration via /etc/resolv.conf.
First, update the package index:
sudo apt update
Then, stop and disable the systemd-resolved service:
sudo systemctl disable --now systemd-resolved
sudo systemctl stop systemd-resolved
Remove the DNS resolver configuration link:
sudo unlink /etc/resolv.conf
Create a new configuration file:
sudo nano /etc/resolv.conf
Add Cloudflare and Google DNS entries:
nameserver 1.1.1.1
nameserver 8.8.8.8
Save the file and exit the editor.

Installing and Configuring Dnsmasq
Install Dnsmasq and configure it to run on DNS port 53 with IP address 192.168.5.20, define domain names, enable DNS cache, and set up a DHCP server.
Install the Dnsmasq package:
sudo apt install dnsmasq
Confirm the installation by entering ‘y’ when prompted.
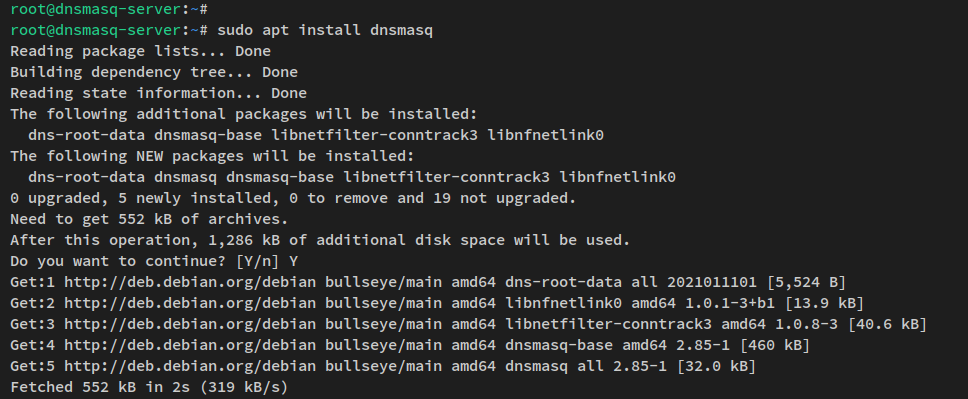
Verify that the Dnsmasq service is running:
sudo systemctl is-enabled dnsmasq
sudo systemctl status dnsmasq

Back up and edit the default dnsmasq.conf file:
sudo cp /etc/dnsmasq.conf{,.orig}
sudo nano /etc/dnsmasq.conf
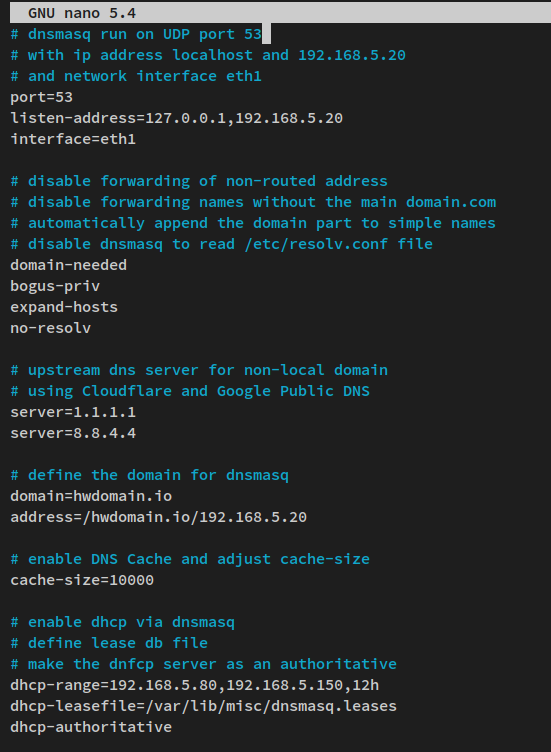
Add the following configuration:
# Dnsmasq Configuration
port=53
listen-address=127.0.0.1,192.168.5.20
interface=eth1
domain-needed
bogus-priv
expand-hosts
no-resolv
server=1.1.1.1
server=8.8.8.8
domain=howtoforge.local
address=/howtoforge.local/192.168.5.20
cache-size=1000
dhcp-range=192.168.5.80,192.168.5.150,12h
dhcp-leasefile=/var/lib/misc/dnsmasq.leases
dhcp-authoritative
Save and close the file.
Edit the /etc/hosts file to define subdomains:
sudo nano /etc/hosts
192.168.5.10 app1
192.168.5.25 db1
192.168.5.50 files
Save and close the file.
Edit /etc/resolv.conf to use the Dnsmasq server:
sudo nano /etc/resolv.conf
Add:
nameserver 127.0.0.1
nameserver 192.168.5.20
Save and close the file.
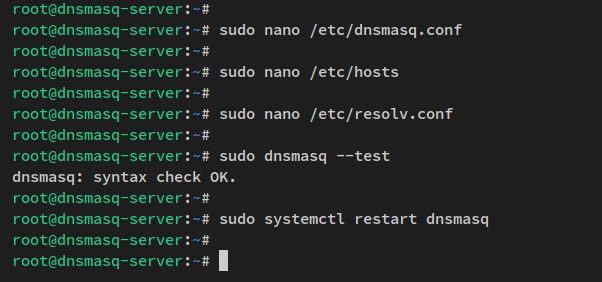
Verify and apply configuration changes:
sudo dnsmasq --test
sudo systemctl restart dnsmasq
Verifying Dnsmasq Installation
Check the Dnsmasq service and port:
ss -tulpn | grep 53
sudo systemctl status dnsmasq

Install dnsutils and verify domain resolution:
sudo apt install dnsutils
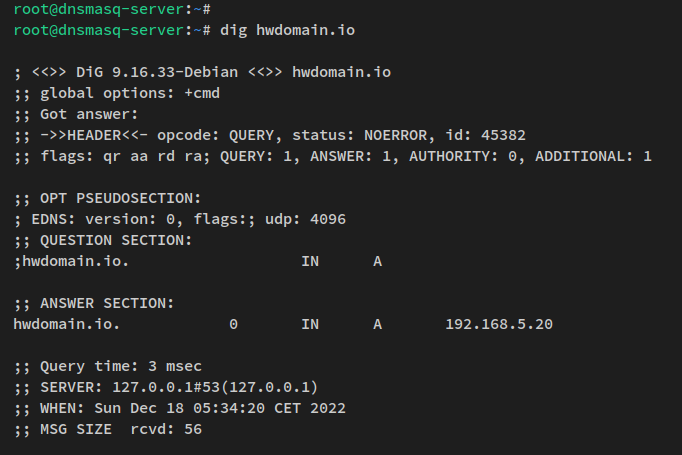
dig howtoforge.local
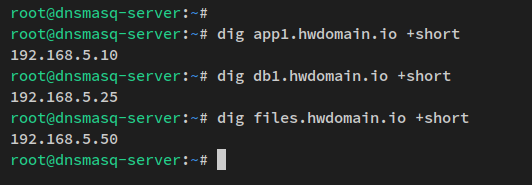
dig app1.howtoforge.local +short
dig db1.howtoforge.local +short
dig files.howtoforge.local +short
Setting up UFW Firewall
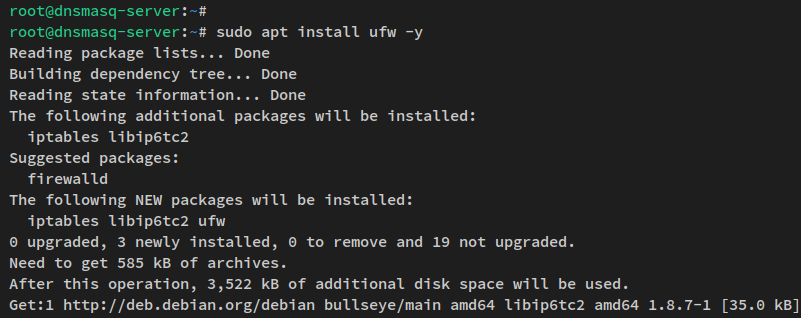
Secure access to the DNS server using UFW:
sudo apt install ufw -y
Allow OpenSSH and DNS port:
sudo ufw allow OpenSSH
sudo ufw allow from 192.168.5.0/24 to any port 53 proto udp
Enable UFW:
sudo ufw enable

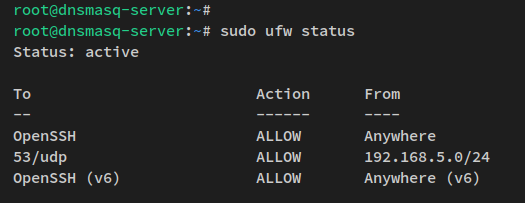
Verify UFW:
sudo ufw status
Setting up Client
Configure a client machine to use the local DNS server:
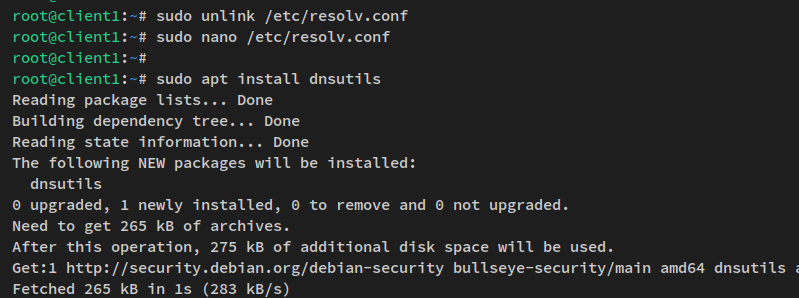
sudo unlink /etc/resolv.conf
sudo nano /etc/resolv.conf
nameserver 192.168.5.20
Save and close the file.
Install dnsutils on the client:
sudo apt install dnsutils
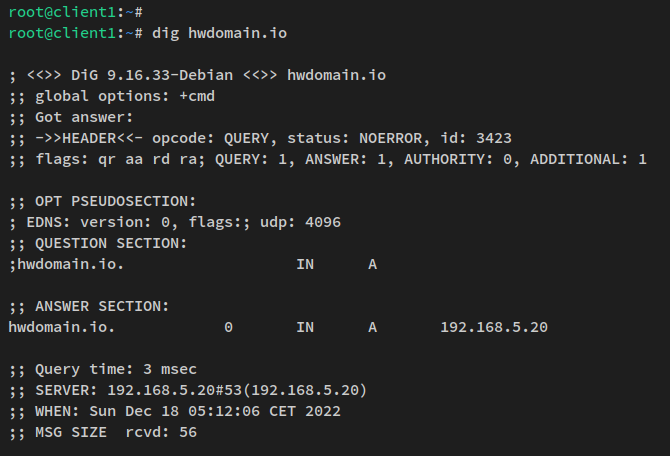
Verify domain resolution:
dig howtoforge.local
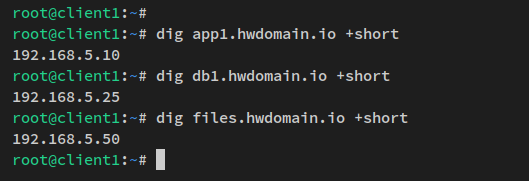
dig app1.howtoforge.local +short
dig db1.howtoforge.local +short
dig files.howtoforge.local +short
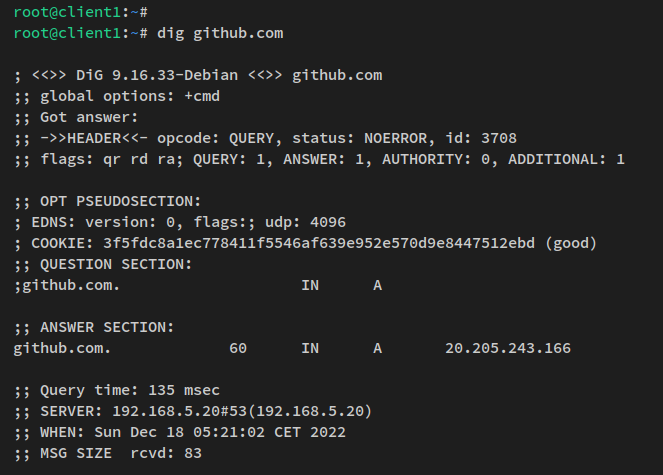
Check public domain access:
dig github.com
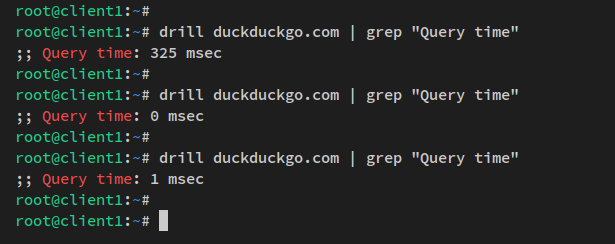
Verify DNS cache:
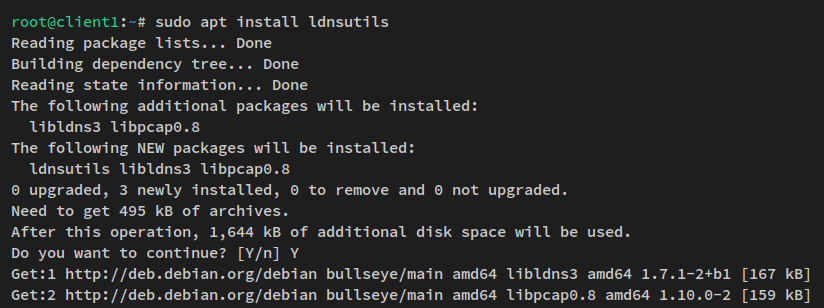
sudo apt install ldnsutils
drill duckduckgo.com | grep "Query time"
drill duckduckgo.com | grep "Query time"
dig +noall +stats duckduckgo.com
dig +noall +stats duckduckgo.com
Conclusion
This tutorial has guided you through setting up a local DNS server with Dnsmasq on Debian 12, configuring local domain names, enabling DNS cache, and setting up a DHCP server. You have also learned to configure a client machine to use the Dnsmasq server.
FAQ
What is Dnsmasq?
Dnsmasq is a lightweight DNS, DHCP, and TFTP server suitable for low-resource systems, providing DNS forwarding, recursive DNS services, and caching.
Why disable systemd-resolved?
The systemd-resolved service must be disabled to allow Dnsmasq to handle DNS resolution without conflicts.
How to verify Dnsmasq is working?
Use tools like dig and drill to query domain names and check for expected IP addresses, confirming Dnsmasq’s DNS handling.
What does the UFW firewall do in this setup?
UFW secures your DNS server by controlling network traffic, allowing only specified connections to the DNS and SSH services.
Can I use Dnsmasq on other systems?
Yes, Dnsmasq can run on various operating systems, including Linux, BSDs, Android, and macOS.
