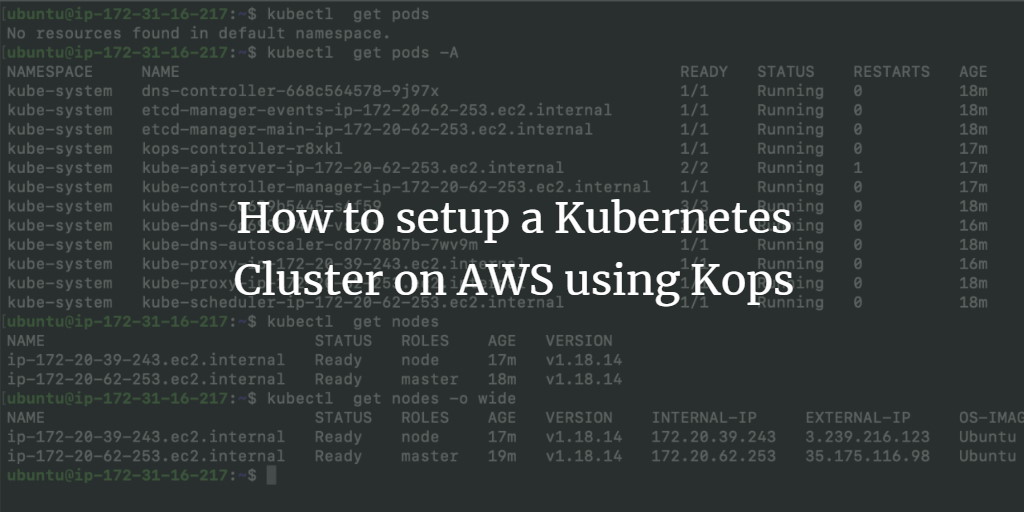
Kops is a powerful tool designed to make managing Kubernetes clusters as simple as possible. It serves as a command-line utility for creating Kubernetes clusters, with official support for AWS, while Google Cloud Platform (GCP), DigitalOcean, and OpenStack are in beta stages. Kops can also generate Terraform files to further customize your cluster configuration. With Kops, you can easily create, modify, delete, and upgrade clusters effortlessly.
This guide will walk you through creating a Kubernetes cluster featuring 1 master and 1 worker node on AWS. Prior familiarity with Kubernetes is recommended.
Prerequisites
- An AWS Account (Create here if you haven’t got one).
- An Ubuntu 18.04 EC2 Instance (Learn to create an instance by clicking here).
- An S3 Bucket (Create one by following this guide).
- A Domain Name (Search “How to buy a Domain Name on AWS?” for a tutorial).
- An IAM Role with sufficient or administrative permissions (Find out how to create an IAM role here).
Steps We Will Undertake
- Log into AWS.
- Verify the S3 Bucket and IAM Role.
- Attach IAM Role to the instance.
- Install Kubectl and Kops on the EC2 instance.
- Validate Recordset rules and a hosted zone.
- Create a Kubernetes Cluster using Kops.
- Delete the cluster.
Log into AWS
Navigate to the AWS login page by clicking here and enter your credentials. Post successful login, you’ll arrive at the AWS Management Console.
Verify the S3 Bucket and IAM Role
Kops requires an S3 bucket for storing cluster configurations, so make sure to verify the availability of the desired S3 bucket.

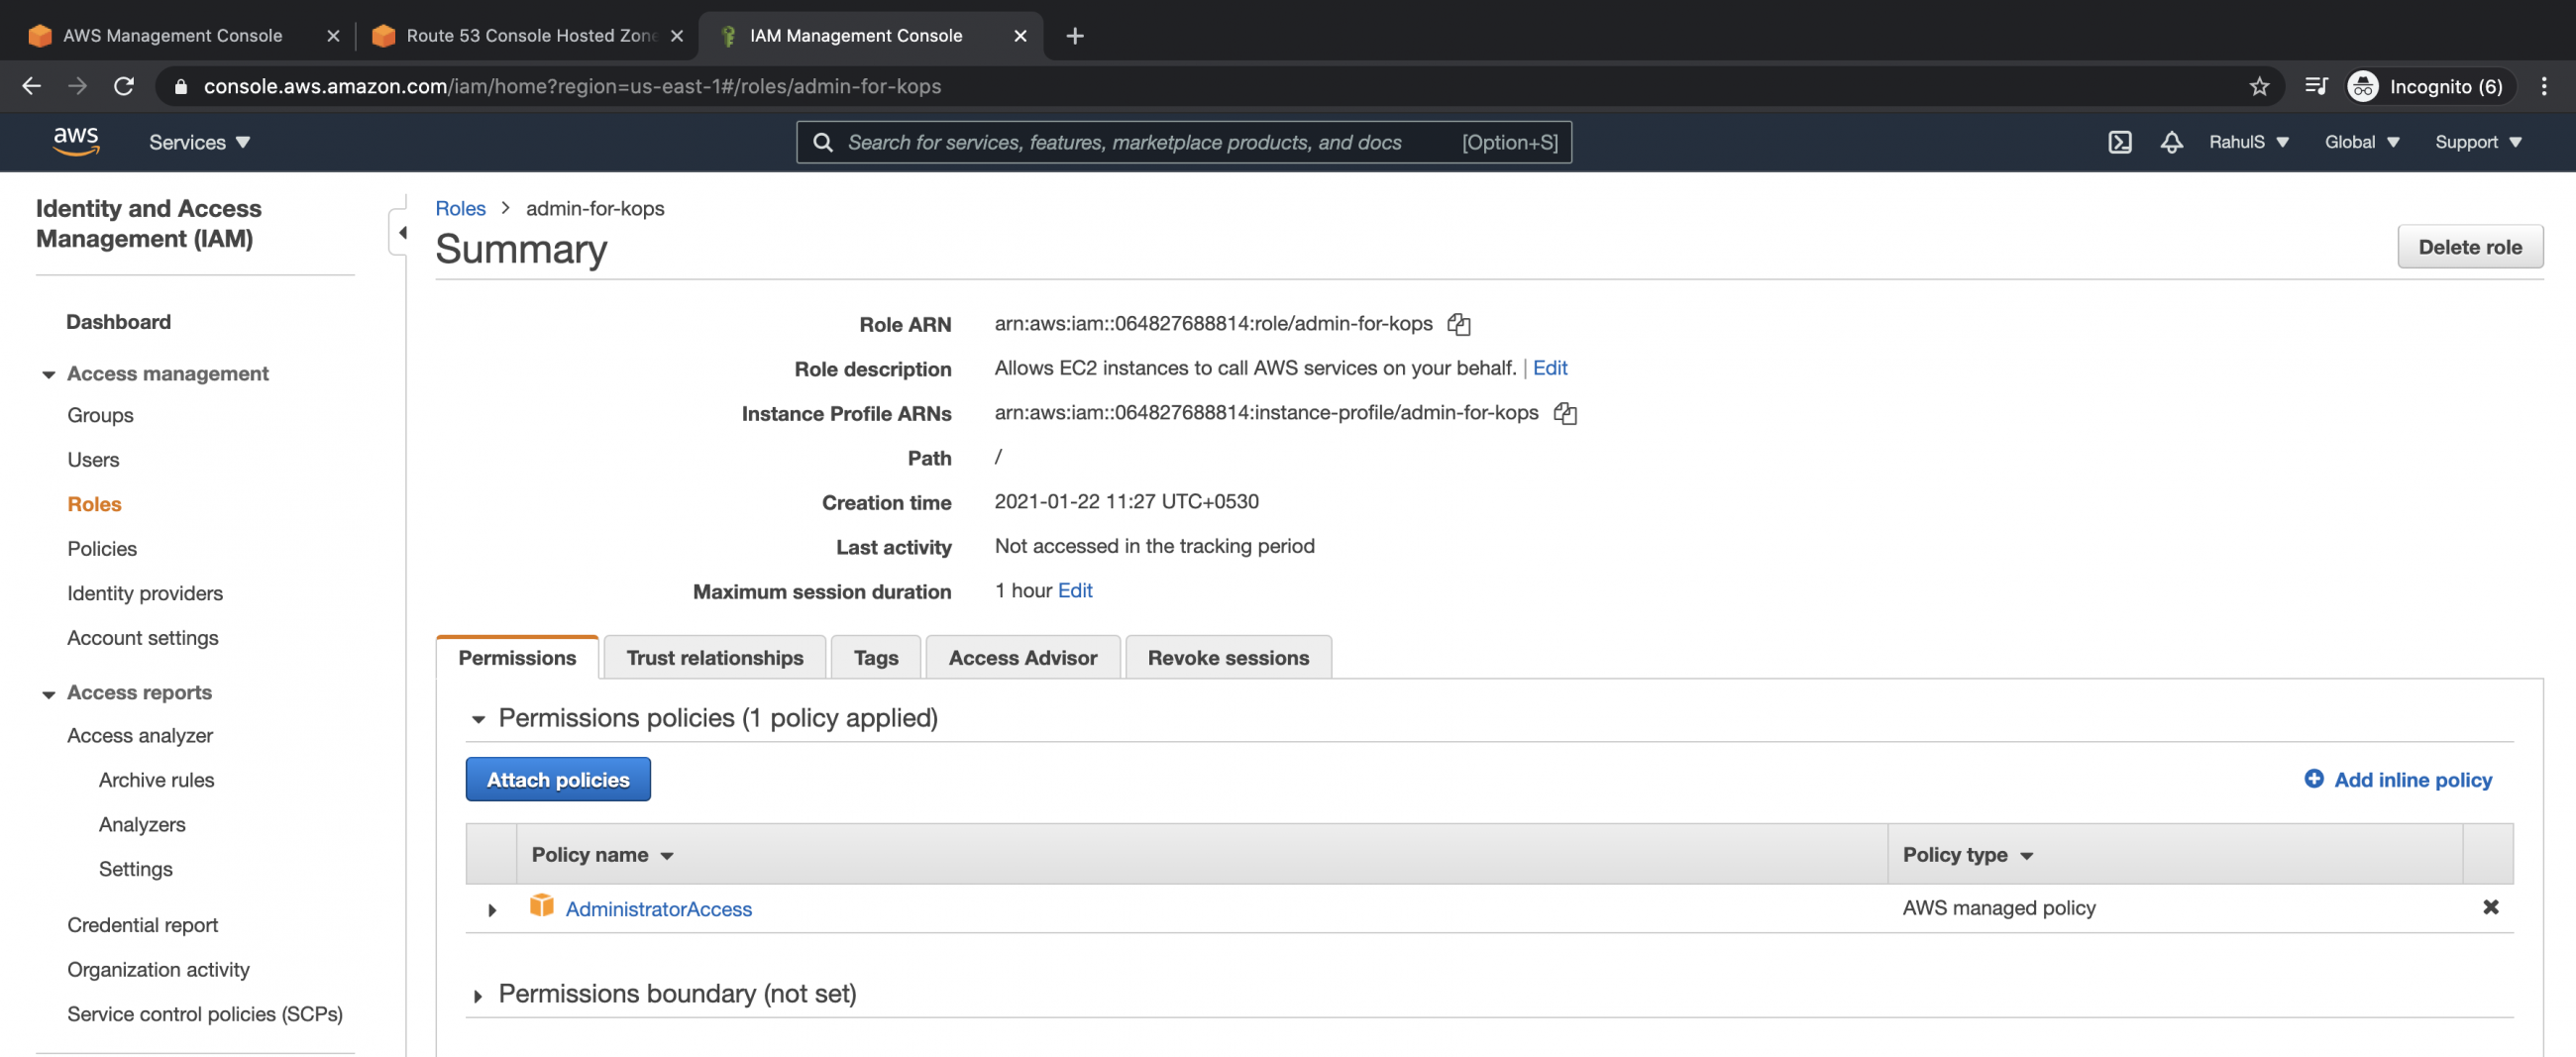
Ensure that the IAM role has ample permissions. While Kops doesn’t require admin privileges, using an admin role can help prevent access issues if you’re new to AWS IAM.
Attaching IAM Role to the Instance
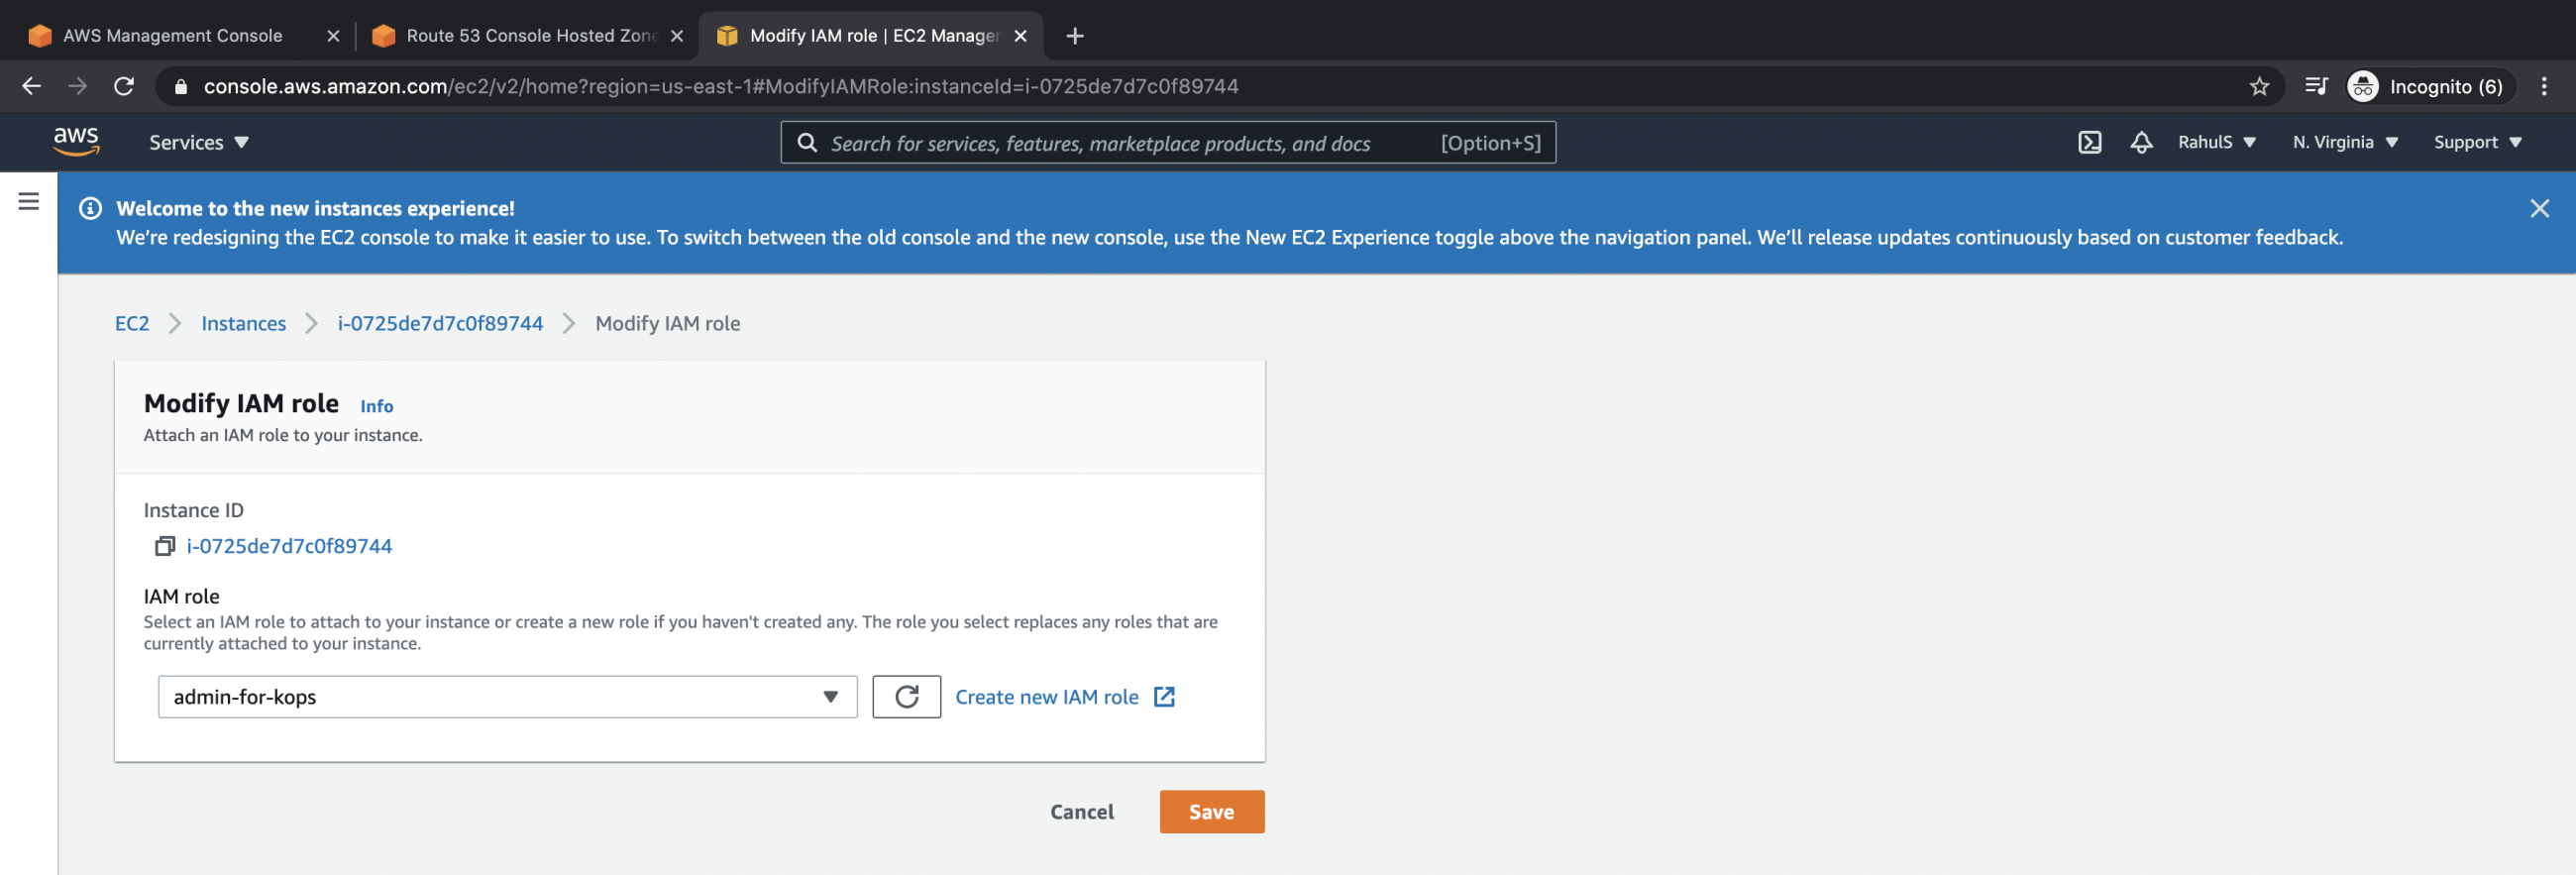
After confirming the IAM Role, attach it to your instance. Navigate to EC2, choose your EC2 instance, click on Actions, then Security, and finally Modify IAM role.

Select the IAM role and confirm your selection.
Install Kubectl and Kops on EC2 Instance
You should now have an S3 bucket and an EC2 instance with the necessary IAM role. Log into the EC2 instance for cluster creation using Kops.
Begin by installing Kubectl with the following commands:
curl -LO "https://dl.k8s.io/release/$(curl -L -s $(curl -LO "https://dl.k8s.io/$(curl -L -s https://dl.k8s.io/)
echo "$ kubectl.sha256) kubectl" | sha256sum --check
sudo install -o root -g root -m 0755 kubectl /usr/local/bin/kubectl
mkdir -p ~/.local/bin/kubectl
mv ./kubectl ~/.local/bin/kubectl
Verify Kubectl installation:
kubectl version --client
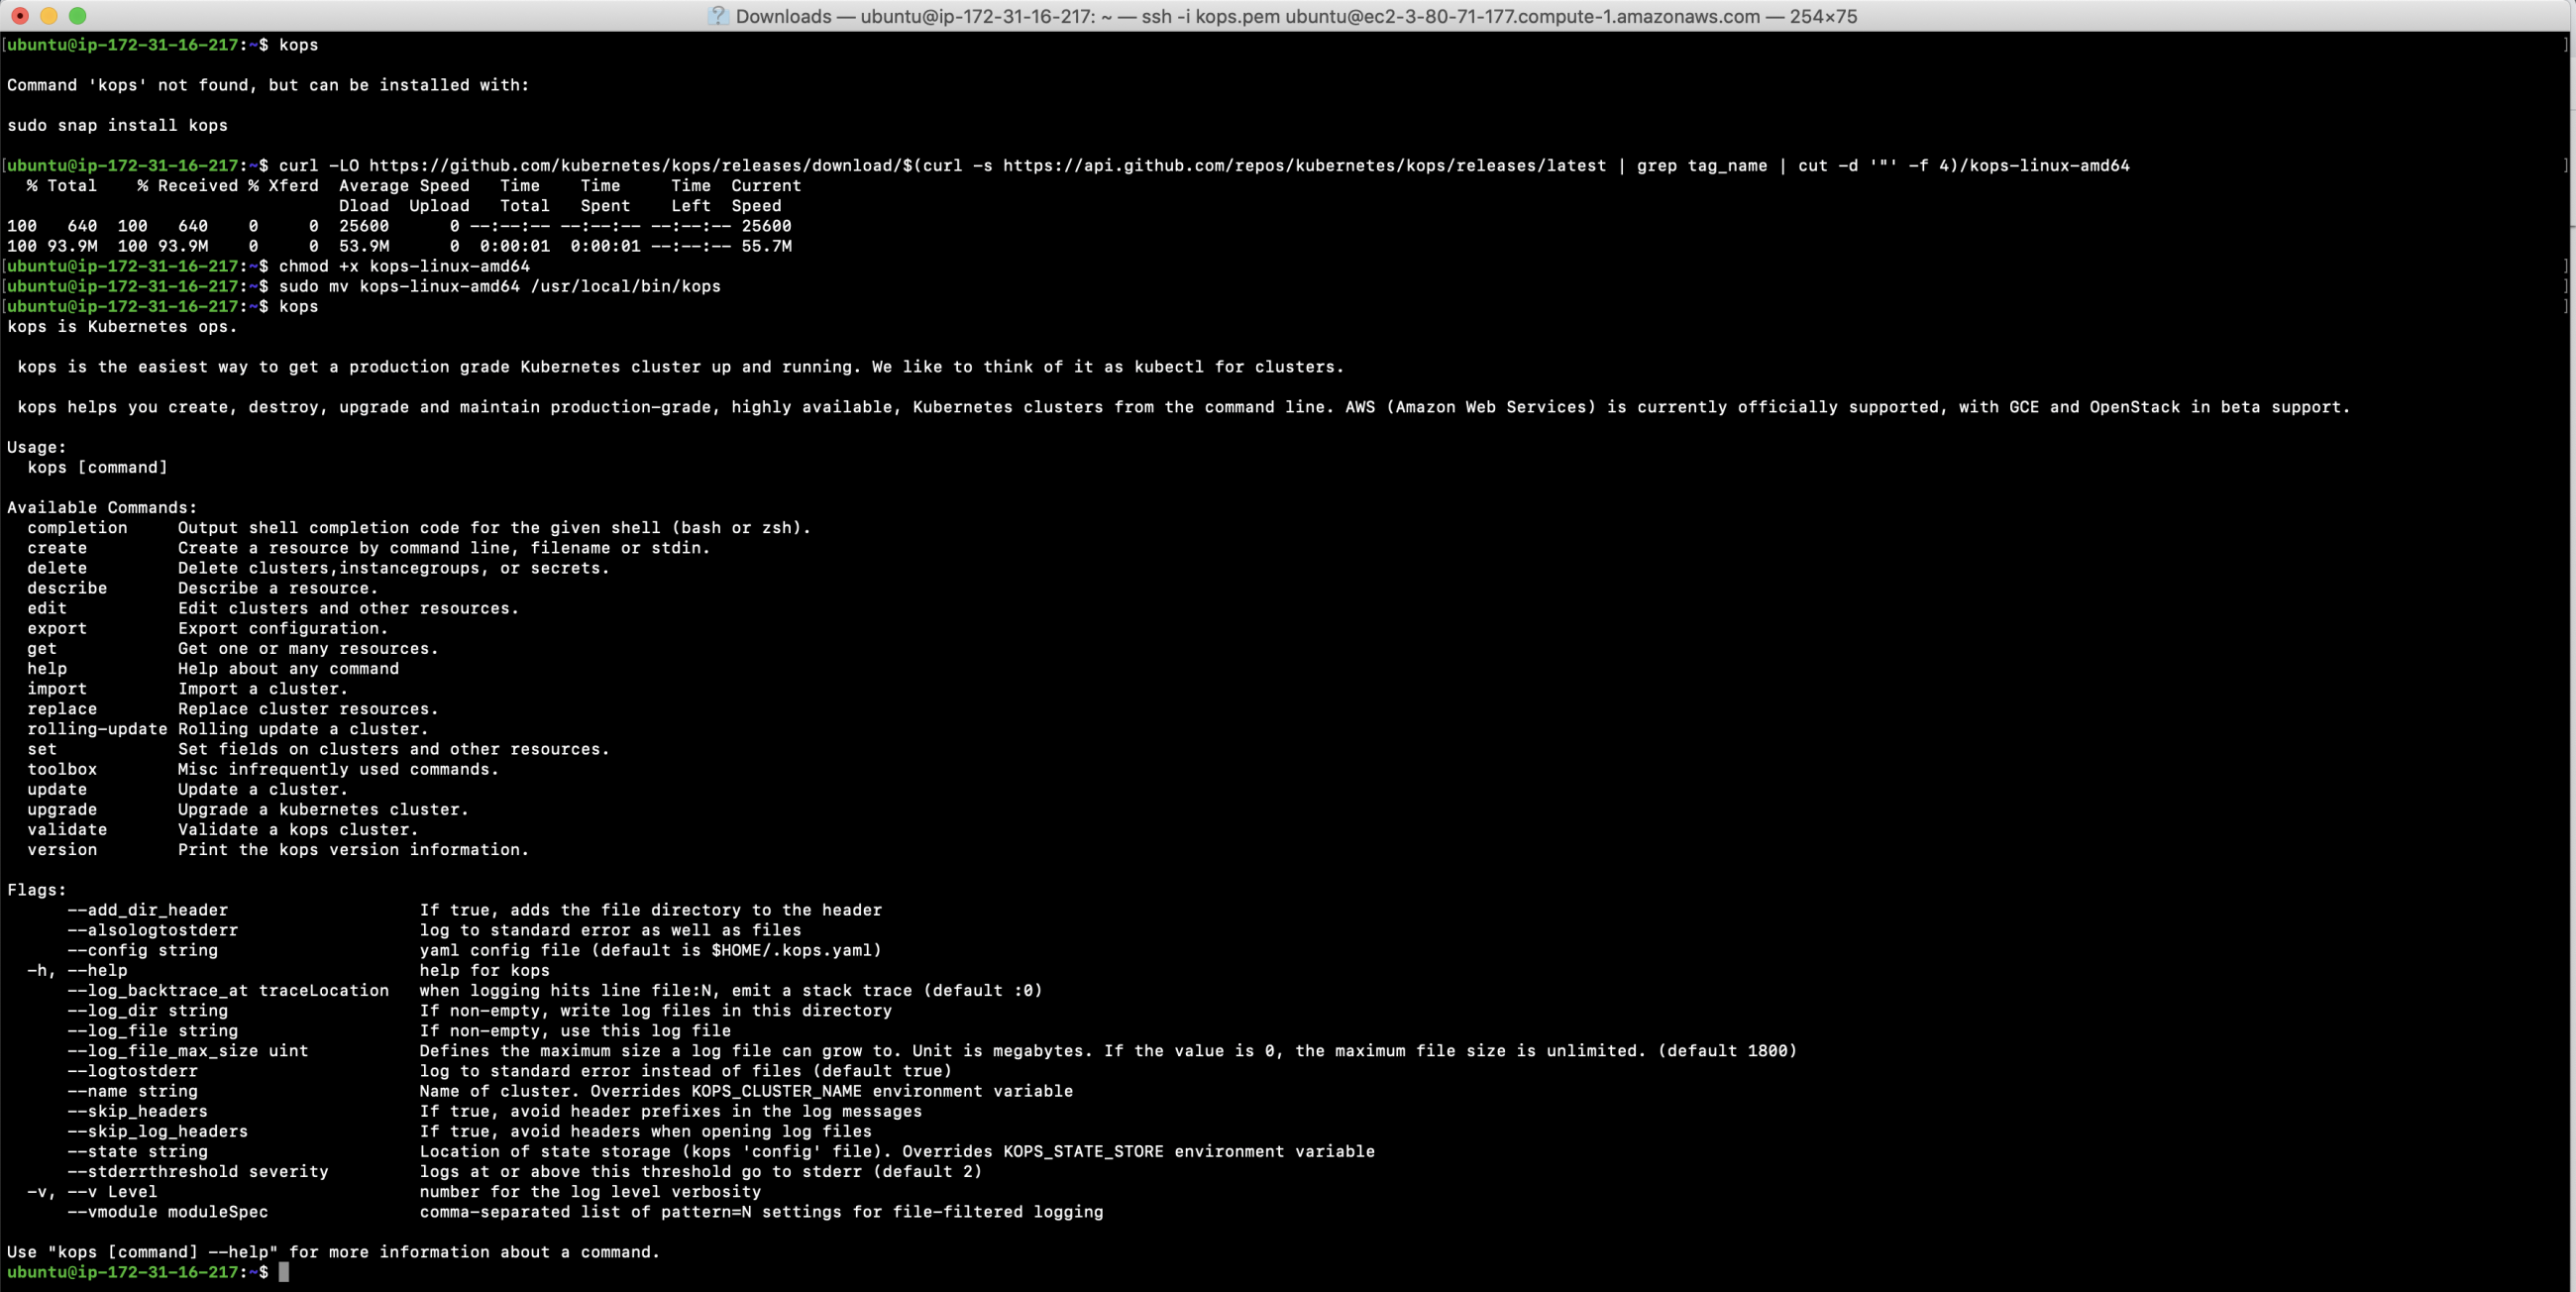
Next, install Kops. Ensure Kops is available; if not, install using:
kops
curl -LO https://github.com/kubernetes/kops/releases/download/$(curl -s https://api.github.com/repos/kubernetes/kops/releases/latest | grep tag_name | cut -d '"' -f 4)/kops-linux-amd64
chmod +x kops-linux-amd64
sudo mv kops-linux-amd64 /usr/local/bin/kops
Verify Kops installation:
kops

Validating Recordset Rules and Hosted Zone
Kops requires DNS records to establish a cluster. For example, observe a second hosted zone in Route53:
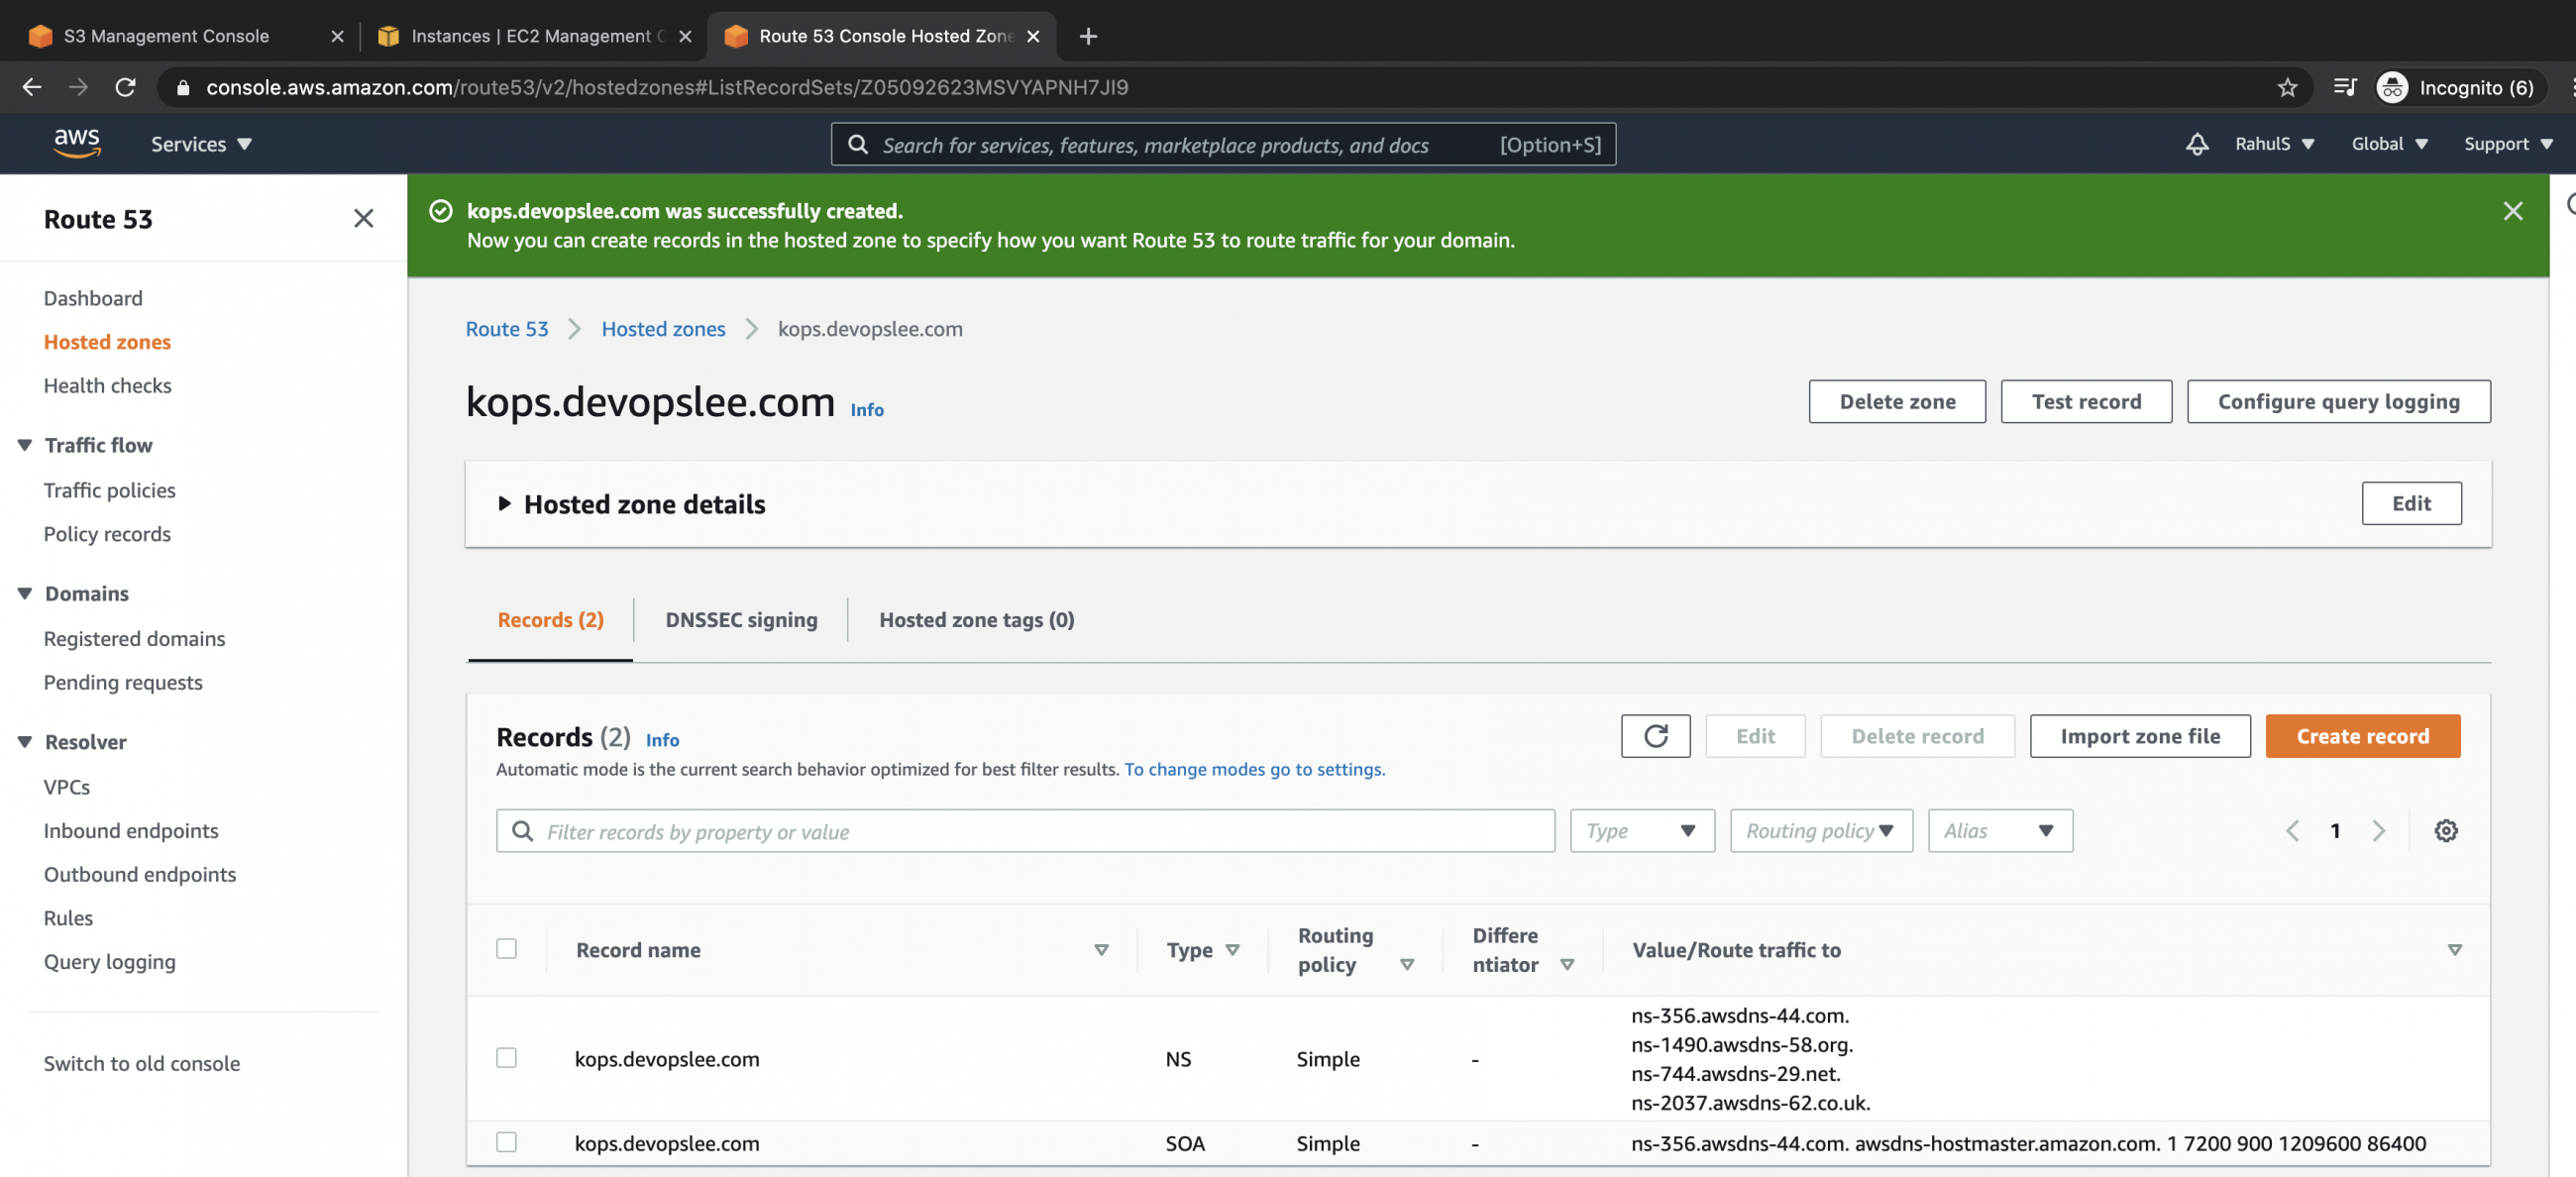
NS servers of the SUBDOMAIN are copied to the PARENT domain in Route53. Check Route53 –> Hosted zones — > main Hosted zone –> Recordset for verification.
Create a Kubernetes Cluster using Kops
Let’s proceed to create a cluster:
- Master Node: t2.medium instance
- Worker Node: t2.micro instance
- Availability zones: us-east-1a, us-east-1b, us-east-1c
kops create cluster --name kops.devopslee.com --state s3://kops.devopslee.com --cloud aws --master-size t2.medium --master-count 1 --master-zones us-east-1a --node-size t2.micro --node-count 1 --zones us-east-1a,us-east-1b,us-east-1c
Specify an SSH key to avoid errors.
ls -l ~/.ssh/
Generate a new key pair if absent:
ssh-keygen

Include the SSH key in the cluster command, deleting previous configurations if necessary:
kops delete cluster --name kops.devopslee.com --state s3://kops.devopslee.com --yes
kops create cluster --name kops.devopslee.com --state s3://kops.devopslee.com --cloud aws --master-size t2.medium --master-count 1 --master-zones us-east-1a --node-size t2.micro --node-count 1 --zones us-east-1a,us-east-1b,us-east-1c --ssh-public-key ~/.ssh/id_rsa.pub
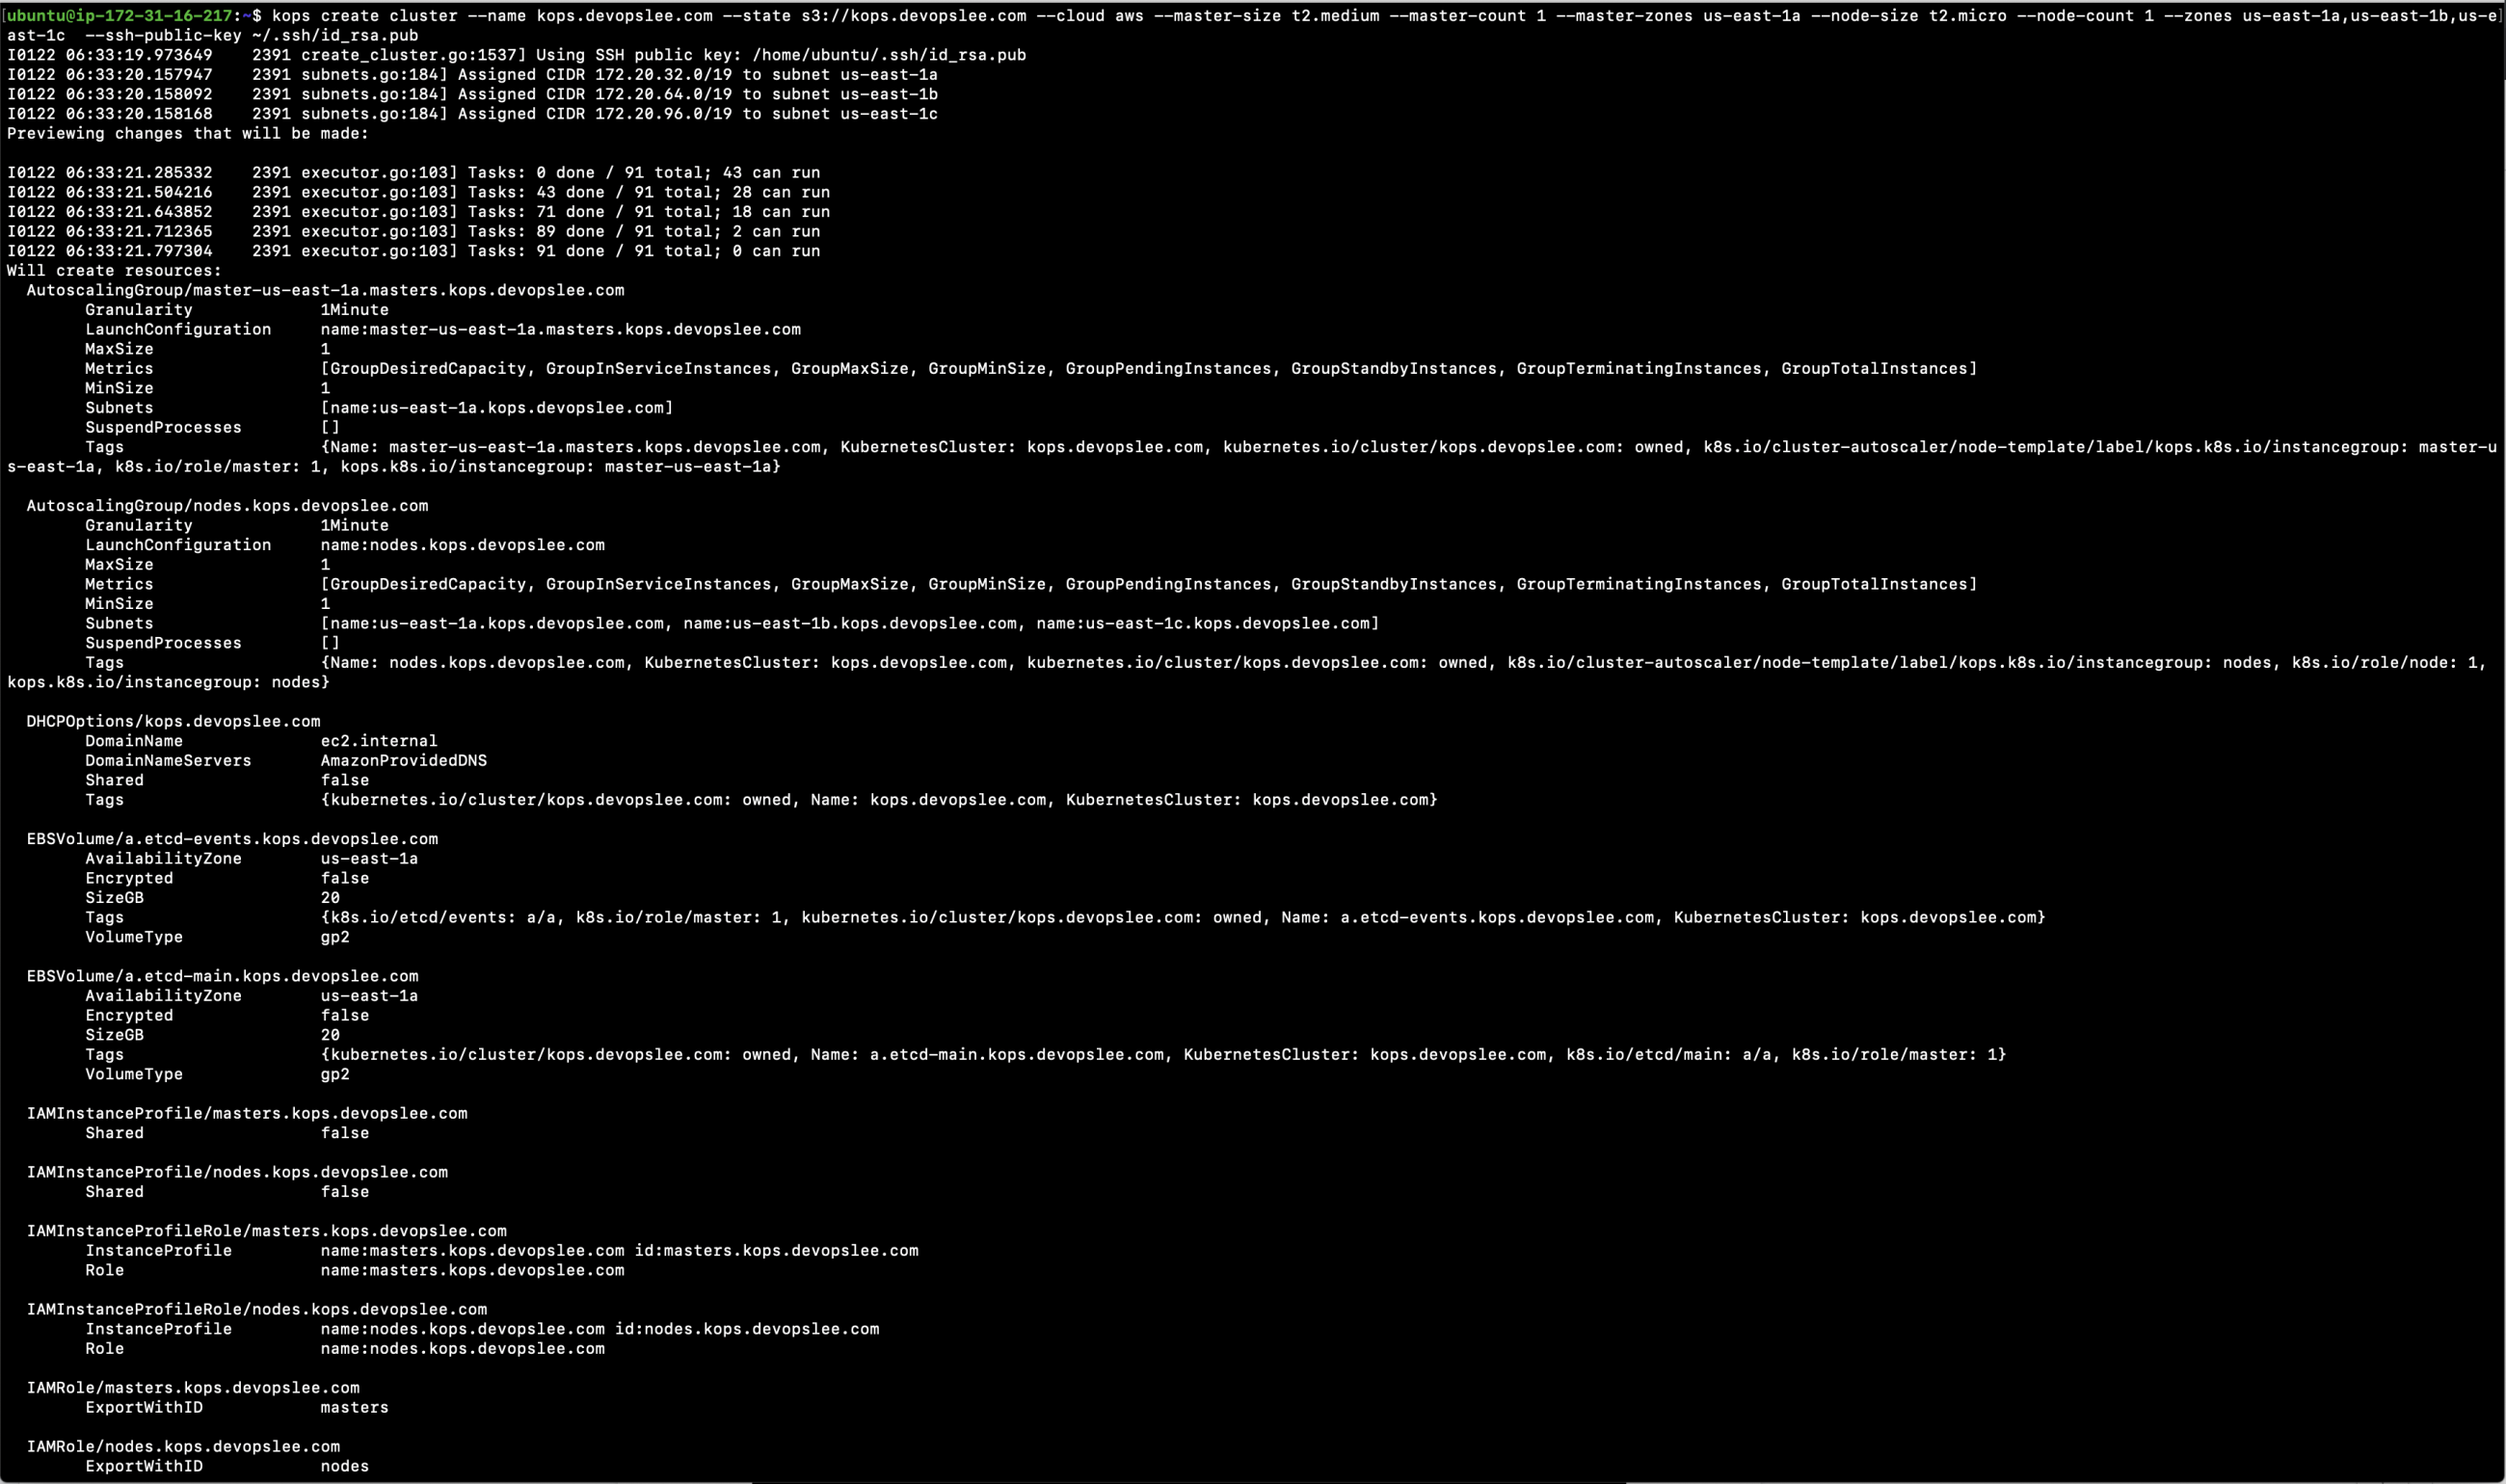
Cluster configuration is now available. Make necessary edits or continue with resource creation:
kops update cluster --name kops.devopslee.com --yes
kops validate cluster --wait 10m

Cluster will be operational once resources are online.
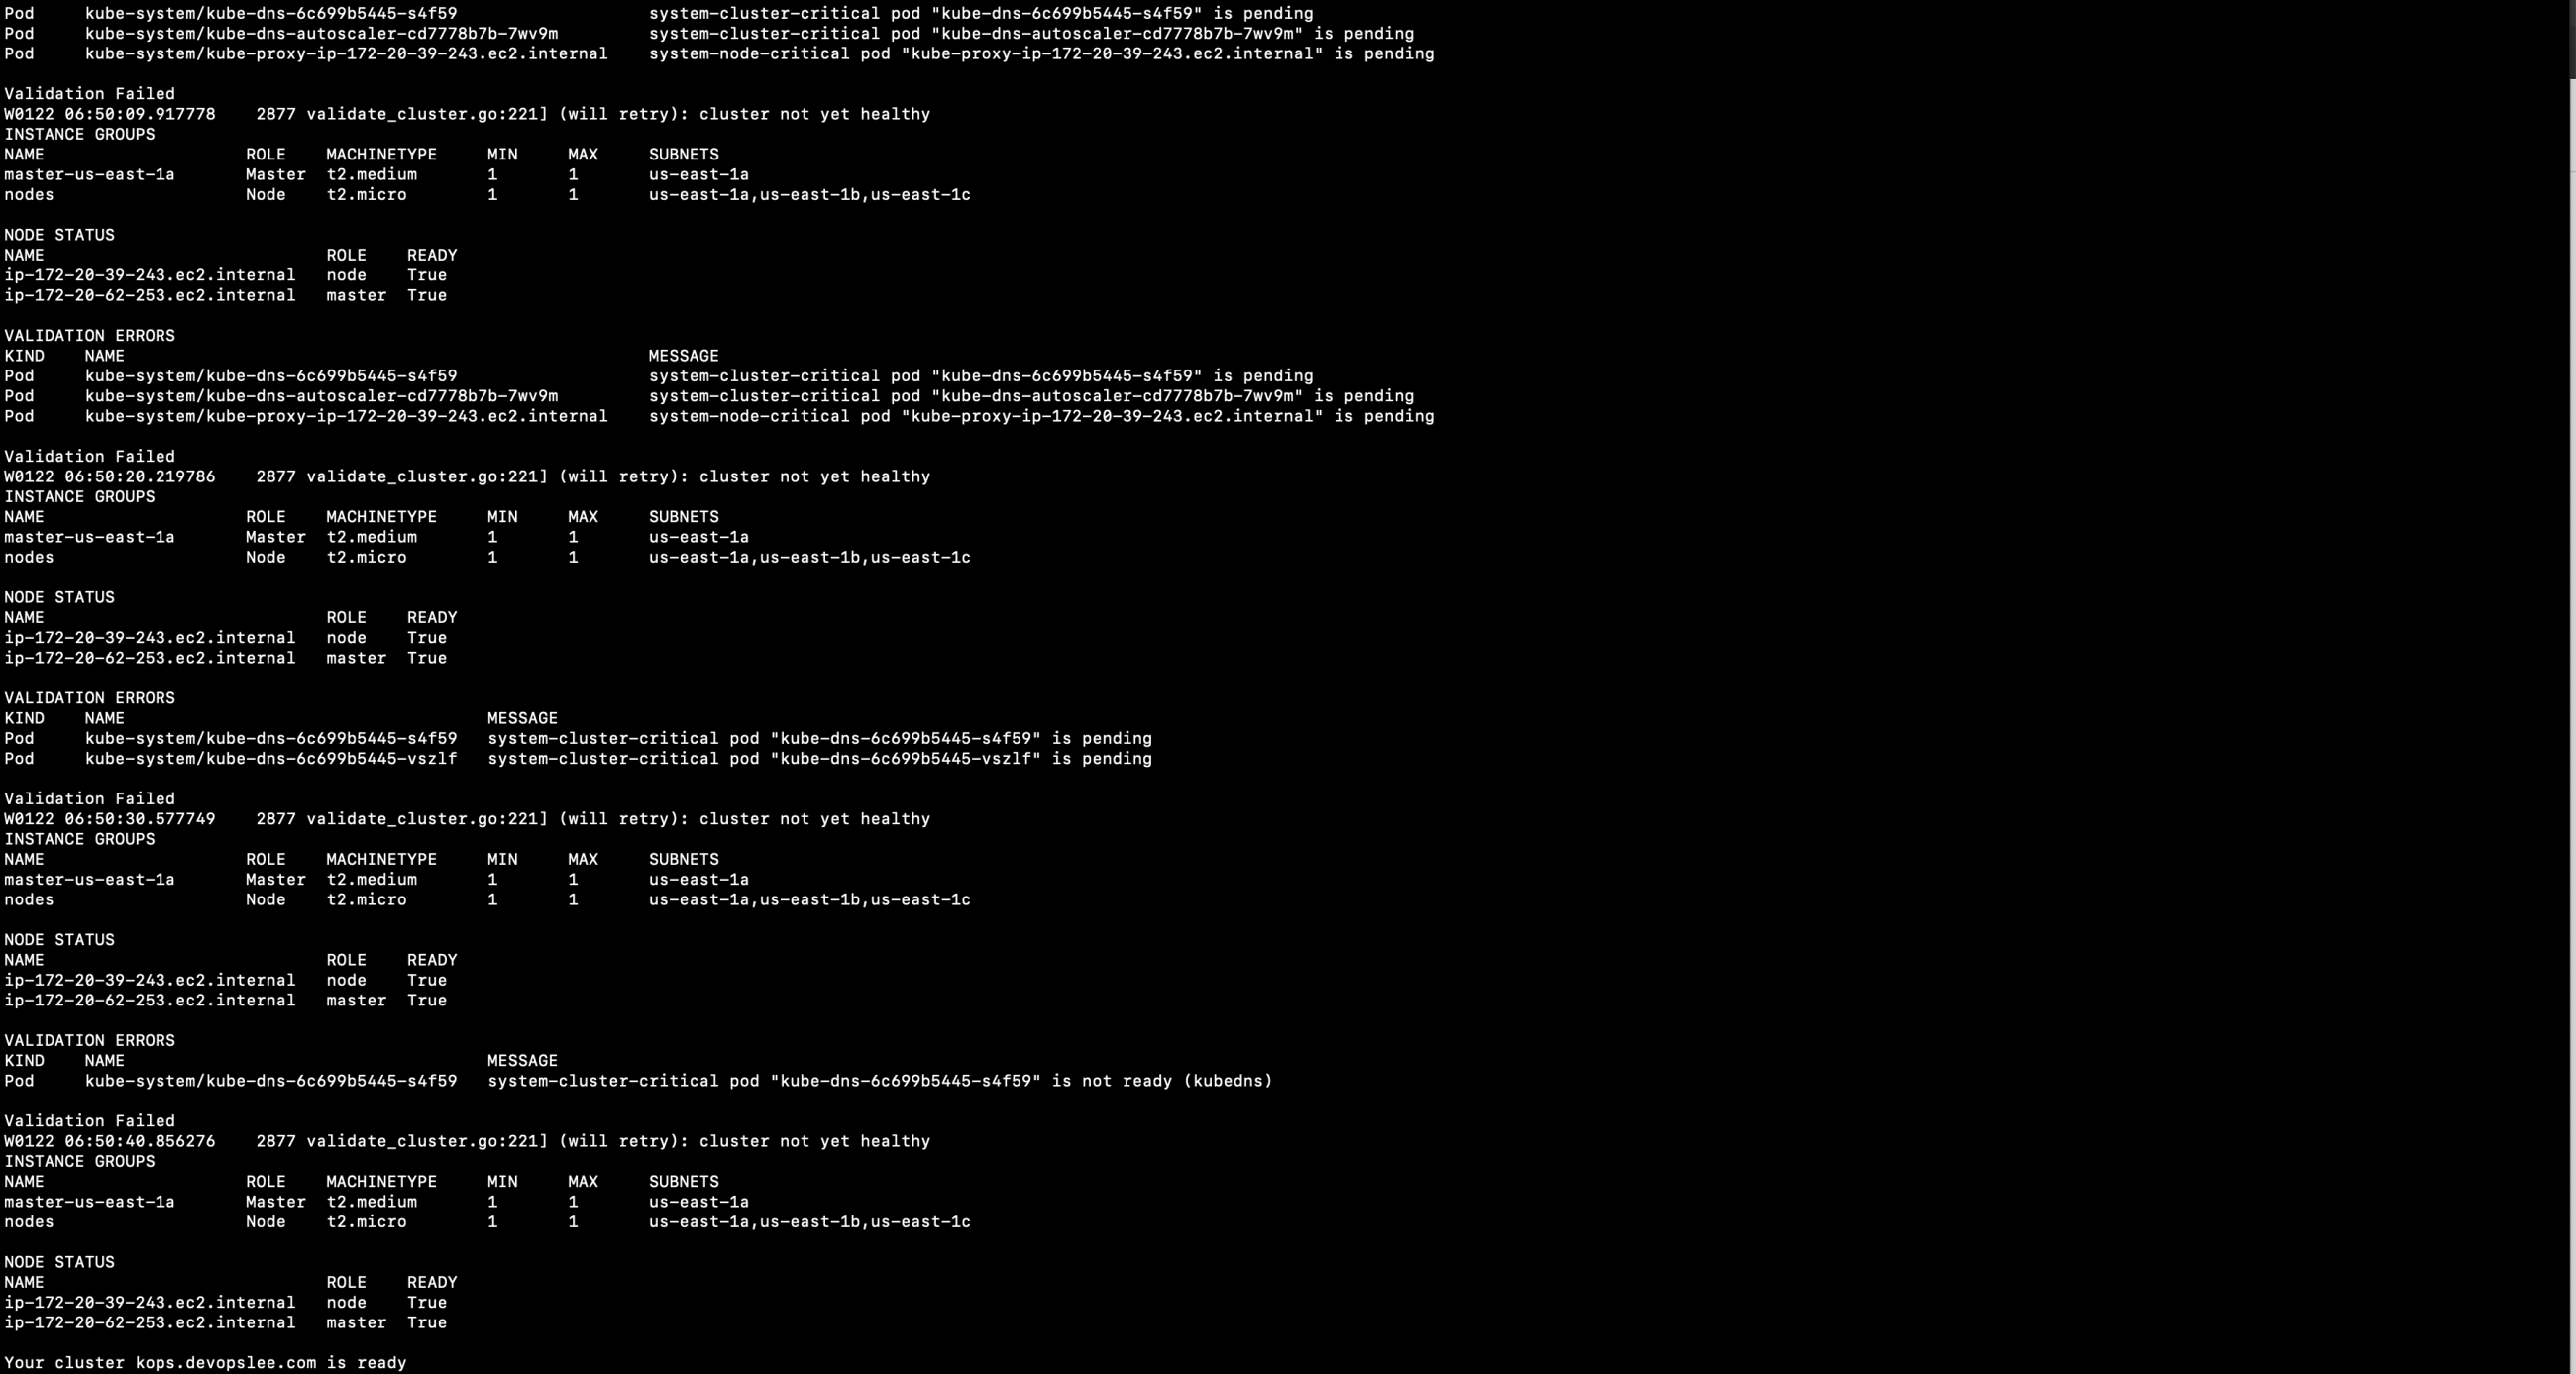
Verify the cluster:
kubectl get pods
kubectl get pods -A
kubectl get nodes
kubectl get nodes -o wide

Delete the Cluster
To remove no longer needed clusters, use the command below:
kops delete cluster --name kops.devopslee.com --state s3://kops.devopslee.com --yes
This will remove all resources deployed by Kops.

Conclusion
This guide has covered the entire process of setting up and tearing down a Kubernetes cluster using Kops on AWS. Having a domain simplifies the process, and now you can manage cluster lifecycle operations with ease.
FAQ
- Do I have to use AWS to manage my Kubernetes clusters with Kops?
No, while AWS is officially supported, Kops additionally supports GCP, DigitalOcean, and OpenStack, though these platforms are currently in Beta. New users are advised to start with AWS for the most stable experience. - What is the purpose of the S3 bucket in Kops?
The S3 bucket is used by Kops to store state information and configuration data about your cluster securely. - Is it necessary to have admin-level permissions for Kops?
Kops does not inherently require admin permissions. However, for seamless operations and to avoid any permission-related issues, it is not unusual for users to provision Kops with such permission levels. - Can I manually configure the cluster once it’s set up?
Absolutely. Kops offers Terraform files for those looking to customize their Kubernetes cluster further, offering flexibility and control over your infrastructure setup.
