Nginx and Apache are both free, open-source, and among the most popular web servers globally. While Apache is recognized for its robustness, Nginx stands out for its speed. Each has its strengths and limitations, with Nginx excelling in serving static content and Apache being better suited for dynamic content. By integrating both servers, you can leverage their strengths for enhanced performance.
This guide will walk you through configuring Apache as a backend server while using Nginx as a reverse proxy for Apache on a Debian 11 system.
Prerequisites
- A server running Debian 11.
- A root password configured on the server.
Getting Started
First, update your system’s package cache to ensure you have the latest versions. Execute the following command:
apt-get update -y
After updating the package cache, install necessary dependencies using this command:
apt-get install gnupg2 curl -y
With all required dependencies in place, you can proceed to the next step.
Install and Configure Apache
In this section, we will install the Apache web server and configure it to run on port 8000.
Start by installing Apache with the following command:
apt-get install apache2 -y
Once Apache is installed, modify the port configuration file:
nano /etc/apache2/ports.conf
Change the default Apache port from 80 to 8000:
Listen 8000
Save and close the file, then edit the default Apache configuration file:
nano /etc/apache2/sites-enabled/000-default.conf
Alter the default port from 80 to 8000 as shown:
<VirtualHost *:8000>
Save and close the file, then restart the Apache service to apply the changes:
systemctl restart apache2
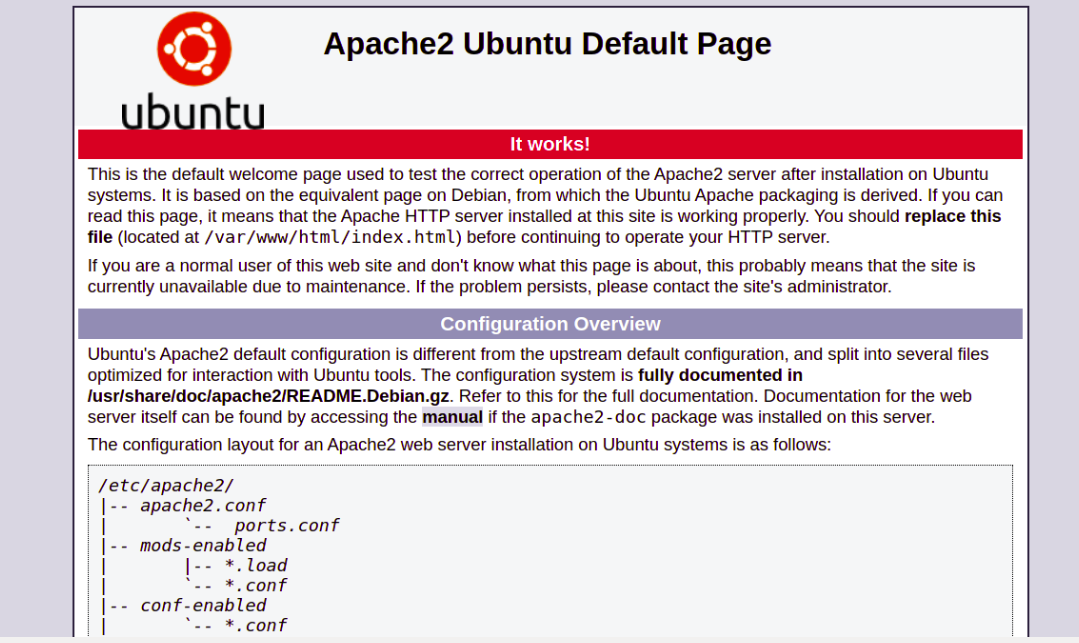
Now, open a web browser and access the Apache test page via http://your-server-ip:8000. You should see the default Apache test page as shown below:

Install and Configure Nginx
Next, we’ll set up Nginx as a reverse proxy to forward incoming requests to the Apache server.
First, install Nginx with the following command:
apt-get install nginx -y
Once Nginx is installed, edit the default virtual host configuration file:
nano /etc/nginx/sites-enabled/default
Clear the existing contents and add these lines:
server {

    listen 80;
    index index.php index.html index.htm;

    server_name your-server-ip;

    location / {
        proxy_pass http://localhost:8000;
        proxy_set_header Host $http_host;
        proxy_set_header X-Real-IP $remote_addr;
        proxy_set_header X-Forwarded-For $proxy_add_x_forwarded_for;
        proxy_set_header X-Forwarded-Proto $scheme;
    }
    }
Save and close the file, then verify the Nginx configuration for syntax errors with:
nginx -t
Finally, reload the Nginx service to apply the changes:
systemctl restart nginx
Verify Nginx Web Server
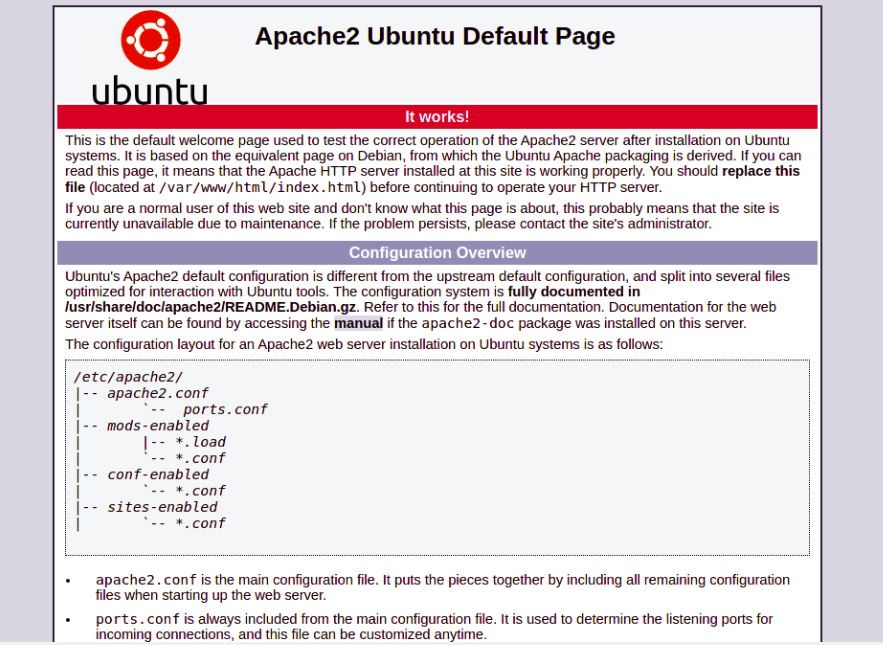
Nginx is now set up to forward requests to the Apache backend. Access your web browser and type the URL http://your-server-ip. You should see the Apache web server’s default page as shown below:

Conclusion
Congratulations! You have successfully set up Nginx as a reverse proxy for Apache. This configuration can be used in a production environment to enhance your website’s performance.
Frequently Asked Questions (FAQ)
- Why use Nginx as a reverse proxy?Using Nginx as a reverse proxy can help improve load times, manage network traffic more efficiently, and allow better handling of concurrent requests, ultimately enhancing the user experience.
- Can I run Nginx and Apache on the same server?Yes, by configuring them on different ports, they can coexist on the same server, leveraging each other’s strengths for different types of content.
- Is it necessary to configure Apache on a different port?Yes, configuring Apache on a separate port (other than 80, which Nginx uses) allows Nginx to handle incoming traffic on port 80 and proxy it to Apache.
- How can I check if the Nginx configuration is correct?After modifying the configuration file, run
nginx -t. This command checks the configuration for any syntax errors.
