Pydio is a robust open-source solution designed for web-based file synchronization and sharing, similar to services like Google Drive. Predominantly developed using PHP and Ajax, Pydio can be installed on a Linux virtual private server or physical server running Apache/Nginx, PHP, and MySQL/MariaDB (commonly referred to as LAMP or LEMP stack). Additionally, it can also be deployed in the cloud.
This tutorial will guide you through the installation and configuration of Pydio Community Edition from source on the Debian 9 platform, utilizing a LAMP stack. We’ll take you through the full installation process to set up a private online cloud for sharing documents, videos, music, or other file types.
Requirements
The following are necessary to deploy a Pydio file sharing solution:
- A server (physical, virtual, or VPS) with at least 2GB RAM and Debian 9 installed.
- A network interface card configured with a static IP address or DHCP server capable of consistent assignment.
- Root access via SSH or console, either with root or sudo privileges.
- A domain name (public or private) with required DNS records, A and CNAME, or using server IP to access without a domain.
- An email server for features such as registration. Public email services like Gmail or Yahoo can also be used.
Pre-Requirements
Log in to your server console using a root account or an account with root permissions. Run the following commands to ensure Debian is updated with the latest security patches and software.
apt update
apt upgrade
Configure the hostname for your machine:
hostnamectl set-hostname www.mysharedfiles.com
Verify the hostname settings:
hostnamectl
cat /etc/hostname
hostname -f
hostname -s
Reboot the server:
systemctl reboot
After reboot, install necessary utilities like zip, curl, wget, and imagemagick:
apt install bash-completion zip unzip curl wget imagemagick unoconv
For managing Samba shares with Pydio, install the Samba client:
apt-get install smbclient
Install Apache and PHP
Install Apache server and PHP, including Pydio’s required PHP modules:
apt install apache2 libapache2-mod-php7.0 php7.0 php7.0-gd php7.0-opcache php7.0-json php7.0-mbstring php7.0-xml php7.0-cli php7.0-curl php7.0-zip php7.0-xmlrpc php7.0-intl php-imagick php-smbclient
Verify PHP modules:
php7.0 -m
Enable Apache SSL and rewrite modules to secure website traffic:
a2enmod ssl rewrite
a2ensite default-ssl.conf
Modify Apache default SSL configuration as follows:
nano /etc/apache2/sites-enabled/default-ssl.conf
DocumentRoot /var/www/html
<Directory /var/www/html>
 Options +FollowSymlinks
 AllowOverride All
 Require all granted
</Directory>
Also apply these settings to the default Apache virtual host configuration:
nano /etc/apache2/sites-enabled/000-default.conf
DocumentRoot /var/www/html
<Directory /var/www/html>
 Options +FollowSymlinks
 AllowOverride All
 Require all granted
</Directory>
Restart Apache:
systemctl restart apache2
Configure the Firewall
To permit web traffic, allow HTTP and HTTPS through UFW:
ufw allow 'WWW Full'
ufw allow 80/tcp
ufw allow 443/tcp
Allow SSH traffic for remote connectivity:
ufw allow 22/tcp
If using iptables, run:
apt-get install -y iptables-persistent
iptables -I INPUT -p tcp --destination-port 80 -j ACCEPT
iptables -I INPUT -p tcp --destination-port 443 -j ACCEPT
netfilter-persistent save
systemctl restart netfilter-persistent
systemctl enable netfilter-persistent.service
For SSH access:
iptables -I INPUT -p tcp --destination-port 22 -j ACCEPT
Test Apache server accessibility by launching:
curl ipinfo.io/ip
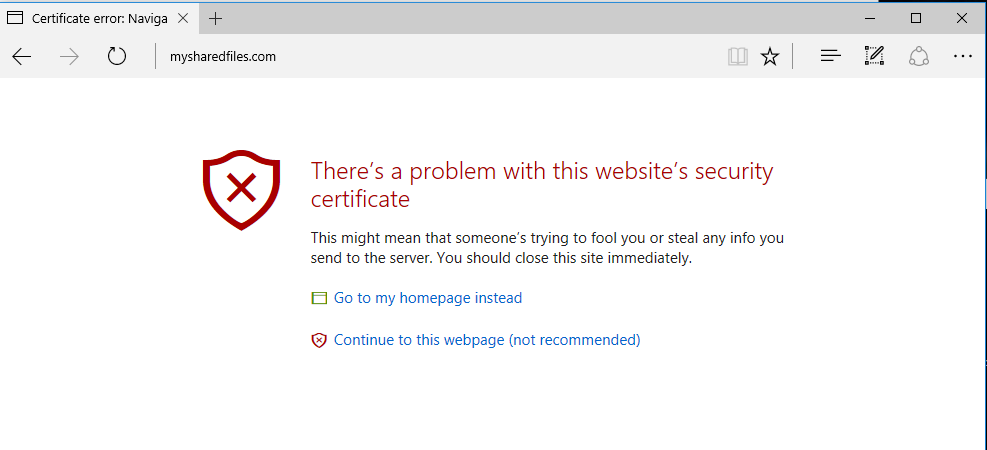
If using a Self-Signed certificate, the browser may display a warning. Continue to Apache’s default page.
https://yourdomain.tld

Next, install MariaDB for Pydio’s database requirements:
Install MariaDB
Installation command for MariaDB and PHP MySQL extension:
apt install mariadb-server mariadb-client php7.0-mysql
Secure MariaDB installation and set up root password:
mysql -h localhost
MariaDB [(none)]> update user set plugin='' where user='root';
MariaDB [(none)]> flush privileges;
MariaDB [(none)]> exit
Run mysql_secure_installation and configure as instructed to secure the database:
mysql_secure_installation
Verify root access constraints:
mysql -h localhost -u root
ERROR 1045 (28000): Access denied for user 'root'@'localhost' (using password: NO)
mysql -h localhost -u root -p
Enter password:
MariaDB [(none)]> exit
Adjust PHP Settings
Edit PHP.ini for necessary configurations, including timezone:
cp /etc/php/7.0/apache2/php.ini{,.backup}
nano /etc/php/7.0/apache2/php.ini
file_uploads = On
memory_limit = 128M
post_max_size = 80M
upload_max_filesize = 80M
output_buffering = 0
date.timezone = Europe/London
For PHP7 OPCache configuration:
nano /etc/php/7.0/apache2/php.ini
[opcache]
opcache.enable=1
opcache.enable_cli=1
opcache.interned_strings_buffer=8
opcache.max_accelerated_files=10000
opcache.memory_consumption=128
opcache.save_comments=1
opcache.revalidate_freq=1
Verify OPCache additions:
grep opcache /etc/php/7.0/apache2/php.ini
Install Ioncube for PHP encryption:
wget https://downloads.ioncube.com/loader_downloads/ioncube_loaders_lin_x86-64.tar.gz
tar xfz ioncube_loaders_lin_x86-64.tar.gz
cp ioncube/ioncube_loader_lin_7.0.so /usr/lib/php/20151012/
Configure and enable Ioncube:
nano /etc/php/7.0/apache2/conf.d/00-ioncube.ini
zend_extension=ioncube_loader_lin_7.0.so
Restart Apache:
systemctl restart apache2
Create PHP info file for verification:
echo '<?php phpinfo(); ?>'| tee /var/www/html/info.php
Check Ioncube and timezone setup in the browser:
https://domain.tld/info.php
Download and Install Pydio
Grab the latest Pydio community edition, extract, and configure:
wget https://download.pydio.com/pub/core/archives/pydio-core-8.0.2.zip
unzip pydio-core-8.0.2.zip
rm /var/www/html/index.html
rm /var/www/html/public/info.php
cp -rf pydio-core-8.0.2/* /var/www/html/
cp pydio-core-8.0.2/.htaccess /var/www/html/
Set permissions and configure localization in bootstrap configuration file:
chown -R www-data:www-data /var/www/html/
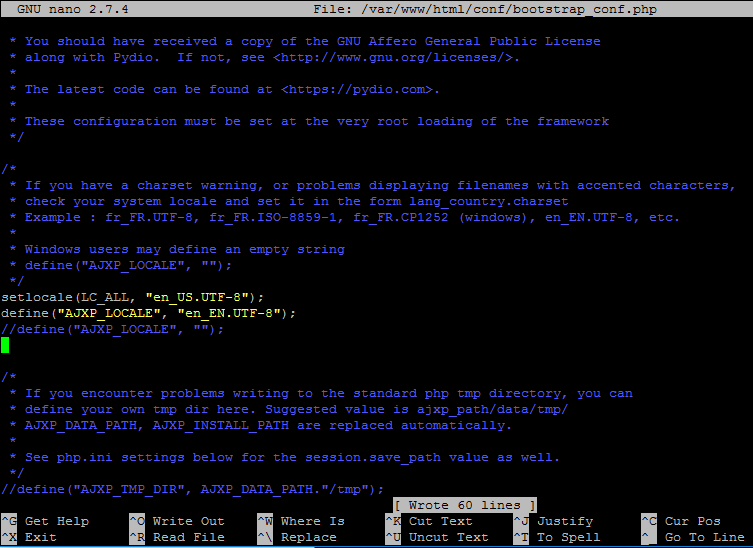
nano /var/www/html/conf/bootstrap_conf.php
setlocale(LC_ALL, "en_US.UTF-8");
define("AJXP_LOCALE", "en_EN.UTF-8");

Create and configure Pydio database:
mysql –u root -p
MariaDB [(none)]> CREATE DATABASE pydio_db;
MariaDB [(none)]> grant all privileges on pydio_db.* to 'pydio_user'@'localhost' identified by 'mypass123';
MariaDB [(none)]> flush privileges;
MariaDB [(none)]> exit
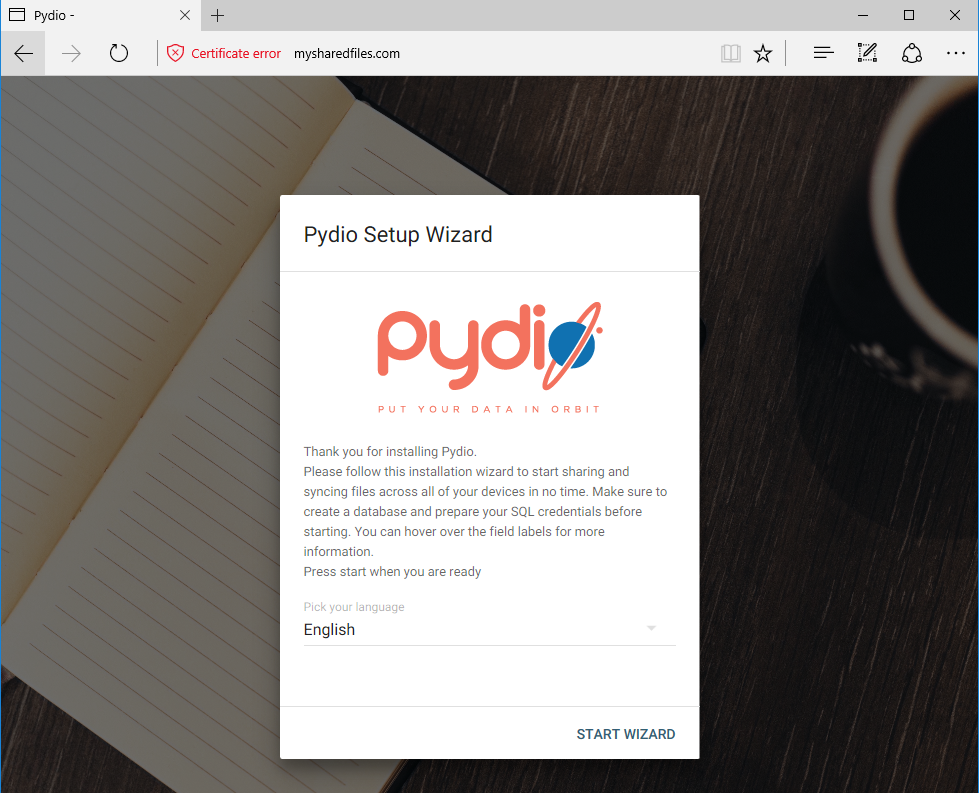
Launch the Pydio installation wizard by visiting your server IP or domain:
https://www.yourdomain.tld

Follow the on-screen instructions to complete the setup.
After installation, log in to Pydio’s admin dashboard.
Enforce HTTPS
To ensure secure access, modify the .htaccess file to redirect HTTP to HTTPS:
nano /var/www/html/public/.htaccess
# Redirect to HTTPS
RewriteCond %{HTTPS} off
RewriteRule (.*) https://%{SERVER_NAME}/$1 [R,L]
Congratulations! You have successfully installed Pydio for file synchronization and sharing on Debian 9.
For additional configurations, visit the Pydio documentation: Pydio Docs
FAQ
- What is Pydio? – Pydio is an open-source web-based file sharing and synchronization solution.
- Can I install Pydio on other Linux distributions? – Yes, Pydio can be installed on any Linux distribution that supports LAMP or LEMP stack.
- Do I need a domain name to use Pydio? – A domain name enhances accessibility, but Pydio can be accessed via IP address if necessary.
- Is SSL mandatory for Pydio? – While not mandatory, SSL encryption is highly recommended to secure data in transit.
- Where can I find more information on Pydio customization? – For more details, refer to Pydio’s official documentation.