Labels are key-value pairs assigned to Kubernetes objects such as Pods, Services, and more. They are essential for organizing and selecting Kubernetes objects. You can attach labels to objects during their creation or modify them at any point thereafter. It’s also possible to add multiple labels to Kubernetes objects.
Selectors, on the other hand, are used to select a group of objects defined by specific label criteria. The label selector serves as the primary grouping mechanism in Kubernetes. The Kubernetes API supports two types of selectors:
- Equality-Based Selectors:
This type allows filtering by key and value, requiring matching objects to satisfy all the specified labels. - Set-Based Selectors:
This type allows filtering by keys according to a set of values.
For more information on Labels and Selectors, click here.
This article will guide you through creating a Pod with labels and directing requests to it using a Service with selectors. Additionally, we’ll demonstrate how to perform get and delete operations on Pods and Services via command line using labels and selectors.
Pre-requisites
- Kubernetes Cluster with at least one worker node.
If you need guidance on setting up a Kubernetes Cluster, click here. This guide will walk you through creating a Kubernetes cluster with one Master and two Nodes on AWS Ubuntu 18.04 EC2 Instances.
What We Will Do
- Create a Pod and Service using Labels and Selectors
- Understand the functionality of Labels
Create a Pod and Service with Labels and Selectors
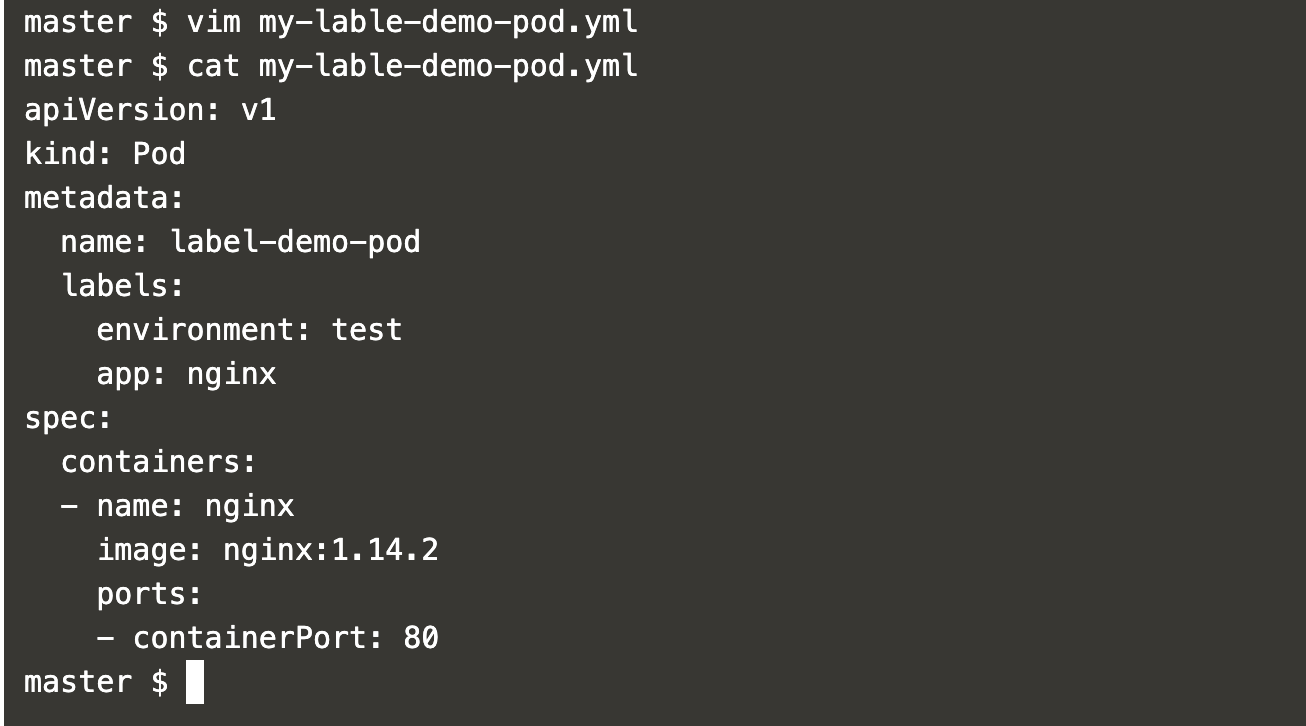
To create a Pod with labels, generate a new file and populate it with the following content:
vim my-label-demo-pod.yml
apiVersion: v1
kind: Pod
metadata:
  name: label-demo-pod
  labels:
    environment: test
    app: nginx
spec:
  containers:
  - name: nginx
    image: nginx:1.14.2
    ports:
    - containerPort: 80

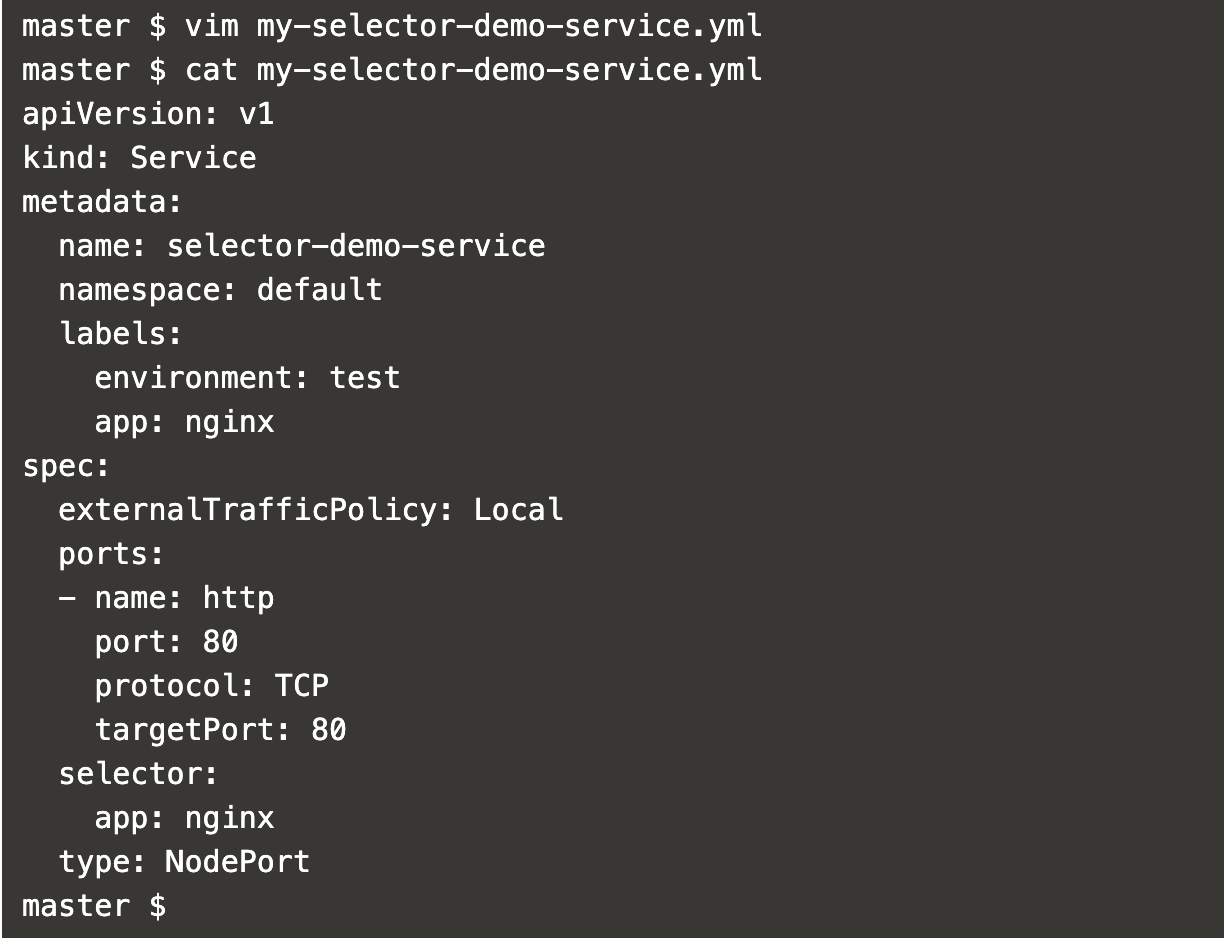
Next, to create a service with a selector, create a file with the following content, which uses the default namespace:
vim my-selector-demo-service.yml
apiVersion: v1
kind: Service
metadata:
  name: selector-demo-service
  namespace: default
  labels:
    environment: test
    app: nginx
spec:
  externalTrafficPolicy: Local
  ports:
  - name: http
    port: 80
    protocol: TCP
    targetPort: 80
  selector:
    app: nginx
  type: NodePort

Execute the following command to create a Pod:
kubectl create -f my-label-demo-pod.yml
kubectl get pods

To create a Service, execute the command below:
kubectl create -f my-selector-demo-service.yml
kubectl get service

To verify if the Label Selector functions correctly, attempt to access the service using NodeIP:NodePort. In this instance, my Node’s IP is 106.210.138.189, and the service is exposed on Port 30385.

The fact that we can access the Nginx Pod through the created Service indicates the successful implementation of the Label and Selector.
Understand Labels
Now, we can execute various operations on the Pod and Service using labels. To retrieve Pods matching a specific label, use the “–selector” flag as shown below:
kubectl get pods --selector environment=test
kubectl get pods --selector app=nginx

An alternative to “–selector” is using the “-l” flag to achieve the same result:
kubectl get pods -l environment=test
kubectl get pods -l environment=prod

Pods matching a specific label can be deleted using the below commands:
kubectl get pods
kubectl delete pods -l environment=test
kubectl get pods

Just as we delete Pods by their labels, we can also remove Services using the commands below:
kubectl get service
kubectl delete service -l environment=test
kubectl get service

Conclusion
In this guide, we successfully created a Pod with attached labels and directed a Service to those Pods based on matching labels. We also explored how to delete Pods and Services using these labels.
Frequently Asked Questions (FAQ)
- Can I update labels on existing Kubernetes objects?
Yes, you can update labels on existing objects at any time. - Is it possible to use multiple labels for a single object?
Yes, Kubernetes allows you to add multiple labels to an individual object for greater flexibility and classification. - What happens if no labels match when using a selector?
If no labels match the specified selector, no objects will be selected or affected by the operation. - Can services select Pods based on multiple labels?
Yes, you can configure services to select Pods using multiple label criteria, ensuring that all specified labels are matched. - How do labels impact performance?
Labels are lightweight and efficiently indexed in Kubernetes, so they typically do not significantly impact performance.
