Managing a Virtual Private Cloud (VPC) and related resources such as Subnets, Route Tables, and Internet Gateways from the terminal using AWS CLI can be daunting if you’re not familiar with VPC concepts. This guide will walk you through the process of creating a VPC with two public subnets, a Route Table, and an Internet Gateway. Once the VPC is established, we will connect to an EC2 instance within this VPC. Our goal is to acquaint you with the AWS CLI commands used for managing VPCs from the terminal.
Before proceeding, a thorough understanding of VPCs is recommended, as this guide does not delve into VPC concepts. For a detailed list of commands and operations you can perform on VPCs, visit the official AWS CLI documentation here.
Pre-requisites
- Have an AWS Account (Create one here if you don’t have it).
- Basic understanding of VPCs (Learn to create a VPC from the AWS Console).
- An AWS IAM user with AmazonVPCFullAccess policy attached, including its access and secret keys (Learn how to create an IAM User).
- AWS CLI installed on your local machine.
- Basic understanding of EC2 Instances (Learn to create an Ubuntu EC2 Instance).
What will we do?
- Verify AWS CLI and export AWS access & secret keys on your local machine.
- Manage a VPC using AWS CLI.
Verify AWS CLI and Export AWS Access & Secret Keys
If AWS CLI isn’t installed, follow the official installation guide. Verify AWS CLI installation with:
aws --version
You might encounter an error due to unconfigured AWS account access in the terminal. Execute:
aws sts get-caller-identity
To configure access, export your AWS IAM user access and secret keys as follows:
export AWS_ACCESS_KEY_ID=<aws-user-access-key>
export AWS_SECRET_ACCESS_KEY=<aws-user-secret-key>
After this setup, verify your identity with:
aws sts get-caller-identity
Manage VPC using AWS CLI
Create a VPC using:
aws ec2 create-vpc --cidr-block 10.0.0.0/16
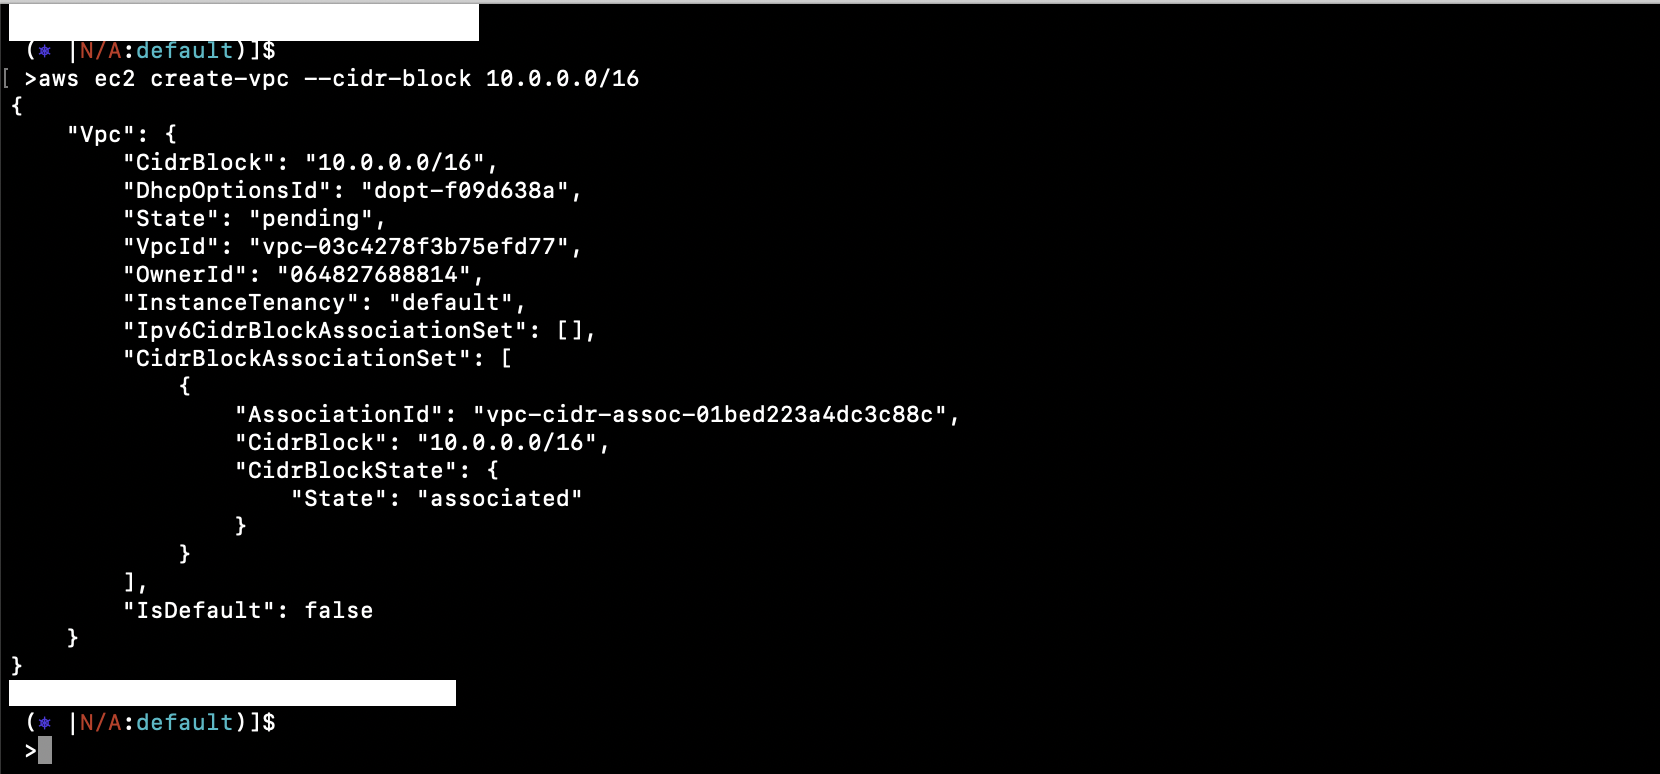
Note the VpcId from the output. Describe all VPCs in your current region with:
aws ec2 describe-vpcs
To describe a specific VPC, use its VpcId:
aws ec2 describe-vpcs --vpc-ids vpc-03c4278f3b75efd77
Create two Subnets with unique CIDR blocks in your VPC:
aws ec2 create-subnet --vpc-id vpc-03c4278f3b75efd77 --cidr-block 10.0.1.0/24
aws ec2 create-subnet --vpc-id vpc-03c4278f3b75efd77 --cidr-block 10.0.2.0/24
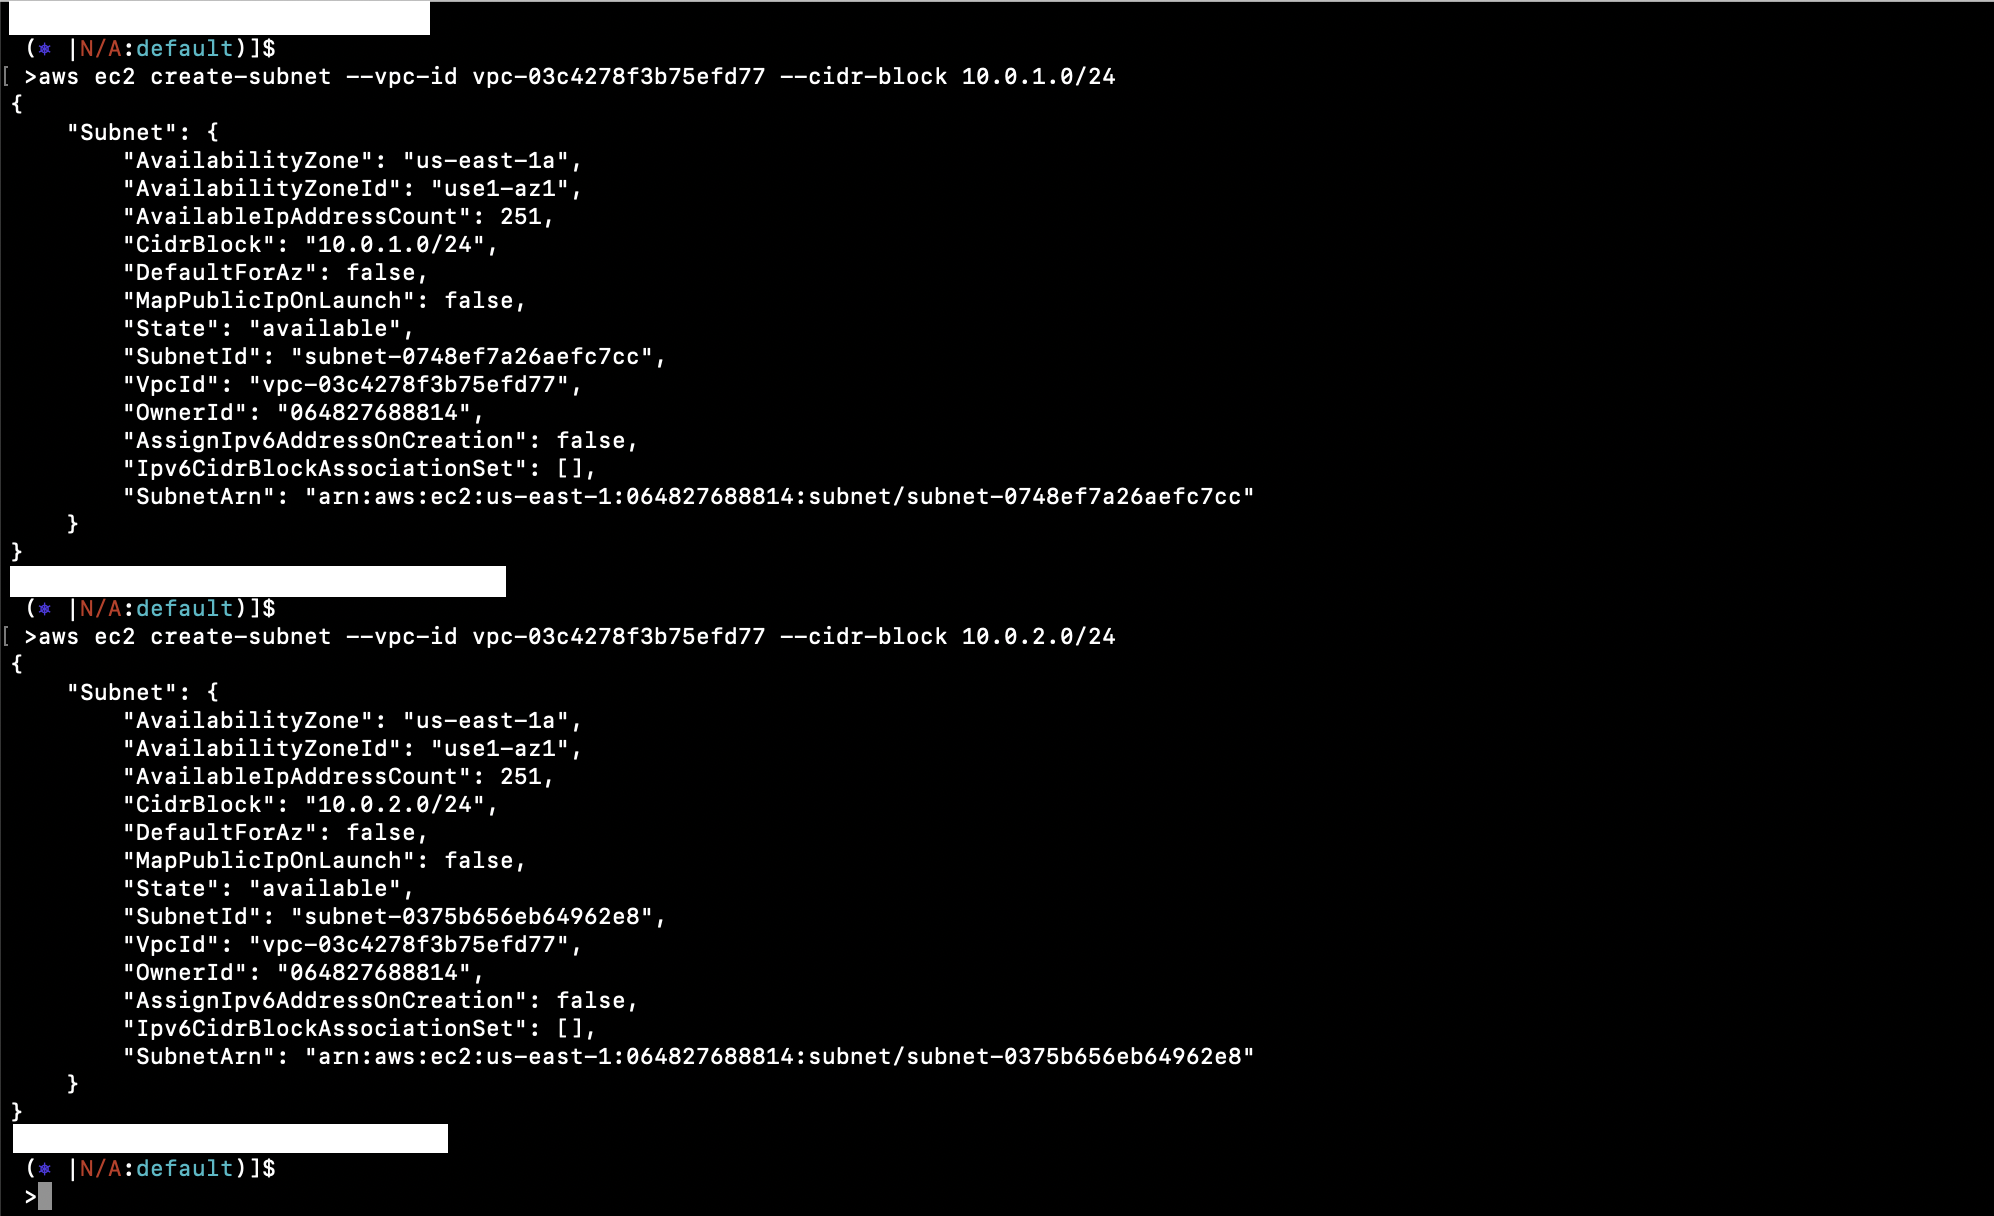
To make subnets public, create and attach an Internet Gateway:
aws ec2 create-internet-gateway
aws ec2 attach-internet-gateway --internet-gateway-id igw-04f1e4f13f92599c3 --vpc-id vpc-03c4278f3b75efd77

Create and associate a Route Table:
aws ec2 create-route-table --vpc-id vpc-03c4278f3b75efd77
aws ec2 associate-route-table --route-table-id rtb-0878d652f460dbf50 --subnet-id subnet-0748ef7a26aefc7cc
aws ec2 associate-route-table --route-table-id rtb-0878d652f460dbf50 --subnet-id subnet-0375b656eb64962e8
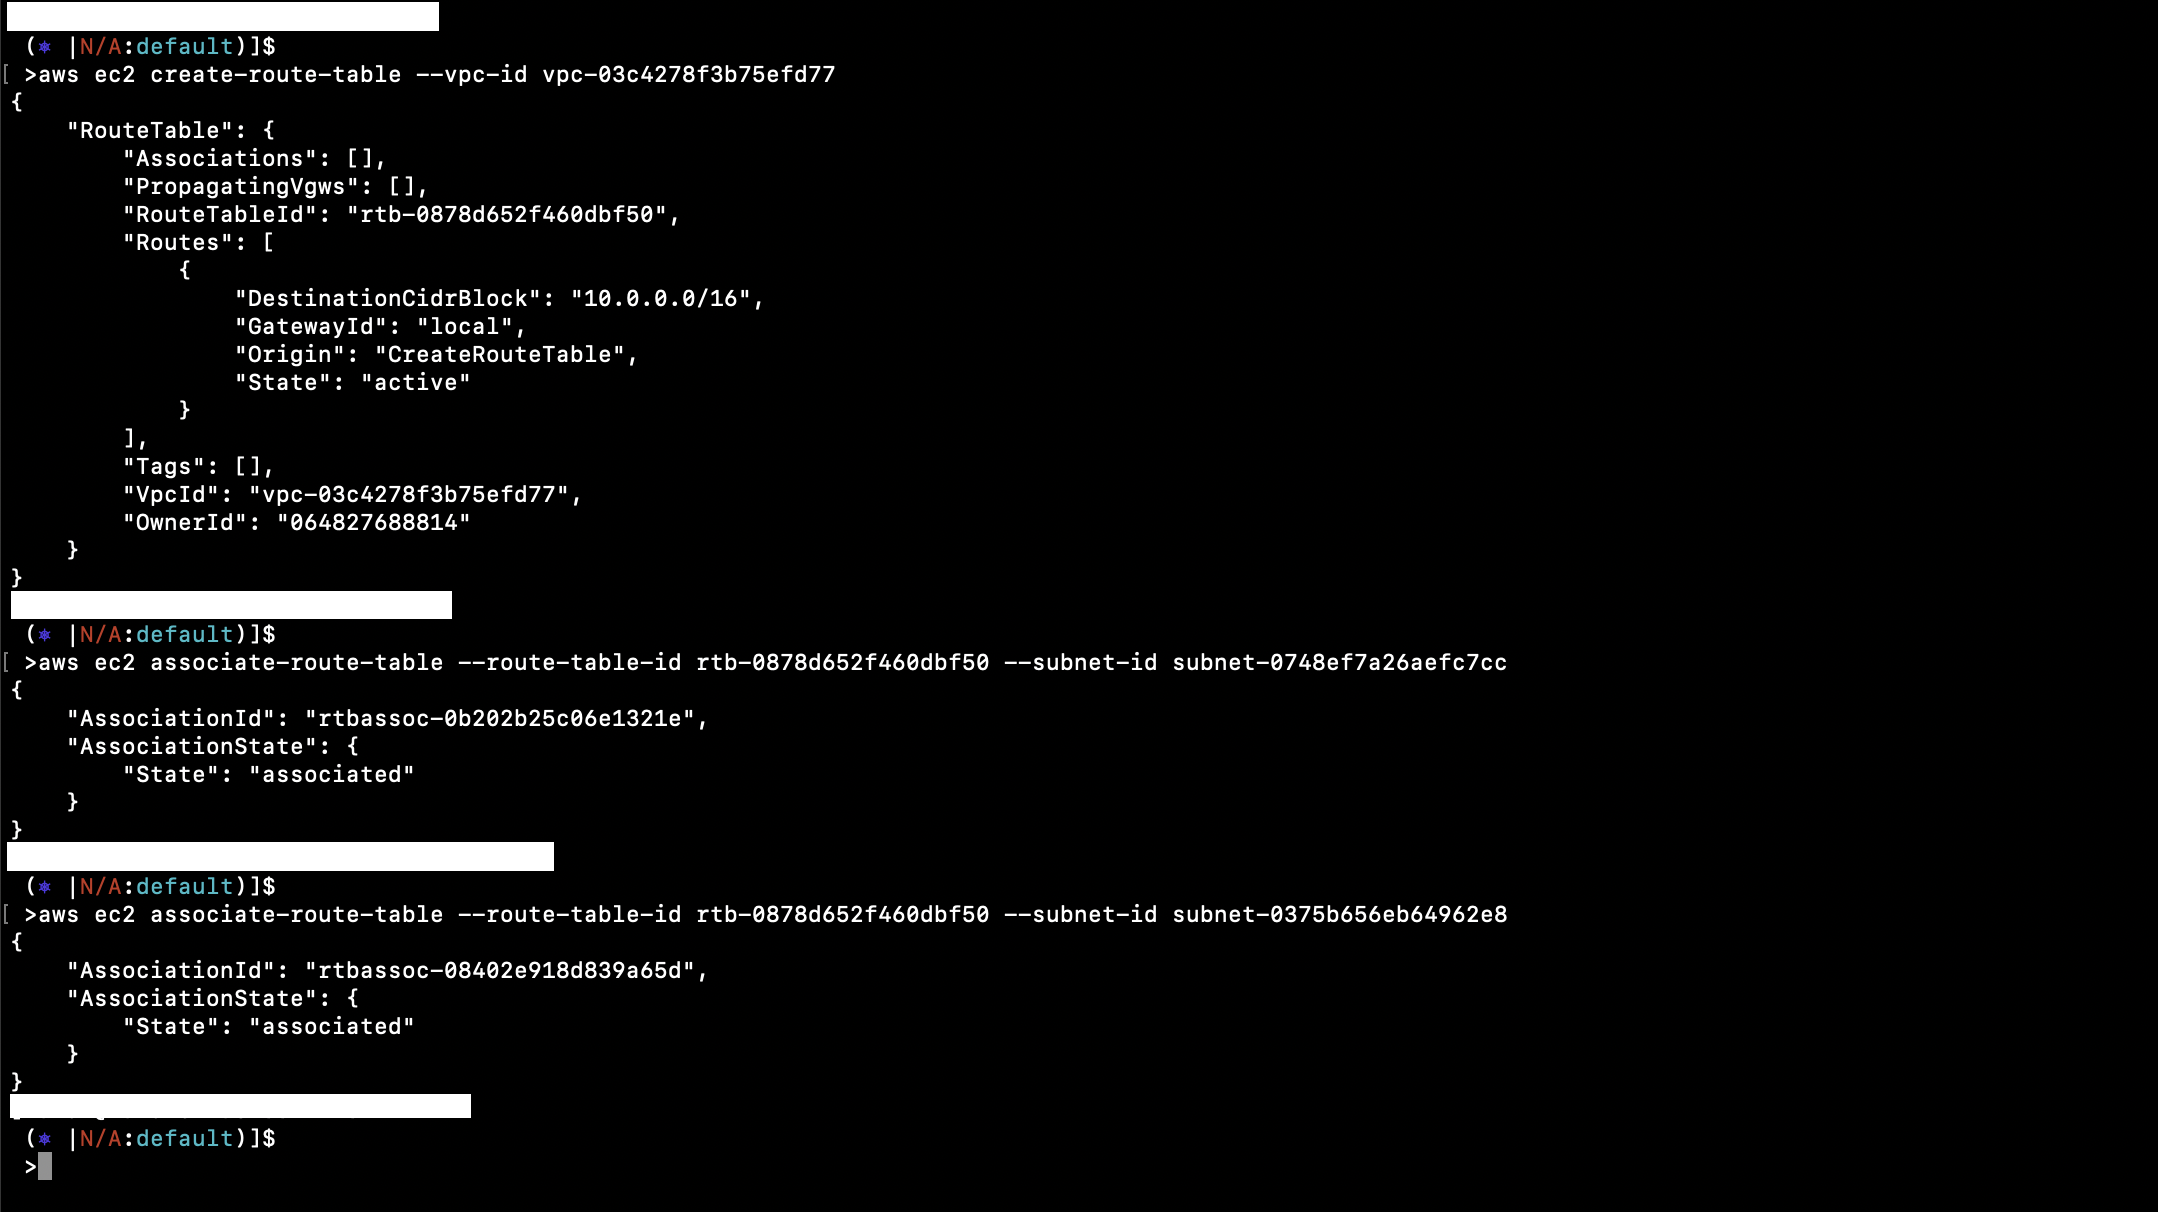
Create a route from the Route Table to the Internet Gateway to make subnets public:
aws ec2 create-route --route-table-id rtb-0878d652f460dbf50 --destination-cidr-block 0.0.0.0/0 --gateway-id igw-04f1e4f13f92599c3

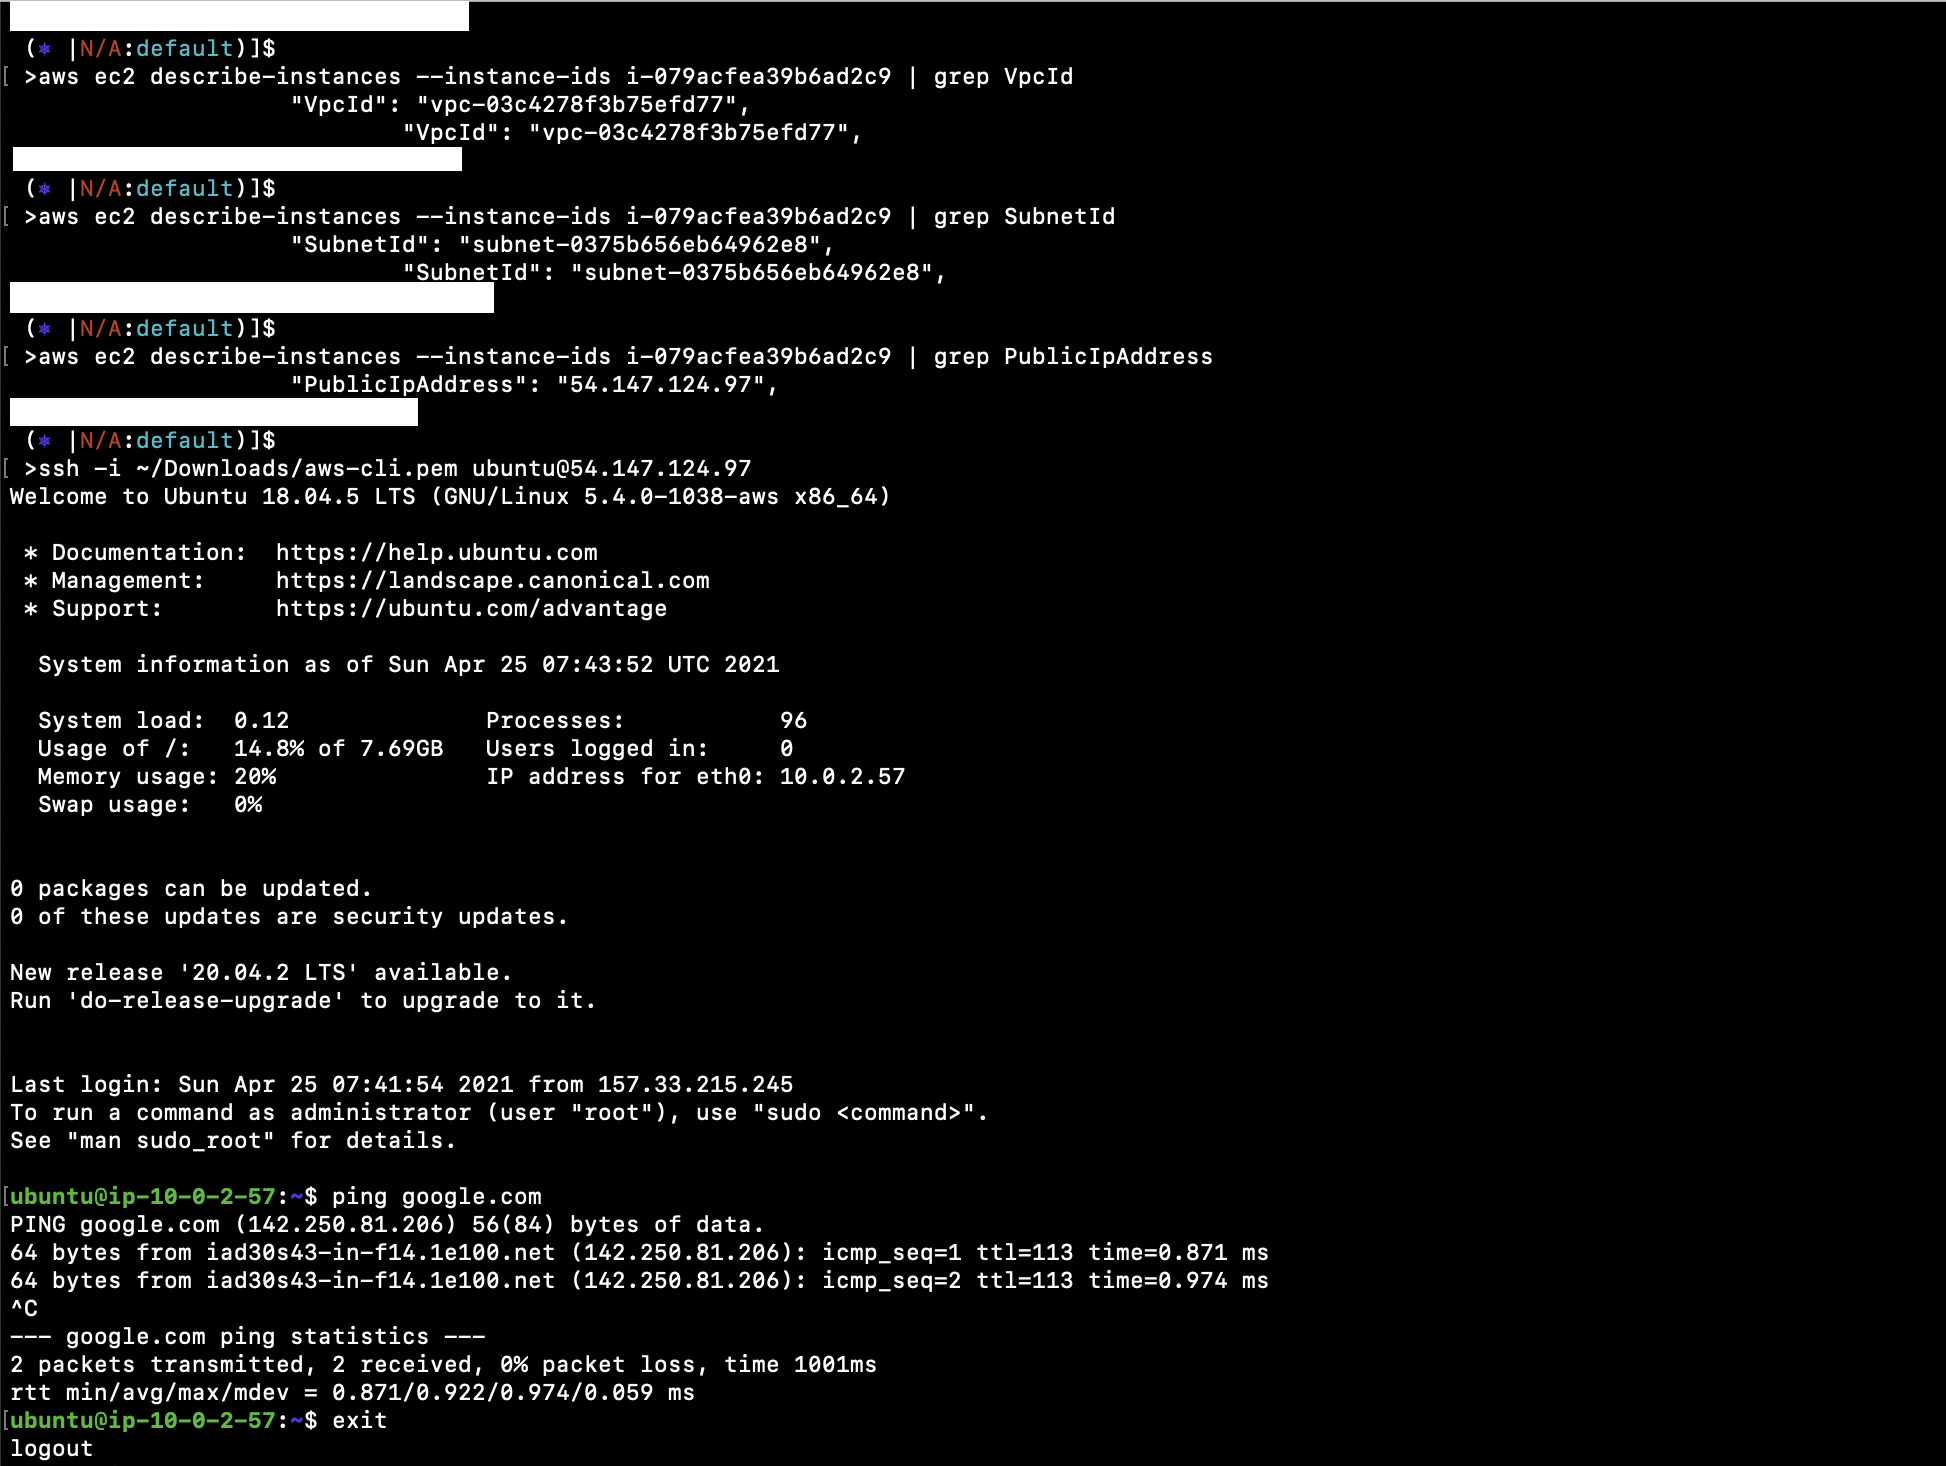
Once our VPC setup is complete, create an EC2 instance in this VPC using one of the public subnets, making it accessible from the internet. Follow the prerequisite documentation for instructions on creating an Ubuntu EC2 instance, specifying the newly created VPC.
aws ec2 describe-instances --instance-ids i-079acfea39b6ad2c9 | grep VpcId
aws ec2 describe-instances --instance-ids i-079acfea39b6ad2c9 | grep SubnetId
aws ec2 describe-instances --instance-ids i-079acfea39b6ad2c9 | grep PublicIpAddress
ssh -i ~/Downloads/aws-cli.pem ubuntu@54.147.124.97
Conclusion
This article walked through the setup of a VPC with two subnets, a Route Table, an Internet Gateway, and a route configuration for internet access. The goal was to familiarize you with AWS CLI commands to manage your VPC infrastructure. Deploying an EC2 instance within this setup enables public internet access thanks to our public subnet arrangement.
FAQ
- Why was a CIDR block of 10.0.0.0/16 chosen?
- This CIDR block provides a large address space suitable for our VPC demonstration. It’s an arbitrary choice to showcase flexibility.
- Why do we attach an Internet Gateway?
- Attaching an Internet Gateway provides internet access to instances within the VPC, making it essential for public-facing applications.
- Can I use different regions for my setup?
- Yes, ensure your commands specify the correct region, as resource IDs and availability differ between regions.
- Why create two subnets?
- Two subnets demonstrate VPC scalability and structure, allowing resources to exist in separate but connected environments.
